
1. Einleitung
Thank you for choosing the LiteOn eSAU108-97 External Recording DVD Drive. This portable optical drive offers reliable DVD and CD reading and writing capabilities, powered conveniently via a single USB connection. It is designed for use with laptops and other compatible devices, providing a compact and efficient solution for your optical media needs.
Bitte lesen Sie diese Bedienungsanleitung vor der Inbetriebnahme des Geräts sorgfältig durch, um einen ordnungsgemäßen Betrieb zu gewährleisten und die Lebensdauer des Geräts zu maximieren.
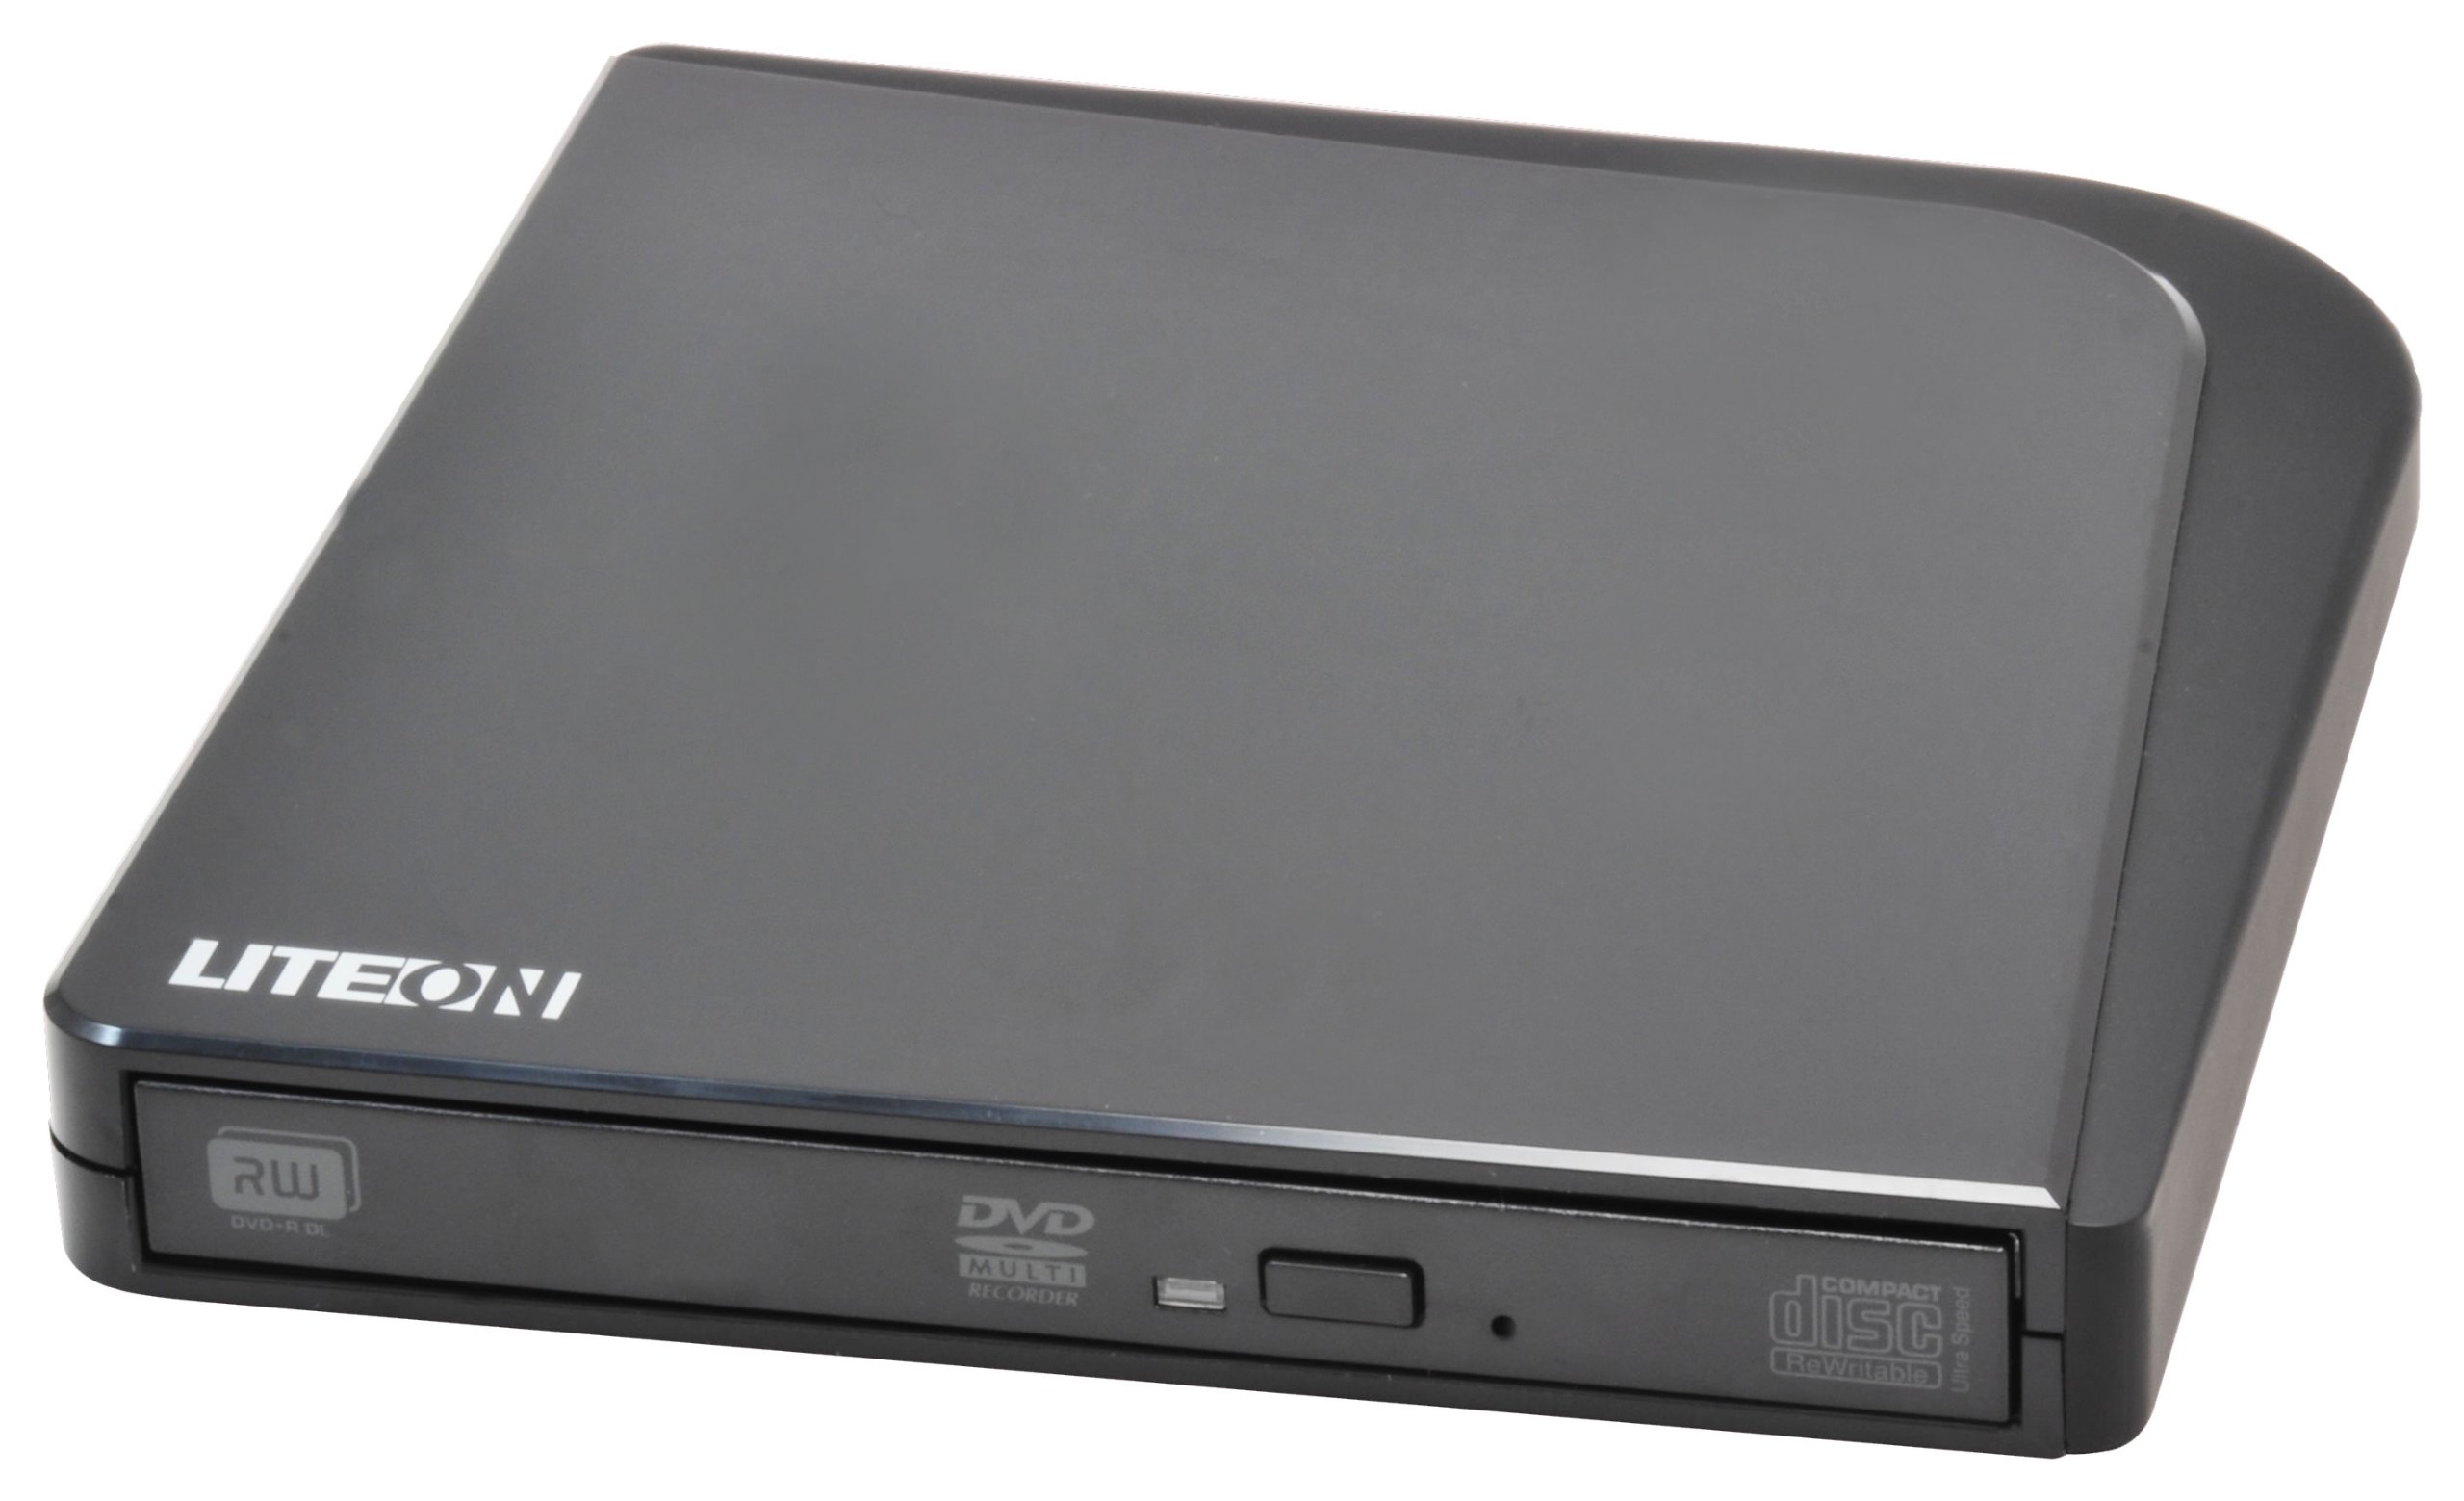
Abbildung 1: LiteOn eSAU108-97 External Recording DVD Drive. This image displays the compact, black external DVD drive, highlighting its sleek design and the USB port for connectivity.
2. Packungsinhalt
Bitte überprüfen Sie den Packungsinhalt sorgfältig. Sollten Artikel fehlen oder beschädigt sein, kontaktieren Sie bitte umgehend Ihren Händler.
- LiteOn eSAU108-97 External Recording DVD Drive
- USB Data/Power Cable
- Kurzanleitung (dieses Handbuch)
3. Einrichtung
3.1 Systemanforderungen
- Operating System: Windows XP/Vista/7/8/10/11, macOS 10.x or later, Linux (kernel 2.6 or later)
- Verfügbarer USB 2.0- oder 3.0-Anschluss
- Mindestens 512 MB RAM
- Minimum 10GB free hard disk space (for disc burning software and temporary files)
3.2 Anschließen des Laufwerks
- Locate an available USB port on your laptop or computer.
- Connect the smaller end of the provided USB cable to the USB port on the LiteOn eSAU108-97 drive.
- Verbinden Sie das größere Ende des USB-Kabels mit dem USB-Anschluss Ihres Computers.
- The drive is bus-powered, meaning it draws power directly from the USB port. No external power adapter is required.
- Ihr Betriebssystem sollte die benötigten Treiber automatisch erkennen und installieren. Dieser Vorgang kann einige Augenblicke dauern.
3.3 Treiberinstallation
The LiteOn eSAU108-97 is a plug-and-play device. Most modern operating systems will automatically install the required drivers upon connection. No manual driver installation is typically needed. If the drive is not recognized, try connecting it to a different USB port or restarting your computer.
4. Bedienung des Antriebs
4.1 Einlegen einer Disc
- Drücken Sie die Auswurftaste an der Vorderseite des Laufwerks, um das Disc-Fach zu öffnen.
- Carefully place a CD or DVD onto the tray with the label side facing up. Ensure the disc is centered on the spindle.
- Schieben Sie das Disc-Fach vorsichtig zurück in das Laufwerk, bis es einrastet. Wenden Sie dabei keine Gewalt an.
4.2 Playing/Reading Discs
Once a disc is loaded, your operating system may automatically prompt you to choose an action (e.g., play a movie, open files). If not, navigate to 'My Computer' or 'This PC' (Windows) or 'Finder' (macOS), locate the optical drive icon, and double-click it to access the disc's contents.
4.3 Recording/Burning Discs
To record data, music, or video onto a blank CD-R/RW or DVD-R/RW disc, you will need compatible disc burning software (e.g., Windows Media Player, Nero, Roxio, or built-in macOS utilities). Follow the instructions provided with your chosen software to perform burning operations.
4.4 Ejecting a Disc
- Software Eject: Right-click on the drive icon in 'My Computer'/'This PC' or 'Finder' and select 'Eject'.
- Manueller Auswurf: Drücken Sie die Auswurftaste an der Vorderseite des Laufwerks.
- Notauswurf: In case of power failure or if the eject button does not work, locate the small pinhole on the front of the drive. Insert a straightened paperclip into the pinhole and push gently until the tray partially opens. Then, pull the tray out manually.
5. Wartung
5.1 Cleaning the Drive
Keep the drive clean and free from dust. Use a soft, dry, lint-free cloth to wipe the exterior. Do not use liquid cleaners or abrasive materials. Avoid opening the drive casing, as this can damage internal components and void your warranty.
5.2 Reinigungsscheiben
Always handle discs by their edges. If a disc is dirty, gently wipe it from the center outwards with a soft, lint-free cloth. Do not use circular motions, as this can cause scratches. For stubborn smudges, use a specialized disc cleaning solution.
5.3 Speicherung
When not in use, store the drive in a cool, dry place, away from direct sunlight, extreme temperatures, and high humidity. Keep it protected from dust and physical impact.
6. Fehlerbehebung
| Problem | Mögliche Ursache | Lösung |
|---|---|---|
| Laufwerk wird vom Computer nicht erkannt | Loose USB connection, insufficient power, driver issue, faulty USB port. | Ensure USB cable is securely connected. Try a different USB port. Restart your computer. Check Device Manager (Windows) or System Information (macOS) for the drive. |
| Disc not reading/writing | Dirty or scratched disc, incorrect disc type, faulty disc, drive lens dirty, incompatible software. | Clean the disc. Try a different disc. Ensure the disc type is compatible (CD-R/RW, DVD-R/RW). Use appropriate burning software. |
| Disc tray not opening/closing | Obstruction, mechanical issue, power issue. | Check for obstructions. Ensure the drive is powered (connected via USB). Use the emergency eject hole if necessary. |
| Langsame Leistung | USB 1.1 port, background processes, fragmented hard drive. | Connect to a USB 2.0 or 3.0 port. Close unnecessary applications. Ensure your computer meets system requirements. |
7. Spezifikationen
- Modell: eSAU108-97
- Schnittstelle: USB 2.0 (kompatibel mit USB 3.0)
- Typ: External Portable DVD Drive
- Hardware-Plattform: Laptop
- Artikelgewicht: Ungefähr 1.2 Pfund (0.54 kg)
- Paketabmessungen: 8.27 x 7.72 x 2.87 Zoll (21 x 19.6 x 7.3 cm)
- Farbe: Schwarz
- Cache-Größe: 2 MB
- Leistung: Stromversorgung über USB
- Unterstützte Disc-Formate: DVD-ROM, DVD-R, DVD-RW, DVD+R, DVD+RW, CD-ROM, CD-R, CD-RW
8. Garantie und Support
LiteOn products are designed and manufactured to the highest quality standards. This product is covered by a limited warranty from the date of purchase. Please refer to the warranty card included in your package or visit the official LiteOn webAuf der Webseite finden Sie die detaillierten Garantiebedingungen.
For technical support, troubleshooting assistance, or service inquiries, please visit the LiteOn support website or contact their customer service department. Contact information can typically be found on the official LiteOn webauf der Website oder in der Verpackung Ihres Produkts.