
1. Produktüberschreitungview
The Da-Lite Model No. 11 Wall Mount Brackets are designed to provide a convenient solution for mounting projection screens. These brackets allow you to extend your screen away from the wall, effectively bypassing obstacles such as chalkboards, whiteboards, or other wall-mounted fixtures. This model features a non-adjustable design, offering fixed extension distances of either 10 inches or 14 inches from the wall, depending on the specific bracket variant purchased.
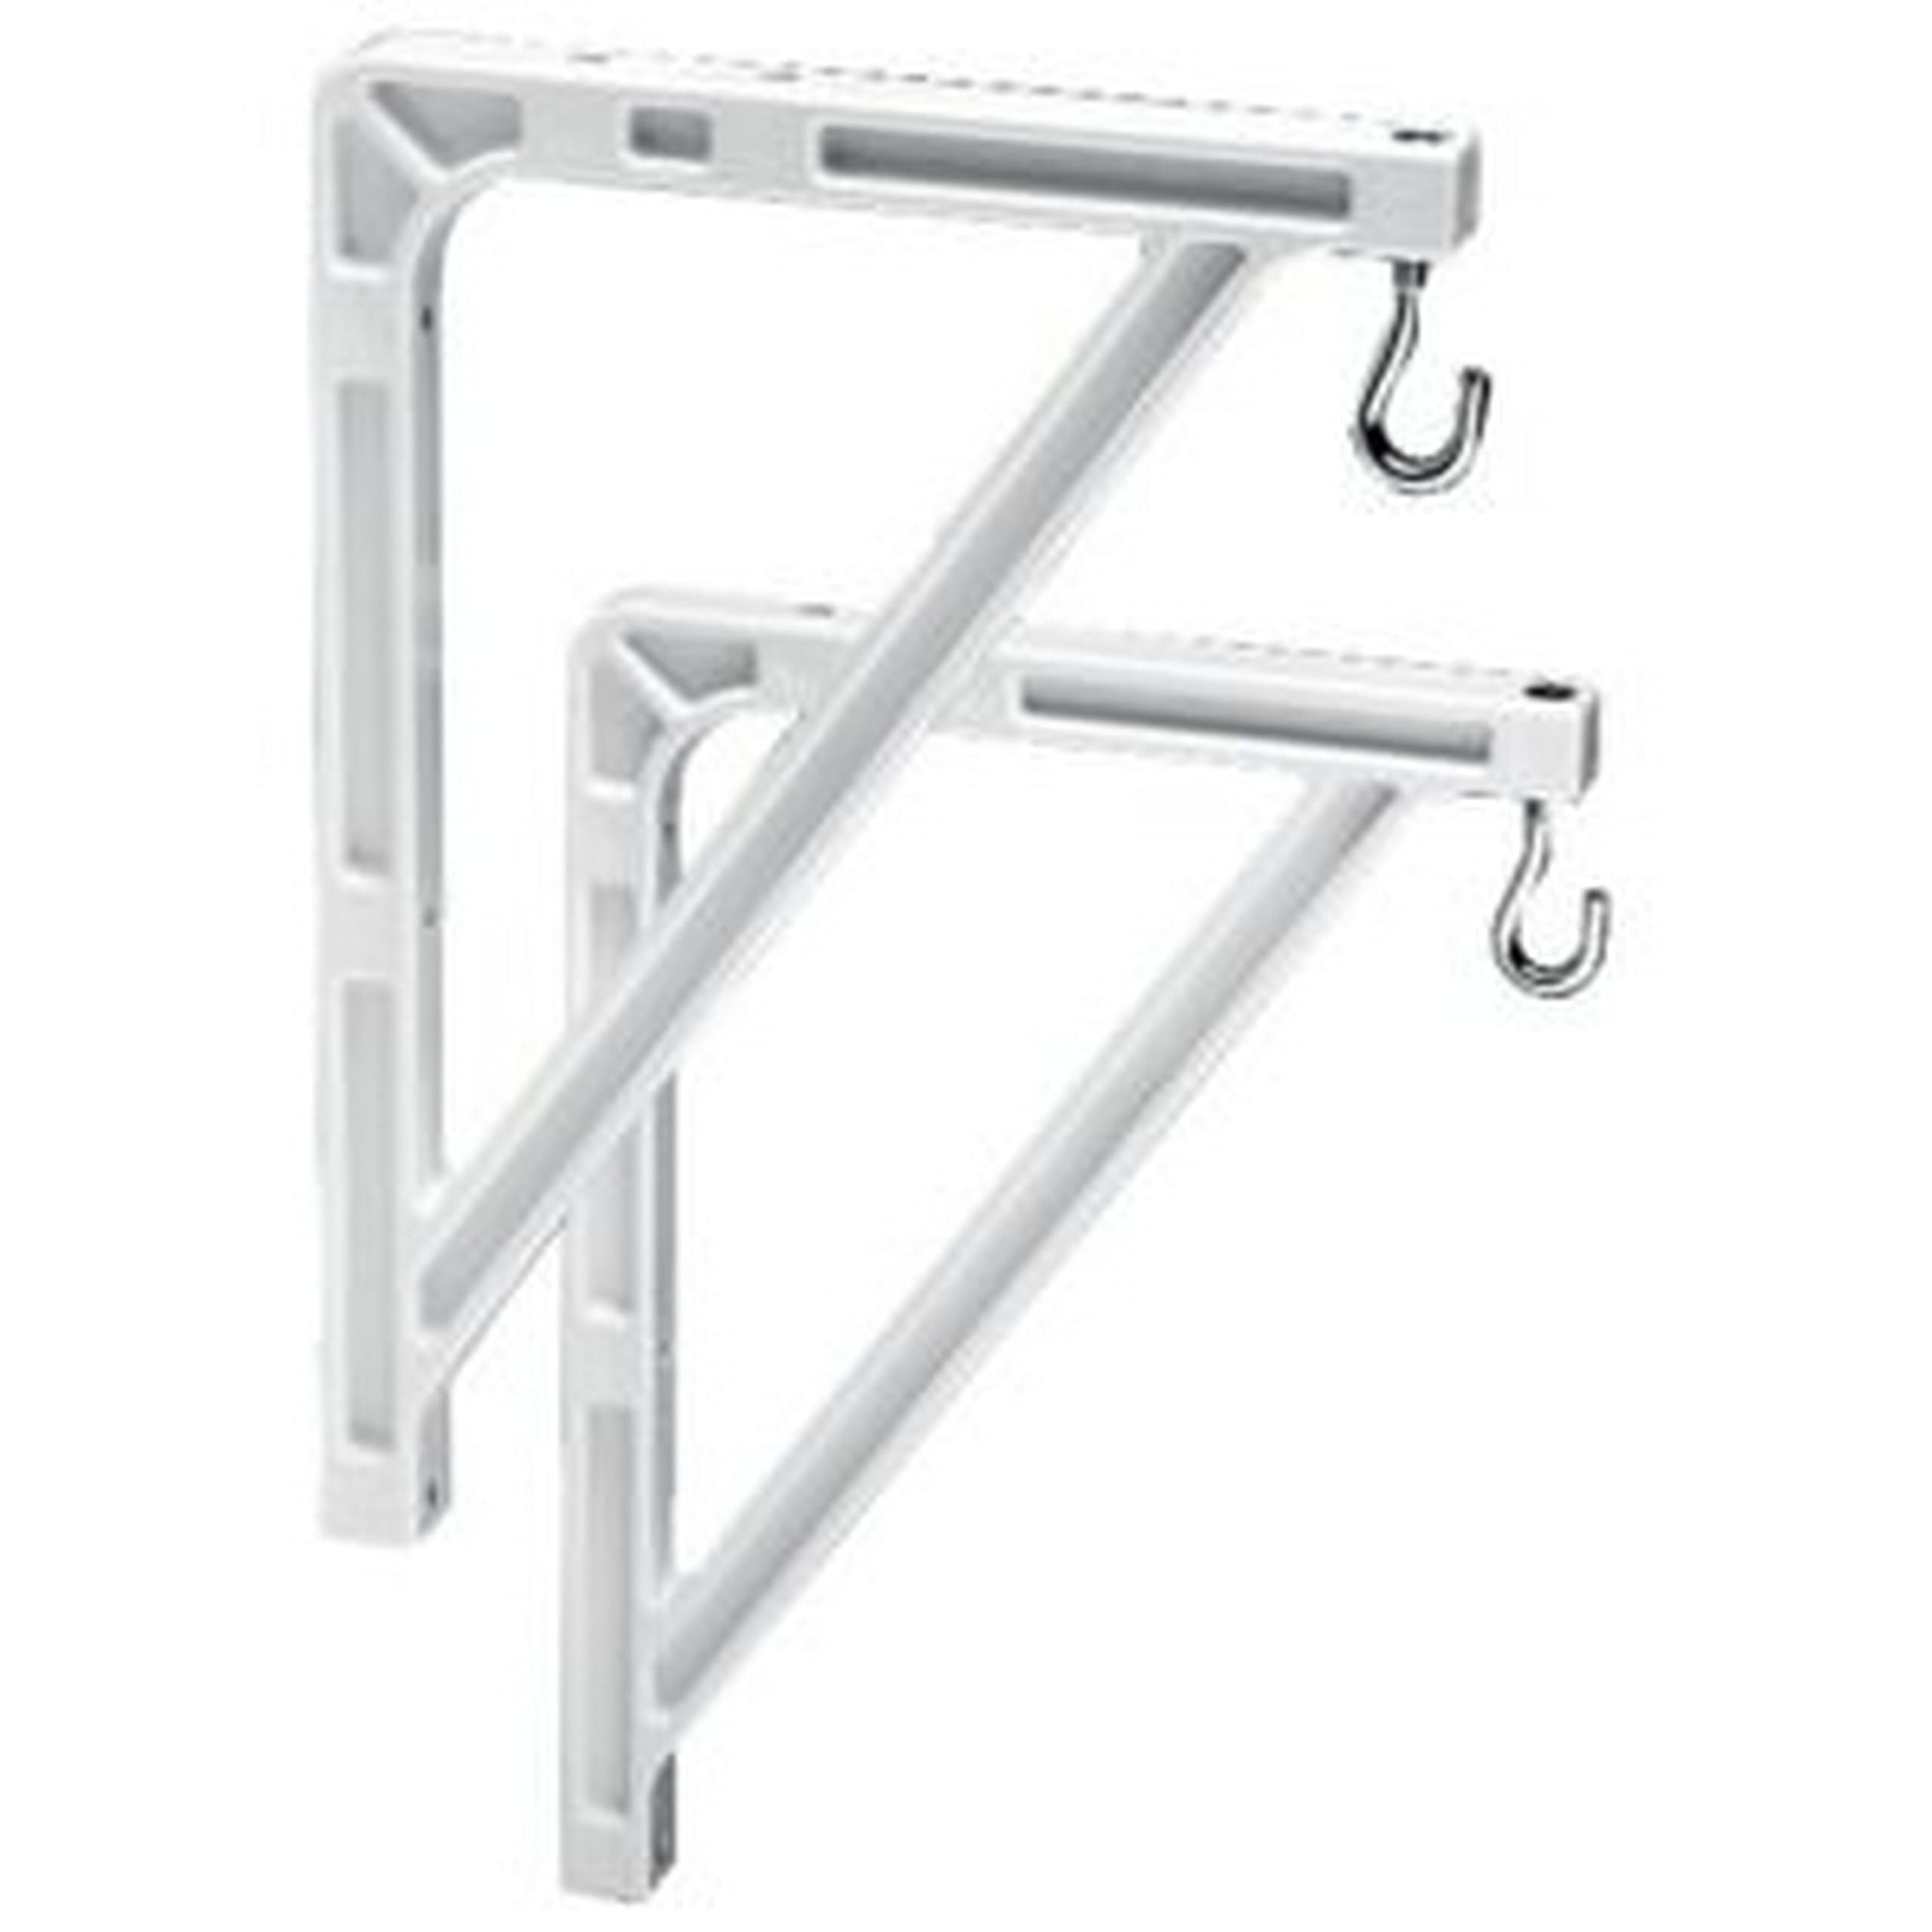
Figure 1: Da-Lite Model No. 11 Wall Mount Brackets. These brackets are designed to securely hold a projection screen away from the wall.
2. Einrichtung und Installation
Proper installation of the Da-Lite Model No. 11 Wall Mount Brackets is essential for the safety and stability of your projection screen. Please follow these instructions carefully.
2.1 Tools and Materials Required:
- Bohren Sie mit geeigneten Bohrern
- Maßband
- Ebene
- Bleistift oder Marker
- Stud finder (recommended for drywall installations)
- Screwdriver or wrench (depending on fastener type)
- Appropriate wall anchors and screws (not always included, verify with screen manufacturer's requirements)
2.2 Installationsschritte:
- Montageort bestimmen: Identify the desired height and horizontal position for your projection screen. Ensure the location is free of electrical wires or plumbing.
- Positionen der Markierungsklammern: Using your measuring tape and level, mark the precise locations on the wall where the mounting holes of the brackets will align. The distance between the two brackets should match the mounting points on your projection screen.
- Pilotlöcher bohren: Drill pilot holes at the marked locations. The size of the drill bit should be appropriate for your chosen wall anchors and screws. For drywall, use a stud finder to locate wall studs for maximum security, or use heavy-duty drywall anchors.
- Halterungen an der Wand befestigen: Securely fasten the Da-Lite Model No. 11 brackets to the wall using the appropriate screws and anchors. Ensure they are level and firmly attached. Do not overtighten.
- Mount Projection Screen: Carefully lift your projection screen and align its mounting points with the brackets. Secure the screen to the brackets according to the screen manufacturer's instructions. Ensure all connections are tight and secure before releasing den Bildschirm.
Wichtig: Always consult the installation guide provided with your specific projection screen for compatibility and additional mounting requirements. Professional installation is recommended if you are unsure about any steps.
3. Nutzung
Once installed, the Da-Lite Model No. 11 Wall Mount Brackets provide a stable and extended mounting solution for your projection screen. These brackets are designed for fixed extension, meaning the distance from the wall is set at either 10 or 14 inches, depending on the model variant. This fixed extension is ideal for situations where a consistent offset from the wall is required to clear obstructions.
- Ensure the projection screen is properly seated and secured on both brackets.
- Regularly check the stability of the screen and brackets, especially after any adjustments or movement near the installation area.
4. Wartung
The Da-Lite Model No. 11 Wall Mount Brackets require minimal maintenance to ensure long-term performance and safety.
- Reinigung: Wipe the brackets periodically with a soft, dry cloth to remove dust. For stubborn marks, a slightly damp Ein Tuch mit milder Seife kann verwendet werden, anschließend trocknen lassen. Scheuermittel oder Lösungsmittel vermeiden.
- Inspektion: Annually, or if you notice any instability, inspect all mounting points and fasteners. Ensure all screws are tight and that the brackets remain firmly attached to the wall and the projection screen.
- Schaden: If any part of the bracket appears damaged, bent, or corroded, discontinue use immediately and contact Da-Lite support or a qualified technician for replacement.
5. Fehlerbehebung
This section addresses common issues that may arise with the Da-Lite Model No. 11 Wall Mount Brackets.
| Problem | Mögliche Ursache | Lösung |
|---|---|---|
| Brackets feel loose on the wall. | Screws are not tight, or wall anchors are insufficient. | Tighten all mounting screws. If still loose, consider using stronger wall anchors or relocating to a wall stud. |
| Projection screen is not level. | Brackets were not installed level, or screen is not properly seated. | Remove the screen, re-check bracket level with a spirit level, and adjust as necessary. Ensure the screen is correctly hooked onto both brackets. |
| Brackets appear bent or damaged. | Excessive weight or impact. | Do not use damaged brackets. Replace them immediately to prevent screen collapse. Ensure the screen's weight does not exceed the brackets' capacity. |
If you encounter issues not listed here, or if the suggested solutions do not resolve the problem, please contact Da-Lite customer support.
6. Spezifikationen
- Modell: Da-Lite Model No. 11 Wall Mount Brackets
- Typ: Non-adjustable wall mount brackets
- Verlängerung von der Wand: 10 inches or 14 inches (depending on variant)
- Material: Robuste Metallkonstruktion
- Farbe: Typically white (as shown in product images)
- Artikelgewicht: Ungefähr 2.7 Pfund (pro Paar)
- Montageart: Wandhalterung
- Formfaktor: Portable (refers to the screen type these brackets support)
Hinweis: Technische Daten können sich ohne vorherige Ankündigung ändern. Die aktuellsten und genauesten Informationen finden Sie auf der Produktverpackung.
7. Garantieinformationen
Specific warranty terms and conditions for the Da-Lite Model No. 11 Wall Mount Brackets are typically provided with the product packaging or can be found on the official Da-Lite webBitte bewahren Sie Ihren Kaufbeleg für Garantieansprüche auf.
Generally, Da-Lite products come with a limited warranty covering manufacturing defects. For detailed information regarding warranty duration, coverage, and claim procedures, please visit the official Da-Lite webBesuchen Sie die Website oder kontaktieren Sie direkt deren Kundendienstabteilung.
8. Kundendienst
For technical assistance, installation questions, or any other inquiries regarding your Da-Lite Model No. 11 Wall Mount Brackets, please contact Da-Lite customer support.
You can typically find contact information (phone numbers, email addresses, or support portals) on the official Da-Lite webSeite? ˅ (www.legrandav.com/products/da-lite) or within the product documentation included with your purchase.
When contacting support, please have your product model number (Model No. 11) and any relevant purchase information ready to expedite the process.