Einführung
This manual provides detailed instructions for the setup, operation, and maintenance of your La Crosse Technology Atomic Wall/Table Clock, Model 513-1211. This digital clock features a large LCD display, automatic time setting via atomic signal, indoor temperature monitoring, and a perpetual calendar. It is designed for easy viewing and can be used as a wall-mounted or tabletop device.
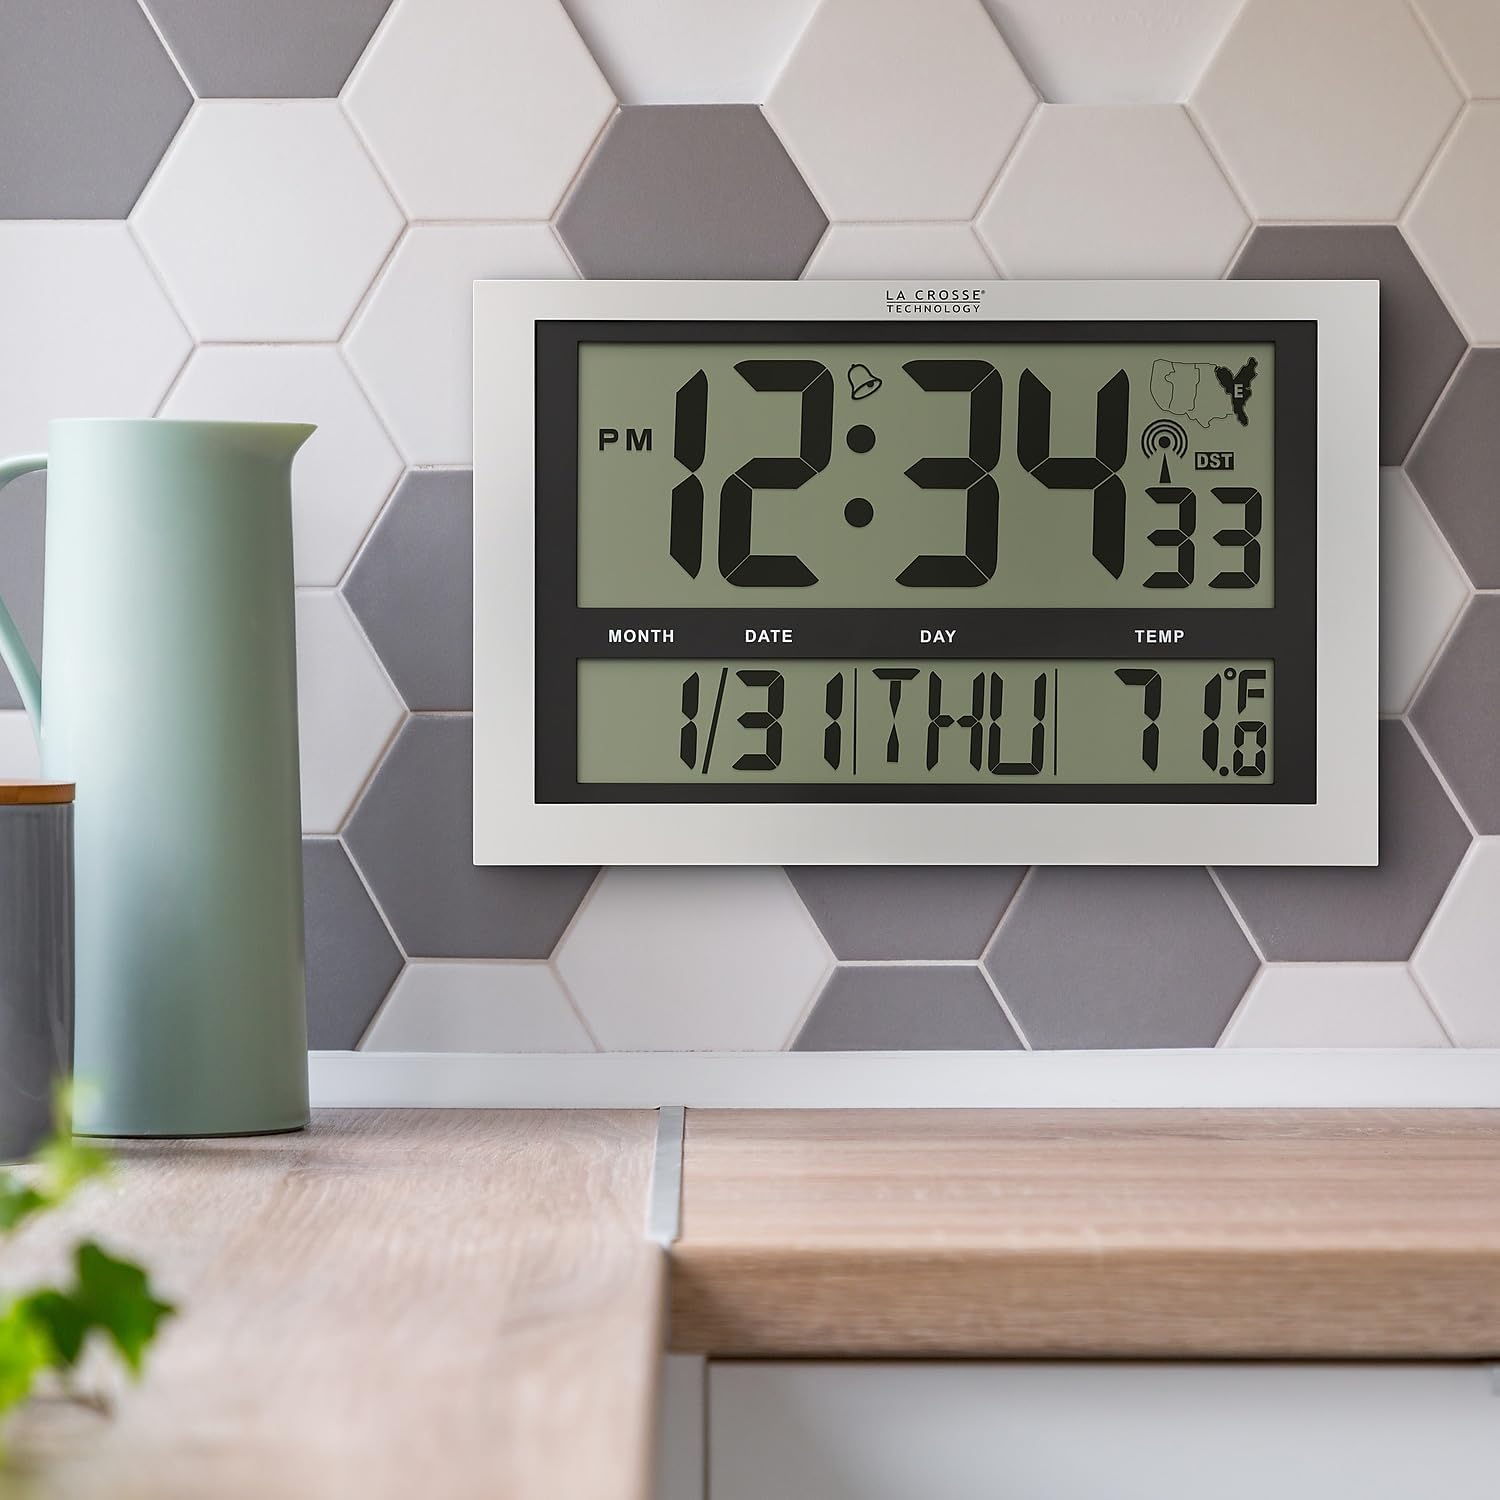
Image: La Crosse Technology Atomic Wall/Table Clock (Model 513-1211) mounted on a kitchen wall, showing the large digital display with time, date, and indoor temperature.
Sicherheitshinweise
Please read and understand the following safety precautions before using your clock:
- Use only the specified battery type (3 AA alkaline batteries).
- Mischen Sie keine alten und neuen Batterien oder verschiedene Batterietypen.
- Achten Sie darauf, dass die Batterien mit der richtigen Polarität (+/-) eingelegt werden.
- Entfernen Sie leere Batterien umgehend, um ein Auslaufen zu verhindern.
- Do not expose the clock to extreme temperatures, direct sunlight, or moisture.
- Halten Sie die Uhr von starken Magnetfeldern fern.
Packungsinhalt
Überprüfen Sie, ob alle Artikel in Ihrem Paket vorhanden sind:
- La Crosse Technology Atomic Wall/Table Clock (Model 513-1211)
- Bedienungsanleitung (dieses Dokument)
Aufstellen
1. Einlegen der Batterie
The clock requires 3 AA alkaline batteries (not included).
- Suchen Sie das Batteriefach auf der Rückseite der Uhr.
- Slide up and pull out the battery cover.
- Insert 3 new AA alkaline batteries according to the polarity markings (+ and -).
- Bringen Sie die Batterieabdeckung wieder fest an.

Bild: Rückseite view of the clock, highlighting the battery compartment, control buttons (SET, WAVE/+, DST/-, SNOOZE), and time zone switch.
2. Initial Setup and Atomic Signal Reception
After battery installation, the clock will automatically begin searching for the atomic time signal (WWVB). This process may take several minutes to several hours, depending on your location and environmental conditions. For best reception, place the clock near a window, facing generally towards Fort Collins, Colorado (USA).
- Wähle Zeitzone aus: Use the time zone selector switch (PST, MST, CST, EST) on the back of the clock to choose your desired time zone.
- The clock will attempt to synchronize with the atomic signal. A signal strength indicator will appear on the display.
- Manuelle Zeiteinstellung (optional): If the atomic signal is not received, or if you prefer to set the time manually, press and hold the SATZ button for 3 seconds to enter settings. Use the WAVE/+ Und DST/- buttons to adjust values, and SATZ zur Bestätigung.
3. Montagemöglichkeiten
The clock can be displayed on a flat surface or mounted on a wall.
- Verwendung auf dem Tisch: Extend the foldout legs located on the back of the clock to stand it upright on a desk or shelf.
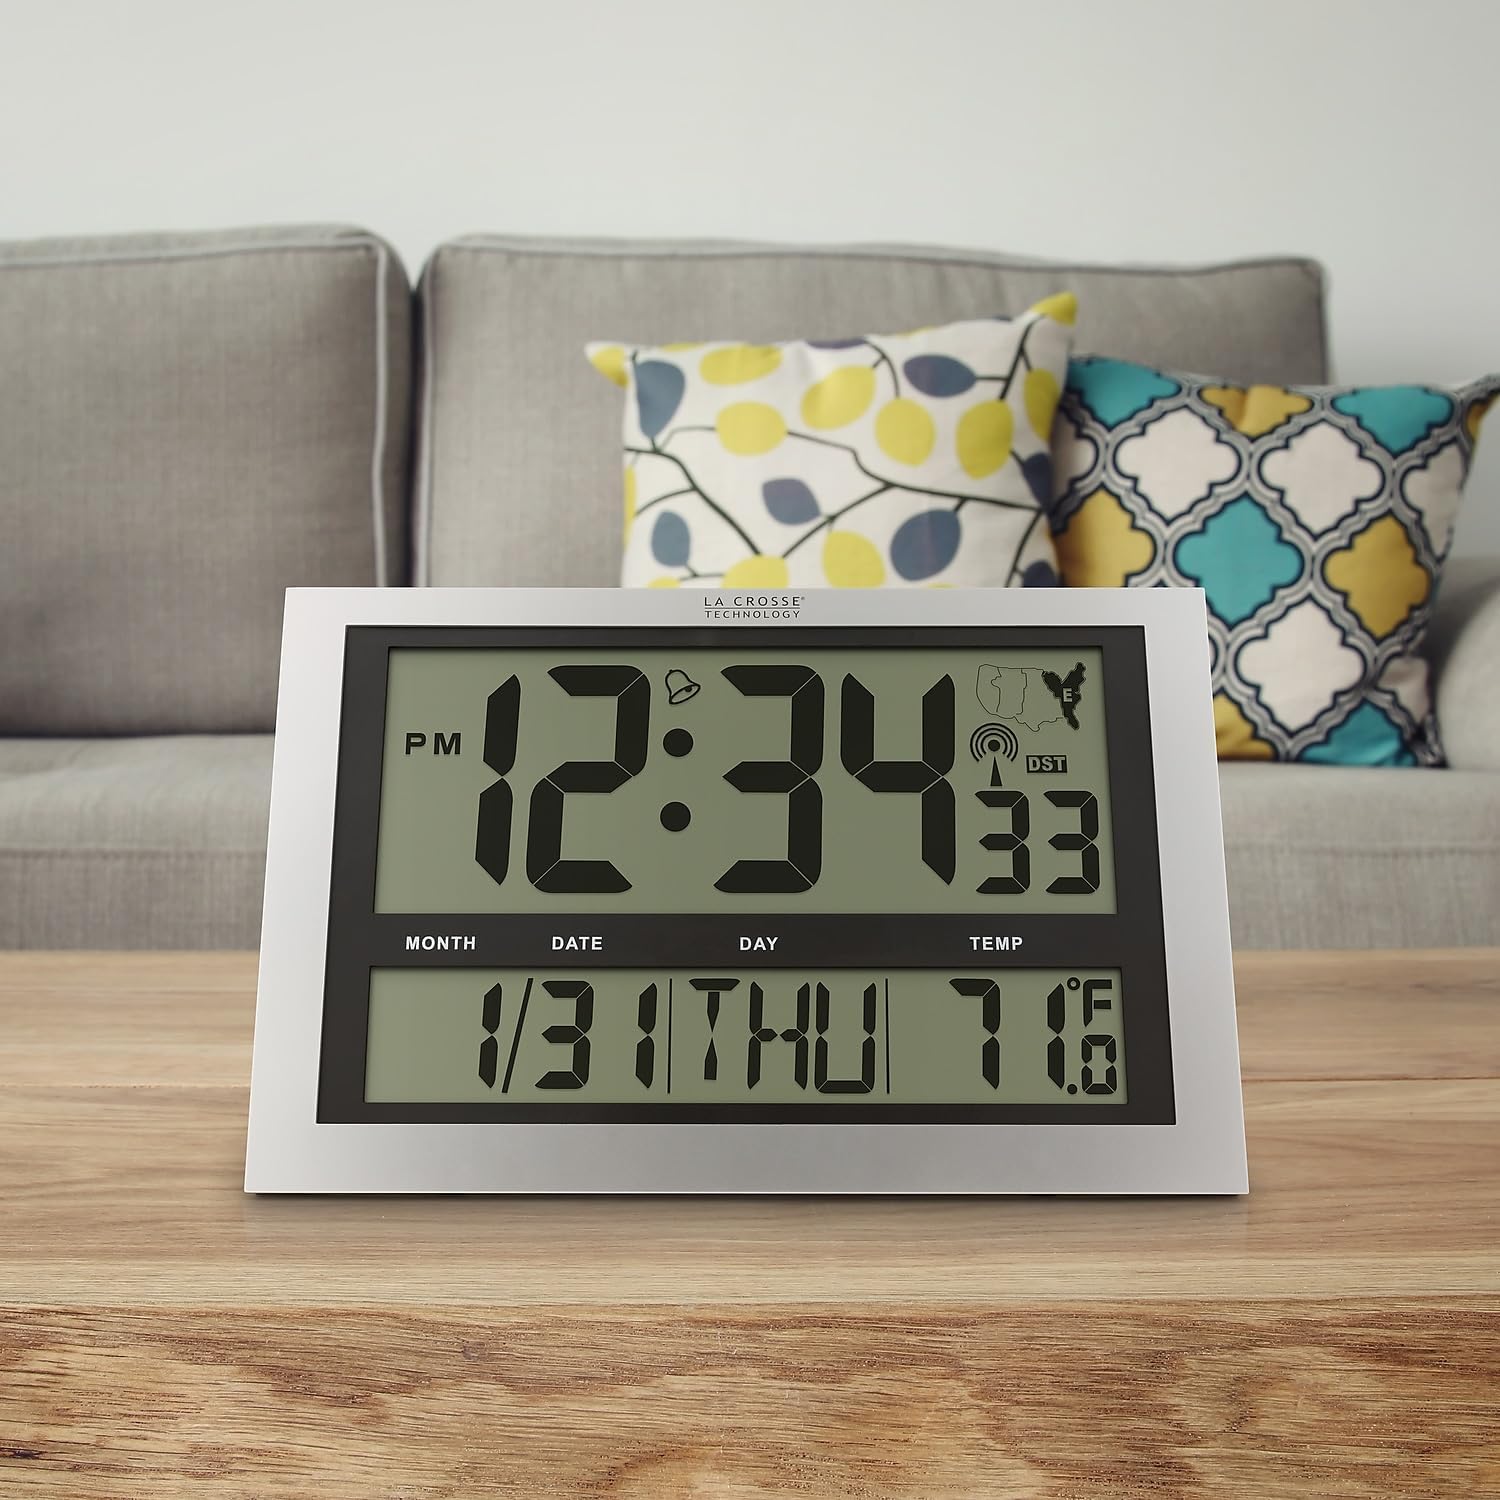
Image: La Crosse Technology Atomic Wall/Table Clock (Model 513-1211) standing on a wooden table, showcasing its use as a tabletop clock.
- Wandmontage: Collapse the foldout legs. Use the integrated hanging hole on the back of the clock to mount it securely on a wall using a screw (not included).
Bedienungsanleitung
1. Anzeige von Uhrzeit und Datum
The large LCD display shows the current time, date, and day of the week.
- Time Digits: The main time digits are approximately 4.25 inches tall for easy readability.
- 12/24-Stunden-Format: Drücken Sie die SATZ button briefly to toggle between 12-hour (AM/PM) and 24-hour (military) time formats.
- Ewiger Kalender: The clock automatically displays the month, date, and weekday (English only).
2. Temperaturanzeige
The clock monitors and displays the indoor temperature.
- Fahrenheit/Celsius: Halten Sie die ° C / ° F button for 3 seconds to switch between Fahrenheit (°F) and Celsius (°C) temperature units.
- Temperaturbereich: The indoor temperature range is 14°F to 122°F (-10°C to 50°C).
3. Alarmfunktion
The clock includes an alarm with a snooze feature.
- Wecker stellen: Drücken und loslassen der SATZ button to switch from TIME MODE to ALARM MODE. In ALARM MODE, press and hold SATZ to adjust the alarm time using the WAVE/+ Und DST/- Tasten. Drücken Sie SATZ zur Bestätigung.
- Alarm aktivieren/deaktivieren: In ALARM MODE, press the WAVE/+ button to turn the alarm ON or OFF. An alarm icon will appear on the display when activated.
- Schlummern: Wenn der Alarm ertönt, drücken Sie die SCHLAFEN Taste, um den Alarm für 5 Minuten stumm zu schalten.
4. Sommerzeit (DST)
Die Uhr kann sich automatisch an die Sommerzeit anpassen.
- DST On/Off: Drücken Sie die DST/- button to enable or disable the automatic DST adjustment. The DST indicator will show on the display when enabled.
5. Manual Signal Search
You can initiate a manual search for the atomic time signal.
- WAVE-Taste: Halten Sie die WAVE/+ button to start a manual signal search. The signal strength icon will flash during the search.
Wartung
1. Batteriewechsel
When the low battery indicator appears on the display, replace all 3 AA alkaline batteries promptly to ensure continuous operation and accurate timekeeping. Refer to the "Battery Installation" section for detailed steps.
2. Reinigung
To clean your clock, use a soft, damp cloth. Do not use abrasive cleaners or chemicals, as these may damage the display or casing.
Fehlerbehebung
| Problem | Lösung |
|---|---|
| Keine oder nur schwache Anzeige | Check battery polarity. Replace with fresh AA alkaline batteries. |
| Clock not receiving atomic signal | Ensure correct time zone is selected. Place the clock near a window, away from electronic interference. Initiate a manual signal search using the WAVE button. Allow up to 24 hours for signal acquisition. |
| Falsche Uhrzeit oder Datum | Verify time zone setting. Perform a manual signal search. If issues persist, manually set the time and date. |
| Die Temperaturanzeige scheint ungenau zu sein. | Ensure the clock is not exposed to direct sunlight or heat sources, which can affect temperature readings. |
Technische Daten
| Besonderheit | Detail |
|---|---|
| Modellnummer | 513-1211 |
| Abmessungen (B x H x T) | 16.75" B x 10.75" H x 1.38" T (ungefähr) |
| Zeitanzeige | Digital, 12/24 Hour selectable |
| Zeitzonen | PST, MST, CST, EST |
| Temperaturbereich | 14°F bis 122°F (-10°C bis 50°C) |
| Temperatureinheiten | Fahrenheit (°F) / Celsius (°C) selectable |
| Stromquelle | 3 AA-Alkalibatterien (nicht im Lieferumfang enthalten) |
| Material | Plastik |
| Montageoptionen | Wandmontage oder Tischplatte |

Image: Display dimensions of the clock, showing the 4.25-inch height of the main time digits and 1.88-inch height of other display segments.
Garantie
This La Crosse Technology product is backed by a 1 Jahre eingeschränkte Herstellergarantie from the date of purchase. This warranty covers manufacturing defects in materials and workmanship. It does not cover damage caused by misuse, accident, unauthorized modifications, or improper installation. For warranty claims, please retain your proof of purchase and contact La Crosse Technology customer support.
Unterstützung
For additional assistance, troubleshooting tips, or to contact customer support, please visit the official La Crosse Technology webBesuchen Sie die Website oder konsultieren Sie die Kontaktinformationen, die Ihrer Produktverpackung beiliegen.
You can also visit the La Crosse Technology store on Amazon for more products and information: Technologiegeschäft in La Crosse