1. Einleitung
This manual provides instructions for the proper setup, operation, and maintenance of your Nady MSC3 Microphone Stand Kit. Please read this manual thoroughly before using the product to ensure optimal performance and longevity.
2. Packungsinhalt
Bitte überprüfen Sie, ob alle unten aufgeführten Artikel in Ihrem Paket enthalten sind:
- Nady Dynamic Microphone
- Adjustable Tripod Microphone Stand
- Mikrofon-Clip
- 15 ft XLR to 1/4" (6.35mm) Audio Cable

Image: Complete Nady MSC3 Microphone Stand Kit components.
3. Einrichtungsanweisungen
Follow these steps to assemble and prepare your microphone stand kit for use:
- Zusammenbau des Stativs:
Unfold the tripod legs of the microphone stand until they are fully extended and stable. Adjust the height of the stand by loosening the height adjustment clutch, extending the upper shaft to the desired height, and then tightening the clutch securely.
- Bringen Sie die Mikrofonklemme an:
Screw the microphone clip onto the threaded top of the stand's upper shaft. Ensure it is tightened firmly to prevent the microphone from rotating or falling.
- Mikrofon einsetzen:
Gently insert the Nady dynamic microphone into the microphone clip. The clip is designed to hold the microphone securely.
- Schließen Sie das Audiokabel an:
Connect the XLR end of the provided 15 ft cable to the XLR input port at the bottom of the microphone. Connect the 1/4" (6.35mm) end of the cable to the microphone input of your audio interface, mixing console, digital recorder, or ampschwerer.
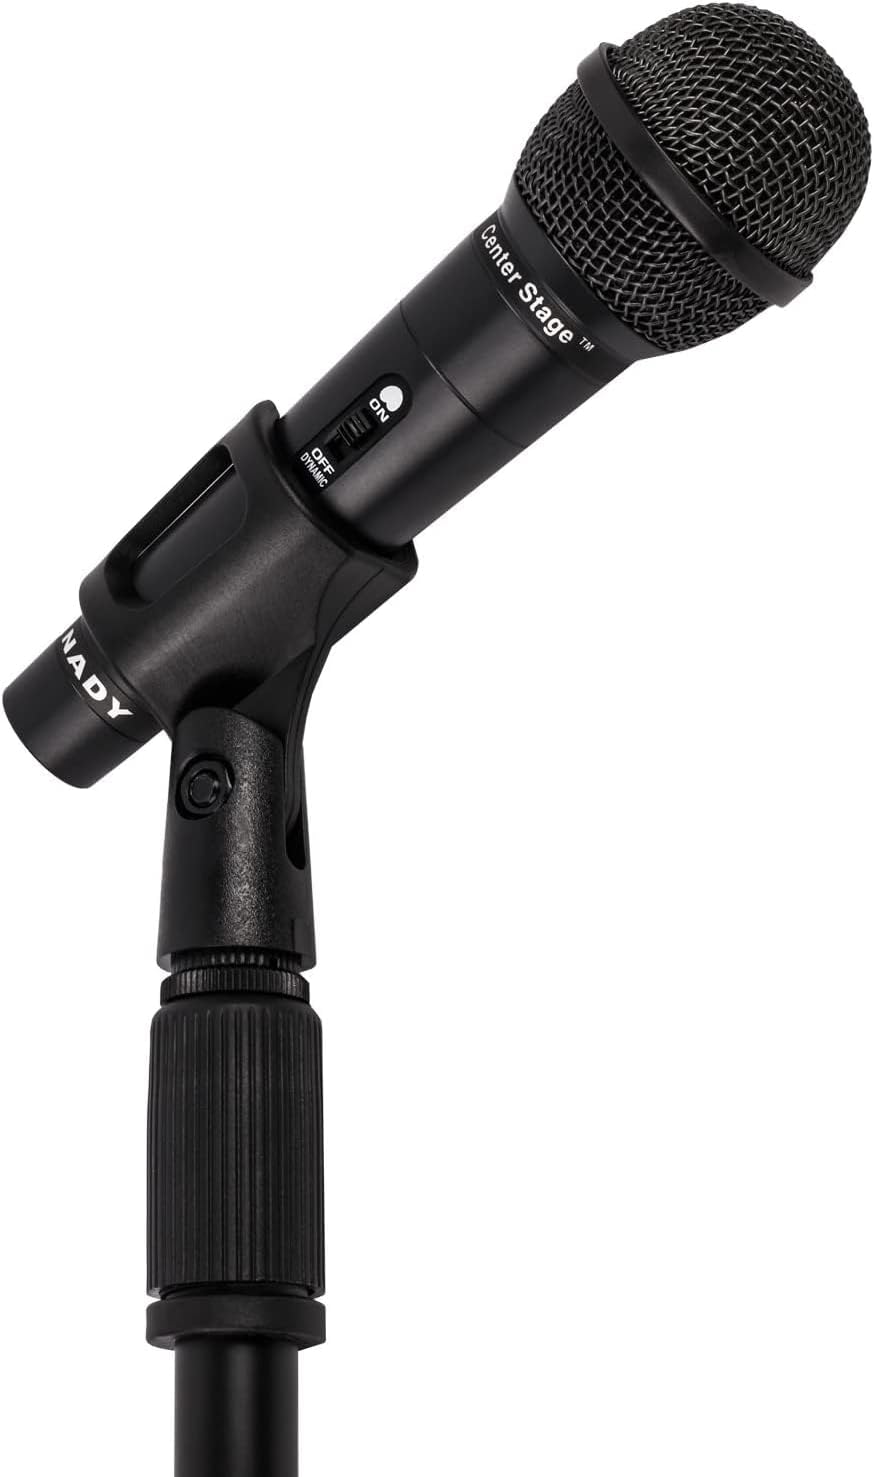
Image: Nady microphone mounted on the adjustable stand.
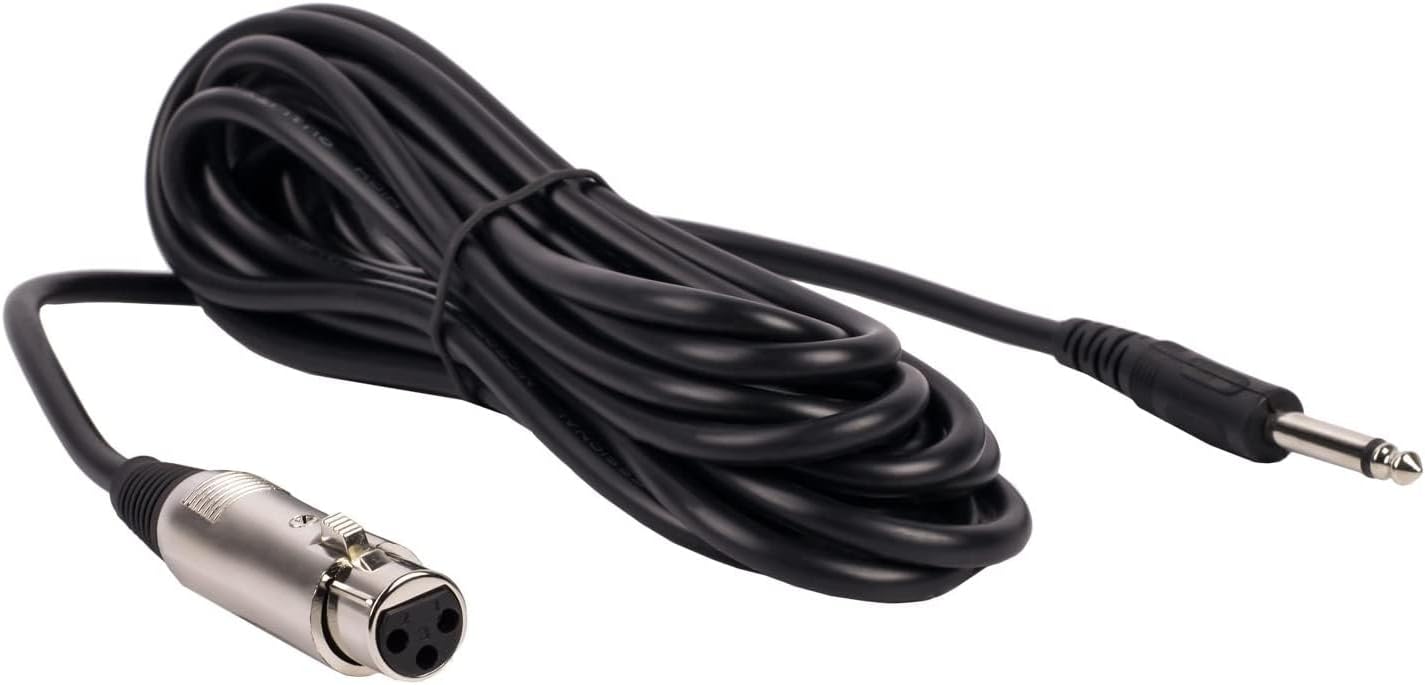
Image: The included 15 ft XLR to 1/4" audio cable.
4. Bedienungsanleitung
Once assembled, operate your Nady microphone kit as follows:
- Mikrofon-Ein-/Ausschalter:
Locate the ON/OFF switch on the microphone body. Slide the switch to the 'ON' position to activate the microphone. Slide it to 'OFF' when not in use to prevent unwanted noise or feedback.
- Audio Device Connection:
Ensure your audio device (mixer, amplifier, etc.) is powered on and its input volume for the microphone channel is set to a low level before increasing it gradually to avoid sudden loud sounds.
- Mikrofonpositionierung:
Position the microphone approximately 2-6 inches from the sound source for optimal vocal or instrument pickup. Experiment with distance and angle to achieve the desired sound quality.

Image: Nady microphone with visible ON/OFF switch.
5. Wartung
Proper maintenance ensures the longevity and performance of your microphone kit:
- Reinigung: Use a soft, dry cloth to wipe down the microphone and stand. Avoid using liquid cleaners or solvents, as they may damage the finish or internal components.
- Lagerung: When not in use, store the microphone and stand in a dry, cool place, away from direct sunlight and extreme temperatures. Disassemble the stand for compact storage if needed.
- Kabelpflege: Avoid kinking or sharply bending the audio cable. Coil it loosely when storing to prevent damage to the internal wiring.
6. Fehlerbehebung
Sollten Sie auf Probleme stoßen, konsultieren Sie bitte die folgenden häufigen Probleme und Lösungen:
| Problem | Mögliche Ursache/Lösung |
|---|---|
| Keine Tonausgabe |
|
| Schlechte Audioqualität / Rauschen |
|
| Standinstabilität |
|
7. Spezifikationen
Key technical specifications for the Nady MSC3 Microphone Kit (Model Nad-6572):
- Mikrofon-Formfaktor: Handgerät
- Richtcharakteristik: Unidirektional
- Konnektivitätstechnologie: XLR
- Steckertyp: XLR to 1/4" (6.35mm)
- Impedanz: 600 Ohm
- Audioempfindlichkeit: 55 Dezibel
- Signal-Rausch-Verhältnis: 60 dB
- Frequenzgang: Bis zu 20 KHz
- Energiequelle: Corded Electric (via audio device)
- Material: Metall
- Artikelgewicht (Kit): Ungefähr 3.7 Pfund
- Empfohlene Verwendung: Gesang, Karaoke
- Kompatible Geräte: Audio Interfaces, Mixing Consoles, Digital Recorders, Amplifizierer
8. Garantie und Support
For warranty information or technical support regarding your Nady MSC3 Microphone Stand Kit (Model Nad-6572), please refer to the documentation included with your purchase or visit the official Nady website. Contact their customer service for assistance with product issues or inquiries.