
1. Einleitung und Produktübersichtview
The DECA Class Booster 400E is a versatile battery charger and booster designed for charging 12V and 24V lead-acid batteries and providing assistance for engine starting. This unit incorporates essential safety features such as thermostatic protection, short-circuit protection, and protection against polarity inversion to ensure safe and reliable operation.
This manual provides detailed instructions for the safe and effective use, maintenance, and troubleshooting of your DECA Class Booster 400E.
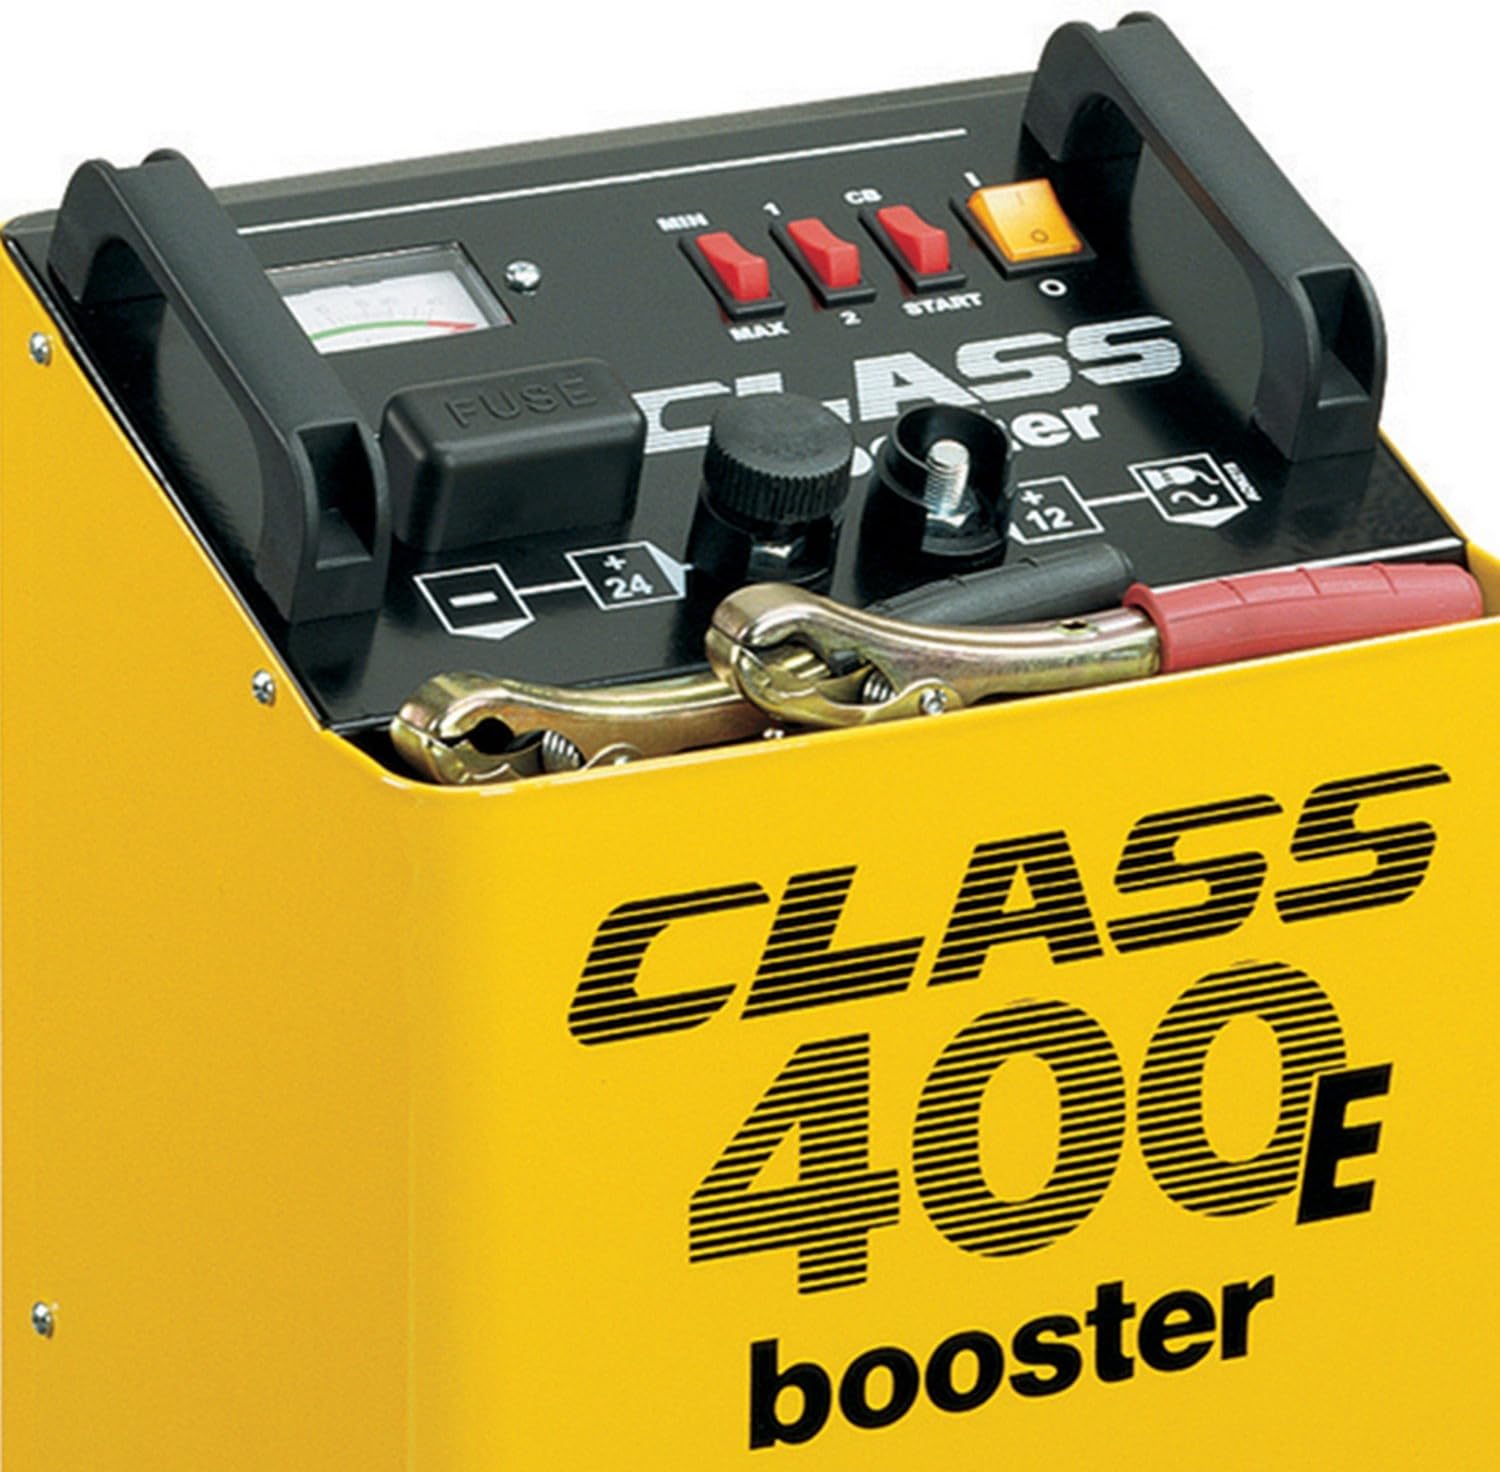
Abbildung 1: Front view of the DECA Class Booster 400E, showing the control panel, fuse, and battery clamps.
2. Sicherheitshinweise
Lesen Sie vor der Verwendung dieses Produkts alle Sicherheitshinweise und Anweisungen sorgfältig durch. Die Nichtbeachtung der Warnhinweise und Anweisungen kann zu Stromschlag, Brand und/oder schweren Verletzungen führen.
- Belüftung: Batteries generate explosive gases during charging. Ensure the work area is well-ventilated. Do not charge in a confined space.
- Augen- und Gesichtsschutz: Always wear appropriate eye and face protection (safety glasses, face shield) when working near batteries. Battery acid is corrosive.
- Elektrische Sicherheit: Do not expose the charger to rain or wet conditions. Never operate the charger with damaged cables or clamps. Ensure the power cord is properly grounded.
- Brennbare Materialien: Funken, Flammen und Rauchmaterialien von Batterie und Ladegerät fernhalten.
- Stromversorgung trennen: Vor dem Herstellen oder Trennen von Verbindungen zur Batterie muss das Ladegerät immer vom Stromnetz getrennt werden.
- Children and Unauthorized Persons: Dieses Gerät ist nicht für den Gebrauch durch Personen (einschließlich Kinder) mit eingeschränkten physischen, sensorischen oder geistigen Fähigkeiten oder Mangel an Erfahrung und Wissen bestimmt, es sei denn, sie werden von einer für ihre Sicherheit verantwortlichen Person beaufsichtigt oder erhalten Anweisungen zur Verwendung des Geräts.
- Wärmeschutz: The unit is equipped with thermostatic protection. If the unit overheats, it will automatically shut down. Allow it to cool before resuming operation.
3. Einrichtung
- Auspacken: Carefully remove the DECA Class Booster 400E from its packaging. Inspect the unit for any signs of damage.
- Platzierung: Place the charger on a stable, level surface in a well-ventilated area. Ensure there is sufficient space around the unit for air circulation.
- Batterievorbereitung: Ensure the battery terminals are clean and free of corrosion. If the battery has removable caps, check the electrolyte level and top up with distilled water if necessary, ensuring caps are securely replaced before charging.
- Anschluss an die Batterie:
- Verbinden Sie ROT (+) clamp zur positiv (+) Pol der Batterie.
- Verbinden Sie SCHWARZ (-) clamp zur negativ (-) terminal of the battery. If the battery is in a vehicle, connect the black clamp zum Fahrzeugchassis, entfernt von Batterie und Kraftstoffleitung.
- Stellen Sie sicher, dass die Verbindungen fest und sicher sind.
- Connecting to Mains Power: Plug the charger's power cord into a suitable grounded electrical outlet.

Abbildung 2: DECA Class Booster 400E showing approximate dimensions for placement.
4. Bedienungsanleitung
4.1. Laden des Akkus
- Wählen Sie Batterievoltage: Verwenden Sie die Lautstärketage selector switch (typically labeled 12V/24V) to match the voltage des geladenen Akkus.
- Lademodus auswählen: The unit may have MIN/MAX or 1/2 settings for charging current. Select MIN for slower, gentler charging or MAX for faster charging. Refer to the battery manufacturer's recommendations for optimal charging rates.
- Ladevorgang starten: Turn on the power switch (often labeled 'ON/OFF' or 'START'). The ammeter on the front panel will indicate the charging current. The current will gradually decrease as the battery charges.
- Aufladen des Monitors: Periodically check the ammeter. When the current drops to a very low level (near zero), the battery is fully charged.
- Ladevorgang beenden: Turn off the power switch. Disconnect the charger from the mains power supply. Then, disconnect the BLACK (-) clamp, gefolgt von der ROTEN (+)-Klammeramp von der Batterie.
4.2. Engine Boosting (Starting Assistance)
The boosting function provides a high current for a short period to assist in starting an engine with a discharged battery. Do not use the booster function for prolonged periods.
- An die Batterie anschließen: Follow the connection steps as described in Section 3.4.
- Wählen Sie Batterievoltage: Stellen Sie sicher, dass die Lautstärketage selector switch matches the vehicle's battery voltage (12 V oder 24 V).
- Select Booster Mode: Set the switch to the 'START' or 'BOOST' position.
- Versuchsstart: Turn the ignition key to start the engine. Do not crank the engine for more than 5-10 seconds. If the engine does not start, wait for at least 60 seconds before attempting again to allow the charger to cool.
- Trennen: Once the engine starts, immediately turn off the charger's power switch. Disconnect the BLACK (-) clamp, then the RED (+) clamp.
5. Wartung
- Reinigung: Halten Sie das Ladegerät sauber und trocken. Wischen Sie die Außenseite mit einem weichen, trockenen Tuch ab.amp Tuch. Verwenden Sie keine Lösungsmittel oder Scheuermittel.
- Kabel und Clamp Inspektion: Überprüfen Sie regelmäßig die Ladekabel und den Stecker.ampPrüfen Sie auf Anzeichen von Beschädigungen, Ausfransungen oder Korrosion. Beschädigte Bauteile müssen umgehend ausgetauscht werden.
- Sicherungswechsel: The unit is equipped with a fuse for protection. If the charger stops working, check the fuse (visible on the front panel, labeled 'FUSE'). Replace it only with a fuse of the same type and rating as specified by the manufacturer. Always disconnect from mains power before replacing the fuse.
- Lagerung: Store the charger in a cool, dry place, away from direct sunlight and moisture, when not in use. Ensure cables are neatly coiled.
6. Fehlerbehebung
- Ladegerät schaltet sich nicht ein:
- Prüfen Sie, ob das Netzkabel fest in einer funktionierenden Steckdose eingesteckt ist.
- Verify the mains power supply is active.
- Inspect the fuse. Replace if blown (refer to Section 5).
- Battery Not Charging / Low Ammeter Reading:
- Stellen Sie sicher, dass die Batterie leer istamps sind sicher mit den Batterieklemmen verbunden.
- Confirm the correct battery voltage (12V or 24V) is selected on the charger.
- Check if the battery is severely discharged or faulty. Some deeply discharged batteries may not accept a charge immediately.
- The battery may be fully charged if the current is very low.
- Booster Function Not Working:
- Ensure all connections are secure and the correct voltage ist ausgewählt.
- The vehicle's battery might be completely dead, or there might be a larger issue with the vehicle's starting system.
- Allow the unit to cool if it has recently activated thermal protection.
- Charger Shuts Down During Operation:
- This indicates the thermal protection has activated due to overheating. Allow the unit to cool down in a well-ventilated area before resuming use. Reduce the load or charging rate if possible.
- Check for proper ventilation around the unit.
7. Spezifikationen
- Modell: CB400E
- Teilenummer: 0400207
- Eingangslautstärketage: Standard AC Mains (e.g., 230V AC)
- Ausgangsvolumentage: 12V / 24V DC
- Average Charging Current: 26 A
- Nennladestrom: 30 A
- Booster Power: Up to 7.5 kW (for starting assistance)
- Schutz: Thermostatic, Short Circuit, Polarity Inversion
- Gewicht: 19.6 Kilogramm
- Abmessungen (H x B x T): Ungefähr 64.01 cm x 30 cm x 40.01 cm
- Zertifizierungen: CE
- Ursprungsland: San Marino
8. Garantie und Support
For warranty information, technical support, or service inquiries, please refer to the documentation provided with your purchase or contact your retailer or the DECA customer service directly. Please have your model number (CB400E) and part number (0400207) available when contacting support.