1. Einleitung
Vielen Dank für Ihren Einkauf.asing the Lexon LR98R1 Onoff LCD Alarm Clock. This manual provides detailed instructions for the proper setup, operation, and maintenance of your device. Please read this manual thoroughly before use and retain it for future reference.
The Lexon Onoff alarm clock features a unique design where flipping the clock activates or deactivates the alarm. It includes an LCD display with a blue electroluminescent backlight for clear visibility.
2. Sicherheitshinweise
- Setzen Sie das Gerät keinen extremen Temperaturen, direkter Sonneneinstrahlung oder hoher Luftfeuchtigkeit aus.
- Vermeiden Sie es, das Gerät fallen zu lassen oder starken Stößen auszusetzen.
- Do not attempt to disassemble or modify the alarm clock. This will void the warranty.
- Halten Sie das Gerät von Wasser und anderen Flüssigkeiten fern.
- Entsorgen Sie gebrauchte Batterien verantwortungsvoll gemäß den örtlichen Vorschriften.
- Verwenden Sie ausschließlich den angegebenen Batterietyp (2 x AAA).
3. Packungsinhalt
Stellen Sie sicher, dass alle Artikel im Paket vorhanden sind:
- Lexon LR98R1 Onoff LCD Alarm Clock
- Benutzerhandbuch (dieses Dokument)
Hinweis: AAA-Batterien sind nicht im Lieferumfang enthalten und müssen separat erworben werden.
4. Produktüberschreitungview
Familiarize yourself with the components of your Lexon Onoff alarm clock.
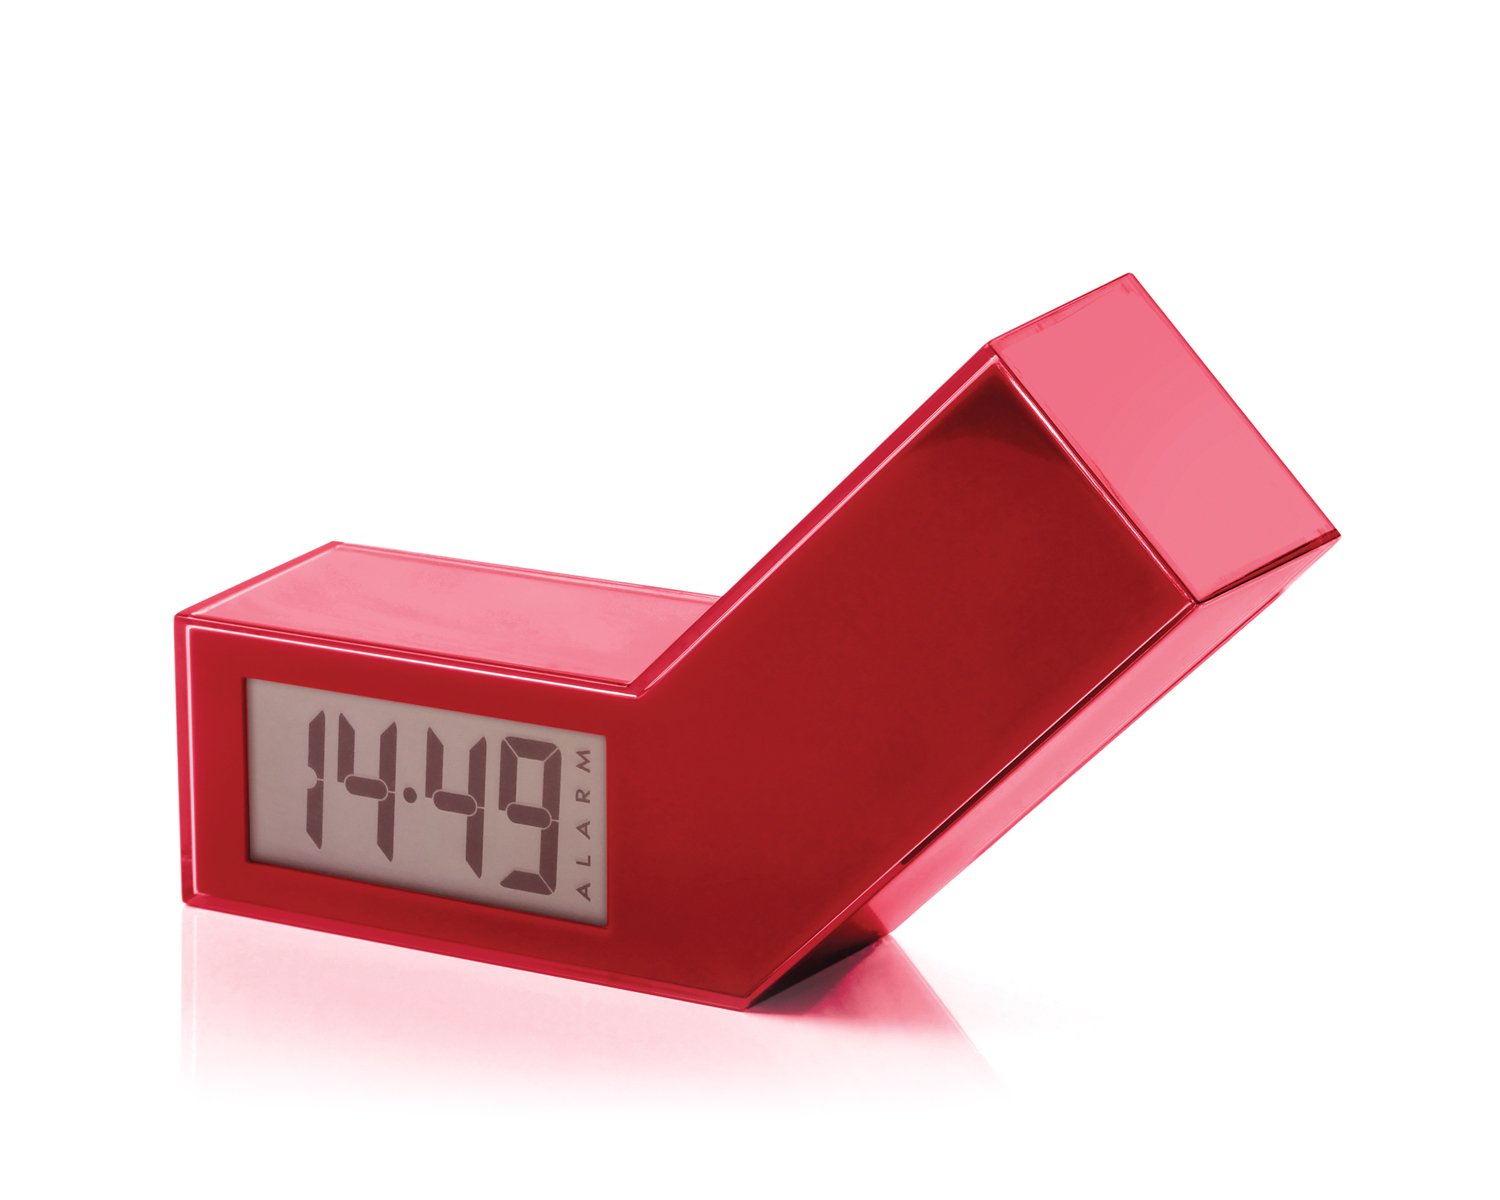
Abbildung 1: Vorderseite view of the Lexon LR98R1 Onoff LCD Alarm Clock. The image displays the alarm clock in its red casing, with the LCD screen visible. The side labeled 'ON' is facing upwards, indicating the alarm is active. The clock has a minimalist rectangular design.
While specific button labels are not visible in the provided image, typical alarm clock controls are usually located on the back or sides. These generally include:
- Zeiteinstellungstaste: To adjust the current time.
- Alarm-Einstelltaste: To adjust the alarm time.
- Hour/Minute Adjustment Buttons: To change hour and minute values.
- Schlummer-/Lichttaste: To temporarily silence the alarm or activate the backlight.
- Batteriefach: Located on the back or bottom.
5. Einrichtung
5.1 Einlegen der Batterie
- Locate the battery compartment cover on the back or bottom of the alarm clock.
- Schieben oder heben Sie den Deckel an, um das Fach zu öffnen.
- Legen Sie zwei (2) AAA-Batterien ein und achten Sie dabei auf die richtige Polarität (+ und -), wie im Batteriefach angegeben.
- Bringen Sie den Batteriefachdeckel wieder fest an.
Note: Batteries are not included. Please use new AAA alkaline batteries for optimal performance.
5.2 Erstes Einschalten
Once batteries are installed, the LCD display should illuminate, and the clock will typically start at a default time (e.g., 12:00 AM). You will then need to set the current time and alarm.
6. Bedienungsanleitung
6.1 Einstellen der aktuellen Uhrzeit
- Halten Sie die ZEITEINSTELLUNG button (or similar, refer to device markings) until the hour digits begin to flash.
- Verwenden Sie die STUNDE Und MINUTE adjustment buttons to set the correct hour and minute.
- Drücken ZEITEINSTELLUNG Zur Bestätigung und zum Verlassen des Zeiteinstellungsmodus erneut den Zeiteinstellungsmodus aufrufen.
6.2 Einstellen der Weckzeit
- Halten Sie die WECKER GESTELLT button (or similar) until the alarm hour digits begin to flash.
- Verwenden Sie die STUNDE Und MINUTE Einstellknöpfe zum Einstellen der gewünschten Weckzeit.
- Drücken WECKER GESTELLT Zur Bestätigung und zum Verlassen des Alarmeinstellungsmodus erneut verwenden.
6.3 Activating/Deactivating the Alarm (Onoff Feature)
The Lexon Onoff alarm clock features a unique flip mechanism:
- Zu AKTIVIEREN the alarm, place the clock with the side labeled "ON" facing upwards. An alarm icon should appear on the LCD display.
- Zu DEAKTIVIEREN the alarm, flip the clock so the side labeled "AUS" is facing upwards. The alarm icon should disappear from the display.
6.4 Silencing the Alarm / Snooze Function
- Wenn der Alarm ertönt, drücken Sie die SNOOZE / LICHT button (usually a large button on top) to temporarily silence the alarm. The alarm will sound again after a few minutes (typically 5-10 minutes).
- To completely turn off the alarm for the day, flip the clock to the "AUS" Position.
6.5 Display-Hintergrundbeleuchtung
Drücken Sie die SNOOZE / LICHT button to activate the blue electroluminescent backlight for a few seconds, allowing you to view die Zeit bei schlechten Lichtverhältnissen.
7. Wartung
7.1 Reinigung
Wipe the surface of the alarm clock with a soft, dry cloth. Do not use abrasive cleaners, solvents, or chemical sprays, as these may damage the finish or electronic components.
7.2 Batteriewechsel
When the display dims or the alarm function becomes unreliable, it is time to replace the batteries. Follow the battery installation steps in Section 5.1. Always replace both AAA batteries at the same time.
8. Fehlerbehebung
| Problem | Mögliche Ursache | Lösung |
|---|---|---|
| Das Display ist leer oder dunkel. | Die Batterien sind leer oder falsch eingelegt. | Ersetzen Sie die Batterien durch neue AAA-Batterien und achten Sie dabei auf die richtige Polarität. |
| Der Alarm ertönt nicht. | Alarm is not activated (clock is in "OFF" position) or alarm time is not set. | Flip the clock to the "ON" position. Verify the alarm time is set correctly (Section 6.2). Ensure batteries are not low. |
| Die Uhrzeit ist falsch. | Time was not set correctly or batteries were removed/replaced. | Reset the current time (Section 6.1). |
| Die Hintergrundbeleuchtung funktioniert nicht. | Schwache Batterien. | Batterien ersetzen. |
9. Spezifikationen
| Modellnummer | LR98R1 |
| Marke | Lexon |
| Anzeigetyp | LCD with Blue Electroluminescent Backlight |
| Stromquelle | 2 x AAA-Batterien (nicht enthalten) |
| Material | ABS / Injected Polycarbonate |
| Abmessungen (L x B x H) | 13.5 x 3.5 x 8 cm (ungefähr 5.3 x 1.4 x 3.1 Zoll) |
| Bewegungstyp | Quarz |
| Besondere Merkmale | Onoff flip alarm activation/deactivation, Snooze function |
10. Garantie und Support
The Lexon LR98R1 Onoff LCD Alarm Clock comes with a 2 Jahr Herstellergarantie ab Kaufdatum. Diese Garantie deckt Material- und Verarbeitungsfehler bei normalem Gebrauch ab.
Von der Garantie ausgeschlossen sind:
- Schäden, die durch Unfall, Missbrauch, Missbrauch, Überschwemmung, Feuer, Erdbeben oder andere äußere Ursachen verursacht wurden.
- Schäden, die durch den Betrieb des Produkts außerhalb der in diesem Handbuch beschriebenen zulässigen oder vorgesehenen Verwendungszwecke verursacht werden.
- Damage caused by service performed by anyone who is not an authorized representative of Lexon.
- Products or parts that have been modified to alter functionality or capability without the written permission of Lexon.
For warranty claims or technical support, please contact Lexon customer service through their official website or your retailer. Please have your proof of purchase and model number (LR98R1) ready.