1. Einleitung
This manual provides detailed instructions for the safe and proper installation and operation of your Techly Tilting Wall Mount, Model B00DEBVVHS. This wall mount is designed to securely hold LED/LCD TVs ranging from 13 to 30 inches, with a maximum weight capacity of 23 kg (51 lbs). It features adjustable mounting holes compatible with VESA standards 75x75 mm and 100x100 mm, and offers a tilt range of +/- 15 degrees for optimal viewing angles. The mount maintains a distance of 98 mm from the wall.
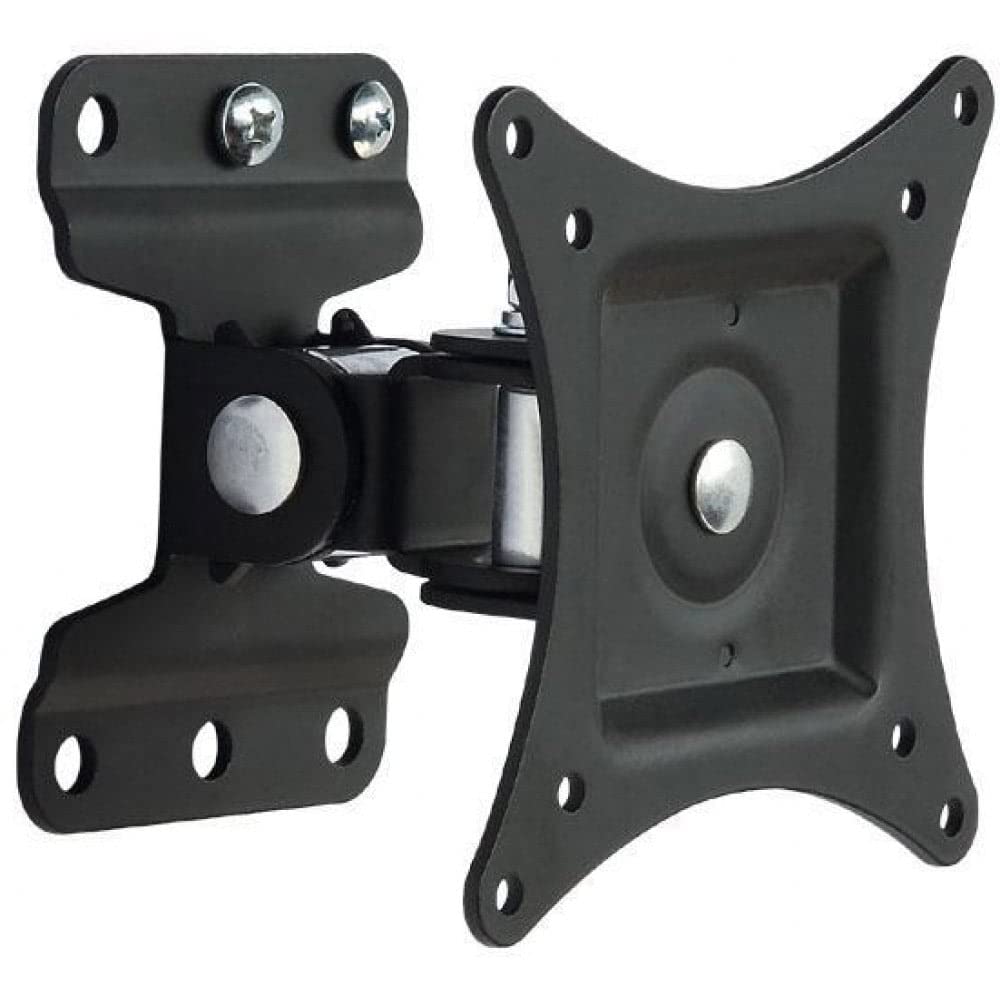
Bild 1.1: Vorderseite view of the Techly Tilting Wall Mount.
2. Sicherheitshinweise
- Lesen Sie alle Anweisungen sorgfältig durch: Before installation, ensure you understand all instructions. If you have any doubts, consult a qualified professional.
- Gewichtskapazität: Die maximale Tragfähigkeit von 23 kg (51 lbs) darf nicht überschritten werden. Überladung kann zu schweren Verletzungen oder Sachschäden führen.
- Bildschirmgröße: This mount is designed for TVs between 13 and 30 inches. Using it with TVs outside this range may compromise stability.
- Wandtyp: Ensure the mounting surface can safely support the combined weight of the mount and your TV. This mount is intended for installation on solid concrete walls, brick walls, or wood stud walls. Do not install on drywall alone.
- Werkzeuge: Verwenden Sie für die Installation geeignetes Werkzeug. Tragen Sie gegebenenfalls eine Schutzbrille und weitere Schutzausrüstung.
- Kinder: Halten Sie Kinder vom Installationsbereich fern.
- Wartung: Überprüfen Sie regelmäßig, ob die Halterung sicher befestigt ist und alle Befestigungselemente fest angezogen sind.
3. Packungsinhalt
Prüfen Sie vor Beginn der Installation, ob alle Komponenten vorhanden sind. Sollten Teile fehlen oder beschädigt sein, fahren Sie nicht mit der Installation fort und kontaktieren Sie den Kundendienst.
- Wall Mount Assembly (1 unit)
- Mounting Hardware (screws, anchors, washers, spacers)
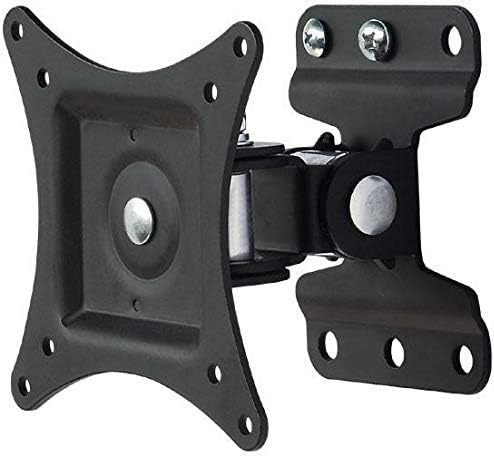
Bild 3.1: View of the wall mount components, including the main bracket and articulating arm.
4. Spezifikationen
| Modell | B00DEBVVHS |
| Marke | Technisch |
| Montagetyp | Wandhalterung |
| Bewegungstyp | Gelenkig, neigbar |
| Kompatible Bildschirmgrößen | 13 - 30 Zoll |
| Maximales TV-Gewicht | 23 kg |
| VESA-Kompatibilität | 75x75 mm, 100x100 mm |
| Neigungswinkel | +/- 15 Grad |
| Abstand von der Wand | 98 mm (3.9 Zoll) |
| Material | Aluminium |
| Farbe | Schwarz |

Image 4.1: Technical drawing showing key dimensions and VESA mounting points.
5. Einrichtung und Installation
Erforderliche Werkzeuge (nicht im Lieferumfang enthalten): Pencil, Stud Finder (for wood studs), Drill, Drill Bits (appropriate for wall type), Level, Phillips Head Screwdriver, Socket Wrench.
Schritt 1: Befestigen Sie die TV-Halterungen an Ihrem Fernseher
- Legen Sie Ihren Fernseher vorsichtig mit dem Bildschirm nach unten auf eine weiche, saubere Oberfläche, um Beschädigungen am Bildschirm zu vermeiden.
- Identifizieren Sie die VESA-Montagelöcher auf der Rückseite Ihres Fernsehers.
- Select the appropriate screws, washers, and spacers from the provided hardware kit that fit your TV's mounting holes. Ensure the screws are not too long, which could damage internal components, or too short, which would not provide a secure fit.
- Attach the VESA plate of the wall mount to the back of your TV using the selected hardware. Tighten securely, but do not overtighten.

Image 5.1: The VESA plate of the mount, which attaches to the TV.
Step 2: Mark Drilling Holes on the Wall
- Determine the desired height for your TV. Consider viewing angles and furniture placement.
- Hold the wall plate portion of the mount against the wall at the desired height. Use a level to ensure it is perfectly horizontal.
- Mark the drilling locations through the holes on the wall plate using a pencil.
- For wood stud installation, use a stud finder to locate the center of a wood stud and ensure at least two mounting holes align with the stud.
Step 3: Drill Holes and Install Wall Plate
- Drill pilot holes at the marked locations. The drill bit size will depend on your wall type and the anchors/screws provided.
- For concrete/brick walls, insert the plastic wall anchors into the drilled holes. Tap gently with a hammer until flush with the wall surface.
- Position the wall plate over the drilled holes and secure it to the wall using the provided screws and washers. Tighten all screws firmly to ensure the wall plate is securely fastened.
Schritt 4: Fernseher an der Wandplatte befestigen
- With assistance, carefully lift the TV (with the VESA plate attached) and align the VESA plate with the arm extending from the wall plate.
- Slide the VESA plate onto the arm until it clicks into place or can be secured with the provided locking mechanism (if applicable).
- Double-check that the TV is securely attached to the wall mount before releasing es.
6. Bedienung der Montierung
This wall mount allows for tilting adjustments to achieve your preferred viewing-Winkel.
- Kippen: The mount allows for a tilt range of +/- 15 degrees. To adjust the tilt, gently push or pull the top or bottom of your TV to the desired angle. The friction mechanism will hold the TV in place.
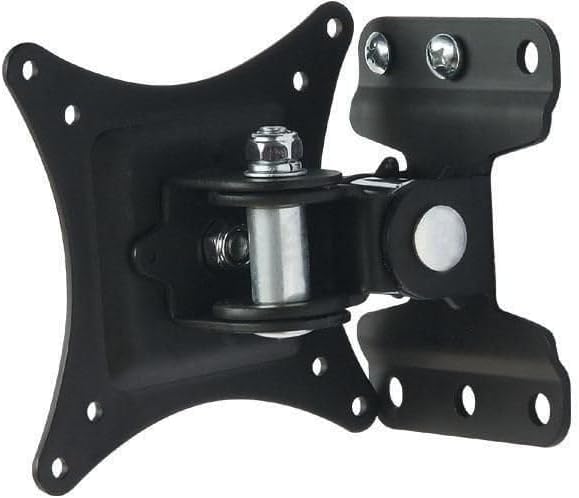
Image 6.1: Diagram illustrating the +/- 15 degree tilt capability of the mount.
7. Wartung
- Reinigung: Reinigen Sie die Halterung mit einem weichen, trockenen Tuch. Verwenden Sie keine Scheuermittel oder Lösungsmittel.
- Regelmäßige Kontrollen: Regularly inspect the mount and all fasteners to ensure they remain tight and secure. If any components appear loose or damaged, tighten them or replace them immediately.
- Schmierung: The articulating joints are designed for smooth movement. No lubrication is typically required.
8. Fehlerbehebung
- Der Fernseher ist nicht waagerecht: Ensure the wall plate was installed level. If not, remove the TV, loosen the wall plate screws, adjust with a level, and re-tighten.
- Die Halterung fühlt sich locker an: Check all screws securing the mount to the wall and the TV to the mount. Tighten any loose fasteners. Do not overtighten.
- Schwierigkeiten beim Neigen des Fernsehers: Ensure no cables are obstructing the movement. The tilt mechanism is designed to hold position, so some resistance is normal. If it's excessively stiff, check for any debris in the joint.
- Die Befestigungsschrauben passen nicht zum Fernseher: Refer to your TV's manual for correct VESA screw sizes. The provided hardware kit includes common sizes, but some TVs may require specific screws.
9. Garantieinformationen
This Techly Tilting Wall Mount comes with a 2 Jahr Garantie Diese Garantie gilt ab Kaufdatum und deckt Herstellungsfehler und Materialmängel bei normalem Gebrauch ab. Sie deckt keine Schäden ab, die durch unsachgemäße Installation, Missbrauch, Unfälle oder nicht autorisierte Änderungen verursacht wurden. Bitte bewahren Sie Ihren Kaufbeleg für Garantieansprüche auf.
10. Kundendienst
For technical assistance, missing parts, or warranty inquiries, please contact Techly customer support. Refer to the product packaging or the official Techly webDie aktuellsten Kontaktinformationen finden Sie auf dieser Webseite.