
1. Einleitung
Welcome to the Artec Artech Bloc Robo Link Robo 2 (2 Motors) building kit. This kit allows you to construct various robotic models using innovative interlocking blocks. Designed for creativity and learning, it features a unique block system that connects freely in length, width, and diagonally, enabling diverse designs without the need for screws. The dual motor system provides enhanced power and control for your creations.
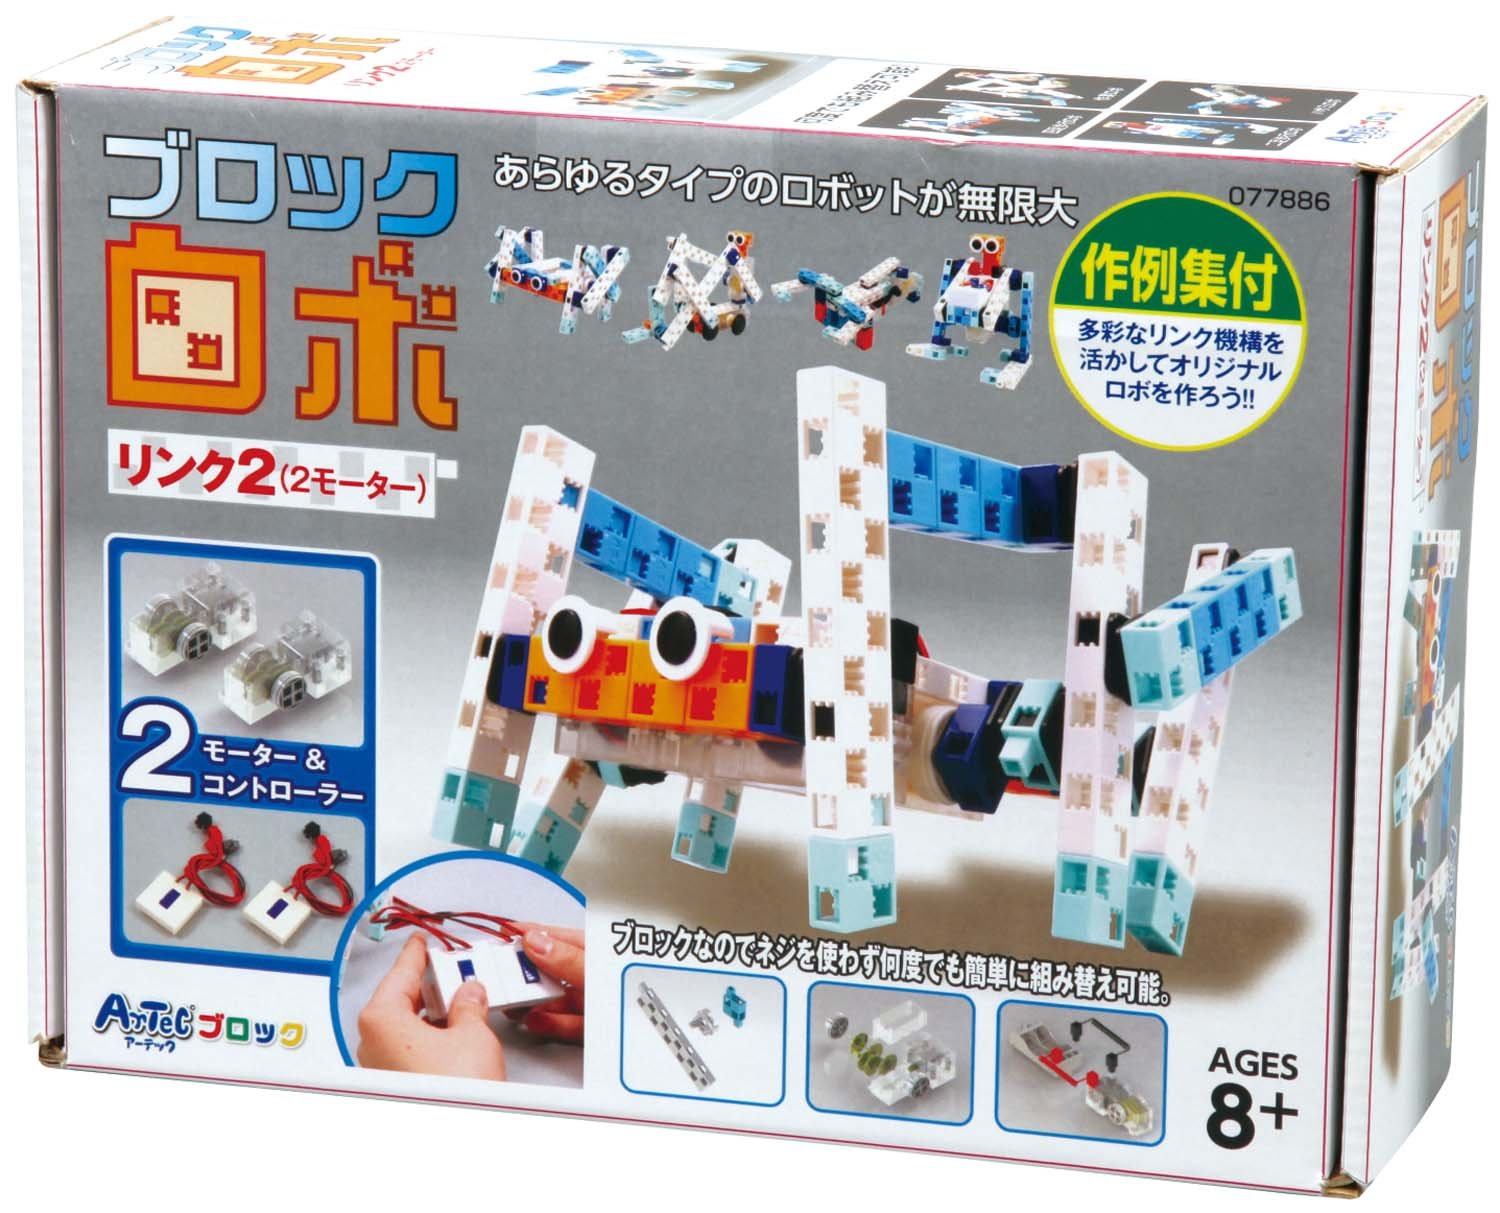
Abbildung 1: Überview of the Artec Artech Bloc Robo Link Robo 2 kit, showing example robot constructions and the product packaging.
2. Packungsinhalt
Before beginning assembly, please verify that all components listed below are present in your kit.
- Gear box x 2
- Half A block x 2
- Battery box x 1
- Half B block x 10
- Stay x 8
- Half-C block x 16
- Schalter x 2
- Half D block x 16
- Rotation axis C x 20
- Tire (round) x 4
- Tire rubber x 4
- Basic square block (2 pcs set, 50cm red/black) x 10
- Konnektor
3. Aufbau und Montage
The Artec Artech Bloc system is designed for easy assembly without screws. Follow the included manual for 7 different pattern designs to get started.
3.1. Einlegen der Batterie
- Locate the battery box (40 x 80 x 20mm).
- Öffnen Sie die Abdeckung des Batteriefachs.
- Insert two (2) AA batteries (not included) into the battery box, ensuring correct polarity (+/-).
- Schließen Sie den Batteriefachdeckel fest.

Abbildung 2: Bspample of a robot model with the battery box integrated into its structure.
3.2. Block Assembly
- Connect blocks by aligning their interlocking features and pressing them together.
- Experiment with different block orientations to achieve desired shapes and structures.
- Utilize the gear boxes, switches, and rotation axes to integrate mechanical functions into your robot.
- Attach tires to create mobile robots.

Figure 3: An assembled robot model showcasing the versatile block connection system.
4. Bedienungsanleitung
Once your robot is assembled and batteries are installed, you can begin operation.
4.1. Einschalten
Locate the switch(es) integrated into your robot's design. Flip the switch to the "ON" position to activate the motors.
4.2. Controlling Movement
The Robo Link Robo 2 kit features two motors, allowing for independent control of movement. Depending on your robot's design and wiring, you can control forward/backward motion, turning, or the operation of separate arms/components.
- Vorwärts rückwärts: Connect motors to drive wheels for linear movement.
- Drehen: Utilize independent motor control for left and right wheels to enable turning.
- Aktuatoren: Design robots with moving parts like arms or grippers, powered by the motors.
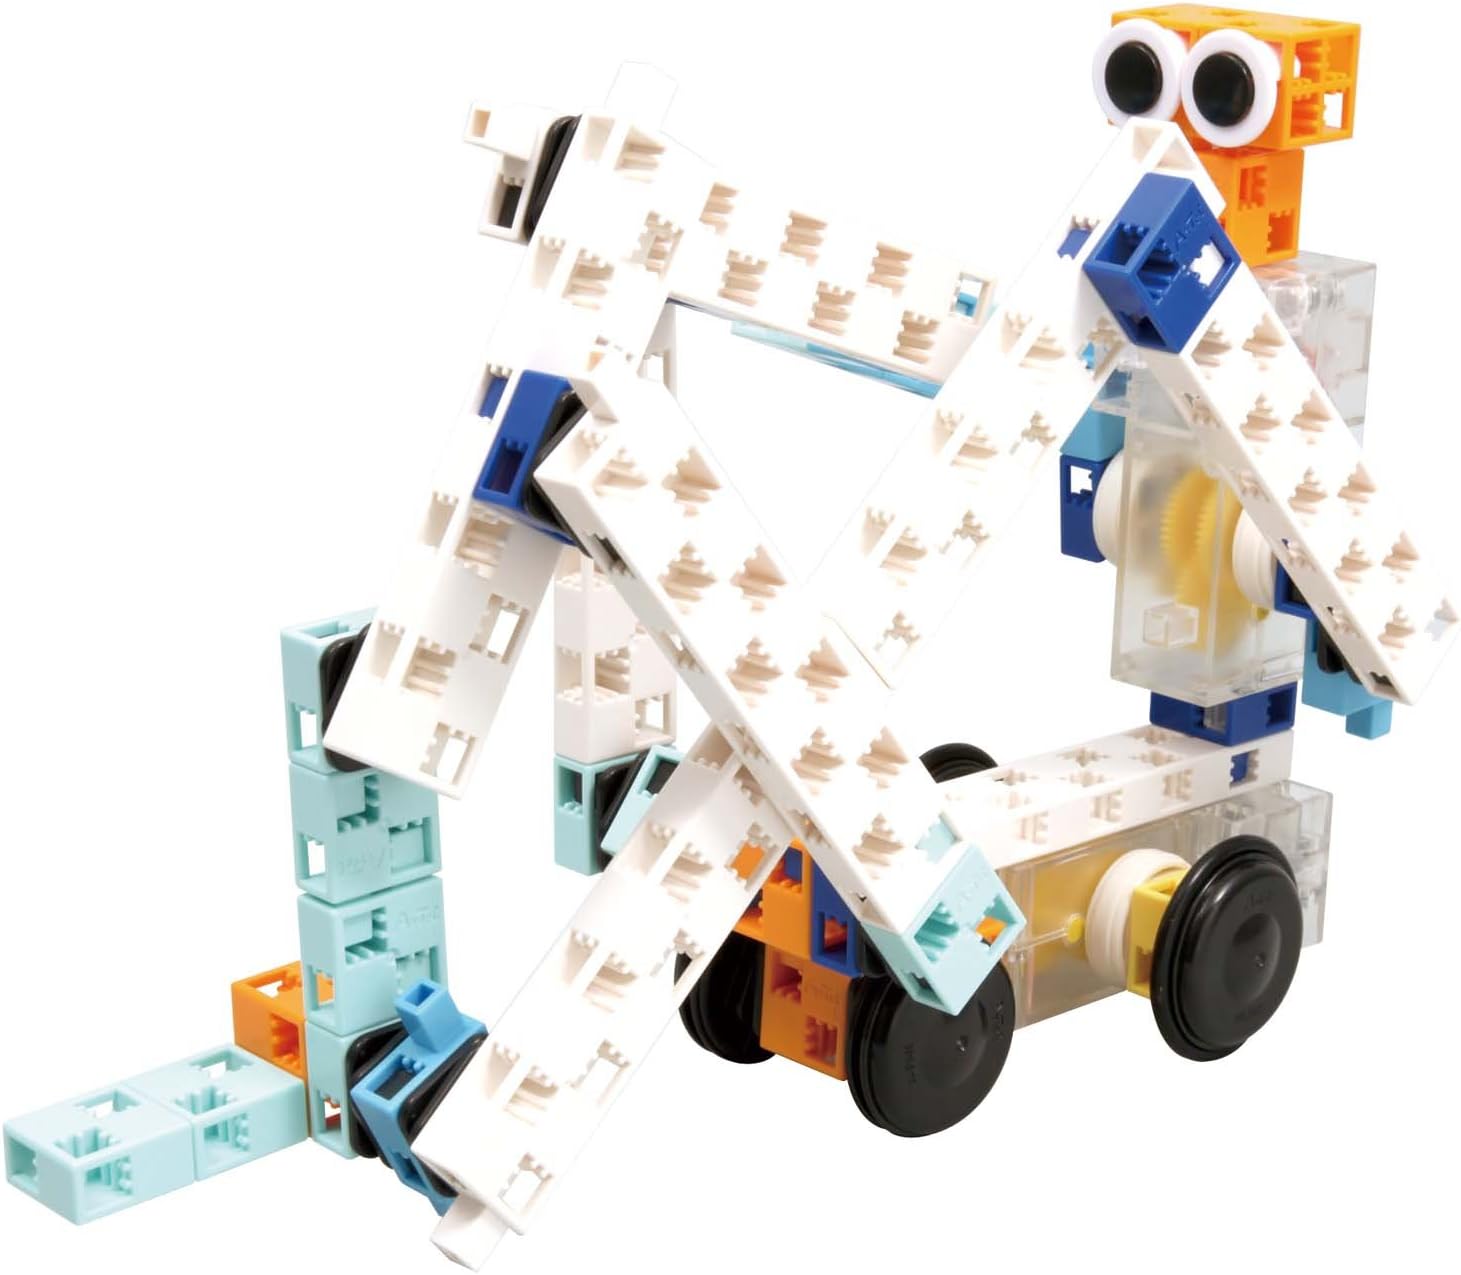
Figure 4: A wheeled robot model, demonstrating a common configuration for movement.
5. Wartung
Proper maintenance ensures the longevity and optimal performance of your Artec Artech Bloc kit.
- Reinigung: Wipe blocks and electronic components with a dry, soft cloth. Avoid using water or chemical cleaners.
- Lagerung: Store all components in a dry, cool place away from direct sunlight.
- Batteriepflege: Remove batteries from the battery box if the kit will not be used for an extended period to prevent leakage.
- Demontage: While blocks are designed for repeated assembly, be gentle when disassembling to avoid damage.
6. Fehlerbehebung
If you encounter issues with your Artec Artech Bloc kit, refer to the following troubleshooting tips.
6.1. Robot Does Not Move
- Batterien prüfen: Ensure batteries are correctly installed with proper polarity and are not depleted. Replace with fresh AA batteries if necessary.
- Überprüfen Sie die Verbindungen: Confirm all block connections are secure, especially those leading to the motors and battery box.
- Schalter prüfen: Ensure the power switch(es) are in the "ON" position and that their internal contacts are clean and functional.
- Motor Obstruction: Check for any physical obstructions preventing the motors or gears from turning freely.
6.2. Blocks Are Difficult to Separate
Some users report that blocks can be tight to separate. Apply firm, steady pressure. Avoid twisting or excessive force, which could damage the blocks.
7. Spezifikationen
| Besonderheit | Detail |
|---|---|
| Modellnummer | 077886 |
| Material | ABS-Kunststoff |
| Produktabmessungen (L x B x H) | 23.9 x 17.5 x 7.1 cm (9.4 x 6.9 x 2.8 Zoll) |
| Gewicht | 662.24 Gramm (1.46 Pfund) |
| Basic Square Block Size | 20 x 20 x 10 mm |
| Reifengröße | 36 x 11 mm |
| Gear Box Size | 40 x 80 x 20 mm |
| Batteriekastengröße | 40 x 80 x 20 mm |
| Empfohlenes Alter | 8 years and up (Manufacturer recommended: 18 years and up, but product description states 8 years old) |
| Stückzahl | 84 |
| Stromquelle | 2 x AA-Batterien (nicht im Lieferumfang enthalten) |

Abbildung 5: Ausführlich view of a basic square block, showing its dimensions.
8. Garantieinformationen
Specific warranty details for the Artec Artech Bloc Robo Link Robo 2 (2 Motors) kit are not provided in the product information. Please retain your proof of purchase. For any warranty-related inquiries, contact the retailer or manufacturer directly.
9. Kundendienst
For further assistance, technical support, or inquiries regarding replacement parts, please contact Artec customer service. Refer to the product packaging or the official Artec webDie aktuellsten Kontaktinformationen finden Sie auf dieser Webseite.