
1. Einleitung
This manual provides essential instructions for the proper setup, operation, and maintenance of your CipherLab 1500P HP 1D Corded Barcode Scanner. Please read this manual thoroughly before using the device to ensure optimal performance and to prevent damage.
2. Sicherheitshinweise
- Setzen Sie den Scanner keinen extremen Temperaturen, hoher Luftfeuchtigkeit oder direkter Sonneneinstrahlung aus.
- Vermeiden Sie es, den Scanner fallen zu lassen oder ihn starken Stößen auszusetzen.
- Versuchen Sie nicht, den Scanner zu zerlegen oder zu verändern. Dadurch erlischt die Garantie.
- Verwenden Sie zum Anschluss ausschließlich das mitgelieferte USB-Kabel.
- Um ein genaues Einlesen des Barcodes zu gewährleisten, muss das Scanfenster sauber bleiben.
3. Packungsinhalt
Bitte überprüfen Sie den Packungsinhalt, um sicherzustellen, dass alle Artikel vorhanden sind:
- CipherLab 1500P HP 1D Corded Barcode Scanner
- USB-Kabel
- Kurzanleitung (falls enthalten)
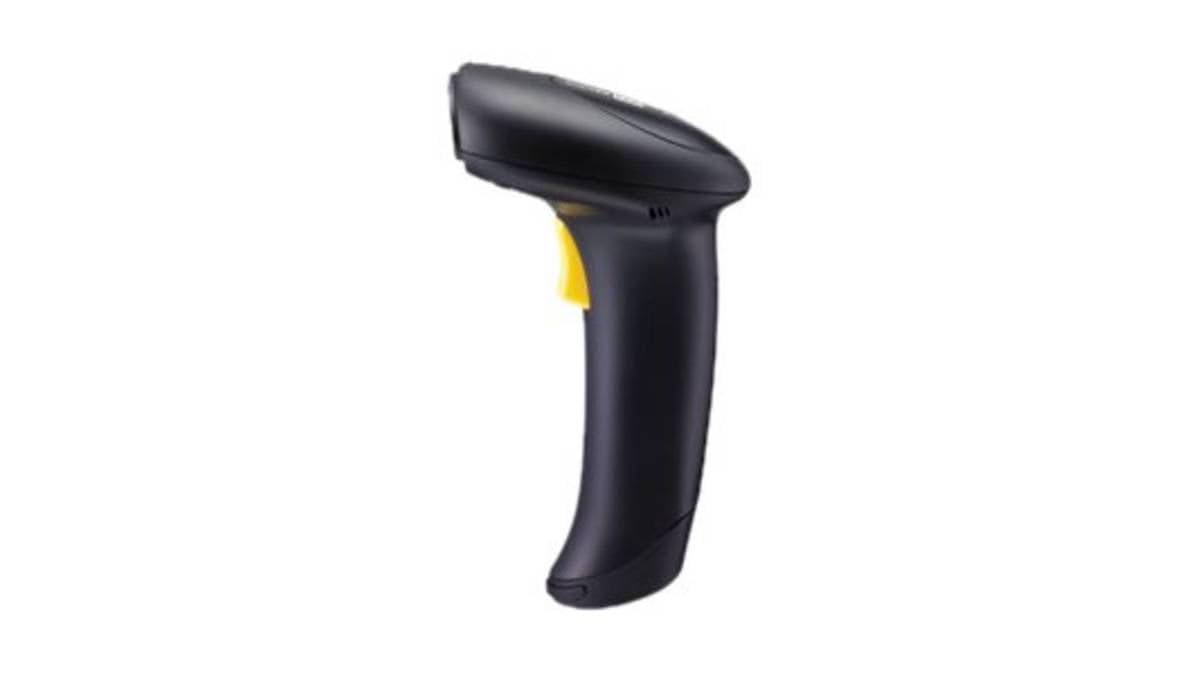
Figure 1: CipherLab 1500P HP 1D Corded Barcode Scanner with USB cable. This image displays the ergonomic design of the scanner and its wired connection.
4. Einrichtung
4.1 Anschließen des Scanners
- Locate an available USB port on your computer or host device.
- Connect the smaller end of the USB cable to the port at the base of the CipherLab 1500P HP scanner.
- Verbinden Sie das größere Ende des USB-Kabels mit dem USB-Anschluss Ihres Computers.
- The scanner will power on automatically. Most operating systems will detect and install the necessary drivers automatically (Plug-and-Play).
4.2 Erster Test
After connecting, open a text editor (e.g., Notepad, Word) or any application that accepts keyboard input. Scan a known barcode. The data should appear in the application. If not, refer to the Troubleshooting section.
5. Bedienung des Scanners
5.1 Grundlegendes Scannen
- Halten Sie den Scanner bequem in der Hand.
- Richten Sie das Scanfenster auf den Barcode, den Sie lesen möchten.
- Press and hold the trigger button. A red aiming line will appear.
- Center the aiming line over the entire barcode.
- Once the barcode is successfully read, the scanner will emit a beep and the LED indicator will flash. Release the trigger button.
5.2 Scanning Feedback
- Erfolgreich gelesen: A short beep and a green LED flash.
- Lesevorgang fehlgeschlagen: No beep or flash, or a different error tone (refer to troubleshooting).
6. Wartung
6.1 Reinigung des Scanners
To maintain optimal scanning performance, keep the scanning window clean:
- Verwenden Sie ein weiches, fusselfreies Tuch dampMit Wasser oder einer milden, nicht scheuernden Reinigungslösung abspülen.
- Gently wipe the scanning window and the exterior casing.
- Do not use harsh chemicals, solvents, or abrasive materials, as these can damage the scanner.
6.2 Speicherung
Bewahren Sie den Scanner bei Nichtgebrauch an einem sauberen, trockenen Ort, fern von direkter Sonneneinstrahlung und extremen Temperaturen auf.
7. Fehlerbehebung
| Problem | Mögliche Ursache | Lösung |
|---|---|---|
| Der Scanner lässt sich nicht einschalten. | USB-Kabel nicht richtig angeschlossen oder USB-Anschluss defekt. | Stellen Sie sicher, dass das USB-Kabel sowohl mit dem Scanner als auch mit dem Computer fest verbunden ist. Versuchen Sie es mit einem anderen USB-Anschluss. |
| Der Scanner liest keine Barcodes. | Barcode damaged, scanning window dirty, incorrect scanning angle, or scanner not configured for barcode type. | Ensure the barcode is clear and undamaged. Clean the scanning window. Adjust the scanning angle. Refer to the full programming manual for advanced configuration. |
| Die gescannten Daten werden fehlerhaft angezeigt. | Falsches Tastaturlayout oder fehlerhafte Datenformatierung. | Ensure your computer's keyboard layout matches the scanner's default or programmed layout. Consult the full programming manual for data formatting options. |
8. Spezifikationen
- Modellnummer: A1500PCBSU001
- Konnektivitätstechnologie: USB-Kabel
- Energiequelle: USB-Kabel
- Kompatible Geräte: Desktop, Laptop
- Artikelgewicht: 10.93 Pfund
- Paketabmessungen: 8 x 8 x 8 Zoll
- Hersteller: CipherLab
9. Garantieinformationen
CipherLab products are manufactured to high quality standards. This product is covered by a limited warranty against defects in materials and workmanship. For specific warranty terms and conditions, please refer to the warranty card included with your product or visit the official CipherLab webWebsite.
10. Kundendienst
If you encounter issues not covered in this manual or require further assistance, please contact your vendor or visit the official CipherLab support website for up-to-date resources, FAQs, and contact information.