Einführung
This manual provides instructions for the safe and effective use of your MAXIMUM Waterproof Inspection Camera Scope. This device is designed for visual inspection of hard-to-reach areas in various applications, including automotive, plumbing, and construction. Please read this manual thoroughly before operating the device and retain it for future reference.
Sicherheitshinweise
- Versuchen Sie nicht, das Gerät zu zerlegen oder zu verändern. Unbefugte Änderungen können zu Stromschlag, Brand oder Beschädigung des Produkts führen.
- Achten Sie darauf, dass die Batterien mit der richtigen Polarität eingelegt sind. Entfernen Sie die Batterien, wenn das Gerät längere Zeit nicht benutzt wird.
- The camera head is waterproof, but the main unit (LCD monitor) is not. Avoid exposing the main unit to water or excessive moisture.
- Keep the device away from strong magnetic fields, which can interfere with its operation.
- Das Gerät darf nicht in Umgebungen mit brennbaren oder explosiven Gasen verwendet werden.
- Clean the camera lens and screen with a soft, dry cloth. Avoid abrasive cleaners.
- This device is not intended for medical use or personal inspection.
Packungsinhalt
Bitte überprüfen Sie, ob alle unten aufgeführten Artikel in Ihrem Paket enthalten sind:
- MAXIMUM Inspection Camera Unit with 2.7" LCD Monitor
- 9 mm Waterproof Camera Head with 3.3' (1.1 m) Flexible Cable
- Spiegelzubehör
- Hakenzubehör
- Magnetzubehör
- Heavy Duty Storage Case
- 4 x AA-Batterien

Produkteigenschaften
- Vielseitige Anwendung: Ideal for automotive, plumbing, construction, and other hard-to-reach inspection areas.
- Waterproof Camera Head: Features a 9 mm diameter waterproof camera head on a 3.3' (1.1 m) flexible cable for navigating tight spaces.
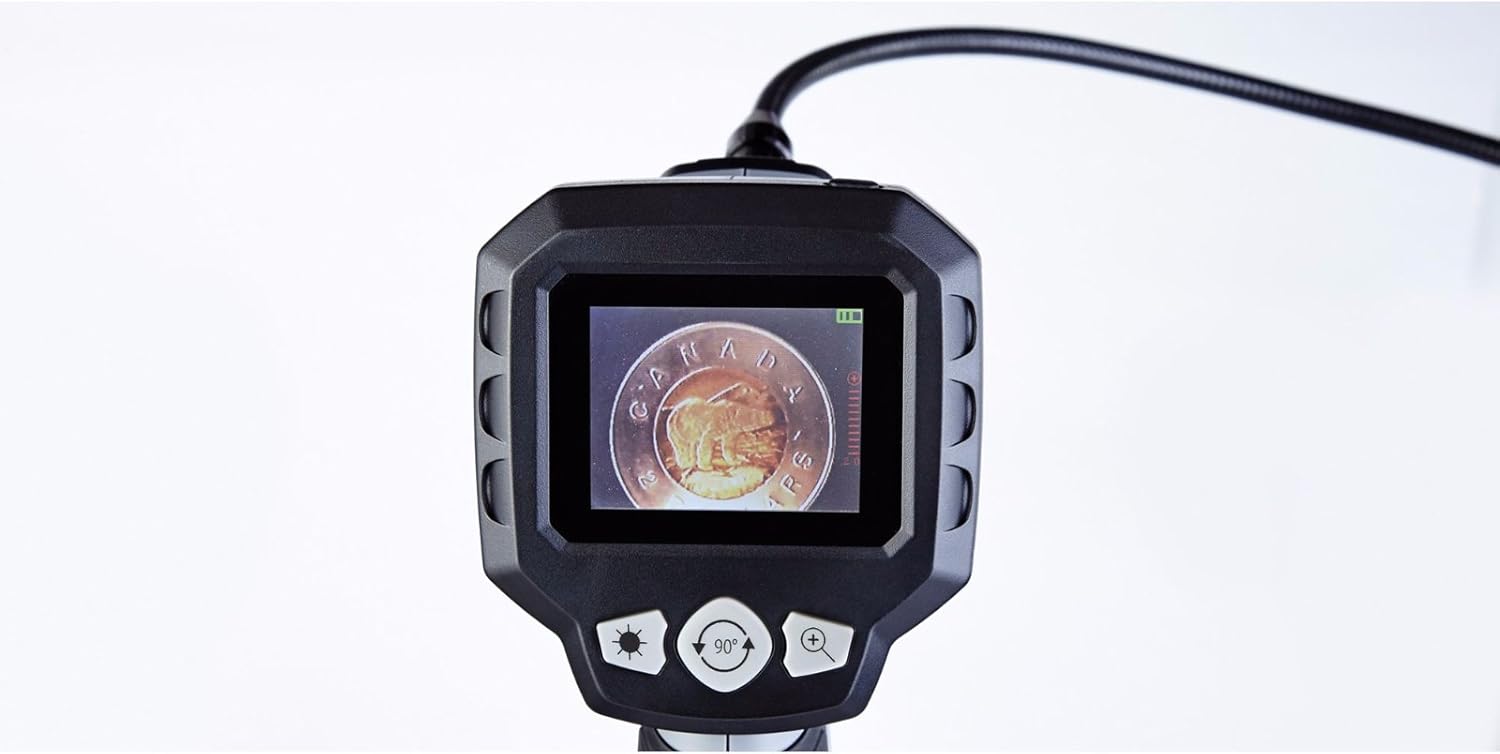
- Integrated LCD Monitor: Images are transmitted directly onto a clear 2.7" (6.85 cm) color LCD monitor.
- Einstellbare Helligkeit: Offers 4x brightness with 5 adjustable settings for optimal visibility in dark environments.
- Digitalzoom: Includes a 2x digital zoom function to magnify details.
- Bilddrehung: Allows for image rotation on the screen for correct orientation.
- Batteriestatusanzeige: Provides a visual indication of remaining battery life.
- Automatische Belichtung: Automatically adjusts exposure for clear image capture.

Aufstellen
1. Einlegen der Batterie
- Suchen Sie das Batteriefach auf der Rückseite des Hauptgeräts.
- Öffnen Sie die Abdeckung des Batteriefachs.
- Legen Sie vier (4) AA-Batterien ein und achten Sie dabei auf die richtige Polarität (+/-), wie im Batteriefach angegeben.
- Schließen Sie den Batteriefachdeckel fest.
2. Anbringen von Zubehör
The mirror, hook, and magnet accessories can be attached to the camera head for specialized tasks:
- Select the desired accessory (mirror, hook, or magnet).
- Carefully slide the accessory onto the tip of the camera head until it is securely in place.
- Ensure the accessory does not obstruct the camera lens or LED lights.
Bedienungsanleitung
1. Ein-/Ausschalten
- To power on the device, press and hold the power button (usually marked with a power symbol) until the LCD screen illuminates.
- Zum Ausschalten den Netzschalter erneut gedrückt halten, bis sich der Bildschirm ausschaltet.
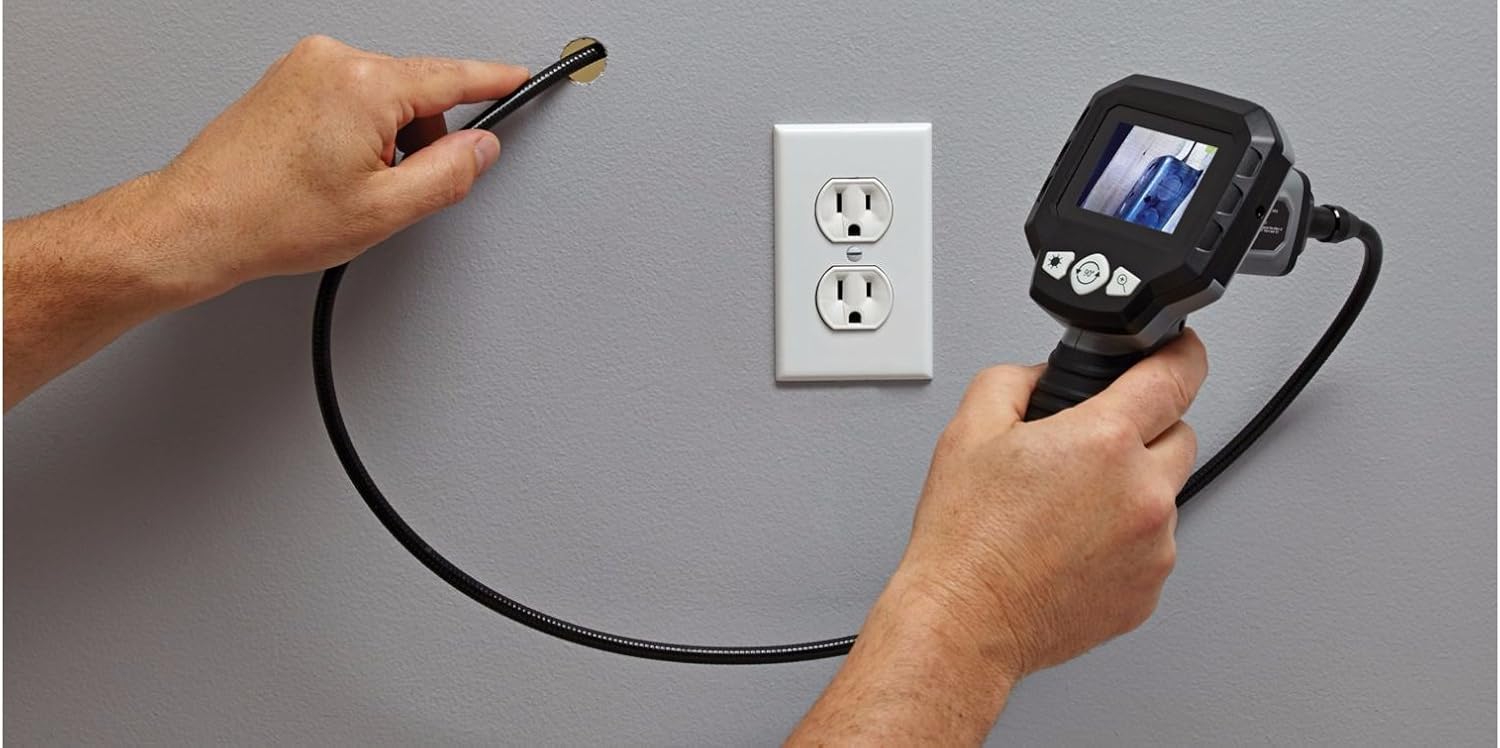
2. Camera Head Placement
Carefully guide the flexible cable and camera head into the area you wish to inspect. The flexible cable allows for navigation around obstacles.


3. Einstellen der Helligkeit
The camera head features built-in LED lights. Use the brightness control buttons (often marked with a sun icon or '+' / '-' symbols) on the main unit to cycle through the 5 brightness settings. Adjust as needed for optimal viewing bei unterschiedlichen Lichtverhältnissen.
4. Digitalzoom
To magnify the image, press the digital zoom button (often marked with a magnifying glass icon or '+'). The device supports up to 2x digital zoom. Press the button repeatedly to cycle through zoom levels or to return to the original view.
5. Bilddrehung
If the image on the screen appears upside down or sideways, use the image rotation button (often marked with a circular arrow icon) to adjust the orientation. Press the button to rotate the image in 90-degree increments until the desired view erreicht ist.
6. Batteriestatusanzeige
The LCD screen displays a battery icon, indicating the current battery charge level. Recharge or replace batteries when the indicator shows low power to ensure uninterrupted operation.
Wartung
- Reinigung: Wipe the main unit and flexible cable with a soft, dry cloth. For the camera lens, use a lens cleaning cloth. Do not use harsh chemicals or abrasive materials.
- Lagerung: Store the device and its accessories in the provided heavy-duty case in a cool, dry place, away from direct sunlight and extreme temperatures.
- Batteriepflege: Entfernen Sie die Batterien, wenn das Gerät längere Zeit nicht benutzt wird, um ein Auslaufen und Beschädigungen zu vermeiden.
Fehlerbehebung
| Problem | Mögliche Ursache | Lösung |
|---|---|---|
| Gerät lässt sich nicht einschalten. | Die Batterien sind leer oder falsch eingelegt. | Ersetzen Sie die Batterien durch neue AA-Batterien und achten Sie dabei auf die richtige Polarität. |
| Kein Bild auf dem Bildschirm. | Cable not fully connected; camera lens obstructed. | Ensure the flexible cable is securely connected to the main unit. Check and clean the camera lens. |
| Das Bild ist zu dunkel oder zu hell. | Brightness settings are incorrect for the environment. | Adjust the LED brightness using the dedicated buttons on the main unit. |
| Das Bild ist unscharf. | Camera lens is dirty; object is too close or too far. | Clean the camera lens. Adjust the distance between the camera head and the object for optimal focus. |
| Screen is blue or frozen. | System error; low battery. | Power off the device, remove and reinsert batteries, then power on again. Replace batteries if low. |
Technische Daten
- Modellnummer: 057-458-0
- Bildschirmgröße: 2.7 inches (6.85 cm) Color LCD
- Kamerakopfdurchmesser: 9 mm
- Flexible Cable Length: 3.3 Fuß (1.1 Meter)
- Wasserbeständigkeit: Waterproof camera head
- Digitalzoom: 2x
- Helligkeitseinstellungen: 5 Stufen
- Energiequelle: 4 x AA-Batterien (im Lieferumfang enthalten)
- Auflösung der Videoaufnahme: 1080p (for compatible recording, if applicable)
- File Format: MP4, JPEG (for compatible recording, if applicable)
- Hardware-Schnittstelle: HDMI (for compatible output, if applicable)
- Hersteller: Maximal
- ASIN: B01N2M40UB
- GTIN/UPC: 648824745488
- Paketabmessungen: 31.2 x 25 x 12.2 cm; 1.68 kg
Garantie und Support
This MAXIMUM product is covered by a manufacturer's warranty. For specific warranty terms, duration, and to obtain support or service, please refer to the documentation included with your purchase or contact the manufacturer directly. Keep your proof of purchase for warranty claims.