PENN-PLAX NuWave Betta Fish Tank Kit Instruction Manual
Modell: BT1
Einführung
This manual provides instructions for the setup, operation, and maintenance of your PENN-PLAX NuWave 1.5 Gallon Betta Fish Tank Kit. This kit is designed for small aquatic environments, featuring an integrated internal filter and an LED light for optimal viewing.
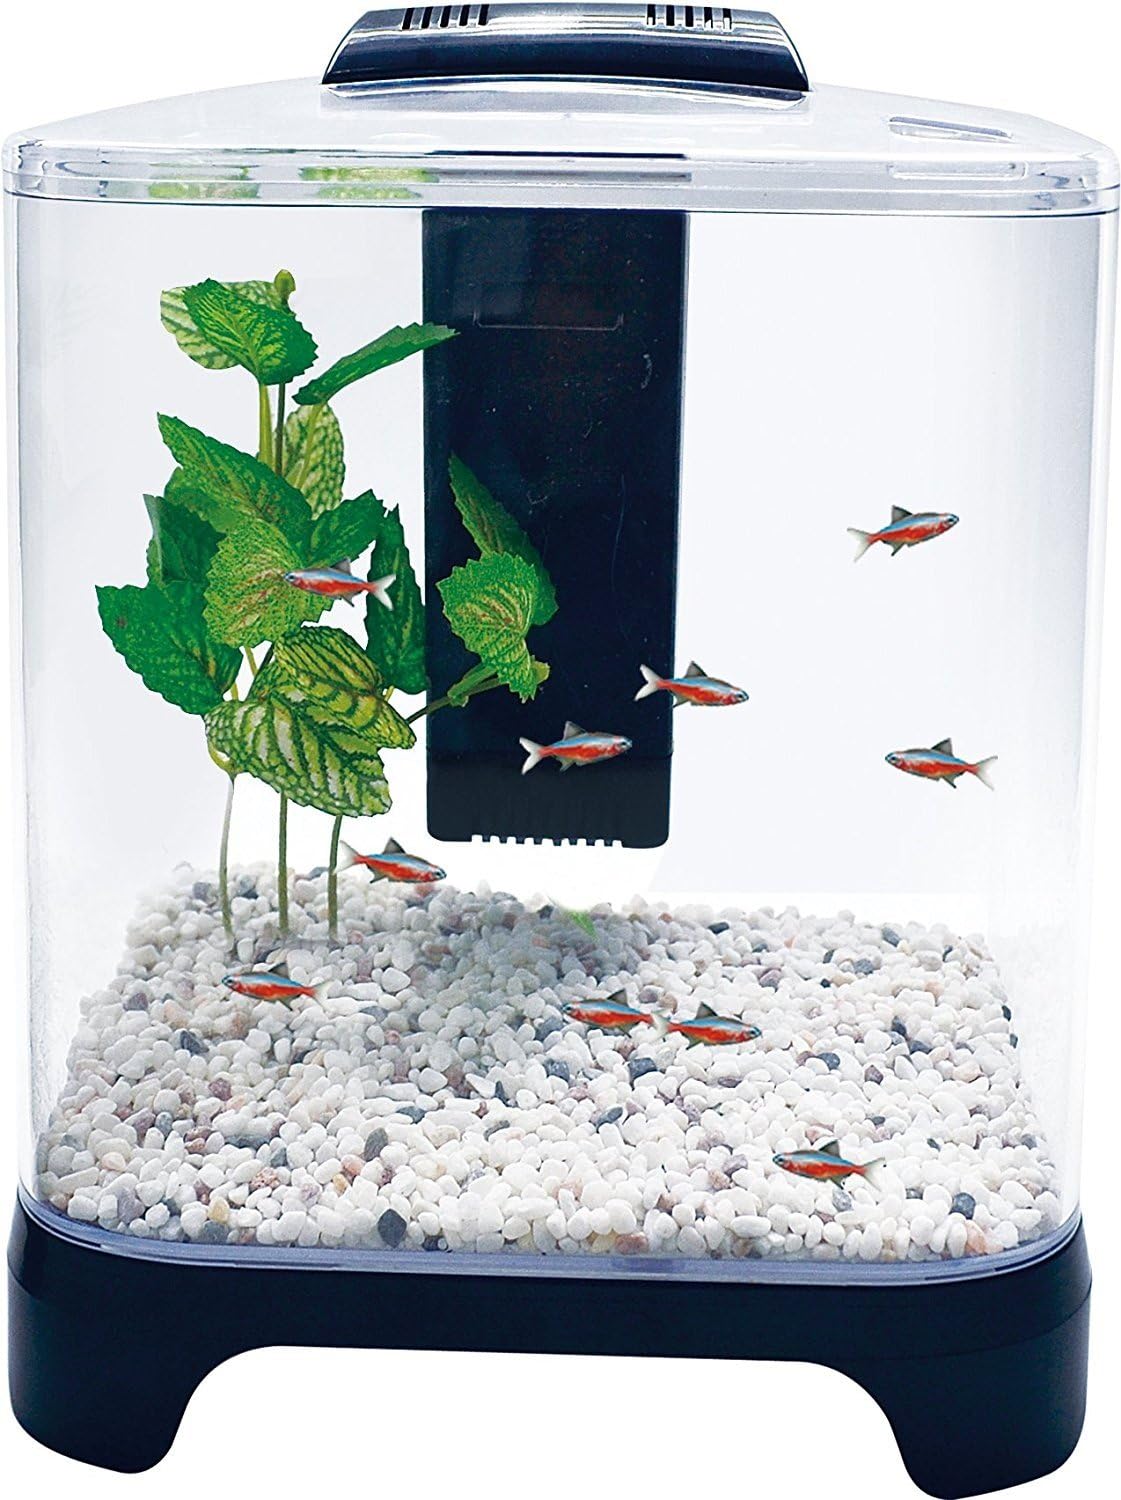
Image: The assembled PENN-PLAX NuWave 1.5 Gallon Betta Fish Tank Kit, featuring a clear plastic tank, black base, and integrated lid with LED light and internal filter.
Sicherheitshinweise
Vor Gebrauch alle Anweisungen lesen.
Ensure the tank is placed on a stable, level surface away from direct sunlight or heat sources.
Do not immerse the LED light or power adapter in water.
Always unplug the power adapter before performing any maintenance or cleaning.
Elektrische Kabel sollten von Wasser ferngehalten werden.
Dieses Produkt ist nur für den Gebrauch in Innenräumen vorgesehen.
Packungsinhalt
Verify that all components are present and undamaged before proceeding with setup.
1.5 Gallon Plastic Aquarium Tank
Integrated Internal Filter
Coarse Sponge (for filter)
Carbon Media Cartridge (for filter)
LED Light (integrated into lid)
Removable Plastic Lid
Power Adapter (for LED light and filter)
Image: All components of the PENN-PLAX NuWave Betta Tank Kit, including the tank, internal filter, LED light, and power adapter, laid out on a white surface.
Installationsanweisungen
Komponenten auspacken: Nehmen Sie alle Artikel vorsichtig aus der Verpackung. Überprüfen Sie sie auf etwaige Schäden.
Rinse Tank and Decorations: Rinse the plastic tank, lid, and any gravel or decorations (not included) thoroughly with clean water. Do not use soap or detergents.
Filtermedien installieren: Open the internal filter housing. Insert the coarse sponge and carbon media cartridge into their designated slots within the filter. Ensure they are seated correctly.
Positionsfilter: Place the internal filter inside the tank, typically in a corner or along a side, ensuring it is securely attached or positioned.
Substrat und Dekorationen hinzufügen: Add your chosen substrate (e.g., gravel) and any decorations to the tank.
Mit Wasser füllen: Slowly fill the tank with dechlorinated water to the recommended level, typically just below the rim. Ensure the internal filter is submerged.
Attach Lid and LED Light: Place the removable plastic lid onto the tank. The LED light is integrated into the lid.
Strom anschließen: Plug the power cord from the LED light into a suitable electrical outlet. The internal filter is powered through this connection.
Image: A clear plastic aquarium tank with the black internal filter unit installed on the right side, ready for water and decorations.
Bedienungsanleitung
Internal Filter Operation
The integrated internal filter provides biological, mechanical, and chemical filtration to maintain water clarity and quality. It operates continuously when the LED light is plugged in, as it shares the same power source.
Ensure the filter is fully submerged before plugging in the power adapter.
The filter will begin operating automatically once power is supplied.
LED-Lichtbetrieb
The ultra-bright white LED light is embedded in the lid for maximum viewing. It features a separate on/off switch.
Locate the on/off switch on the LED light fixture.
Drücken Sie den Schalter, um das Licht ein- oder auszuschalten.
The filter will continue to run regardless of the LED light's on/off status, as long as the unit is plugged into a power source.
Wartung
Regelmäßige Reinigung
Perform weekly partial water changes (25-50%) to maintain water quality.
Use an aquarium siphon to remove debris from the substrate during water changes.
Wipe down the inside and outside of the tank with an aquarium-safe cleaning pad or soft cloth. Do not use household cleaners.
Austausch der Filterkartusche
The carbon media cartridge should be replaced regularly to ensure effective chemical filtration. The coarse sponge can be rinsed and reused.
Unplug the power adapter before accessing the filter.
Carefully remove the internal filter from the tank.
Open the filter housing and remove the old carbon media cartridge.
Rinse the coarse sponge in old aquarium water (not tap water) to preserve beneficial bacteria.
Insert a new carbon media cartridge (PENN-PLAX BT1A, BT1A3, or BT1A6 replacements are compatible).
Reassemble the filter, place it back in the tank, and plug in the power adapter.
Fehlerbehebung
Problem
Mögliche Ursache
Lösung
Filter läuft nicht
Nicht angeschlossen; Stromausfalltage; impeller jammed.
Check power connection. Ensure filter is fully submerged. Unplug, remove filter, check impeller for obstructions, clean if necessary, then reassemble and plug in.
LED-Licht funktioniert nicht
Not plugged in; switch off; faulty LED.
Check power connection. Ensure LED switch is in the 'on' position. If still not working, contact customer support.
Trübes Wasser
New tank syndrome; overfeeding; insufficient filtration; dirty filter media.
Perform a partial water change. Reduce feeding. Replace carbon media cartridge. Ensure filter is running correctly. Allow time for beneficial bacteria to establish.
Weak filter flow
Clogged filter media; dirty impeller.
Clean or replace filter media (sponge and carbon cartridge). Clean the impeller and its housing.
Technische Daten
Modellnummer
BT1
Tankvolumen
1.5 Gallonen
Gesamtabmessungen (B x T x H)
8.5" x 6" x 9.5"
Tank Interior Dimensions (W x D x H)
8.5" x 6" x 7.5"
Base Dimensions (W x D x H)
8.5" x 6" x 1.5"
Material
Plastik
Besondere Merkmale
Integrated Internal Filter, LED Light
Garantie
This product is covered by the standard Amazon Policy. For specific details regarding returns, replacements, or warranty claims, please refer to your Amazon purchase history or contact Amazon customer service directly.
Unterstützung
For further assistance or inquiries regarding your PENN-PLAX NuWave Betta Fish Tank Kit, please visit the official Penn-Plax website or contact their customer support department. Keep your purchase receipt and model number (BT1) available for reference.
Ask about setup, troubleshooting, compatibility, parts, safety, or missing instructions. Manuals+ will review the question and use this page’s manual context to help answer it.