The EVILTO 3D Digital Alarm Clock is a modern LED wall clock designed for home, bedroom, and office environments. It features a large, easy-to-read display, adjustable brightness, and a convenient snooze function. This manual provides detailed instructions for setup, operation, and maintenance.
Front view of the EVILTO 3D Digital Alarm Clock, showcasing its large, illuminated digital display.
The clock's unique 3D number style makes it a distinctive decorative piece that can be placed on a desk or mounted on a wall. It is powered via a USB cable, ensuring convenient and continuous operation.
The EVILTO 3D Digital Alarm Clock seamlessly integrates into various room settings, including living rooms, offices, bedrooms, and kitchens.
2. Packungsinhalt
Bitte überprüfen Sie, ob alle Artikel im Paket vorhanden sind:
EVILTO 3D Digital Alarm Clock (Model MC-08)
USB-Stromkabel
Benutzerhandbuch (dieses Dokument)
The product package includes the 3D digital alarm clock, its USB power cable, and the instruction manual.
3. Einrichtung
Follow these steps to set up your EVILTO 3D Digital Alarm Clock:
Uhr auspacken: Nehmen Sie die Uhr und sämtliches Zubehör vorsichtig aus der Verpackung.
Strom anschließen: Insert the small end of the provided USB cable into the power input port on the back of the clock. Connect the larger end of the USB cable to a standard USB power adapter (not included) or a powered USB port (e.g., on a computer or wall charger).
Erstes Einschalten: Once connected to power, the clock display will illuminate.
Platzierung: Place the clock on a flat surface using its integrated stand, or mount it on a wall using appropriate hardware (not included) and the keyhole slots on the back.
The clock can be easily mounted on a wall, providing a modern aesthetic to any room.
4. Bedienungsanleitung
The clock features intuitive controls located on the top of the unit. These include the MODE, UP, and DOWN buttons.
Key features include snooze, funky design, wall-mountable option, 3 brightness levels, energy-saving LED, timing adjustment, bell setting, and USB power.
4.1. Uhrzeit einstellen
So stellen Sie die aktuelle Uhrzeit ein:
Halten Sie die MODUS button on the top of the clock until the hour digits begin to flash.
Verwenden Sie die UP Und RUNTER Tasten zum Einstellen der Stunde.
Drücken Sie die MODUS Drücken Sie die Taste erneut, um auf Minuteneinstellung umzuschalten. Die Minutenziffern blinken.
Verwenden Sie die UP Und RUNTER Tasten zum Einstellen der Minuten.
Drücken Sie die MODUS button one more time to confirm the time setting and exit the setting mode.
4.2. Einstellen der Helligkeit
The clock offers 3 brightness levels: Bright, Middle, and Weak. To cycle through brightness settings:
Drücken Sie die UP button repeatedly to cycle through the three brightness modes.
Select the desired brightness level based on your environment and preference. The weak mode is recommended for bedside use.
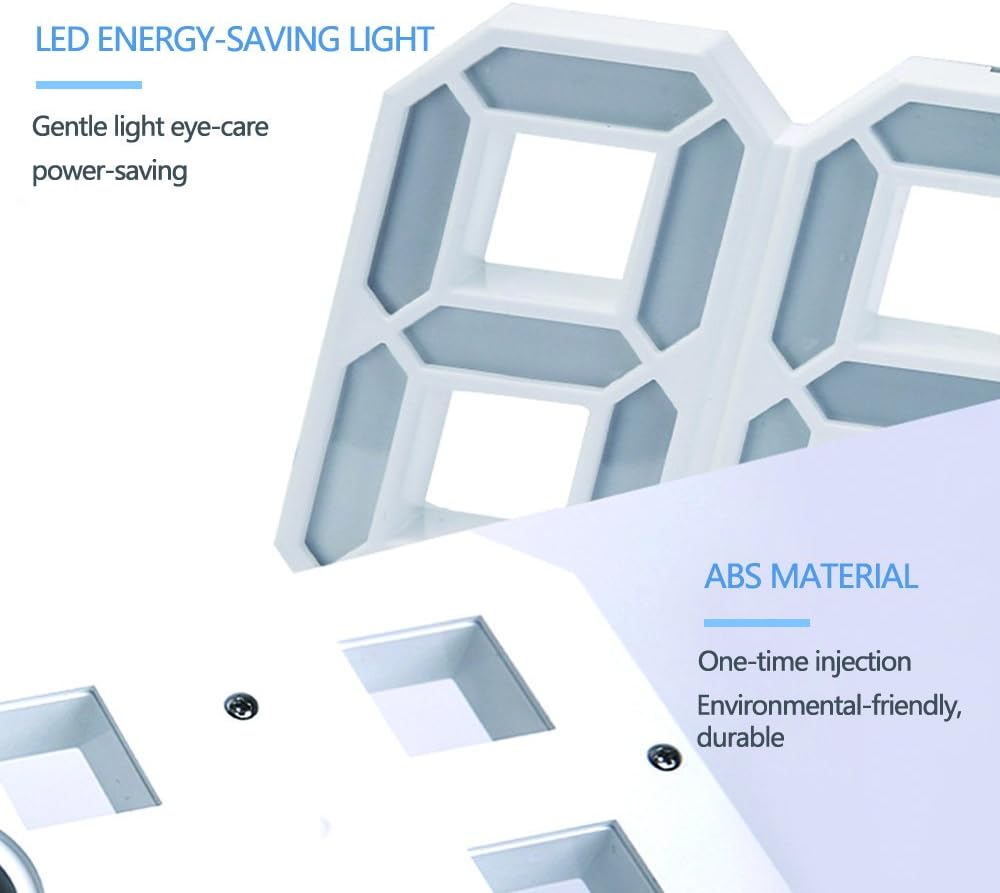
The clock utilizes gentle, energy-saving LED lights and is constructed from durable, environmental-friendly ABS material.
4.3. Schlummerfunktion
The snooze function allows for a temporary delay of the alarm. The snooze duration can be adjusted from 5 minutes up to one hour.
When the alarm sounds, press any button (except the alarm off button, if applicable) to activate the snooze function.
The alarm will temporarily stop and sound again after the set snooze interval.
Refer to the detailed instructions included in your package for specific steps on adjusting the snooze duration.
4.4. 12-/24-Stunden-Anzeige
The clock supports both 12-hour and 24-hour time formats. To switch between formats:
Drücken Sie im normalen Zeitanzeigemodus die Taste MODUS Taste kurz drücken.
The display will toggle between 12-hour (with AM/PM indicator) and 24-hour formats.
5. Wartung
Proper care will ensure the longevity of your EVILTO 3D Digital Alarm Clock:
Reinigung: Use a soft, dry cloth to wipe the surface of the clock. Do not use abrasive cleaners, solvents, or chemical sprays, as these may damage the finish or internal components.
Staubentfernung: Regularly dust the clock to prevent accumulation, especially in the crevices of the 3D numbers.
Stromabschaltung: If the clock will not be used for an extended period, disconnect it from the power source.
Umfeld: Vermeiden Sie es, die Uhr extremen Temperaturen, längerer direkter Sonneneinstrahlung oder hoher Luftfeuchtigkeit auszusetzen.
6. Fehlerbehebung
If you encounter issues with your clock, please refer to the table below for common problems and solutions:
Problem
Mögliche Ursache
Lösung
Die Uhranzeige ist aus.
Keine Stromversorgung.
Ensure the USB cable is securely connected to both the clock and a working USB power source. Try a different USB port or adapter.
Die Uhrzeit ist falsch.
Zeit nicht eingestellt oder Stromausfall.
Folgen Sie den Anweisungen unter „Zeit einstellen“ in Abschnitt 4.1.
Das Display ist zu hell/zu dunkel.
Die Helligkeitseinstellung ist nicht optimal.
Drücken Sie die UP button to cycle through the three brightness levels until the desired brightness is achieved.
Der Alarm ertönt nicht.
Wecker nicht eingestellt oder Lautstärke zu niedrig.
Ensure the alarm is properly set and activated. Check alarm volume settings if applicable (refer to full instructions).
Sollte das Problem nach Anwendung dieser Lösungsansätze weiterhin bestehen, wenden Sie sich bitte an den Kundendienst.
7. Spezifikationen
Detailed technical specifications for the EVILTO 3D Digital Alarm Clock:
Detailed dimensions of the EVILTO 3D Digital Alarm Clock: 8.46 inches (21.5 cm) wide, 3.42 inches (8.7 cm) high, and 1.57 inches (4 cm) deep.
8. Garantie und Support
Für dieses Produkt gilt die Standard-Herstellergarantie. Die genauen Garantiebedingungen entnehmen Sie bitte der mitgelieferten Dokumentation oder wenden Sie sich an Ihren Händler.
For technical support, troubleshooting assistance beyond what is provided in this manual, or inquiries regarding replacement parts, please contact EVILTO customer service through the contact information provided on the product packaging or the retailer's webWebsite.
The back of the product packaging displays important warnings, product information, and compliance certifications.
Ask a question about this manual
Ask about setup, troubleshooting, compatibility, parts, safety, or missing instructions. Manuals+ will review the question and use this page’s manual context to help answer it.