
1. Einleitung
This manual provides instructions for the installation, operation, and maintenance of your Q-See HeritageHD QC904-4V2-1 4-Channel Network DVR Surveillance Kit. This system is designed to provide real-time 720p resolution video surveillance across four channels, featuring a 1TB hard drive for storage and four IP66-rated 720p AnalogHD cameras for indoor and outdoor use. The system supports remote monitoring via compatible devices.

Image 1.1: The Q-See HeritageHD QC904-4V2-1 DVR and four included bullet cameras.
2. Packungsinhalt
Bitte überprüfen Sie, ob alle unten aufgeführten Artikel in Ihrem Paket enthalten sind:
- One (1) QC904 4-Channel DVR (with 1 Terabyte hard drive pre-installed)
- Four (4) QCA7207B 720p Bullet Cameras
- Eine (1) Kurzanleitung
- One (1) HDMI cable
- One (1) USB mouse
- Ein (1) Ethernet-Kabel
- One (1) Power adapter for DVR
- Four (4) 60-foot BNC & Power cables
- One (1) 4-way Power splitter for cameras

Image 2.1: The various cables and power adapters included with the surveillance kit.
3. Einrichtung
3.1 DVR-Anschluss
- Strom anschließen: Plug the DVR power adapter into the DVR's power input and then into an electrical outlet.
- Monitor anschließen: Use the provided HDMI cable to connect the DVR's HDMI output to a monitor or TV. Alternatively, use a VGA cable (not included) for VGA output.
- Maus anschließen: Insert the USB mouse into one of the USB ports on the DVR.
- Netzwerk verbinden: Connect one end of the Ethernet cable to the DVR's RJ-45 port and the other end to your router or network switch for remote viewing-Fähigkeiten.

Image 3.1: Front and rear panel of the QC904 4-Channel DVR, showing connection ports.
3.2 Kameraverbindung
- Kameras montieren: Securely mount the QCA7207B cameras in desired indoor or outdoor locations. The IP66 rating ensures weather resistance.
- Connect BNC Cables: Connect one end of each 60-foot BNC & Power cable to a camera's BNC video output and the other end to a BNC input port on the DVR.
- Kamerastrom anschließen: Connect the power connector from each 60-foot BNC & Power cable to the 4-way power splitter. Then, connect the 4-way power splitter to the camera power adapter and plug it into an electrical outlet.
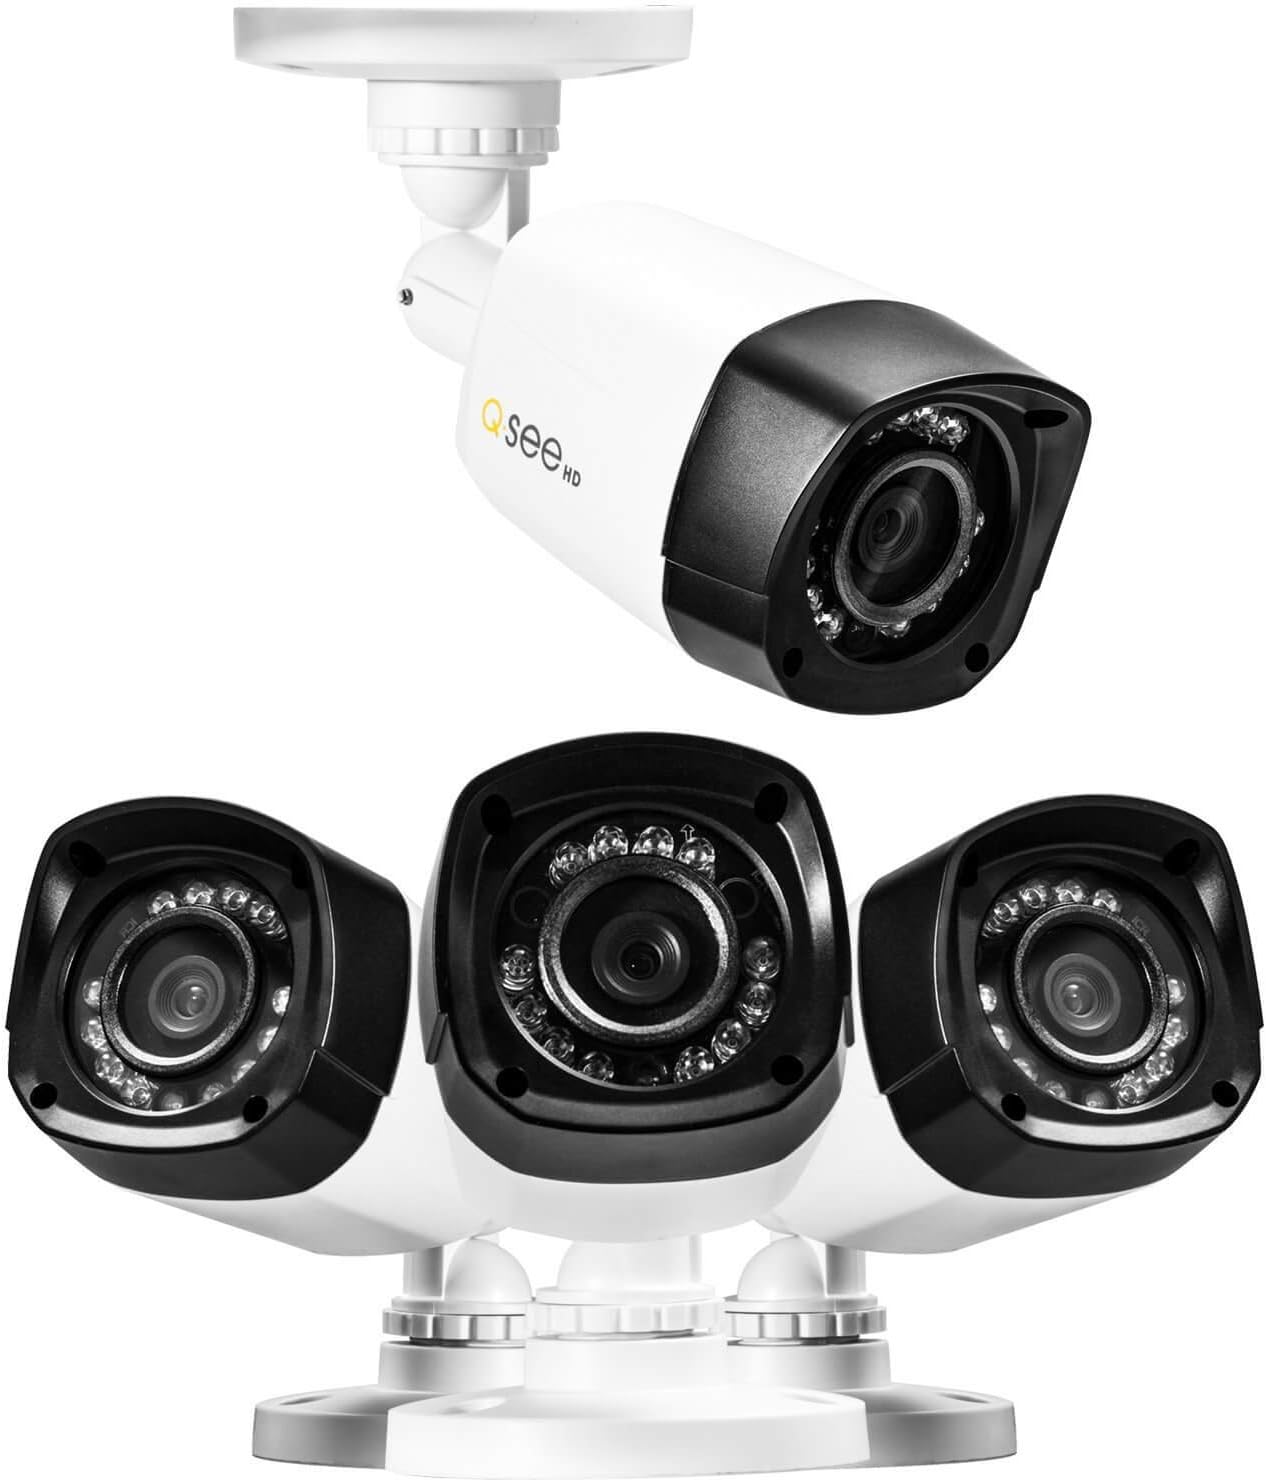
Bild 3.2: Nahaufnahme view of the Q-See bullet cameras, showing their design and mounting base.
3.3 Erste Systemkonfiguration
Upon first power-up, the DVR will typically launch a start-up wizard. Follow the on-screen prompts to configure basic settings such as date, time, network settings, and recording preferences. Refer to the Quick Start Guide for detailed steps on using the wizard.
4. Betrieb des Systems
4.1 Aufnahme
- The DVR records 720p resolution video at 30 frames per second (fps) on all four channels.
- Video compression uses H.264 standard to optimize storage space on the pre-installed 1TB hard drive.
- Recording modes (continuous, motion detection, scheduled) can be configured through the DVR's menu system.
4.2 Wiedergabe
- The DVR supports simultaneous local playback of up to four channels.
- Use the USB mouse to navigate the DVR interface for searching and playing back recorded footage.
4.3 Fernüberwachung
- Das System unterstützt Fernzugriff viewing of live and recorded video from compatible smartphones, tablets, or computers.
- Utilize the 'Scan N View' feature for simplified network setup and remote access. Refer to the Quick Start Guide or Q-See's online resources for specific application downloads and setup instructions.
4.4 Nachtsicht
- Each 720p camera is equipped with 12 Infrared LEDs, providing night vision capabilities up to 80 feet in low-light conditions.
- The cameras automatically switch between day and night modes.
5. Wartung
5.1 Festplattenverwaltung
- The DVR comes with a 1TB hard drive pre-installed. The system supports a maximum hard drive capacity of 4TB.
- Sichern Sie regelmäßig wichtige Daten.tage to external storage devices if needed.
- The DVR can be configured to overwrite older footage automatically when the hard drive is full.
5.2 Kamerareinigung
- Reinigen Sie die Kameralinsen regelmäßig mit einem weichen Tuch.amp Für eine klare Bildqualität mit einem Tuch abwischen. Scheuermittel vermeiden.
- Despite being IP66 weatherproof, ensure that camera mounts and cable connections remain secure and free from debris.
5.3 Firmware-Updates
Check the Q-See official website periodically for any available firmware updates for your DVR. Firmware updates can improve system performance, add new features, or address security vulnerabilities. Follow the manufacturer's instructions carefully when performing updates.
6. Fehlerbehebung
If you encounter issues with your surveillance system, consider the following common troubleshooting steps:
- Kein Strom: Ensure all power adapters are securely connected to the DVR, cameras, and electrical outlets. Verify outlets are functional.
- No Video on Monitor: Check HDMI/VGA cable connections between the DVR and monitor. Ensure the monitor is set to the correct input source.
- Kein Kamerabild: Verify BNC and power connections for the affected camera. Ensure the camera power splitter and adapter are working correctly.
- Fernbedienung ViewProbleme: Confirm the DVR is connected to the network via Ethernet. Check network settings on the DVR and your router. Ensure the remote viewing application is correctly configured.
- Aufnahmeprobleme: Check the hard drive status in the DVR's menu. Ensure recording schedules are correctly set.
For more detailed troubleshooting or issues not covered here, refer to the comprehensive user manual available on the Q-See support website or contact Q-See customer support.
7. Spezifikationen
7.1 DVR Specifications (QC904)
- Videoformat: NTSC/PAL
- Videokomprimierung: H.264
- Recording Resolution & FPS: 720p @ 30fps (per channel), 1080p @ 15fps (per channel)
- Bildschirmauflösung: Bis zu 1920 x 1080 (1080p)
- Festplattenunterstützung: 1 x SATA HDD (1TB pre-installed), up to 4TB maximum
- Simultaneous Local Playback: 4 Kanäle
- Netzwerkschnittstelle: RJ-45 10/100Mbps Ethernet, Supports Scan N View
- Hardware-Schnittstelle: Ethernet, USB
- Abmessungen (L x B x H): Ungefähr 16 x 13 x 11 Zoll
- Gewicht: Ungefähr 3.72 Pfund
- Energiequelle: Kabelgebundenes Elektrogerät (Gleichstrom 12V)
7.2 Camera Specifications (QCA7207B)
- Design: Kugel
- Typ: Analog HD Camera
- Auflösung: 720p (1280x720)
- Wetterfeste Bewertung: IP66 (Indoor & Outdoor)
- Bildsensor: 1/2.9" CMOS, 1 Megapixel
- Nachtsicht: Up to 80ft with 12 Infrared LEDs
- Videoausgang: 1.0Vp-p 75 Ω
- Leistung: Gleichstrom 12 V
8. Garantie und Support
8.1 Produktgarantie
For specific warranty terms and conditions, please refer to the warranty information included with your product packaging or visit the official Q-See website. Warranty coverage typically addresses manufacturing defects and may vary by region.
8.2 Kundendienst
If you require technical assistance, have questions about your product, or need to report an issue, please contact Q-See customer support through their official website. Support resources often include FAQs, troubleshooting guides, and contact information for direct assistance.
Visit the Q-See Store for additional products and support: Q-See Store