1. Einleitung
This manual provides essential information for the safe and efficient operation of your Lenco L-30BK Belt Drive Turntable. Please read these instructions thoroughly before using the device and retain them for future reference. The Lenco L-30BK is designed for playing vinyl records at 33 and 45 RPM, featuring a built-in preamplifier and USB connectivity for digitizing your vinyl collection.
2. Sicherheitshinweise
- Energiequelle: Stellen Sie sicher, dass die StromversorgungslautstärketagEs entspricht den auf dem Gerät angegebenen Anforderungen. Verwenden Sie ausschließlich das mitgelieferte Netzteil.
- Wasser und Feuchtigkeit: Das Gerät darf weder Regen noch Feuchtigkeit oder tropfenden/spritzenden Flüssigkeiten ausgesetzt werden. Stellen Sie keine mit Flüssigkeiten gefüllten Gegenstände, wie z. B. Vasen, auf das Gerät.
- Belüftung: Sorgen Sie für ausreichende Belüftung. Blockieren Sie keine Belüftungsöffnungen.
- Hitze: Halten Sie das Gerät von Wärmequellen wie Heizkörpern, Heizlüftern, Öfen oder anderen Geräten (einschließlich) fern. ampKonverter (Lüfter), die Wärme erzeugen.
- Reinigung: Ziehen Sie vor der Reinigung den Netzstecker. Verwenden Sie ein weiches, trockenes Tuch. Verwenden Sie keine flüssigen oder Aerosol-Reinigungsmittel.
- Wartung: Versuchen Sie nicht, dieses Produkt selbst zu warten. Überlassen Sie alle Wartungsarbeiten qualifiziertem Servicepersonal.
- Platzierung: Place the turntable on a stable, level surface to prevent vibrations and ensure proper playback.
3. Packungsinhalt
Bitte überprüfen Sie, ob alle unten aufgeführten Artikel im Paket enthalten sind:
- Lenco L-30BK Turntable Unit
- Staubschutzhülle
- Teller
- Antriebsriemen
- Slipmat
- Netzteil
- USB-Kabel
- Cinch-Audiokabel
- Bedienungsanleitung
- Pick-up Needle (pre-installed on cartridge)
4. Produktüberschreitungview
Familiarize yourself with the components of your Lenco L-30BK turntable.

Abbildung 4.1: Front view of the Lenco L-30BK Turntable with the dust cover open, revealing the main components including the platter, tonearm, and control buttons.

Abbildung 4.2: Rear panel connections of the Lenco L-30BK, including RCA audio outputs (L/R), USB port, DC12V power input, and the main power switch.
Schlüsselkomponenten:
- Teller: The circular platform where records are placed.
- Tonarm: Hält die Tonabnehmerkassette und den Abtaststift, der die Rillen der Schallplatte abtastet.
- Cartridge and Stylus: Converts physical vibrations into electrical signals. The L-30BK features a Movable Magnet Sensor (MMC) with an individually replaceable stylus.
- Geschwindigkeitswähler: Switch to select between 33 and 45 RPM playback speeds.
- Automatische Abschaltung: Stoppt automatisch die Plattentellerrotation am Ende einer Schallplatte.
- Staubschutzhülle: Schützt den Plattenspieler vor Staub, wenn er nicht benutzt wird.
- RCA Audio Outputs (L/R): Zum Anschluss an ein externes ampVerstärker oder Aktivlautsprecher.
- USB-Anschluss: Zum Anschluss an einen Computer zur Digitalisierung von Schallplatten.
- DC12V-Stromeingang: Zum Anschluss des Netzteils.
5. Einrichtung
5.1 Auspacken und Aufstellen
- Nehmen Sie den Plattenspieler vorsichtig aus der Verpackung.
- Place the unit on a stable, level surface, away from direct sunlight, heat sources, and excessive dust or vibrations.
- Bringen Sie die Staubschutzhaube an, indem Sie ihre Scharniere mit den Schlitzen auf der Rückseite des Plattenspielers ausrichten.

Abbildung 5.1: The Lenco L-30BK Turntable with its protective dust cover closed, ready for placement.
5.2 Plattenteller- und Riemenmontage
- Setzen Sie den Plattenteller auf die Spindel des Plattenspielers.
- Locate the drive belt, typically found underneath the platter or separately packaged.
- Carefully stretch the drive belt around the motor pulley and the inner rim of the platter. Ensure the belt is not twisted.
- Lege die Slipmat auf die Platte.
5.3 Audioverbindung
The L-30BK has a built-in preamplifier, allowing direct connection to most audio systems.
- Connect the RCA audio cable (red for right channel, white for left channel) from the AUDIO OUT jacks on the rear of the turntable to the LINE IN or AUX IN jacks on your ampVerstärker oder Aktivlautsprecher.
5.4 Stromanschluss
- Connect the DC12V power adapter to the DC12V POWER input on the rear of the turntable.
- Stecken Sie das Netzteil in eine geeignete Steckdose.
5.5 USB Connection (for Digitization)
- To digitize your vinyl records, connect the USB cable from the USB port on the rear of the turntable to an available USB port on your computer (PC or Mac).
6. Bedienungsanleitung
6.1 Ein-/Ausschalten
- Flip the ON/OFF switch on the rear panel to the 'ON' position to power on the turntable.
- Flip the switch to 'OFF' when not in use.
6.2 Abspielen einer Schallplatte
- Legen Sie eine Schallplatte auf den Plattenteller und achten Sie darauf, dass sie mittig platziert ist.
- Select the appropriate speed (33 or 45 RPM) using the speed selector switch. For 45 RPM singles, place the included adapter on the spindle if needed.
- Heben Sie den Tonarm mithilfe des Tonarmlifts an.
- Positionieren Sie den Tonarm manuell über der gewünschten Startrille der Schallplatte.
- Gently lower the tonearm using the cueing lever. The stylus will descend onto the record, and playback will begin.
- At the end of the record, the auto shut-off function will stop the platter rotation. Lift the tonearm and return it to its rest.

Abbildung 6.1: Proper technique for lowering the tonearm onto a record for playback.
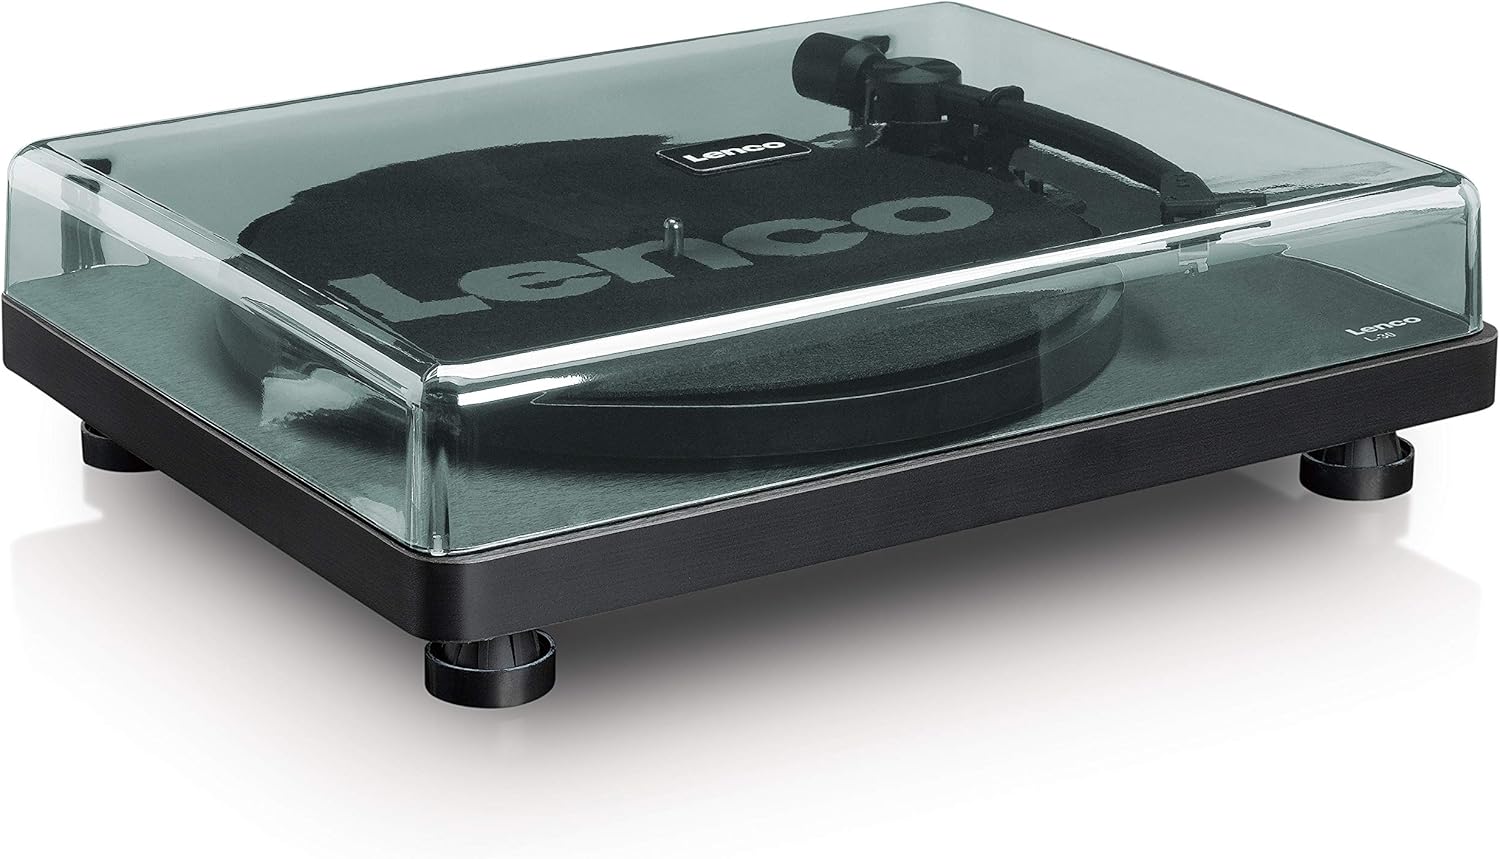
Abbildung 6.2: Detaillierte view of the Movable Magnet Sensor (MMC) cartridge and stylus assembly.
6.3 Digitizing Records via USB
The L-30BK allows you to convert your vinyl records into digital audio files benutzt einen Computer.
- Verbinden Sie den Plattenspieler mit Ihrem Computer mithilfe des mitgelieferten USB-Kabels.
- Download and install audio recording software such as Audacity (available online for free) on your computer.
- Open the recording software and select the USB Audio Device as the input source.
- Start recording in the software, then begin playing your record on the turntable as described in section 6.2.
- Once the record finishes, stop the recording in the software and save your digitized audio file.
7. Wartung
7.1 Reinigung des Plattenspielers
- Vor der Reinigung immer den Plattenspieler vom Stromnetz trennen.
- Use a soft, dry, lint-free cloth to wipe the cabinet and dust cover.
- Verwenden Sie keine Scheuermittel, Wachse oder Lösungsmittel, da diese die Oberfläche beschädigen können.
7.2 Pflege und Austausch der Stiftspitze
- The stylus is a delicate component. Avoid touching it with your fingers.
- Clean the stylus regularly using a soft brush, gently brushing from back to front.
- The stylus should be replaced after approximately 300-500 hours of playback, or if you notice a degradation in sound quality.
- To replace the stylus, carefully pull the old stylus assembly forward and down from the cartridge. Insert the new stylus assembly by pushing it upwards and backwards into the cartridge until it clicks into place.
8. Fehlerbehebung
If you encounter problems with your turntable, refer to the following common issues and solutions:
| Problem | Mögliche Ursache | Lösung |
|---|---|---|
| Kein Strom | Power adapter not connected; Power switch off; Wall outlet faulty. | Ensure power adapter is securely connected; Turn power switch to 'ON'; Test wall outlet with another device. |
| Kein Ton oder geringe Lautstärke | RCA cables not connected correctly; Amplifier/speakers off or volume low; Input selected incorrectly on ampschwerer. | Check RCA cable connections; Turn on amplifier/speakers and adjust volume; Select correct input source on your audio system. |
| Verzerrter Ton | Dirty stylus; Damaged stylus; Dirty record; Turntable not on a stable surface. | Clean the stylus; Replace the stylus if damaged; Clean the record; Ensure turntable is on a stable, level surface. |
| Plattenüberspringen | Dirty or scratched record; Stylus worn or damaged; Turntable not level; External vibrations. | Clean the record; Replace the stylus; Ensure turntable is level; Place turntable away from sources of vibration. |
| USB-Aufnahmeprobleme | USB cable not connected; Incorrect input selected in software; Software not installed. | Check USB cable connection; Select 'USB Audio Device' as input in recording software; Install Audacity or similar software. |
9. Spezifikationen
| Modellname | L-30BK |
| Marke | Lenco |
| Laufwerkstyp | Riemenantrieb |
| Geschwindigkeiten | 33 1/3, 45 U/min |
| Vorampschwerer | Eingebaut |
| Patronentyp | Movable Magnet Sensor (MMC) |
| Konnektivität | USB, RCA Audio Out |
| Automatische Abschaltung | Ja |
| Plattendurchmesser | 300 mm |
| Material | Wood (Enclosure) |
| Farbe | Schwarz |
| Artikelgewicht | 3.28 Kilogramm |
| Abmessungen (L x B x H) | 41L x 32B x 12H Zentimeter |
| Signal-Rausch-Verhältnis | 60 dB |
| Bandtage | 240 Volt |
| Stromquelle | Kabelgebundene Elektrik |
10. Garantie und Support
Lenco products are manufactured to high quality standards. In the event of a defect, your product is covered by the terms of the warranty in your country of purchase. For detailed warranty information, please refer to the warranty card included with your product or visit the official Lenco website. For technical support or service inquiries, please contact Lenco customer service through their official channels.