1. Wichtige Sicherheitshinweise
Please read all instructions carefully before using the Klarstein New Breeze 7 portable air conditioner. Retain this manual for future reference.
- Schließen Sie das Gerät immer an eine geerdete Steckdose an.
- Betreiben Sie das Gerät nicht mit beschädigtem Netzkabel oder Stecker.
- Stellen Sie sicher, dass das Gerät auf einer ebenen und stabilen Oberfläche steht.
- Maintain a minimum distance of 30 cm (12 inches) from walls and other objects for proper airflow.
- Blockieren Sie nicht die Luftein- oder -auslässe.
- Ziehen Sie den Stecker aus der Steckdose, bevor Sie das Gerät reinigen oder Wartungsarbeiten durchführen.
- Halten Sie Kinder und Haustiere während des Betriebs vom Gerät fern.
2. Produktüberschreitungview
The Klarstein New Breeze 7 is a portable air conditioner designed to provide cooling, dehumidification, and fan functions for your indoor spaces. It features a compact design and easy mobility.

Bild: Vorderseite view of the Klarstein New Breeze 7 portable air conditioner, showcasing its sleek white and black design.
3. Einrichtung und Installation
3.1 Auspacken
Carefully remove the air conditioner from its packaging. Check for any damage during transit. Keep all packaging materials for future storage or transport.
3.2 Platzierung
Place the unit on a firm, level surface in the desired room. Ensure there is adequate space around the unit for proper air circulation. Avoid placing it near heat sources or in direct sunlight.
3.3 Montage des Abgasschlauchs
The exhaust hose expels hot air from the room. Proper installation is crucial for efficient cooling.
- Schließen Sie den Abluftschlauchanschluss an den Luftauslass auf der Rückseite des Geräts an.
- Verlängern Sie den Abluftschlauch bis zum nächsten Fenster oder einer geeigneten Öffnung.
- Install the window sealing kit (if included) to prevent hot air from re-entering the room.
- Befestigen Sie das andere Ende des Abgasschlauchs am Fensterkit.

Image: The exhaust hose connected to the portable air conditioner and extended towards a window, illustrating the easy installation process.
3.4 Stromanschluss
Stecken Sie das Netzkabel in eine geerdete Standardsteckdose. Stellen Sie sicher, dass die Lautstärketage entspricht den Spezifikationen des Geräts.
4. Bedienungsanleitung
The Klarstein New Breeze 7 offers multiple operating modes and settings for optimal comfort.
4.1 Bedienfeld und Fernbedienung
The unit can be operated via the control panel on top of the unit or with the included remote control. Familiarize yourself with the buttons and display indicators.
4.2-Betriebsmodi
The unit features 4 operating modes:
- Automatikmodus: The unit automatically selects the operating mode (cooling, fan, or dry) based on the ambient room temperature.
- Kühlmodus: Provides powerful cooling with adjustable temperature settings.
- Trockenmodus (Entfeuchtung): Reduziert die Luftfeuchtigkeit im Raum ohne nennenswerte Kühlung.
- Gebläsemodus: Circulates air without cooling, offering 3 wind speeds.
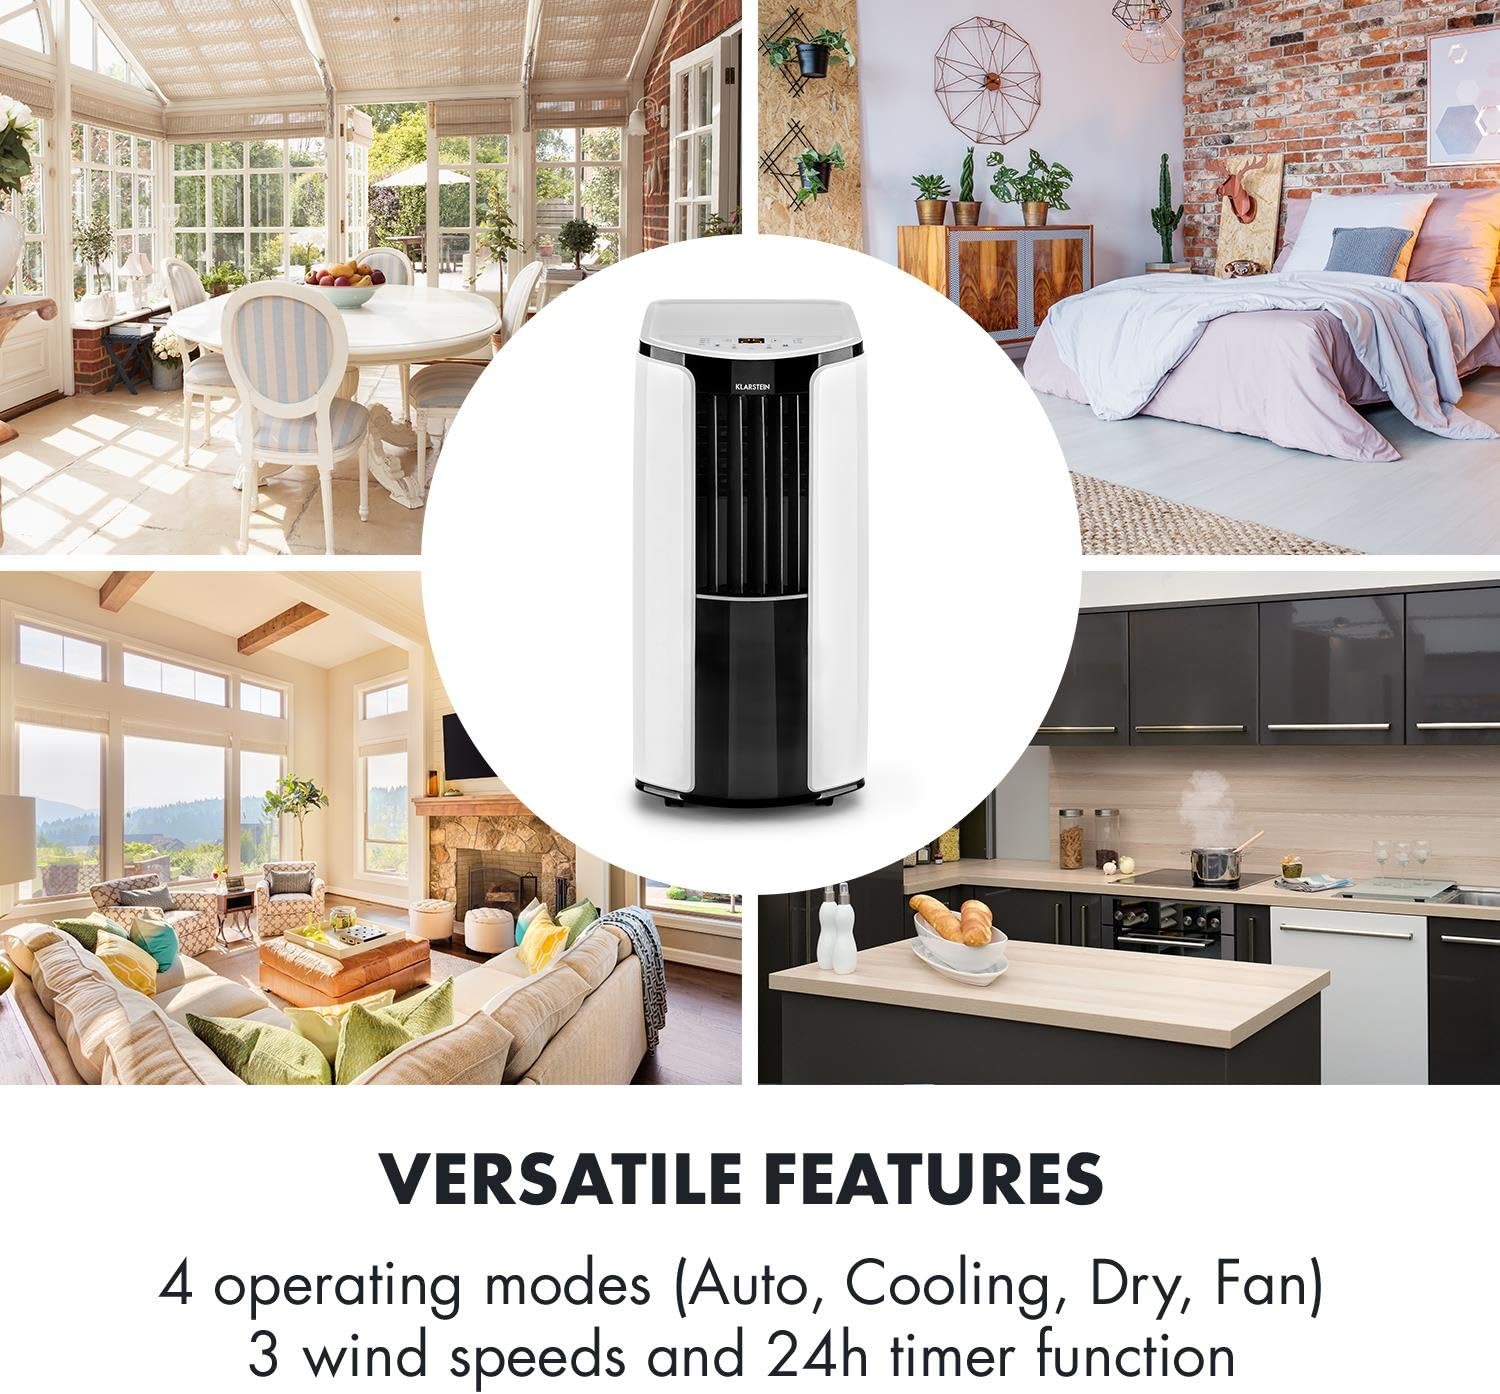
Image: An illustration highlighting the versatile features of the Klarstein New Breeze 7, including its four operating modes and timer function.
4.3 Temperatureinstellung
In Cooling Mode, you can adjust the desired temperature. The unit allows for temperature settings down to 16 °C (61 °F) for maximum comfort.

Image: A person relaxing in a room with the Klarstein New Breeze 7, illustrating the comfort provided by its adjustable temperature settings.
4.4 Luftstromeinstellung
The unit features automatic horizontal oscillation for wide air distribution and manual vertical adjustment of the air grid to direct airflow as needed.

Image: A close-up of the Klarstein New Breeze 7 showing the adjustable air grid and arrows indicating automatic horizontal oscillation and manual vertical adjustment.
4.5 Timer-Funktion
The 24-hour timer function allows you to program the unit to turn on or off automatically at a set time, enhancing energy efficiency and convenience.
5. Wartung
Regelmäßige Wartung gewährleistet optimale Leistung und verlängert die Lebensdauer Ihrer Klimaanlage.
5.1 Reinigung des Luftfilters
The air filter should be cleaned every two weeks or more frequently depending on usage. A dirty filter reduces cooling efficiency and airflow.
- Ziehen Sie den Stecker aus der Steckdose.
- Suchen Sie den Luftfilter an der Rück- oder Seite des Geräts und entnehmen Sie ihn.
- Waschen Sie den Filter mit lauwarmem Wasser und einem milden Reinigungsmittel. Gründlich ausspülen.
- Lassen Sie den Filter vollständig an der Luft trocknen, bevor Sie ihn wieder in das Gerät einsetzen.
5.2 Ablassen von angesammeltem Wasser
During cooling and dehumidification, water accumulates inside the unit. The unit has an internal water tank that needs to be drained periodically.
- Ziehen Sie den Stecker aus der Steckdose.
- Place a shallow pan or container under the drain port, usually located at the bottom rear of the unit.
- Entfernen Sie den Ablassstopfen, damit das Wasser abfließen kann.
- Nach dem Ablassen des Wassers den Ablassstopfen wieder fest verschließen.
5.3 Außenreinigung
Wischen Sie die Außenseite des Geräts mit einem weichen,amp Tuch. Verwenden Sie keine scharfen Chemikalien oder Scheuermittel.
5.4 Speicherung
If storing the unit for an extended period, ensure it is completely dry. Drain all water, clean the filter, and store it in a dry, upright position, preferably in its original packaging.
6. Fehlerbehebung
In diesem Abschnitt finden Sie häufig auftretende Probleme und deren Lösungen.
| Problem | Mögliche Ursache | Lösung |
|---|---|---|
| Das Gerät lässt sich nicht einschalten | Keine Stromversorgung Netzkabel nicht eingesteckt Voller Wassertank | Steckdose prüfen Stellen Sie sicher, dass das Netzkabel fest eingesteckt ist Entleeren Sie den Wassertank |
| Unzureichende Kühlung | Schmutziger Luftfilter Blocked air inlets/outlets Fenster/Türen offen Zimmer zu groß Auspuffschlauch nicht ordnungsgemäß montiert | Luftfilter reinigen Entfernen Sie alle Hindernisse Alle Fenster und Türen schließen Stellen Sie sicher, dass das Gerät für die Raumgröße geeignet ist. Check exhaust hose connection and window seal |
| Gerät ist laut | Einheit steht nicht auf ebener Fläche Lose Teile | Auf eine flache, stabile Oberfläche stellen Wenden Sie sich an den Kundendienst, falls die Geräusche weiterhin bestehen. |
| Wasserleck | Drain plug not secured Gerät gekippt | Ensure drain plug is tightly closed Stellen Sie das Gerät auf eine ebene Fläche |
7. Spezifikationen
Technical details for the Klarstein New Breeze 7 portable air conditioner.
| Besonderheit | Spezifikation |
|---|---|
| Modellnummer | New Breeze 7 |
| Abmessungen (L x B x H) | 40.49 x 38.99 x 81.99 cm |
| Gewicht | 35.5 kg |
| Energieaufnahme | 900 Watt |
| Geräuschpegel | 52 Dezibel |
| Kontrollmethode | Fernbedienung |
| Besonderheit | Tragbar |
| Formfaktor | Turm |
| Anwendung | Wohnen |

Image: The Klarstein New Breeze 7 in a living room setting, illustrating its strong cooling power with an air flow graphic.
8. Garantie und Support
The Klarstein New Breeze 7 comes with a limited warranty. Please refer to the warranty card included in your product packaging for specific terms and conditions.
For technical support, spare parts, or warranty claims, please contact Klarstein customer service. Have your model number (New Breeze 7) and purchase information ready when contacting support.
You can find contact information on the official Klarstein webWebsite oder über Ihren Händler.