
Bside EMT01
Bside EMT01 Digitales Holzfeuchtemessgerät – Benutzerhandbuch
Model: EMT01
1. Einleitung
This manual provides detailed instructions for the operation and maintenance of your Bside EMT01 Digital Wood Moisture Meter. This instrument is designed to accurately measure the moisture content in various wood materials, providing essential data for drying processes and quality control. Please read this manual thoroughly before using the device to ensure proper and safe operation.
2. Sicherheitshinweise
- Keep the device out of reach of children. The measurement probes are sharp and can cause injury.
- Do not attempt to measure live electrical circuits with this device. It is designed for wood moisture measurement only.
- Setzen Sie das Messgerät keinen extremen Temperaturen, hoher Luftfeuchtigkeit oder direkter Sonneneinstrahlung aus.
- Tauchen Sie das Gerät nicht in Wasser oder andere Flüssigkeiten.
- If the device is damaged, do not use it. Contact customer support for assistance.
- Um ein Auslaufen zu verhindern, sollte die Batterie entfernt werden, wenn das Gerät längere Zeit nicht benutzt wird.
3. Packungsinhalt
Bitte überprüfen Sie den Paketinhalt nach Erhalt. Sollten Artikel fehlen oder beschädigt sein, wenden Sie sich bitte an Ihren Händler.
- 1 x Bside EMT01 Digital Wood Moisture Meter
- 1 x Benutzerhandbuch (dieses Dokument)
4. Produktüberschreitungview
The Bside EMT01 features a clear LCD display, two sharp measurement pins, and intuitive buttons for mode selection and data hold. A protective cap covers the pins when not in use.
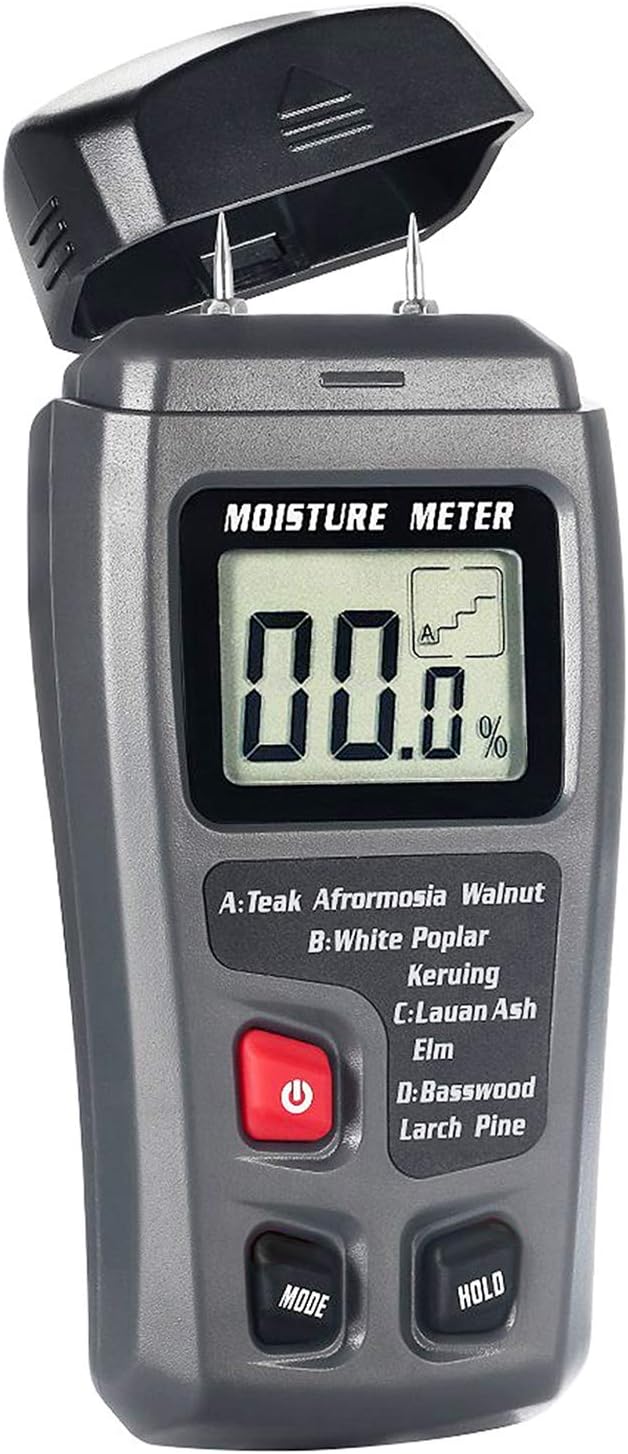
Abbildung 1: Front view of the Bside EMT01 Digital Wood Moisture Meter with the protective cap removed, showing the LCD display, measurement pins, and control buttons.
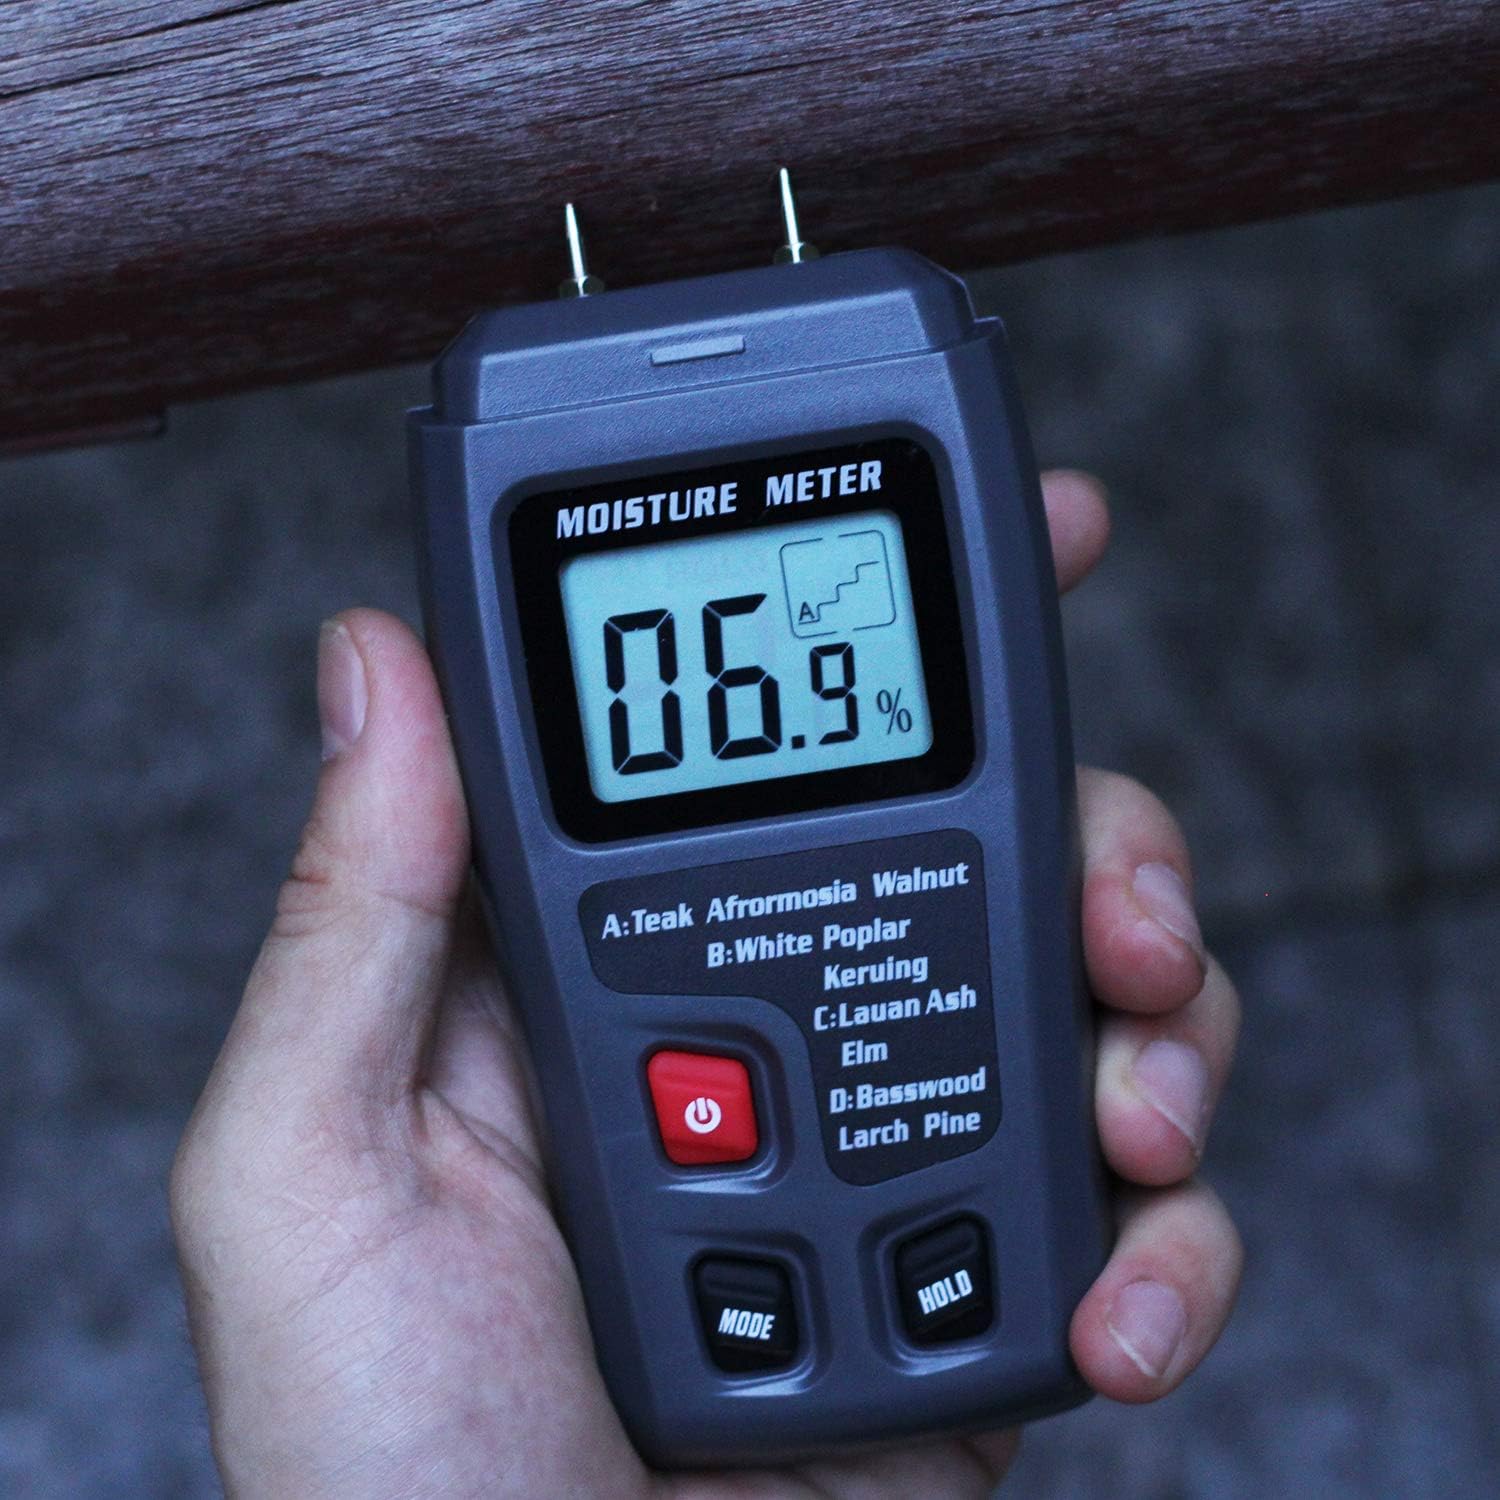
Abbildung 2: The Bside EMT01 Digital Wood Moisture Meter held in a hand, illustrating its ergonomic design and portability.
4.1. Komponenten
- Messstifte: Two sharp pins for penetrating wood surfaces to measure moisture.
- Schutzkappe: Covers the measurement pins when the device is not in use.
- LCD Anzeige: Shows moisture content percentage and selected wood group.
- Power-Taste (⏻): Schaltet das Gerät ein und aus.
- MODE-Taste: Selects the appropriate wood calibration scale (A, B, C, D).
- Halte den Knopf: Friert den aktuellen Messwert auf dem Display ein.
5. Spezifikationen
| Material | ABS |
| Anzeige | LCD Anzeige |
| Messbereich (Holz) | 0-99.9 % |
| Auflösung | 0.1 % |
| Genauigkeit | 0.5 % |
| Sondenlänge | 10 mm |
| Stromversorgung | 1 x 9V Batterie (nicht im Lieferumfang enthalten) |
| Artikelabmessungen (L x B x H) | 14 x 6.5 x 3 cm (5.51 x 2.56 x 1.18 Zoll) |
| Artikelgewicht | 104 g |
6. Einrichtung
6.1. Einlegen der Batterie
- Suchen Sie die Abdeckung des Batteriefachs auf der Rückseite des Geräts.
- Schieben oder lösen Sie den Deckel, um das Fach zu öffnen.
- Legen Sie eine 9V-Batterie ein und achten Sie darauf, dass die Polarität (+/-) mit dem Diagramm im Batteriefach übereinstimmt.
- Schließen Sie den Batteriefachdeckel fest.
Notiz: A 9V battery is not included in the package and must be purchased separately.
7. Bedienungsanleitung
7.1. Ein-/Ausschalten
- To turn on the device, press the red Power button (⏻Das LCD-Display leuchtet auf.
- To turn off the device, press and hold the Power button (⏻) für ein paar Sekunden.
- The device features an auto-power-off function to conserve battery life if inactive for a period.
7.2. Selecting Wood Group
Before taking a measurement, it is crucial to select the correct wood calibration scale (group) for the material you are testing. This ensures accurate readings. Press the MODUS button repeatedly to cycle through the four wood groups: A, B, C, and D. The selected group will be indicated on the LCD display.
Tabelle der Holzartengruppen:
| Gruppe | Holzarten |
|---|---|
| A | Teak, Walnut, Afrormosia, Rubber Tree, Imbuia, Kokrodua, Niove Bidinkala, Cork |
| B | Keruing, White Poplar, Beech, Cedar, Tola |
| C | Lauan, Ash, Elm, Fir, Maple, Padauk, Oak, Cherry |
| D | Basswood, Larch, Pine, Birch |
7.3. Durchführen einer Messung
- Entfernen Sie die Schutzkappe von den Messstiften.
- Schalten Sie das Gerät durch Drücken des Ein-/Ausschalters ein.
- Select the appropriate wood group using the MODE button.
- Carefully insert the two measurement pins into the wood material. Ensure both pins penetrate the surface to obtain an accurate reading.
- Der Feuchtigkeitsgehalt in Prozenttage wird auf dem LCD angezeigt.
- Um den aktuellen Messwert auf dem Display zu speichern, drücken Sie die Taste HALTEN Drücken Sie die Taste erneut, um die Haltefunktion aufzuheben.
- After measurement, remove the pins from the wood and replace the protective cap.
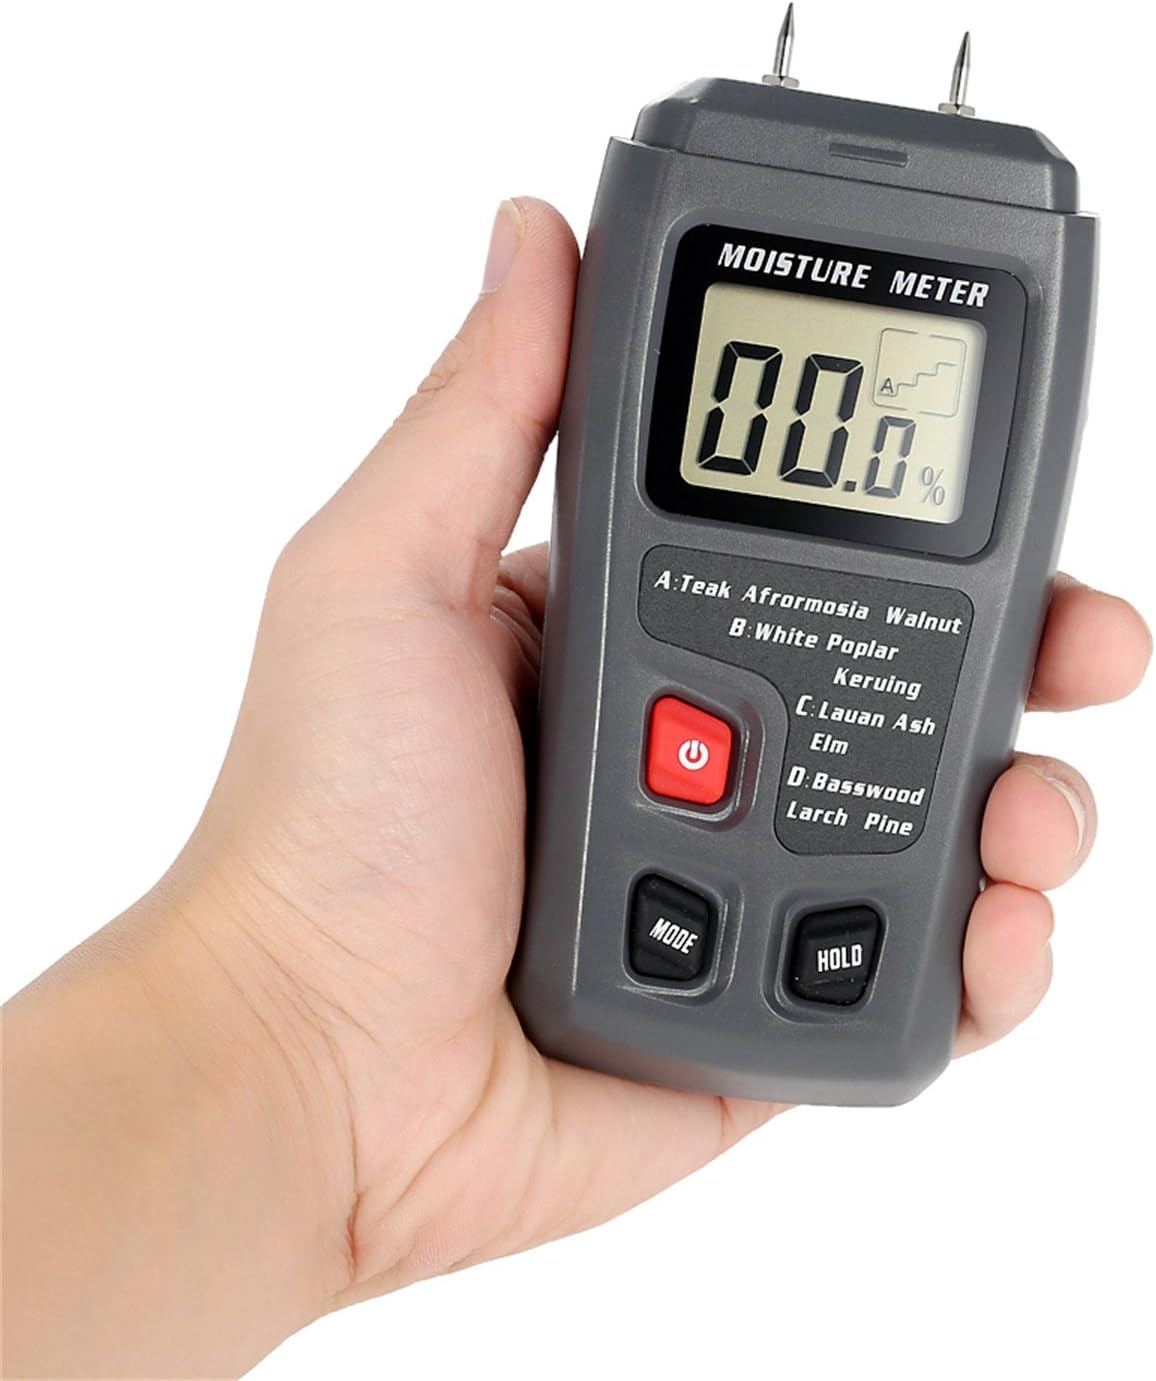
Abbildung 3: The moisture meter in use, with its pins inserted into a piece of wood to measure moisture content.
Wichtig: The pins will leave small marks on the wood surface. Consider this when choosing the measurement location.
8. Wartung
- Reinigung: Reinigen Sie das Gerät mit einem weichen, trockenen Tuch. Verwenden Sie keine Scheuermittel oder Lösungsmittel.
- Lagerung: Bewahren Sie das Messgerät an einem kühlen, trockenen Ort, vor direkter Sonneneinstrahlung und extremen Temperaturen geschützt auf. Setzen Sie die Schutzkappe beim Lagern immer wieder auf die Messspitzen.
- Batteriewechsel: When the battery indicator appears on the display, replace the 9V battery as described in the "Battery Installation" section.
9. Fehlerbehebung
| Problem | Mögliche Ursache | Lösung |
|---|---|---|
| Gerät lässt sich nicht einschalten. | Die Batterie ist leer oder falsch eingesetzt. | Tauschen Sie die 9V-Batterie aus oder überprüfen Sie deren Polarität. |
| No reading or "0.0%" displayed. | Pins not fully inserted into the wood, or wood is extremely dry. | Ensure pins penetrate the wood surface. If wood is very dry, "0.0%" may be an accurate reading. |
| Ungenaue Messwerte. | Incorrect wood group selected; pins are dirty or damaged. | Verify the correct wood group is selected. Clean pins with a dry cloth. If pins are damaged, contact support. |
10. Garantie und Support
This product comes with a standard manufacturer's warranty. For specific warranty terms and conditions, please refer to the documentation provided at the time of purchase or contact your retailer. For technical support or service inquiries, please contact the seller or manufacturer directly.
Ask a question about this manual
Ask about setup, troubleshooting, compatibility, parts, safety, or missing instructions. Manuals+ will review the question and use this page’s manual context to help answer it.