1. Einleitung
Thank you for choosing the Petlibro Automatic Pet Feeder. This device is designed to provide consistent and timely meals for your pet, ensuring they are fed according to a set schedule, even when you are away. Please read this manual thoroughly before use to ensure proper operation and maintenance of your feeder.
2. Wichtige Sicherheitshinweise
Bitte beachten Sie die folgenden Sicherheitsvorkehrungen, um Verletzungen oder Schäden am Produkt zu vermeiden:
- Lesen Sie alle Anweisungen sorgfältig durch, bevor Sie den Futterautomaten in Betrieb nehmen.
- Halten Sie den Futterspender von Kindern und Haustieren fern, wenn er nicht benutzt wird oder während der Montage.
- Tauchen Sie das Hauptgerät nicht in Wasser oder andere Flüssigkeiten.
- Use only dry pet food with a diameter between 5-15mm. Do not use wet, canned, or moist food.
- Stellen Sie sicher, dass der Futterautomat auf einer stabilen, ebenen Fläche steht.
- Vor der Reinigung oder Durchführung von Wartungsarbeiten den Netzstecker des Futterautomaten ziehen.
- Versuchen Sie nicht, den Futterautomaten selbst zu reparieren oder zu verändern. Wenden Sie sich an den Kundendienst, um Unterstützung zu erhalten.
- Batterien sind gemäß den örtlichen Vorschriften verantwortungsvoll zu entsorgen.
3. Packungsinhalt
Bitte überprüfen Sie den Packungsinhalt, um sicherzustellen, dass alle Artikel vorhanden sind:
- Petlibro Automatic Pet Feeder Main Unit
- Futternapf
- USB-C Power Adapter and Cable
- Trockenmittelbeutel (vorinstalliert oder separat)
- Bedienungsanleitung
4. Produktüberschreitungview
Familiarize yourself with the different parts of your Petlibro Automatic Pet Feeder:
- Futtertank: Lagert Trockenfutter für Haustiere.
- Deckel: Covers the food tank to keep food fresh.
- Bedienfeld: Buttons and display for setting schedules and manual feeding.
- Gastronomiebetrieb: Dort, wo das Futter in die Schüssel fließt.
- Futternapf: Abnehmbarer Futternapf für Ihr Haustier.
- Stromanschluss (USB-C): Wird mit dem Netzteil verbunden.
- Batteriefach: Holds backup batteries (not included).
5. Einrichtung
Follow these steps to set up your Petlibro Automatic Pet Feeder:
5.1 Montage
- Auspacken: Entnehmen Sie vorsichtig alle Komponenten aus der Verpackung.
- Futternapf installieren: Place the food bowl securely at the base of the feeder.
- Install Food Tank: Align the food tank with the base and twist to lock it into place.
- Trockenmittelbeutel einlegen: If not pre-installed, open the desiccant compartment (usually under the lid) and insert the desiccant bag to keep food fresh. Replace every 15-30 days.

Image: Step-by-step assembly guide for the Petlibro Automatic Pet Feeder. It shows how to twist open the lid, take out the food bowl, put the desiccant bag into its compartment, install the food tank, put the lid back on, and finally install the food bowl.
5.2 Netzteil
The feeder can be powered by a USB-C adapter or backup batteries.
- Primäre Energie: Connect the USB-C power adapter to the feeder's power port and plug it into a wall outlet.
- Batterie-Backup (optional): Für Machttages, install 3 D-cell batteries (not included) into the battery compartment at the bottom of the feeder. This ensures continuous operation.
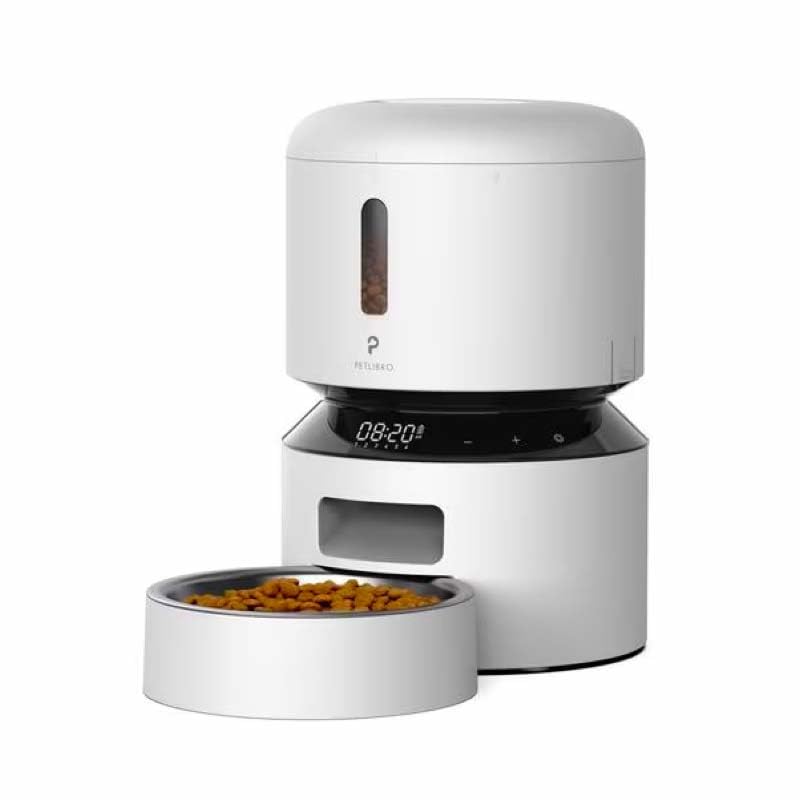
Image: Diagram illustrating the dual power supply system of the Petlibro Automatic Pet Feeder. It shows the USB-C adapter connected for primary power and the battery compartment for backup power. A note indicates that batteries are not included.
6. Bedienungsanleitung
Once assembled and powered, you can begin programming your feeder.
6.1 Befüllen des Futtertanks
- Öffnen Sie den Deckel des Futterbehälters.
- Pour dry pet food into the tank. Ensure the food is within the recommended size (5-15mm diameter).
- Close the lid securely to maintain freshness.
6.2 Setting Meal Schedules and Portions
The feeder allows you to schedule up to 6 meals per day, with 1 to 50 portions per meal.

Image: A cat eating from the Petlibro Automatic Pet Feeder, illustrating the feeder's function. Text overlays indicate "Portion: 1-50" and "Meals: 1-6", highlighting the customizable feeding schedule.
- Aktuelle Uhrzeit einstellen: Use the control panel buttons (e.g., "SET", "UP", "DOWN") to set the current time.
- Essenszeiten im Programm: Press the "MEAL" button to enter meal programming mode. Select the desired meal number (e.g., Meal 1) and set the feeding time.
- Feste Portionen: For each programmed meal, set the number of portions (1-50) using the "PORTION" or "UP/DOWN" buttons.
- Repeat for all meals: Program up to 6 meals as needed.
- Einstellungen speichern: Ensure all settings are saved according to the feeder's specific interface (usually by pressing "SET" or waiting for auto-save).
6.3 Manuelle Fütterung
To dispense food instantly, press the manual feed button (often labeled "FEED" or a paw icon) on the control panel. Each press typically dispenses one portion.
7. Wartung und Reinigung
Regelmäßige Reinigung gewährleistet Hygiene und verlängert die Lebensdauer Ihres Futterautomaten.
- Stecker ziehen: Always unplug the feeder from the power outlet before cleaning.
- Zerlegen: Remove the food bowl and food tank.
- Saubere Komponenten: Wash the food bowl and food tank with mild soap and water. Rinse thoroughly and dry completely before reassembling.
- Hauptgerät abwischen: Wischen Sie das Hauptgerät mit einem weichen, damp Tuch. Tauchen Sie das Hauptgerät nicht in Wasser.
- Trockenmittel ersetzen: Replace the desiccant bag every 15-30 days to maintain food freshness.
- Zusammenbauen: Stellen Sie sicher, dass alle Teile trocken sind, bevor Sie den Zuführer wieder zusammenbauen.
8. Fehlerbehebung
If you encounter issues with your feeder, refer to the following common problems and solutions:
| Problem | Mögliche Ursache | Lösung |
|---|---|---|
| Futterspender schaltet sich nicht ein. | No power connection; batteries depleted or incorrectly installed. | Überprüfen Sie den Anschluss des Netzteils; tauschen Sie die Batterien aus oder stellen Sie die richtige Polarität sicher. |
| Futterausgabe funktioniert nicht. | Food tank empty; food jammed; dispenser blocked; incorrect schedule settings. | Refill food tank; clear any food jams; check dispenser for blockages; verify meal schedule and portion settings. |
| Food dispenses too much/too little. | Falsche Portionseinstellungen. | Adjust portion settings for each meal. |
| Anzeige funktioniert nicht. | Stromversorgungsproblem; Displaystörung. | Überprüfen Sie die Stromversorgung; sollte das Problem weiterhin bestehen, wenden Sie sich bitte an den Kundendienst. |
9. Spezifikationen
| Besonderheit | Detail |
|---|---|
| Produktname | Petlibro Automatic Pet Feeder |
| Modell | 3L Futterautomat für Haustiere |
| Kapazität | 3 Liter |
| Material | Food-grade ABS plastic |
| Stromversorgung | USB-C adapter (5V/1A); 3 x D-cell batteries (backup, not included) |
| Mahlzeiten pro Tag | Up to 6 meals |
| Portionen pro Mahlzeit | 1-50 portions (approx. 5-10g per portion, depending on food density) |
| Empfohlene Lebensmittelgröße | 5-15 mm große, trockene Kroketten |
| Farbe | Weiß |
10. Garantie und Support
Your Petlibro Automatic Pet Feeder comes with a standard manufacturer's warranty. For detailed warranty information, please refer to the warranty card included in your package or visit the official Petlibro webWebsite.
If you have any questions, require technical support, or need assistance with your product, please contact Petlibro customer service. Contact details can typically be found on the product packaging, the official website, or by searching for "Petlibro customer support" online.