1. Einleitung
The Modecom Oberon Pro Midi Tower is a computer case designed for users seeking a functional and spacious interior with a modern aesthetic. This manual provides essential information for the proper installation, operation, and maintenance of your computer case, ensuring optimal performance and longevity of your components.
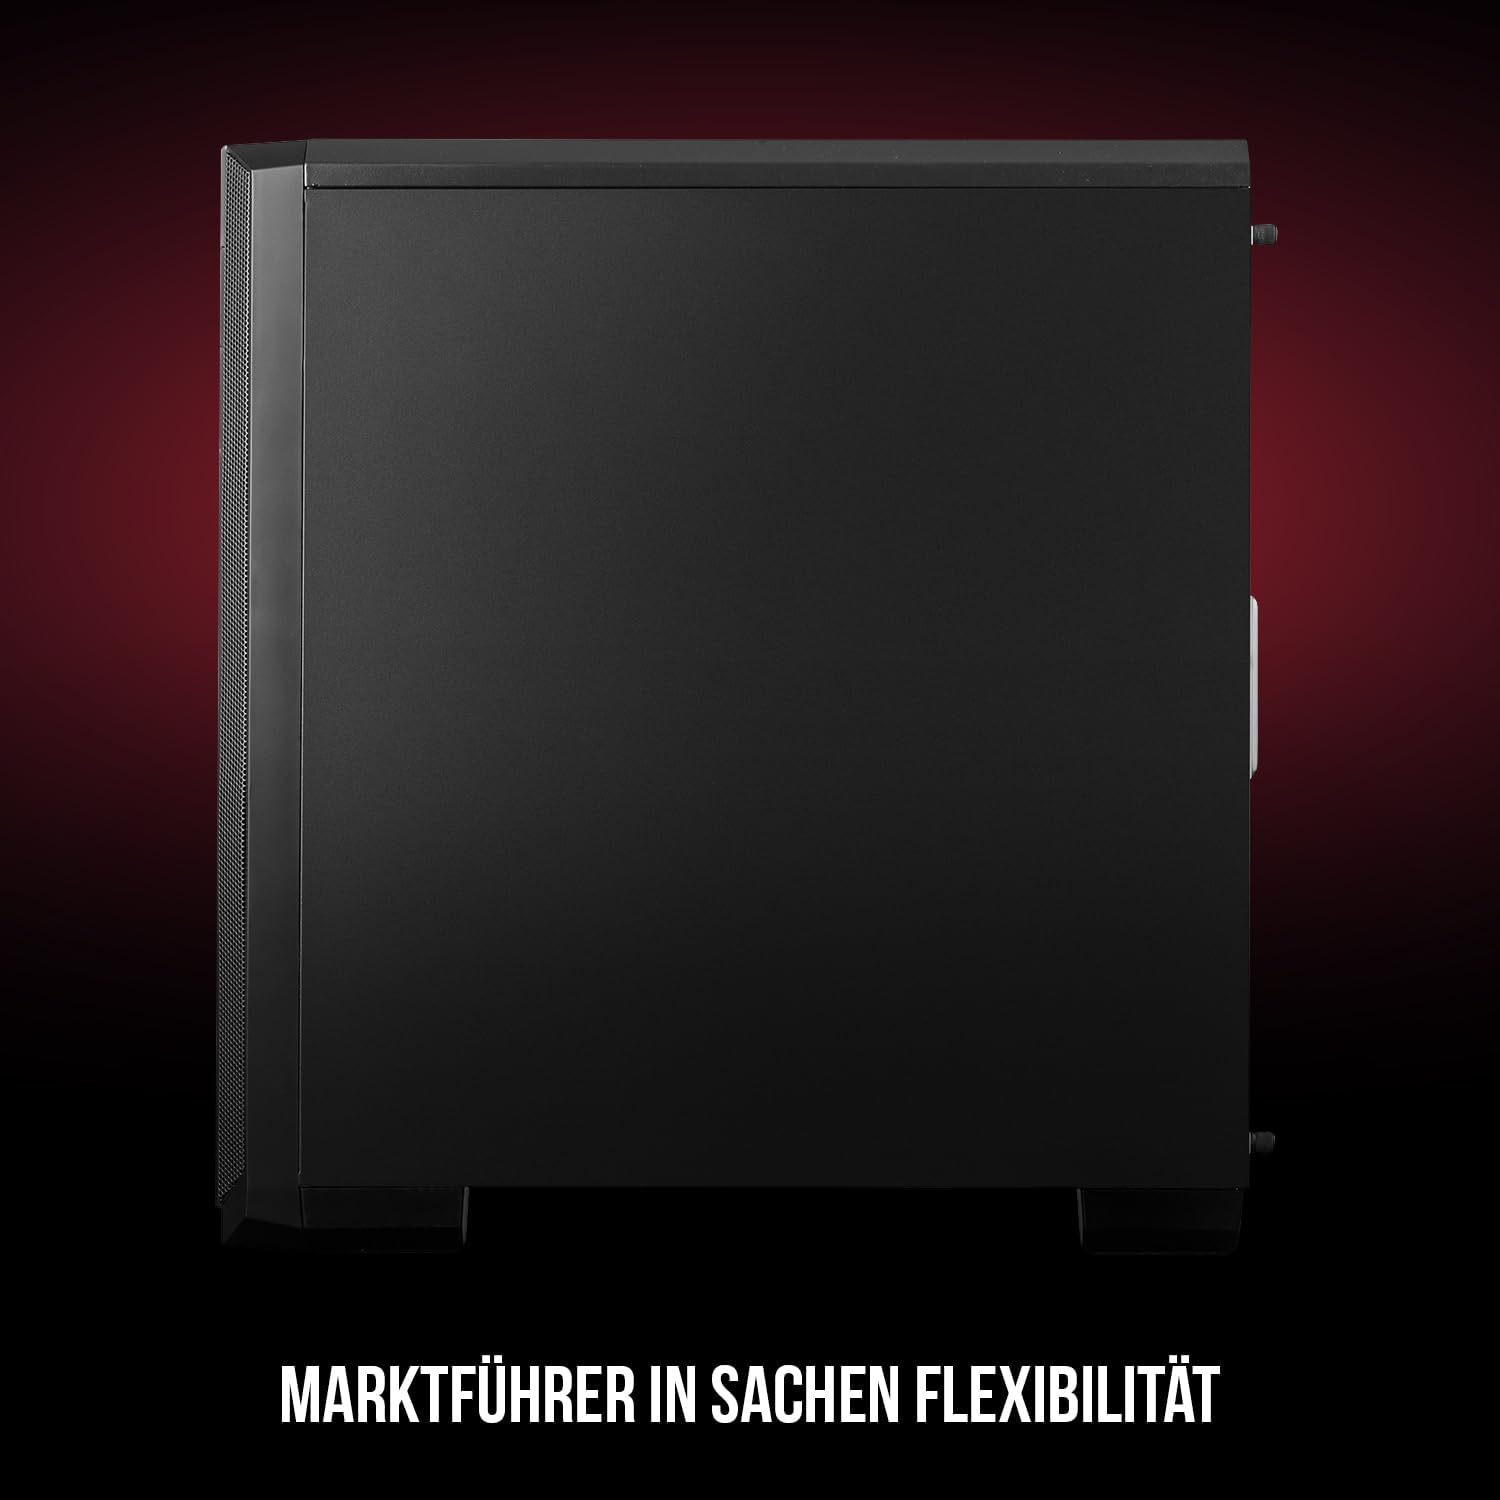
Abbildung 1: Vorder- und Seitenansicht view of the Modecom Oberon Pro Midi Tower computer case.
2. Sicherheitshinweise
- Vor dem Einbau oder Ausbau von Bauteilen muss immer die Stromversorgung von der Steckdose getrennt werden.
- Behandeln Sie die Bauteile vorsichtig, um elektrostatische Entladungen zu vermeiden. Erwägen Sie die Verwendung eines antistatischen Armbands.
- Halten Sie Kleinteile und Werkzeuge von Kindern fern.
- Sorgen Sie für ausreichende Belüftung rund um das Gehäuse, um eine Überhitzung zu vermeiden.
- Do not attempt to modify the case structure, as this may void your warranty and pose safety risks.
3. Packungsinhalt
Bitte überprüfen Sie, ob alle folgenden Artikel in Ihrem Paket enthalten sind:
- Modecom Oberon Pro Midi Tower Computer Case
- Accessory box (screws, standoffs, cable ties)
- Benutzerhandbuch (dieses Dokument)
4. Hauptmerkmale
- Geräumiger Innenraum: Designed to accommodate high-end components and facilitate good airflow.
- Effiziente Kühlung: Includes two pre-mounted 120mm fans (front and rear) to prevent component overheating.
- Werkzeuglose Installation: Supports tool-free mounting for SSD/HDD drives and expansion cards.
- Staubfiltration: Features easily dismountable magnetic filters on the top, front, and bottom (under the power supply unit) to keep the interior clean.
- Optimized Cable Management: Provides a system for convenient wiring organization.
- Long PSU Tunnel: Offers a 240mm space for power supplies, simplifying installation and cable arrangement.
5. Einrichtung und Installation
5.1. Vorbereitung des Falls
Before installation, remove the side panels of the case. The Oberon Pro features sound-dampening mats on the side panels to reduce noise.

Abbildung 2: Innenraum view showing sound-dampening mats on the side panel.
5.2. Motherboard-Installation
Install the necessary standoffs for your motherboard form factor (ATX, Micro ATX, ITX). Carefully place your motherboard into the case, aligning it with the standoffs, and secure it with screws.

Figure 3: Interior layout with pre-installed rear fan and motherboard tray.
5.3. Drive Installation (SSD/HDD)
The Oberon Pro supports tool-free installation for three 2.5" SSDs and two 3.5" HDDs. The 3.5" HDD bays are located in the power supply tunnel at the bottom of the case. 2.5" SSDs can be mounted on both sides of the motherboard tray.

Figure 4: Dedicated bays for HDD and SSD storage devices.
5.4. Installation des Netzteils
The case features a long PSU tunnel (240mm) at the bottom. Install your power supply unit into this tunnel and secure it. This design aids in cable management and airflow.
5.5. Expansion Card Installation (PCI/PCIe)
Install your graphics card or other expansion cards into the PCI/PCIe slots. The case supports tool-free mounting for these cards, allowing for easy installation and removal.
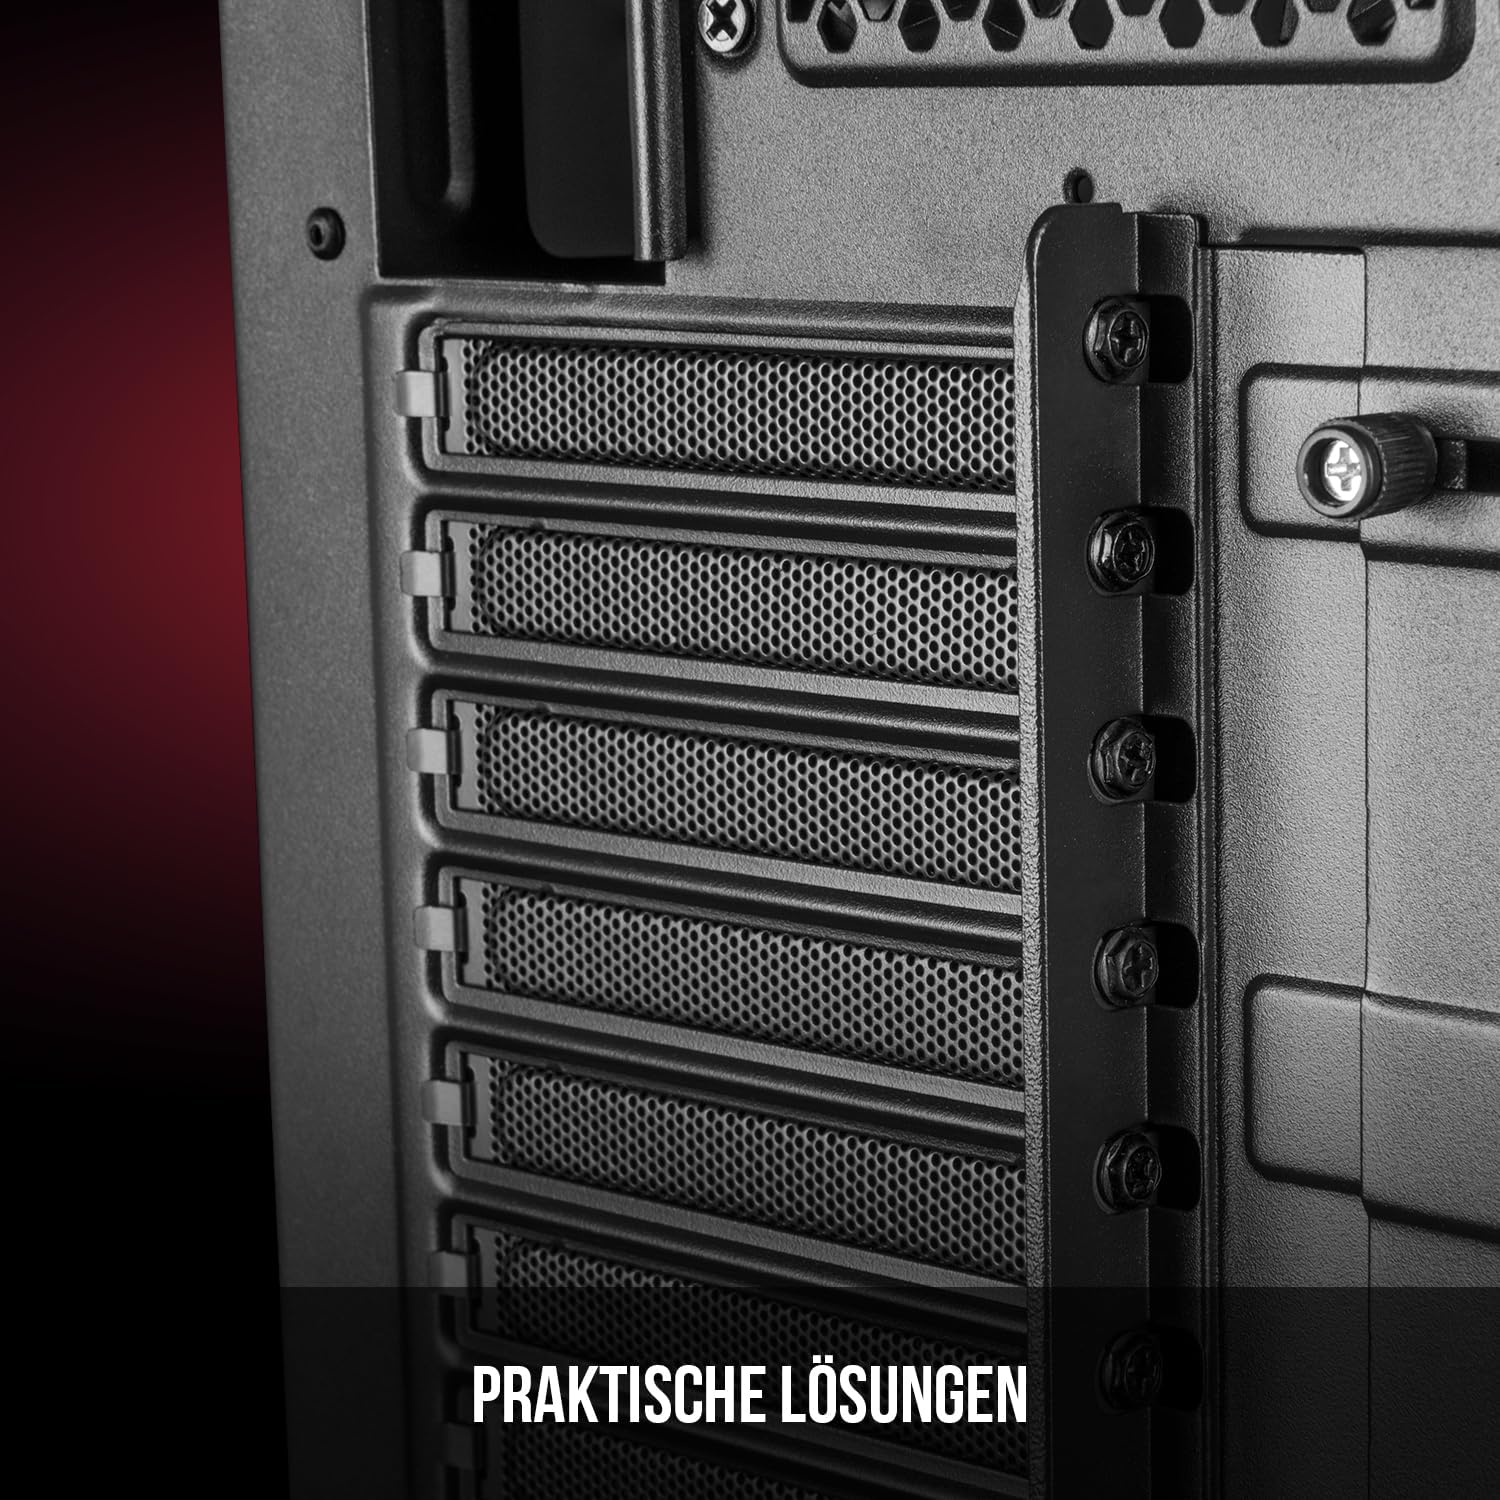
Abbildung 5: Innenraum hinten view highlighting the expansion card slots.
5.6. Kabelmanagement
Utilize the provided cable routing options and tie-down points behind the motherboard tray to organize cables. This improves airflow and maintains a tidy interior.
6. Kühlsystem
The Oberon Pro comes with two pre-installed 120mm fans, one at the front and one at the rear, to ensure adequate airflow. The maximum height for a CPU cooler is 163mm, and the maximum length for a video card is 395mm, allowing for compatibility with a wide range of components.
7. Wartung
To maintain optimal performance and prevent dust buildup, regularly clean the dust filters. The magnetic filters on the top, front, and bottom of the case are easily dismountable for cleaning. Use compressed air or a soft brush to remove accumulated dust.
8. Fehlerbehebung
- Kein Strom: Ensure all power cables are securely connected to the motherboard, power supply, and wall outlet. Check the power button connection to the motherboard.
- Überhitzung: Verify that all fans are spinning correctly and that dust filters are clean. Ensure proper cable management to avoid obstructing airflow.
- Anschlüsse an der Vorderseite funktionieren nicht: Check that the front panel connectors (USB, audio) are correctly plugged into the motherboard headers.
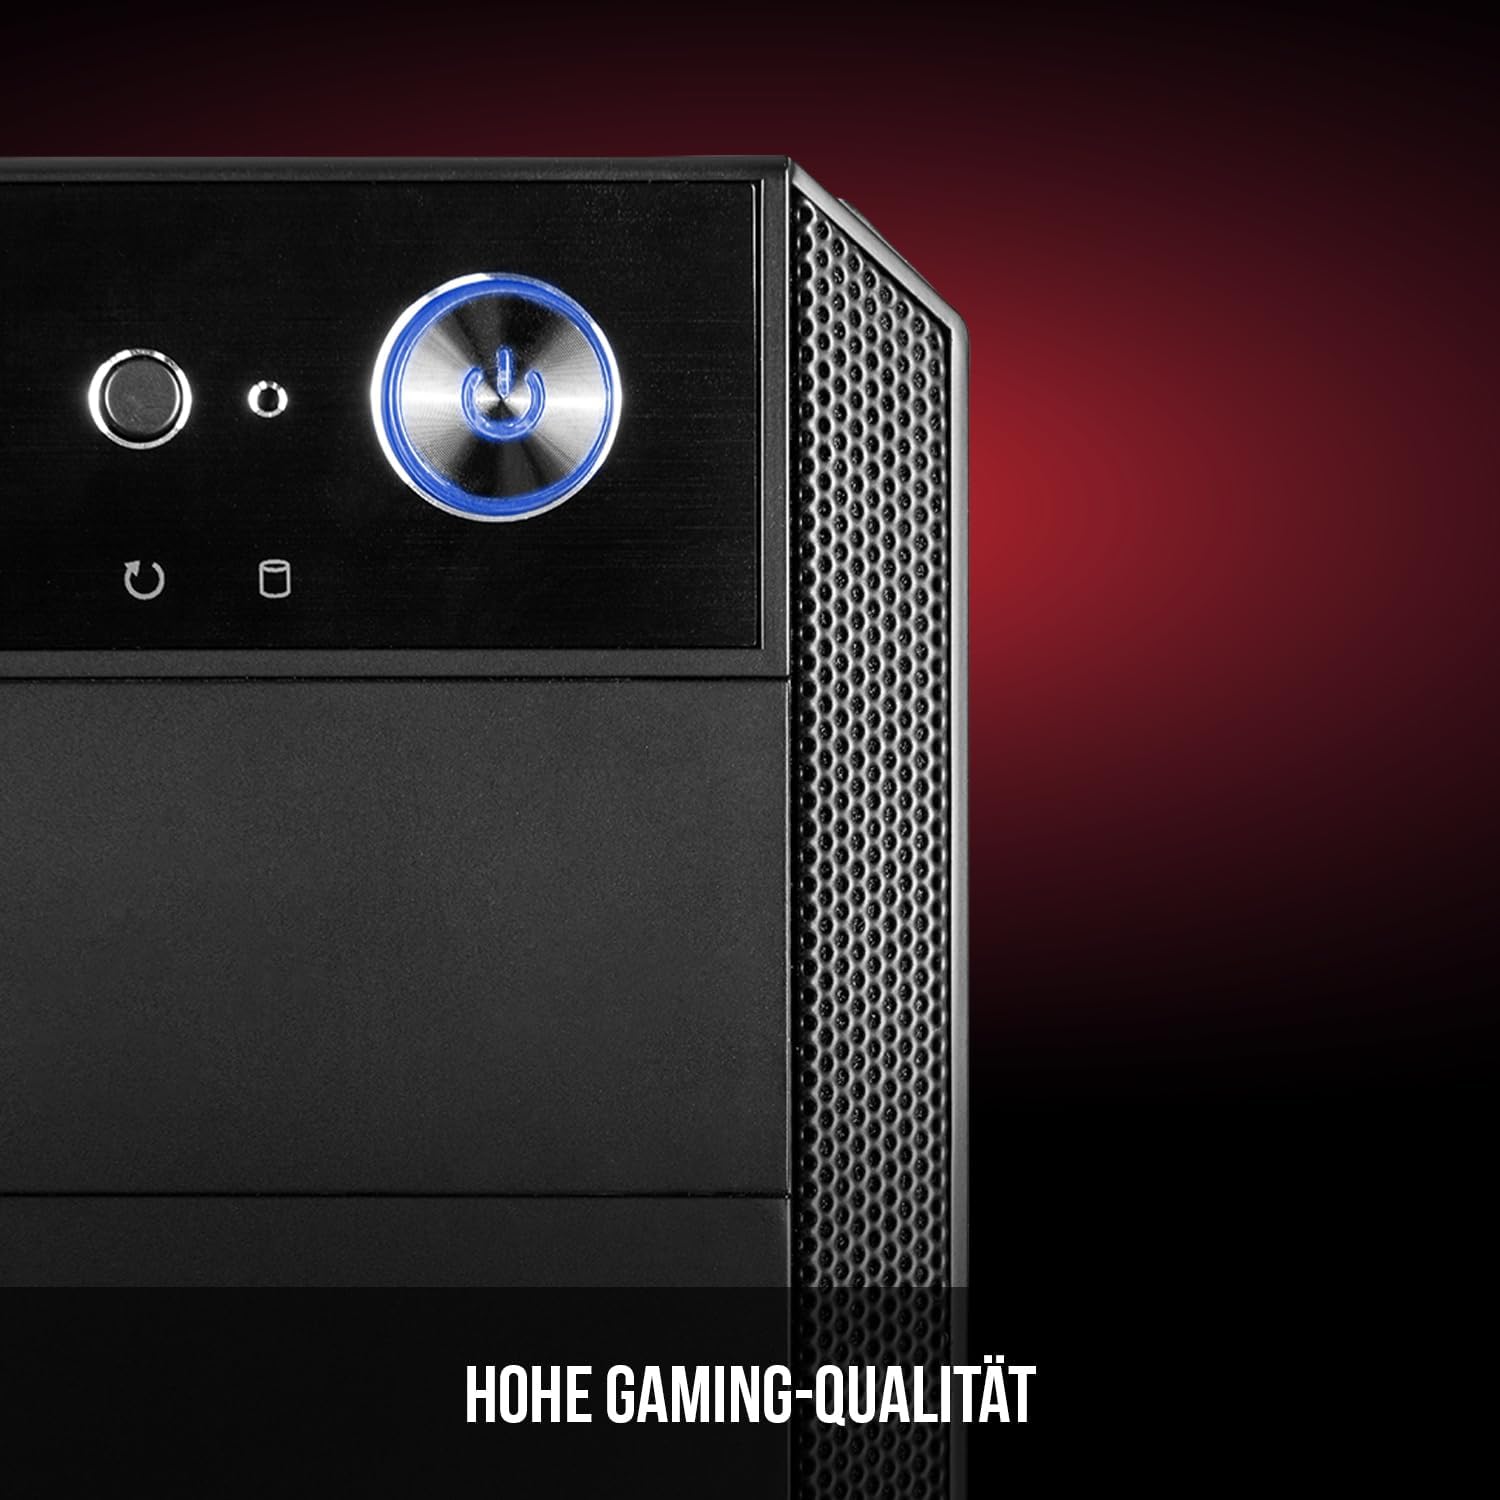
Figure 6: Front panel I/O ports for connectivity.
9. Spezifikationen
| Besonderheit | Spezifikation |
|---|---|
| Marke | Modecom |
| Modellname | Oberon Pro |
| Modellnummer | AT-OBERON-PS-10-000000-0002 |
| Farbe | Schwarz |
| Gehäusetyp | Midi-Tower |
| Motherboard-Kompatibilität | ATX, Micro-ATX, ITX |
| Material | Legierter Stahl |
| Kühlmethode | Luft |
| Vorinstallierte Lüfter | 2 x 120mm (Front, Rear) |
| Maximale Höhe des CPU-Kühlers | 163 mm |
| Maximale GPU-Länge | 395 mm |
| Laufwerksschächte | 3 x 2.5"-SSD, 2 x 3.5"-HDD |
| Anzahl USB-Anschlüsse | 4 |
| Besondere Merkmale | Reset Button, Dust Filter, LED Indicators, Side Window |
| Artikelgewicht | 5270 Gramm |

Figure 7: Rear exterior view of the computer case.
10. Garantie und Support
For warranty information and technical support, please refer to the official Modecom webBesuchen Sie unsere Website oder kontaktieren Sie Ihren Händler. Bewahren Sie Ihren Kaufbeleg für eventuelle Garantieansprüche auf.