Sunco Lighting DL_SL6-14W
Sunco Lighting 6-Inch Ultra-Thin LED Recessed Light Manual
Model: DL_SL6-14W
Einführung
This manual provides detailed instructions for the installation, operation, and maintenance of your Sunco Lighting 6-Inch Ultra-Thin LED Recessed Ceiling Lights. These 14W, 5000K Daylight fixtures are designed for easy installation without a can, featuring a wafer-thin profile and an integrated junction box. They offer seamless dimming capabilities and are IC rated for direct contact with insulation.
Sicherheitshinweise
- Vor Installationen oder Wartungsarbeiten muss immer die Stromzufuhr am Sicherungsautomaten unterbrochen werden.
- Wenn Sie hinsichtlich des Installationsvorgangs unsicher sind, wenden Sie sich an einen qualifizierten Elektriker.
- Stellen Sie sicher, dass alle elektrischen Anschlüsse den lokalen und nationalen Elektrovorschriften entsprechen.
- Versuchen Sie nicht, die Vorrichtung zu verändern.
- Dieses Produkt ist nur für die Verwendung in Innenräumen bestimmt.
- The fixture is IC rated, suitable for direct contact with insulation.
Lieferumfang
Jedes Paket enthält die folgenden Komponenten:
- 6x Sunco Lighting 6-Inch Ultra-Thin LED Recessed Lights
- 6x Integrated Junction Boxes
- Installation Hardware (e.g., wire nuts, spring clips)
- Bedienungsanleitung
Technische Daten
| Besonderheit | Detail |
|---|---|
| Modellnummer | DL_SL6-14W |
| Größe | 6 Zoll |
| Farbtemperatur | 5000K Tageslicht |
| Wastage | 14 Watt |
| Helligkeit | 850 Lumen |
| Bandtage | 120 Volt |
| Dimmbar | Ja (10–100 %) |
| Material | Polycarbonate, Copper Wiring |
| Verwendung im Innen- und Außenbereich | Innenbereich |
| Zertifizierungen | Energy Star, ETL (5005842), FCC (L10), RoHS |
| Artikelgewicht | 0.01 Ounces (per unit) |
| Technische Daten | 7 x 1 x 7 Zoll |
Note: Efficiency is approximately 61 lumens per watt.

Image: Detailed dimensions of the light fixture and junction box.
Setup und Installation
These ultra-thin LED recessed lights are designed for easy, canless installation. Follow these steps for proper setup:
Erforderliche Werkzeuge:
- Schraubendreher
- Abisolierzangen
- Maßband
- Hole Saw (appropriate size for 6-inch fixture)
- Schutzbrille
Installationsschritte:
- Strom ausschalten: Before starting, ensure the power to the installation area is turned off at the circuit breaker to prevent electrical shock.
- Cut Hole in Ceiling: Use a hole saw to cut a 6-inch diameter hole in the desired ceiling location. Ensure there are no obstructions (e.g., joists, pipes) behind the ceiling.
- Verkabelung anschließen: Open the junction box. Connect the house electrical wires to the fixture wires using the provided wire nuts:
- Black (Live) to Black (Fixture)
- White (Neutral) to White (Fixture)
- Green or Bare Copper (Ground) to Green (Fixture)
- Place Junction Box: Insert the junction box into the ceiling hole. The compact design allows it to sit above the ceiling.
- Leuchteninstallation: Connect the light fixture to the junction box cable. Fold the spring-loaded clips on the side of the light fixture upwards and push the fixture into the ceiling hole. The clips will automatically snap down and hold the fixture securely in place.
- Prüflampe: Schalten Sie die Stromversorgung am Sicherungsautomaten wieder ein und testen Sie die Leuchte.

Image: Installation diagram showing the junction box connected to house wiring and the light fixture with spring clips.
Video: Ein überview of Sunco Lighting's commitment to quality and customer service, including product testing and design.
Bedienungsanleitung
Your Sunco Lighting LED recessed lights are designed for simple operation and enhanced functionality.
Ein-/Ausschalten:
Operate the lights using a standard wall switch connected to the circuit. Flip the switch to turn the lights on or off.
Dimmfunktion:
These LED fixtures are fully dimmable from 10% to 100%. To utilize the dimming feature, ensure you have a compatible LED dimmer switch installed on the circuit. Adjust the dimmer switch to achieve your desired brightness level.
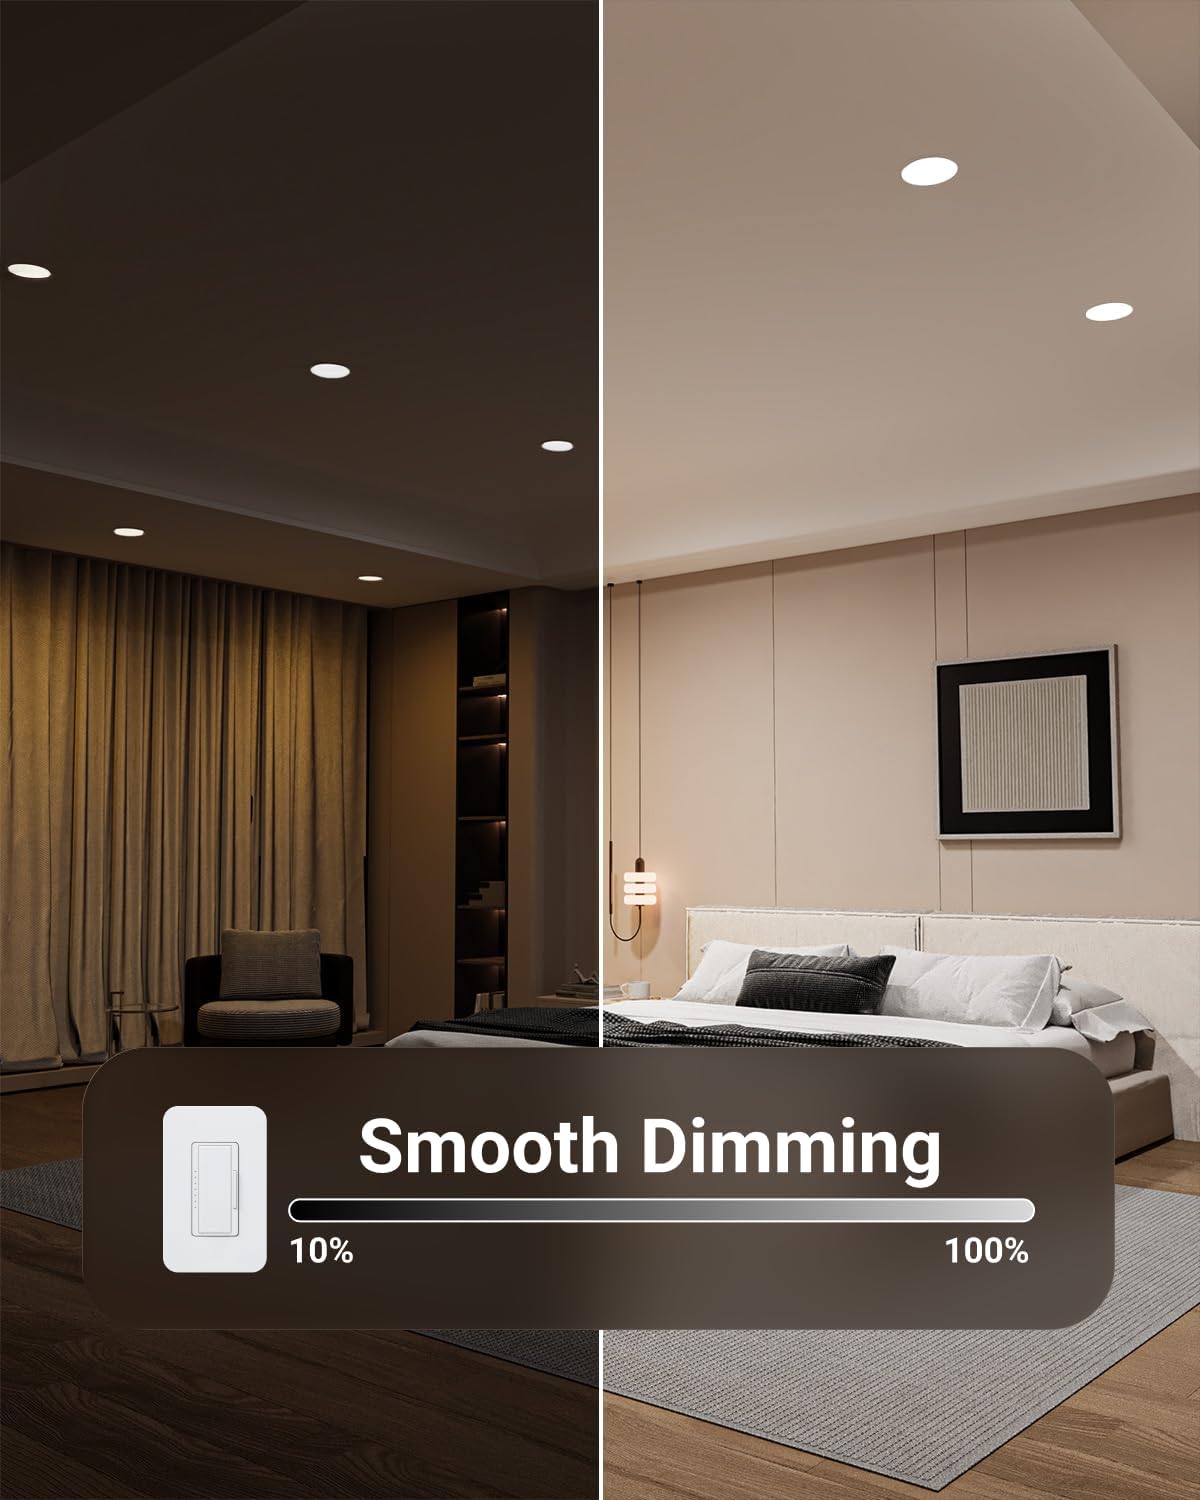
Image: Visual representation of the smooth dimming capability from 10% to 100%.
Wartung
The Sunco Lighting LED recessed lights require minimal maintenance.
- Reinigung: Vor der Reinigung unbedingt den Strom abschalten. Wischen Sie die Leuchte mit einem weichen, trockenen oder leicht feuchten Tuch ab.amp Tuch. Verwenden Sie keine scharfen Chemikalien oder Scheuermittel.
- Lampenwechsel: These LED fixtures have integrated LEDs and do not require bulb replacement. The estimated lifespan is 50,000 hours.
- Inspektion: Periodically inspect the fixtures for any signs of damage or loose connections. If any issues are found, turn off power and consult a qualified electrician.
Fehlerbehebung
If you encounter issues with your LED recessed lights, refer to the following common problems and solutions:
| Problem | Mögliche Ursache | Lösung |
|---|---|---|
| Licht geht nicht an. | No power, loose wiring, faulty switch, or faulty fixture. | Check circuit breaker. Verify all wire connections are secure. Test the switch. If issues persist, contact support. |
| Das Licht flackert oder dimmt unregelmäßig. | Incompatible dimmer switch, loose wiring, or voltage Schwankungen. | Ensure a compatible LED dimmer switch is used. Check wiring connections. Consult an electrician for voltage-Probleme. |
| Das Licht ist nicht so hell wie erwartet. | Dimmer setting too low, or incorrect light placement. | Adjust dimmer to 100%. Consider adding more fixtures for larger areas if needed. |
Garantieinformationen
Sunco Lighting provides a 7 Jahr Schutz warranty for this product. This warranty covers defects in materials and workmanship under normal use. For warranty claims or further details, please contact Sunco Lighting customer support.
Zusätzliche Schutzpläne können über autorisierte Händler erworben werden.
Unterstützung
For technical assistance, troubleshooting, or warranty inquiries, please contact Sunco Lighting customer support. Our knowledgeable specialists are available to assist you.
Visit the official Sunco Lighting webWebseite für Kontaktinformationen und weitere Ressourcen: www.suncolighting.com
Ask a question about this manual
Ask about setup, troubleshooting, compatibility, parts, safety, or missing instructions. Manuals+ will review the question and use this page’s manual context to help answer it.