1. Einleitung
This manual provides detailed instructions for the installation, operation, and maintenance of your Everycom EC801B 80mm Thermal Printer. Please read this manual thoroughly before using the printer to ensure proper function and longevity of the device. The EC801B is a high-speed thermal receipt printer equipped with an auto-cutter and versatile connectivity options including USB and LAN.
2. Sicherheitshinweise
- DO NOT DISASSEMBLE THE PRINTER PERSONALLY. For any service-related queries, please contact Everycom support.
- The printer should be installed on a flat and solid surface to avoid vibration or impact damage.
- Ensure the power supply matches the printer's requirements to prevent electrical damage.
- Keep the printer away from water, dust, and direct sunlight.
3. Packungsinhalt
Bitte überprüfen Sie, ob alle unten aufgeführten Artikel in Ihrem Paket enthalten sind:
- 1 x Everycom EC801B Thermal Receipt Printer
- 1 x Netzteil
- 1 x USB Datenkabel
- 1 x Paper Roll (Sample)
- 1 x Benutzerhandbuch
- 1 x Treiber-CD

Image: Contents of the Everycom EC801B printer package, including the printer unit, power adapter, USB cable, sample paper roll, user manual, and driver CD.
4. Produktüberschreitungview
Familiarize yourself with the various parts of your Everycom EC801B thermal printer.
4.1 Vorder- und Oberseite View

Bild: Vorderseite view of the Everycom EC801B thermal printer, showing the paper output slot and control panel.

Bild: Oben view of the Everycom EC801B thermal printer, highlighting the control panel with POWER, ERROR, PAPER indicators, and the FEED button.
4.2 Systemsteuerung
- Kraftmesser: Leuchtet auf, wenn der Drucker eingeschaltet ist.
- FEHLER-Anzeige: Flashes or illuminates to indicate an error (e.g., paper out, cover open).
- PAPIER-Indikator: Illuminates when paper is present, flashes when paper is low.
- FEED-Taste: Press to advance paper. Hold to print a self-test page.
4.3 Rear Panel (Connectivity Ports)

Bild: Rückseite view of the Everycom EC801B thermal printer, showing the power port, cash drawer port, Ethernet (LAN) port, and USB port.
- Stromanschluss: Wird mit dem Netzteil verbunden.
- CASH Drawer Port: Connects to a compatible cash drawer.
- LAN-Anschluss (Ethernet): Connects to a network for network printing.
- USB-Anschluss: Connects to a computer via USB cable.
5. Einrichtung
5.1 Physische Platzierung
Place the printer on a stable, flat surface. Ensure there is adequate space around the printer for ventilation and easy access to ports and paper loading.
5.2 Anschlusskabel
- Stromanschluss: Connect the power adapter to the printer's POWER port and then plug the adapter into a power outlet.
- Data Connection (Choose one):
- USB: Connect the USB data cable from the printer's USB port to an available USB port on your computer.
- LAN: Verbinden Sie den LAN-Anschluss des Druckers mit einem Ethernet-Kabel mit Ihrem Netzwerkrouter oder -switch.
- Cash Drawer (Optional): If using a cash drawer, connect its cable to the printer's CASH Drawer port.
5.3 Papier einlegen
- Open the printer cover by pushing the cover open lever (if present) or lifting the top cover.
- Insert the 80mm thermal paper roll into the compartment, ensuring the paper feeds from the bottom and the leading edge extends out of the printer.
- Schließen Sie die Druckerabdeckung fest, bis sie einrastet. Achten Sie darauf, dass das Papier straff gespannt ist.

Bild: Oben view of the Everycom EC801B printer with the cover open, revealing the paper roll compartment.
5.4 Treiberinstallation
For the printer to communicate with your computer, drivers must be installed.
- Legen Sie die mitgelieferte Treiber-CD in das CD-ROM-Laufwerk Ihres Computers ein.
- Follow the on-screen instructions to install the printer drivers. If your computer does not have a CD drive, drivers can typically be downloaded from the Everycom official webWebsite.
- After installation, configure the printer settings through your operating system's printer management tools.
6. Bedienungsanleitung
6.1 Ein-/Ausschalten
To power on the printer, ensure the power adapter is connected and press the power switch located on the side or rear of the printer. The POWER indicator light will illuminate. To power off, press the power switch again.
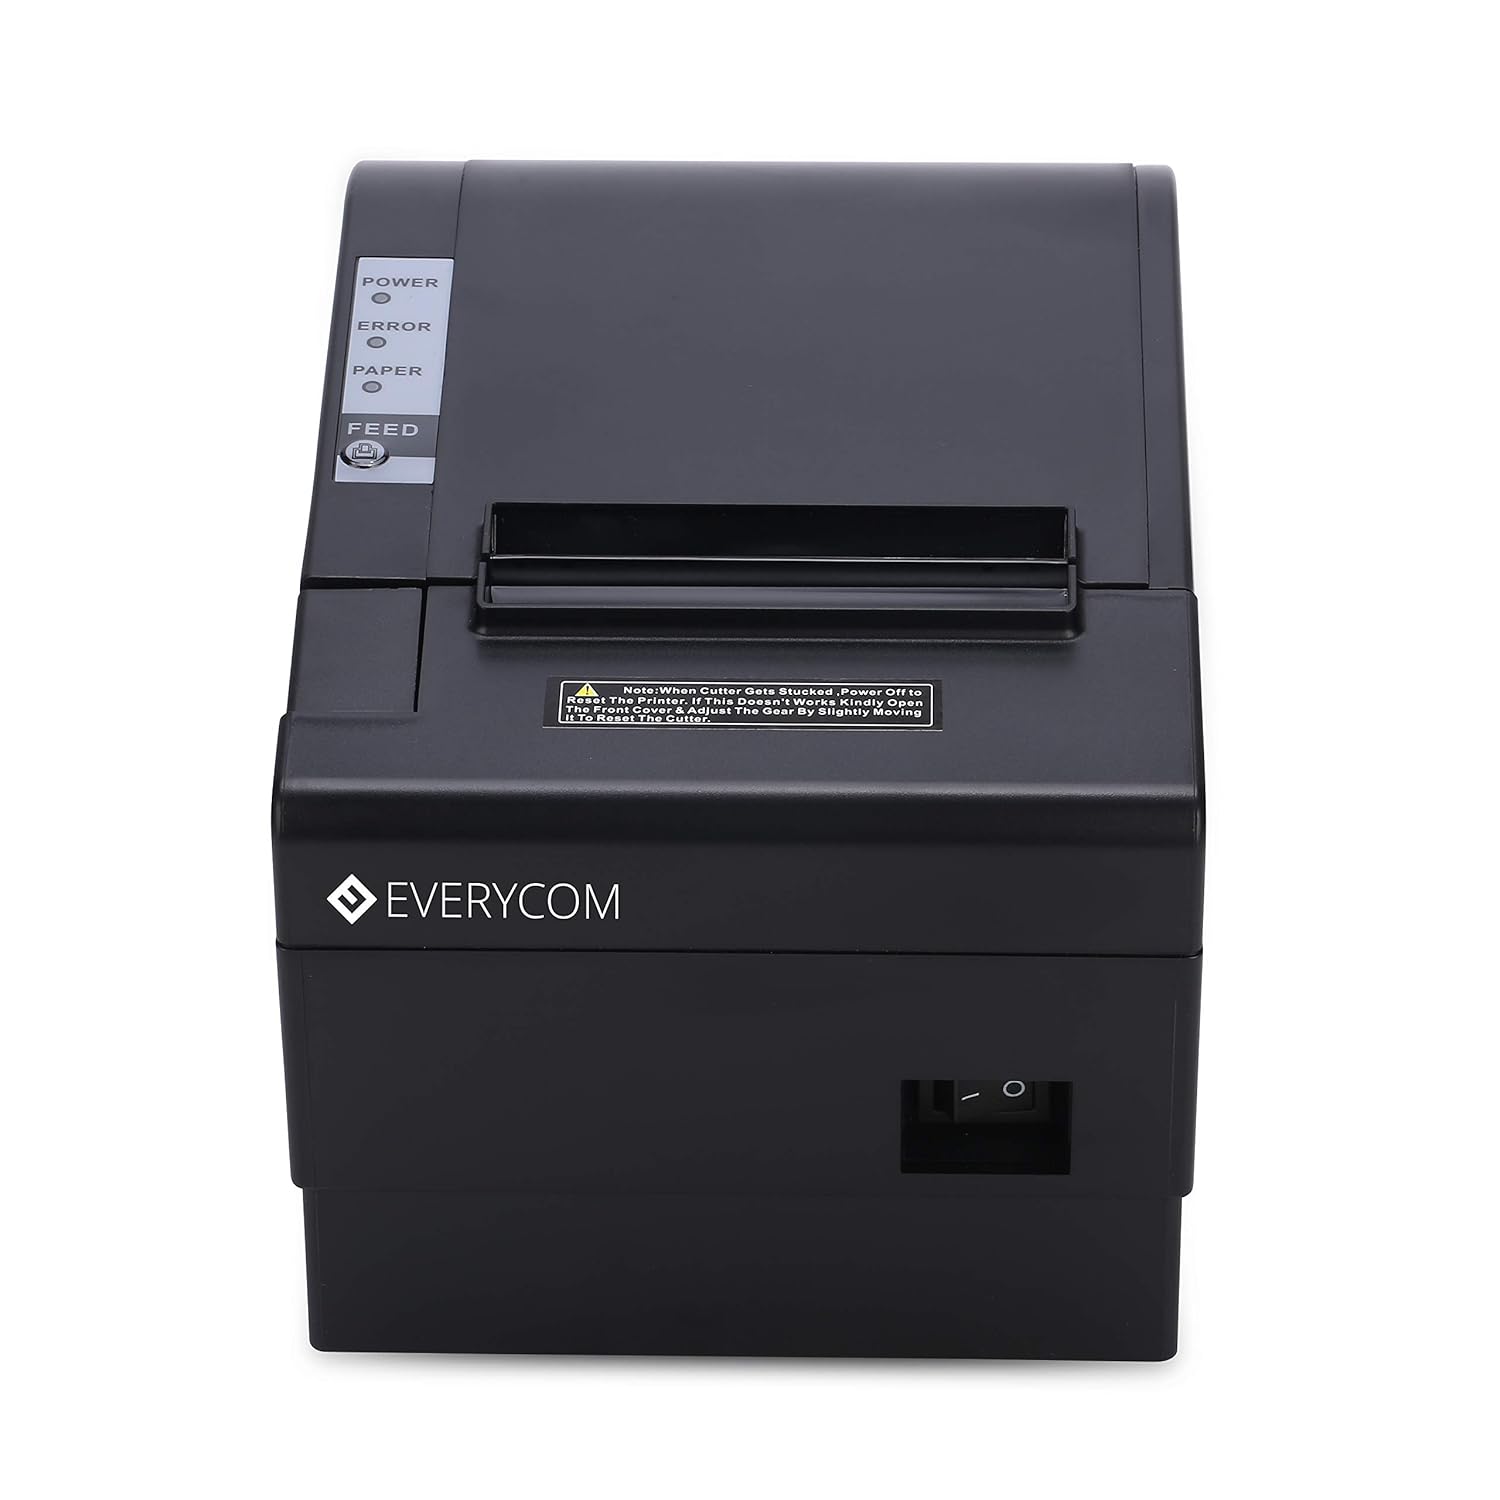
Bild: Vorderseite view of the Everycom EC801B printer, showing the location of the power switch on the side.
6.2 Printing a Self-Test Page
A self-test page can confirm basic printer functionality and print quality without requiring a computer connection.
- Stellen Sie sicher, dass der Drucker ausgeschaltet ist und Papier eingelegt ist.
- Halten Sie die FÜTTERN Taste.
- Halten Sie die FÜTTERN button, turn on the printer.
- Lassen Sie den FÜTTERN button once the printer starts printing. A self-test page will print, showing printer information and a sample print.

Image: Everycom EC801B printer actively printing a self-test receipt with a QR code and text.
6.3 Basic Printing Operation
Once drivers are installed and the printer is connected, you can print from any application that supports printing. Select the Everycom EC801B from your list of available printers and initiate the print command.
6.4 Auto Cutter Function
The EC801B features an automatic cutter that will cut the receipt paper after each print job, or as configured in your printer settings/software.
7. Wartung
7.1 Drucker reinigen
Regelmäßige Reinigung trägt zur Erhaltung der Druckqualität bei und verlängert die Lebensdauer des Druckers.
- Druckkopf: Mit einem Wattestäbchen leicht dampened with isopropyl alcohol to gently wipe the thermal print head. Allow it to dry completely before use.
- Papierpfad: Verwenden Sie ein weiches, trockenes Tuch, um Papierstaub oder -reste vom Papierweg zu entfernen.
- Exterieur: Wischen Sie die Außenseite mit einem weichen,amp Tuch. Verwenden Sie keine scharfen Chemikalien oder Scheuermittel.
7.2 Papierrollenwechsel
When the PAPER indicator flashes or printing becomes faint, it's time to replace the paper roll. Follow the steps in Section 5.3 to load a new 80mm thermal paper roll.
8. Fehlerbehebung
Sollten Sie Probleme mit Ihrem Drucker haben, beachten Sie bitte die folgenden häufig auftretenden Probleme und Lösungen:
| Problem | Mögliche Ursache | Lösung |
|---|---|---|
| Der Drucker lässt sich nicht einschalten | No power, faulty adapter | Check power cable connection, ensure outlet is working, try another adapter if available. |
| No printing / Blank output | Paper loaded incorrectly, no paper, print head issue, driver issue | Reload paper correctly (thermal side facing print head), replace paper roll, clean print head, reinstall drivers. |
| ERROR indicator on/flashing | Paper out, cover open, print head overheat | Check paper, close cover firmly, allow printer to cool down. |
| Schlechte Druckqualität | Dirty print head, low quality paper, old paper roll | Clean print head, use high-quality thermal paper, replace old paper. |
| Drucker wird vom Computer nicht erkannt. | Driver not installed, incorrect cable, port issue | Install/reinstall drivers, check USB/LAN cable connection, try a different port. |
If the problem persists after attempting these solutions, please contact Everycom customer support.
9. Spezifikationen
Key technical specifications for the Everycom EC801B Thermal Printer:
| Besonderheit | Detail |
|---|---|
| Modell | EC801B |
| Drucktechnologie | Thermischer Liniendruck |
| Druckgeschwindigkeit | 220 mm/Sekunde |
| Papierbreite | 80 mm |
| Konnektivität | USB, LAN (Ethernet) |
| Automatischer Cutter | Ja |
| Druckerausgabe | Einfarbig |
| Abmessungen (LxBxH) | 18.6 x 14.5 x 13.3 cm |
| Artikelgewicht | 1.2 kg |
| Hersteller | Everycom Electronics (Made in India) |
10. Garantie und Support
The Everycom EC801B Thermal Printer comes with a 1 Jahr Garantie Diese Garantie gilt ab Kaufdatum und deckt Herstellungsfehler und Funktionsstörungen bei normalem Gebrauch ab.
For technical assistance, troubleshooting, or warranty claims, please contact Everycom Customer Support:
- Gebührenfreie Nummer: 1800 121 4480
- Customer Support Working Hours: Monday - Saturday, 10:00 AM - 6:30 PM (Except on Public Holidays)

Image: Everycom customer service contact details, including the toll-free number and working hours.