1. Einleitung
Thank you for choosing the Murray 18V Lithium-Ion Grass Trimmer IQ18GTK. This manual provides essential information for the safe operation, assembly, maintenance, and troubleshooting of your new grass trimmer. Please read this manual thoroughly before first use and keep it for future reference.
Packungsinhalt:
- Murray 18V Lithium-Ion Grass Trimmer
- Briggs & Stratton 18V 2.5Ah Lithium-Ion Battery
- Ladegerät
- Spool of Trimmer Line
- Schutzgitter
- Zusatzhandgriff
- Bedienungsanleitung

Image 1.1: The Murray 18V Lithium-Ion Grass Trimmer, including the 2.5Ah battery and charger.
2. Sicherheitshinweise
Beachten Sie bei der Verwendung dieses Produkts stets die grundlegenden Sicherheitsvorkehrungen, um das Risiko von Bränden, Stromschlägen und Verletzungen zu verringern.
Allgemeine Sicherheitshinweise:
- Tragen Sie persönliche Schutzausrüstung (PSA): Always wear eye protection (safety glasses or goggles), long pants, sturdy footwear, and hearing protection when operating the trimmer.
- Keep Clear of Debris: Be aware of flying debris. Ensure bystanders, children, and pets are at a safe distance (at least 15 meters/50 feet) from the operating area.
- Arbeitsbereich prüfen: Before starting, clear the area of any objects that could be thrown by the trimmer line, such as rocks, broken glass, or wire.
- Hautkontakt vermeiden: Do not touch the trimmer line or cutting head while the tool is running.
- Sicherer Halt: Halten Sie den Trimmer während des Betriebs stets mit beiden Händen fest.
- Use in Good Conditions: Operate the trimmer only in daylight or good artificial light. Avoid using it in wet grass or rain.
- Batteriesicherheit: Verwenden Sie ausschließlich den angegebenen Akku und das angegebene Ladegerät. Setzen Sie den Akku weder Wasser noch extremen Temperaturen aus.
- Wartung: Disconnect the battery before performing any maintenance, cleaning, or when changing the trimmer line.
3. Montage
Follow these steps to assemble your grass trimmer before first use.
3.1 Anbringen des Schutzbügels
- Align the protective guard with the trimmer head.
- Secure the guard using the provided screws. Ensure it is firmly attached to prevent injury from flying debris.

Bild 3.1: View of the trimmer head, showing the protective guard and line spool.
3.2 Montage des Zusatzgriffs
- Slide the auxiliary handle onto the main shaft.
- Adjust the handle to a comfortable working position and tighten the locking knob.

Image 3.2: The auxiliary handle attached to the trimmer shaft, showing the adjustment knob.
3.3 Laden und Einsetzen des Akkus
- Before first use, fully charge the 18V Lithium-Ion battery using the provided charger. Refer to the charger's manual for specific charging instructions.
- Once charged, slide the battery into the battery compartment on the trimmer handle until it clicks into place.
- Um die Batterie zu entfernen, drücken Sie den Entriegelungsknopf und schieben Sie die Batterie heraus.
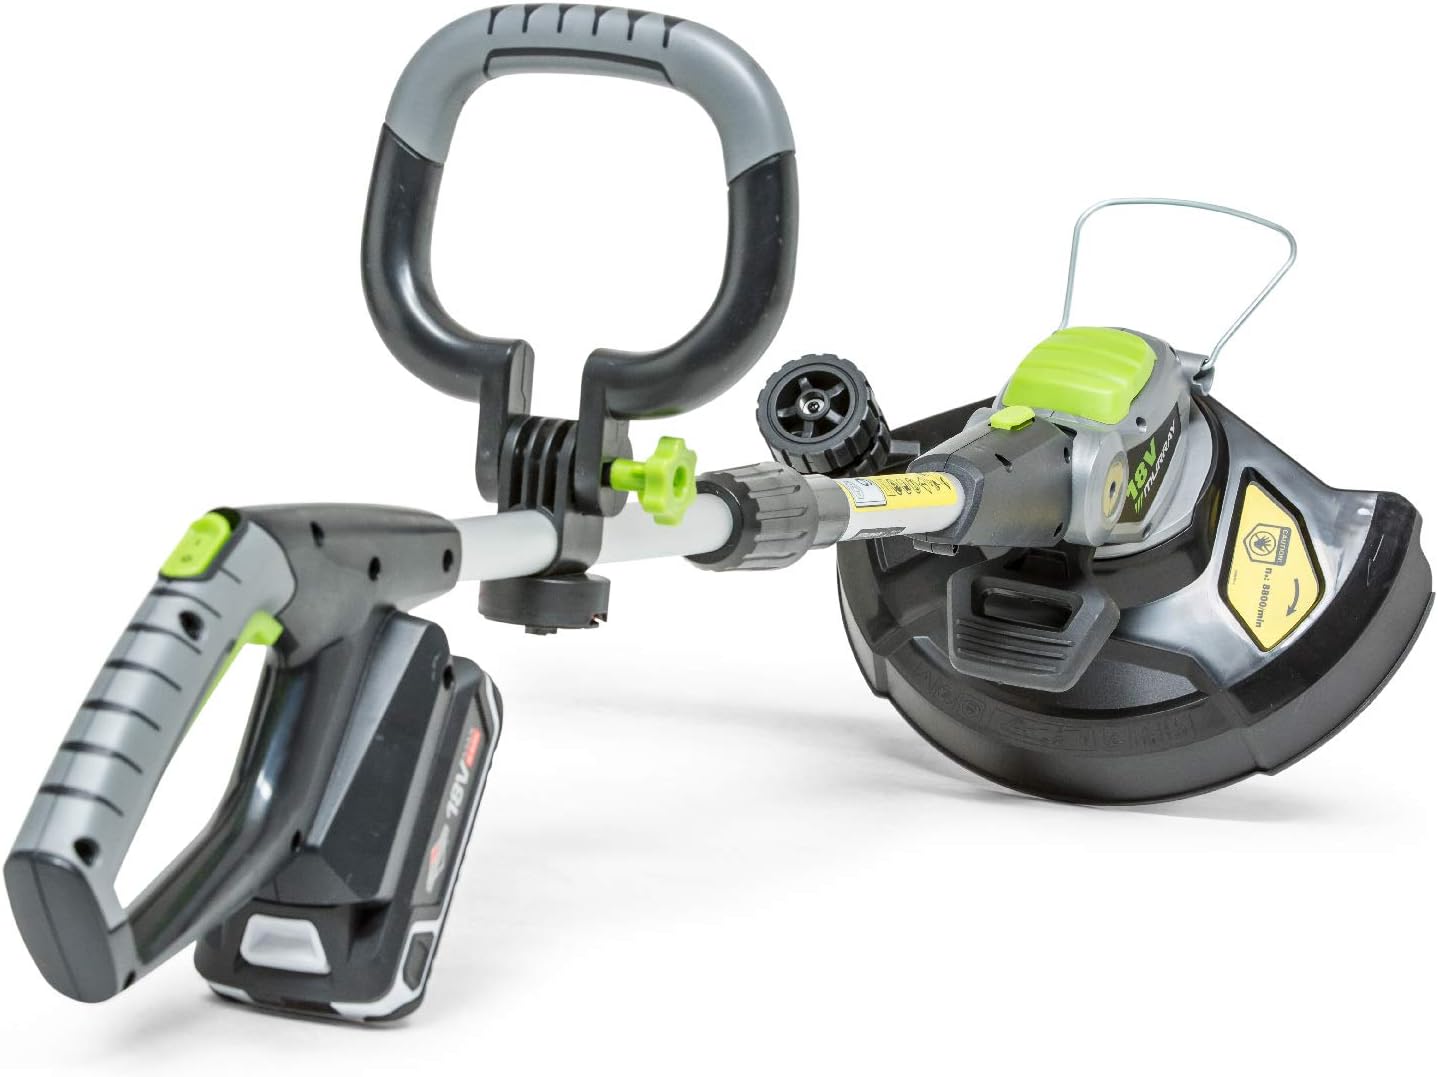
Image 3.3: The Murray 18V Grass Trimmer with the 18V Lithium-Ion battery correctly inserted into the handle.
4. Bedienung
This section details how to safely operate your Murray grass trimmer.
4.1 Starten und Stoppen
- To start the trimmer, ensure the battery is fully inserted. Press and hold the safety lock-off button, then squeeze the trigger switch.
- Um den Trimmer anzuhalten, lassen Sie den Auslöseschalter los.

Image 4.1: The main handle of the trimmer, showing the green safety button and the trigger switch for operation.
4.2 Trimmen und Kantenschneiden
- Rasentrimmen: Hold the trimmer with the cutting head parallel to the ground. Move the trimmer slowly and steadily across the area to be cut.
- Edging Function: The trimmer head pivots to easily switch from trimming to edging. Rotate the head 90 degrees for precise edging along pathways and flowerbeds.

Image 4.2: The trimmer head pivoted for edging, demonstrating its versatility.
4.3 Adjusting Shaft Length
The trimmer features an adjustable shaft length for user comfort. Loosen the shaft locking collar, extend or retract the shaft to the desired length, and then tighten the collar securely.
4.4 Automatischer Zeilenvorschub
This trimmer is equipped with an automatic line feed system. When the line becomes too short, it will automatically extend during operation. Avoid intentionally bumping the head to feed line, as this can wear down the mechanism.
5. Wartung
Regelmäßige Wartung gewährleistet optimale Leistung und verlängert die Lebensdauer Ihres Trimmers. Trennen Sie vor Wartungsarbeiten immer den Akku.
5.1 Reinigung
- After each use, clean the trimmer housing and protective guard with a damp Tuch.
- Entfernen Sie jeglichen Grasschnitt oder Schmutz vom Schneidkopf und den Belüftungsschlitzen.
- Verwenden Sie keine Lösungsmittel oder Scheuermittel.
5.2 Trimmerfaden-Austausch
When the trimmer line is depleted, replace the spool with a new one. Refer to the product's specifications for the correct line diameter. Instructions for spool replacement are typically found on the spool packaging or can be obtained from customer support.
5.3 Pflege und Lagerung der Batterie
- Lagern Sie die Batterie an einem kühlen, trockenen Ort, fern von direkter Sonneneinstrahlung und extremen Temperaturen.
- Für die Langzeitlagerung sollte der Akku auf etwa 50 % seiner Kapazität geladen werden.
- Do not store the battery connected to the trimmer or charger.
6. Fehlerbehebung
If you encounter issues with your trimmer, consult the following table before contacting customer support.
| Problem | Mögliche Ursache | Lösung |
|---|---|---|
| Trimmer startet nicht | Battery not inserted correctly or discharged. Safety lock-off not engaged. | Ensure battery is fully inserted and charged. Press safety lock-off button before squeezing trigger. |
| Trimmerfaden wird nicht zugeführt | Line tangled or depleted. Debris in the feed mechanism. | Remove battery, inspect and clear any tangles or debris. Replace line spool if empty. |
| Reduzierte Schnittleistung | Trimmerfaden zu kurz oder abgenutzt. | Allow automatic line feed to extend the line. Replace line spool if necessary. |
7. Technische Daten
| Besonderheit | Spezifikation |
|---|---|
| Modellnummer | IQ18GTK (1697120) |
| Marke | Murray |
| Stromquelle | 18V Lithium-Ionen-Akku |
| Batterie im Lieferumfang enthalten | 1 x 2.5 Ah Lithium-Ionen |
| Produktabmessungen (L x B x H) | 89 x 24 x 12.7 cm |
| Artikelgewicht | 2.1 Kilogramm |
| Schnittbreite | 30 Zentimeter |
| Geschwindigkeit | 9000 U/min |
| Hersteller | Briggs und Stratton |
| Ursprungsland | China |
8. Garantieinformationen
The Murray 18V Lithium-Ion Grass Trimmer is covered by the following warranty:
- Produktgarantie: 5 years for non-professional use.
- Garantie für Akku und Ladegerät: 3 Jahre.
Please refer to the full warranty terms and conditions provided with your product or on the manufacturer's website for detailed application of the warranty.
9. Kundendienst
For technical assistance, spare parts, or warranty claims, please contact your local Murray dealer or visit the official Briggs & Stratton website. When contacting support, please have your product model number (IQ18GTK or 1697120) and serial number ready.