
1. Einleitung
This manual provides instructions for the proper setup, operation, and maintenance of your Ohaus CR5200 Compass Series Portable Balance. Please read this manual thoroughly before using the balance to ensure correct operation and to prevent damage.
The Ohaus CR5200 is a portable digital balance designed for accurate weighing with a capacity of 5200 grams and a readability of 1 gram. It supports multiple weighing units including grams (g), ounces (oz), pounds:ounces (lb:oz), troy ounces (ozt), and pennyweights (dwt).

Abbildung 1.1: Oben view of the Ohaus CR5200 Compass Series Portable Balance, showing the display and control buttons.
2. Sicherheitshinweise
- Operate the balance on a stable, level surface free from vibrations and drafts.
- Vermeiden Sie es, die Waage extremen Temperaturen, hoher Luftfeuchtigkeit oder direkter Sonneneinstrahlung auszusetzen.
- Do not overload the balance beyond its maximum capacity of 5200 grams.
- Keep the balance clean and free from dust and debris.
- Use only the specified power source (3 AA batteries or compatible AC adapter).
3. Einrichtung
3.1 Auspacken
Carefully remove the balance from its packaging. Inspect the balance for any signs of damage. Retain the packaging for future transport or storage.
3.2 Powering the Balance
The Ohaus CR5200 can be powered by three AA alkaline batteries or an external AC adapter (not included, but compatible with the side power port).
Einlegen der Batterie:
- Locate the battery compartment on the underside of the balance.
- Öffnen Sie die Abdeckung des Batteriefachs.
- Insert three AA alkaline batteries, ensuring correct polarity (+/-).
- Schließen Sie den Batteriefachdeckel fest.

Abbildung 3.1: Unterseite view of the balance with the battery compartment open, showing three AA batteries installed.
Externer Stromanschluss:
If using an AC adapter, connect it to the power input port located on the side of the balance. Ensure the adapter meets the specified voltage and current requirements (e.g., 12V 0.5A).

Abbildung 3.2: Seite view of the balance, highlighting the external power input port.
3.3 Platzierung
Place the balance on a firm, level, and stable surface. Avoid locations near air vents, windows, or equipment that generates vibrations or electromagnetic interference.
4. Bedienungsanleitung
4.1 Ein-/Ausschalten
- Zum Einschalten: Drücken Sie die Taste [EIN/AUS] button. The display will show a self-test sequence and then settle at 0.0 g.
- Zum Ausschalten: Die Taste gedrückt halten [EIN/AUS] gedrückt, bis sich das Display ausschaltet.
4.2 Selecting Weighing Units
The balance supports multiple weighing units: grams (g), ounces (oz), pounds:ounces (lb:oz), troy ounces (ozt), and pennyweights (dwt).
- To change the weighing unit: Press the [EINHEIT] button (often labeled with 'g' and an arrow). Each press cycles through the available units.
4.3 Tara-Funktion
The tare function allows you to zero out the weight of a container, so only the weight of the contents is measured.
- Stellen Sie den leeren Behälter auf die Wiegeplatte. Das Display zeigt sein Gewicht an.
- Drücken Sie die [TARA/NULL] button (often labeled with '→0←'). The display will reset to 0.0.
- Geben Sie das zu wiegende Material in den Behälter. Das Display zeigt das Nettogewicht des Materials an.
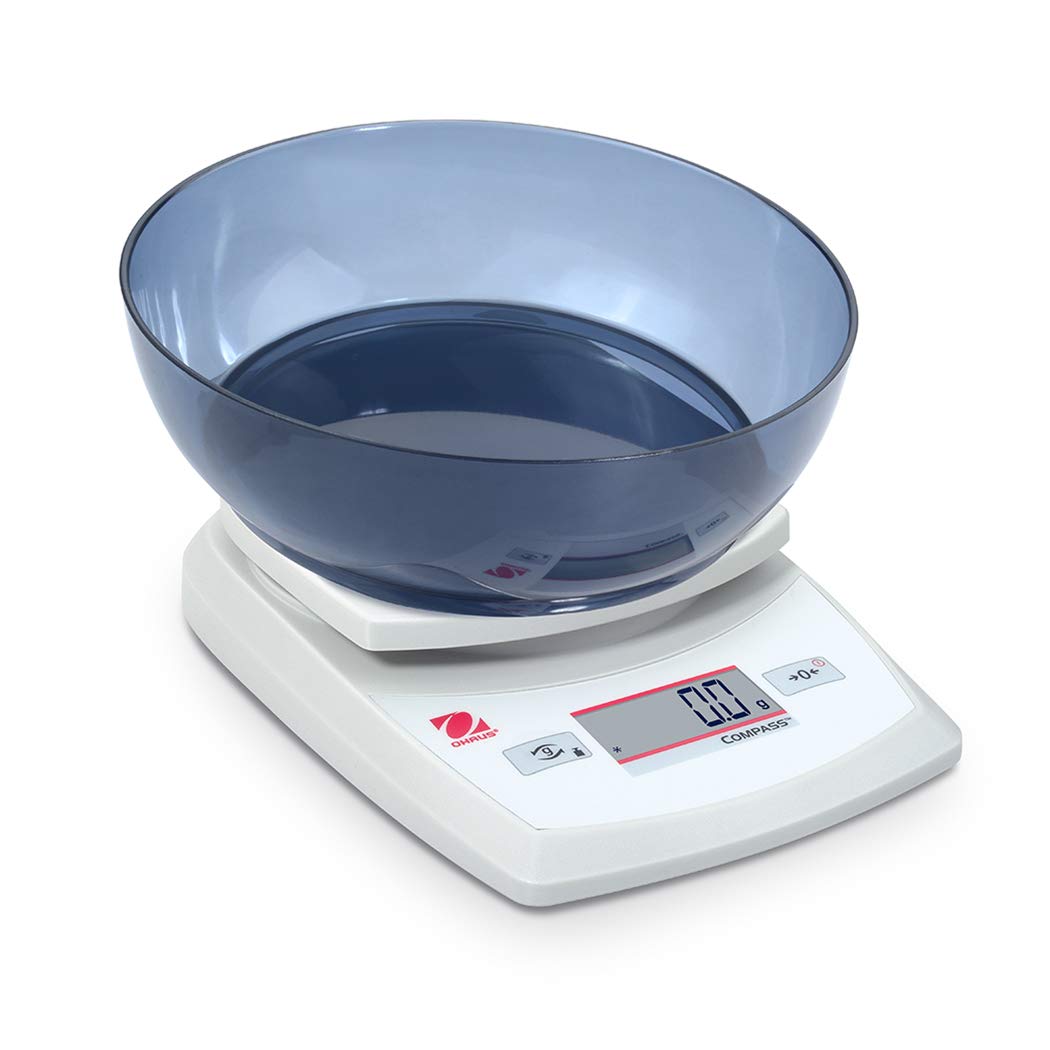
Image 4.1: The balance with an empty bowl on the weighing pan, ready for the tare function.
4.4 Grundlegendes Wiegen
- Ensure the balance is powered on and the display shows 0.0 in the desired weighing unit.
- Legen Sie den zu wiegenden Gegenstand vorsichtig in die Mitte der Wiegeplatte.
- Warten Sie, bis sich die Anzeige stabilisiert hat. Das stabile Gewicht wird angezeigt.
- Nehmen Sie den Gegenstand aus der Pfanne.
4.5 External Calibration
The Ohaus CR5200 features external calibration. This process requires a known calibration weight (not included) to ensure accuracy. Refer to the full Ohaus CR Series manual for detailed calibration procedures specific to your model.

Image 4.2: The balance with a cylindrical calibration weight placed on the weighing pan.
5. Wartung
5.1 Reinigung
- Wischen Sie die Außenseite des Balance-Teils mit einem weichen, fusselfreien Tuch ab.amp Tuch. Keine Scheuer- oder Lösungsmittel verwenden.
- Ensure no liquids enter the balance housing or display.
- Keep the weighing pan clean to ensure accurate readings.
5.2 Batteriewechsel
When the battery indicator appears on the display, replace the three AA alkaline batteries as described in Section 3.2.
5.3 Speicherung
When not in use for extended periods, remove the batteries to prevent leakage. Store the balance in a dry, dust-free environment. The Ohaus CR5200 is designed for portability and can be stored in a protective case (if available).

Image 5.1: The Ohaus CR5200 balance shown alongside its protective carrying case.
6. Fehlerbehebung
| Problem | Mögliche Ursache | Lösung |
|---|---|---|
| Balance does not turn on. | Dead or incorrectly installed batteries; no AC power. | Replace batteries or check AC adapter connection. Ensure correct battery polarity. |
| Ungenaue oder instabile Messwerte. | Unstable surface; drafts; electromagnetic interference; balance needs calibration. | Move balance to a stable, level surface. Shield from drafts. Recalibrate the balance (refer to Section 4.5). |
| Auf dem Display wird „Err“ oder ein Fehlercode angezeigt. | Überlastung; interner Fehler. | Remove excess weight if overloaded. Power cycle the balance. If error persists, contact Ohaus support. |
| Tare function not working. | Balance not stable; button not pressed correctly. | Ensure balance is stable and display is settled. Press the TARE/ZERO button firmly. |
7. Spezifikationen
| Besonderheit | Spezifikation |
|---|---|
| Modellnummer | CR5200 |
| Kapazität | 5200 g (5.2 kg) |
| Lesbarkeit | 1 g |
| Wägeeinheiten | g, oz, lb:oz, ozt, dwt |
| Kalibrierungsart | Extern |
| Stromquelle | 3 AA alkaline batteries (included) or AC adapter (not included) |
| Anzeigetyp | Digitales |
| Material | Plastik |
| Produktabmessungen (L x B x H) | 23.62 x 17.02 x 5.59 cm |
| Artikelgewicht | 408.23 g (ca. 14.4 Unzen) |
| Besondere Merkmale | Tragbar |
8. Garantie und Support
For warranty information, technical support, or service inquiries, please contact Ohaus customer service or visit the official Ohaus webBewahren Sie Ihren Kaufbeleg als Kaufnachweis auf.