Amazon Basics BM1349-UL-B
Amazon Basics Programmable Bread Maker Instruction Manual
Model: BM1349-UL-B
Einführung

Figure 1: Amazon Basics Programmable Bread Maker. This image shows the black bread maker from an angled front view, highlighting its compact design, control panel with LCD display, and program settings listed on the top surface.
Vielen Dank für Ihren Einkauf.asing the Amazon Basics Programmable Bread Maker. This appliance is designed to simplify the process of making fresh bread, doughs, and jams at home. Please read this instruction manual thoroughly before first use to ensure safe operation and optimal performance. Keep this manual for future reference.
Wichtige Sicherheitshinweise
- Lesen Sie vor der Verwendung des Geräts alle Anweisungen.
- Berühren Sie keine heißen Oberflächen. Benutzen Sie Griffe oder Knöpfe.
- Tauchen Sie Kabel, Stecker oder Geräte zum Schutz vor Stromschlägen nicht in Wasser oder andere Flüssigkeiten.
- Bei der Benutzung von Geräten durch oder in der Nähe von Kindern ist eine genaue Aufsicht erforderlich.
- Bei Nichtgebrauch und vor der Reinigung den Stecker aus der Steckdose ziehen. Vor dem Anbringen oder Abnehmen von Teilen abkühlen lassen.
- Betreiben Sie kein Gerät, dessen Kabel oder Stecker beschädigt ist, oder wenn das Gerät eine Fehlfunktion aufweist oder auf sonstige Weise beschädigt wurde.
- Die Verwendung von Zubehör, das vom Gerätehersteller nicht empfohlen wird, kann zu Verletzungen führen.
- Nicht im Freien verwenden.
- Lassen Sie das Kabel nicht über die Tisch- oder Thekenkante hängen oder heiße Oberflächen berühren.
- Nicht auf oder in die Nähe eines heißen Gas- oder Elektrobrenners oder in einen beheizten Ofen stellen.
- Beim Bewegen eines Geräts, das heißes Öl oder andere heiße Flüssigkeiten enthält, ist äußerste Vorsicht geboten.
- Zum Trennen der Verbindung schalten Sie einen beliebigen Regler auf „Aus“ und ziehen Sie dann den Stecker aus der Steckdose.
- Das Gerät darf nur für den vorgesehenen Zweck verwendet werden.
Produktkomponenten
Familiarize yourself with the parts of your bread maker before operation.

Abbildung 2: Mitgeliefertes Zubehör. This image displays the bread pan with handle, a clear plastic measuring cup, a black kneading blade, a white double-sided measuring spoon (teaspoon/tablespoon), and a metal hook for removing the kneading blade.
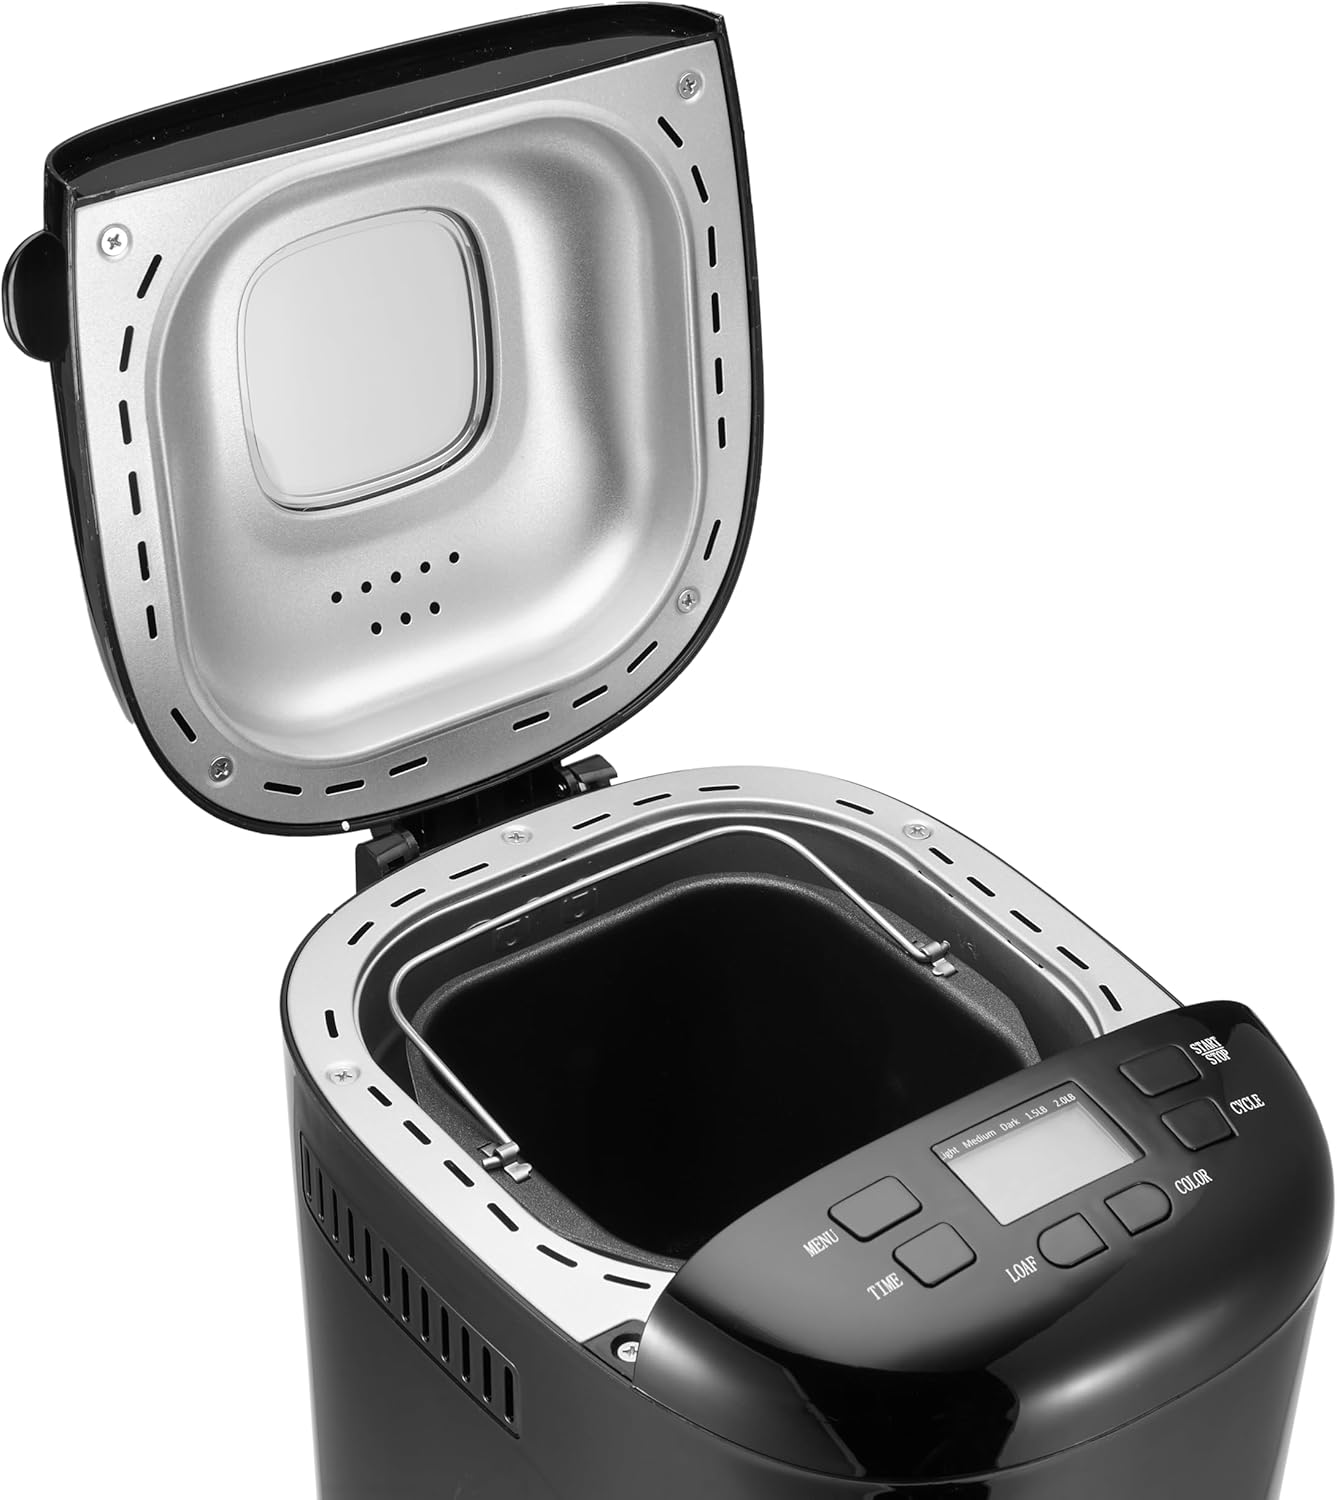
Figure 3: Bread Maker Interior. This image shows the bread maker with its lid open, revealing the heating element and the space where the bread pan is inserted. The control panel with its LCD display and buttons is visible at the front.
- Haupteinheit: Das Hauptgehäuse des Brotbackautomaten.
- Bedienfeld: Features an LCD display and buttons for program selection, time, loaf size, and crust color.
- Deckel: Deckt die Backkammer ab, oft mit einem viewing Fenster.
- Brotbackform: Non-stick baking pan where ingredients are placed and bread is baked.
- Knetmesser: Wird am Schaft im Inneren der Brotbackform befestigt, um den Teig zu mischen und zu kneten.
- Messbecher: For liquid and dry ingredients.
- Messlöffel: For smaller measurements (teaspoon/tablespoon).
- Haken: Used to remove the kneading blade from the baked loaf.
Einrichtung und erste Verwendung
- Auspacken: Nehmen Sie den Brotbackautomaten und sämtliches Zubehör vorsichtig aus der Verpackung. Bewahren Sie die Verpackung für die spätere Lagerung oder den Transport auf.
- Reinigung: Before first use, wash the bread pan and kneading blade with warm, soapy water. Rinse thoroughly and dry completely. Wipe the exterior of the bread maker with a damp Tuch. Tauchen Sie das Hauptgerät nicht in Wasser.
- Erster Abbrand: It is recommended to run the bread maker empty for approximately 10 minutes on a "Bake" cycle (if available, or a short custom bake cycle) to burn off any manufacturing oils. Some smoke or odor may be present; this is normal. Ensure adequate ventilation. After this, allow the unit to cool completely and clean the interior again.
- Platzierung: Stellen Sie den Brotbackautomaten auf eine stabile, ebene und hitzebeständige Oberfläche, fern von direkter Sonneneinstrahlung und Wärmequellen. Sorgen Sie für ausreichende Belüftung um das Gerät herum.
- Stromanschluss: Plug the power cord into a grounded electrical outlet. The display will illuminate, indicating the unit is ready for use.
Bedienungsanleitung
This section guides you through the process of making bread with your appliance.
Systemsteuerung überview
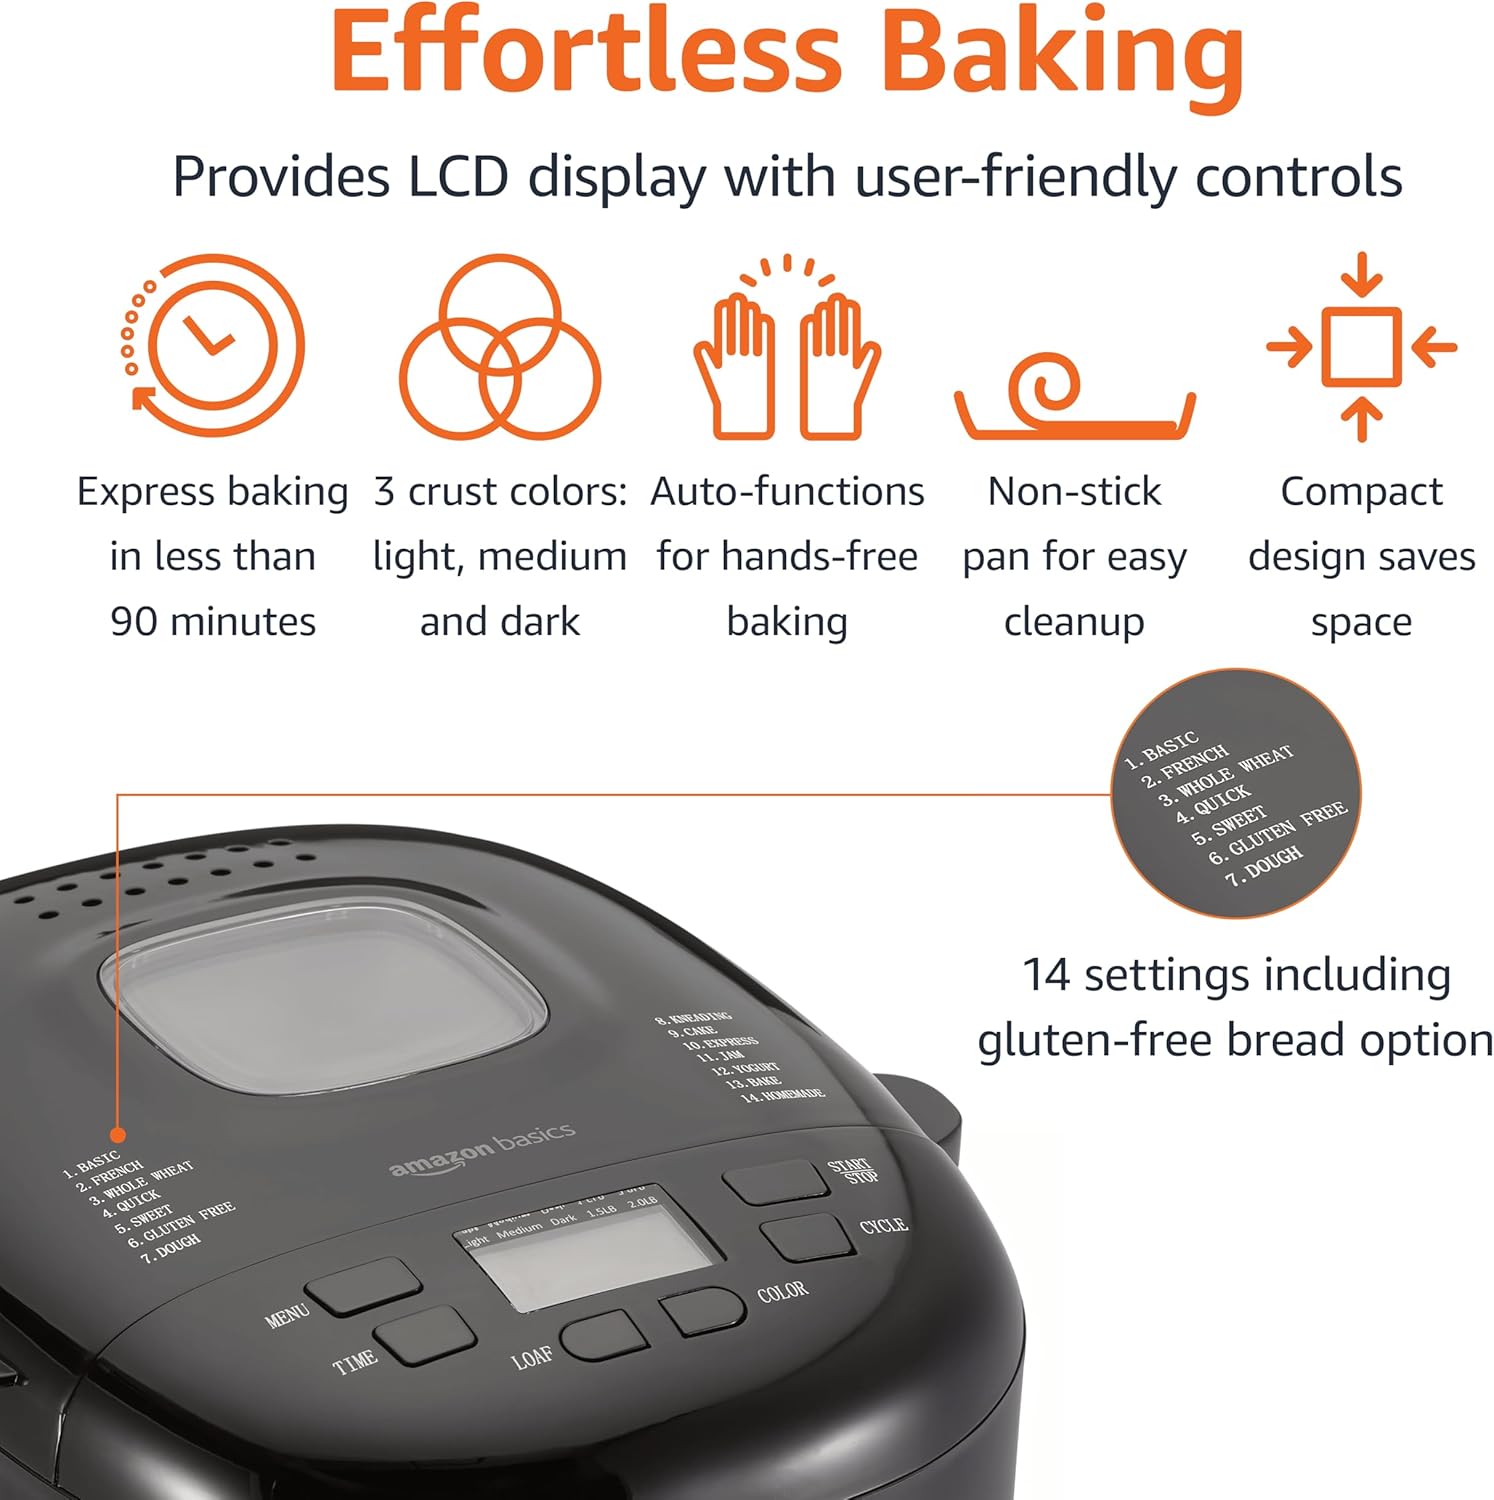
Abbildung 4: Bedienfeld. This image highlights the bread maker's control panel, featuring an LCD screen that displays program information. Buttons for 'MENU', 'TIME', 'LOAF', 'COLOR', and 'CYCLE' are clearly visible, along with a list of 14 program settings.
- MENU-Taste: Selects one of the 14 available programs (e.g., Basic, French, Whole Wheat, Sweet, Gluten Free, Dough, Jam).
- TIME Buttons (+/-): Passt den Verzögerungstimer für verzögertes Backen an.
- LOAF-Taste: Selects the loaf size (e.g., 1.5 lb or 2 lb).
- COLOR-Taste: Selects the crust darkness (Light, Medium, Dark).
- CYCLE (Start/Stop) Button: Starts or stops the selected program.
- LCD Anzeige: Shows the selected program, time remaining, loaf size, and crust color.
Grundlegende Schritte zur Brotherstellung
- Knetmesser einsetzen: Setzen Sie den Knethaken auf die Welle im Inneren der Brotbackform.
- Zutaten hinzufügen: Geben Sie die Zutaten in der im Rezept angegebenen Reihenfolge in die Backform (üblicherweise zuerst die Flüssigkeiten, dann die trockenen Zutaten und zuletzt die Hefe getrennt von Flüssigkeiten und Salz). Achten Sie auf genaue Mengenangaben.
- Brotbackform platzieren: Insert the bread pan into the bread maker, ensuring it is securely locked in place. Close the lid.
- Programm auswählen: Drücken Sie die SPEISEKARTE button to choose the desired program (e.g., "Basic" for white bread).
- Brotgröße auswählen: Drücken Sie die LAIB button to select the appropriate loaf size (1.5 lb or 2 lb).
- Krustenfarbe auswählen: Drücken Sie die FARBE button to choose your preferred crust darkness (Light, Medium, or Dark).
- Programm starten: Drücken Sie die ZYKLUS button to start the program. The machine will begin mixing.
- Überwachung: During the kneading cycles, you may check the dough consistency by opening the lid briefly. If the dough is too dry, add a small amount of liquid; if too wet, add a small amount of flour.
- Fertigstellung: Once the program is complete, the bread maker will usually beep and switch to a "Keep Warm" cycle. Press the ZYKLUS Taste, um die Maschine anzuhalten.
- Brot entfernen: Using oven mitts, carefully remove the hot bread pan from the machine. Invert the pan onto a wire rack to release the bread. If the kneading blade remains in the loaf, use the provided hook to carefully remove it.
- Kühlung: Allow the bread to cool on a wire rack for at least 20-30 minutes before slicing. This allows the internal structure to set.
Verzögerungs-Timer-Funktion
The delay timer allows you to program the bread maker to finish baking at a later time, up to 13 hours. This is useful for having fresh bread ready in the morning.
- After selecting your program, loaf size, and crust color, press the ZEIT buttons to set the desired delay time. The displayed time includes the baking cycle duration.
- Drücken Sie die ZYKLUS button. The timer will count down, and the machine will start automatically when the delay time expires.
- Vorsicht: Verwenden Sie den Verzögerungstimer nicht bei Rezepten, die leicht verderbliche Zutaten wie Milch, Eier oder frisches Obst enthalten, da diese verderben könnten, bevor mit dem Backen begonnen wird.
Rezeptanleitung
The Amazon Basics Bread Maker offers 14 settings for various types of baked goods. For best results, always use recipes specifically designed for bread makers and ensure accurate measurement of ingredients.
- Brotprogramme: Basic, French, Whole Wheat, Sweet, Gluten-Free, ExpressBake.
- Teigprogramme: For pizza dough, pasta dough, or rolls.
- Spezialprogramme: Jam, Cake, Yogurt.
Refer to the recipe book that came with your bread maker or reliable bread machine recipe sources for ingredient quantities and specific instructions for each program.
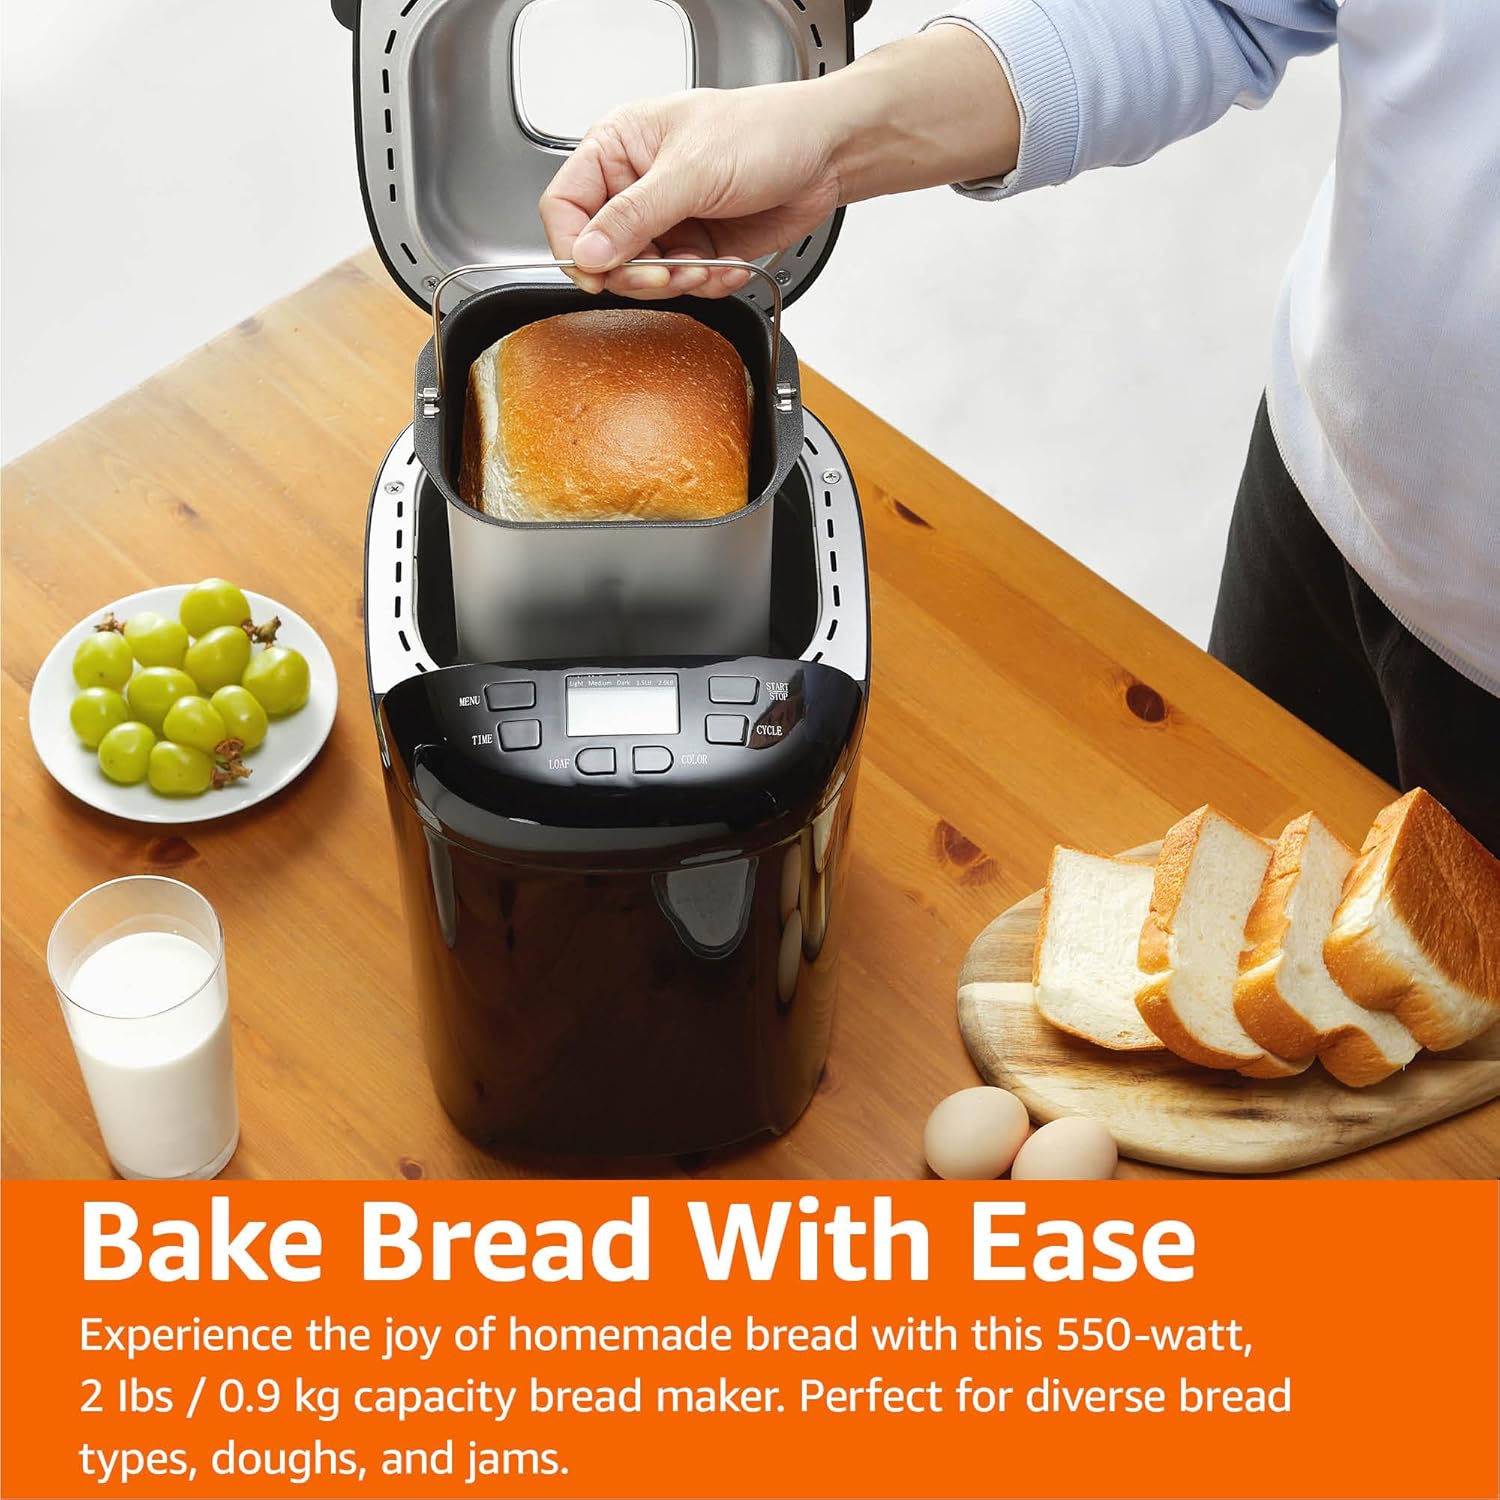
Figure 5: Freshly Baked Bread. This image shows a person carefully lifting the bread pan, containing a golden-brown loaf, out of the bread maker. Surrounding the machine are fresh grapes, a glass of milk, and slices of bread, illustrating the end result of the baking process.
Pflege und Wartung
Durch ordnungsgemäße Reinigung und Wartung verlängern Sie die Lebensdauer Ihres Brotbackautomaten.
- Stecker ziehen: Vor der Reinigung immer den Netzstecker ziehen und das Gerät vollständig abkühlen lassen.
- Brotbackform und Knethaken: Wash the bread pan and kneading blade with warm, soapy water. Do not use abrasive cleaners or metal scouring pads, as this can damage the non-stick coating. Rinse thoroughly and dry completely.
- Exterieur: Wischen Sie die Außenseite des Brotbackautomaten mit einem weichen, fusselfreien Tuch ab.amp Tuch. Verwenden Sie keine scharfen Chemikalien oder Scheuermittel.
- Innere: Reinigen Sie das Innere des Backraums mit einem Tuch.amp cloth. Remove any crumbs or residue.
- Lagerung: Store the bread maker in a clean, dry place. Ensure the bread pan and kneading blade are clean and dry before storing.
Anleitung zur Fehlerbehebung
If you encounter issues with your bread maker, refer to the following common problems and solutions.
| Problem | Mögliche Ursache | Lösung |
|---|---|---|
| Der Brotteig geht nicht auf. | Expired or inactive yeast, incorrect water temperature, too much salt, not enough sugar. | Überprüfen Sie das Verfallsdatum der Hefe. Verwenden Sie lauwarmes Wasser (40–46 °C). Achten Sie auf die korrekten Mengenangaben der Zutaten. |
| Das Brot ist zu fest oder zu schwer. | Too much flour, not enough liquid, incorrect yeast amount, high humidity. | Measure ingredients accurately, especially flour (use a scale if possible). Adjust liquid slightly in humid conditions. |
| Brot fällt beim Backen zusammen. | Too much liquid, too much yeast, high altitude, opening lid too often. | Reduce liquid slightly. Ensure correct yeast amount. Avoid opening the lid during baking. |
| Knethaken steckte im Brot fest. | Häufiges Vorkommen. | Use the provided hook to carefully remove the blade after the bread has cooled slightly. |
| Maschine startet nicht. | Nicht angeschlossen, Stromausfalltage, lid not closed properly, program not selected. | Check power connection. Ensure lid is fully closed. Select a program and press START. |
Produktspezifikationen
Technical details for the Amazon Basics Programmable Bread Maker.
- Modellnummer: BM1349-UL-B
- Marke: Amazon-Grundlagen
- Farbe: Schwarz
- Leistung: 550 Watt
- Laibkapazität: Bis zu 2 Pfund
- Anzahl der Programme: 14
- Produktabmessungen: 11.6"T x 8.8"B x 11.4"H
- Artikelgewicht: 8 Pfund
- Hersteller: Amazonas
- Pflegehinweise: Wipe with Dry Cloth (for exterior)
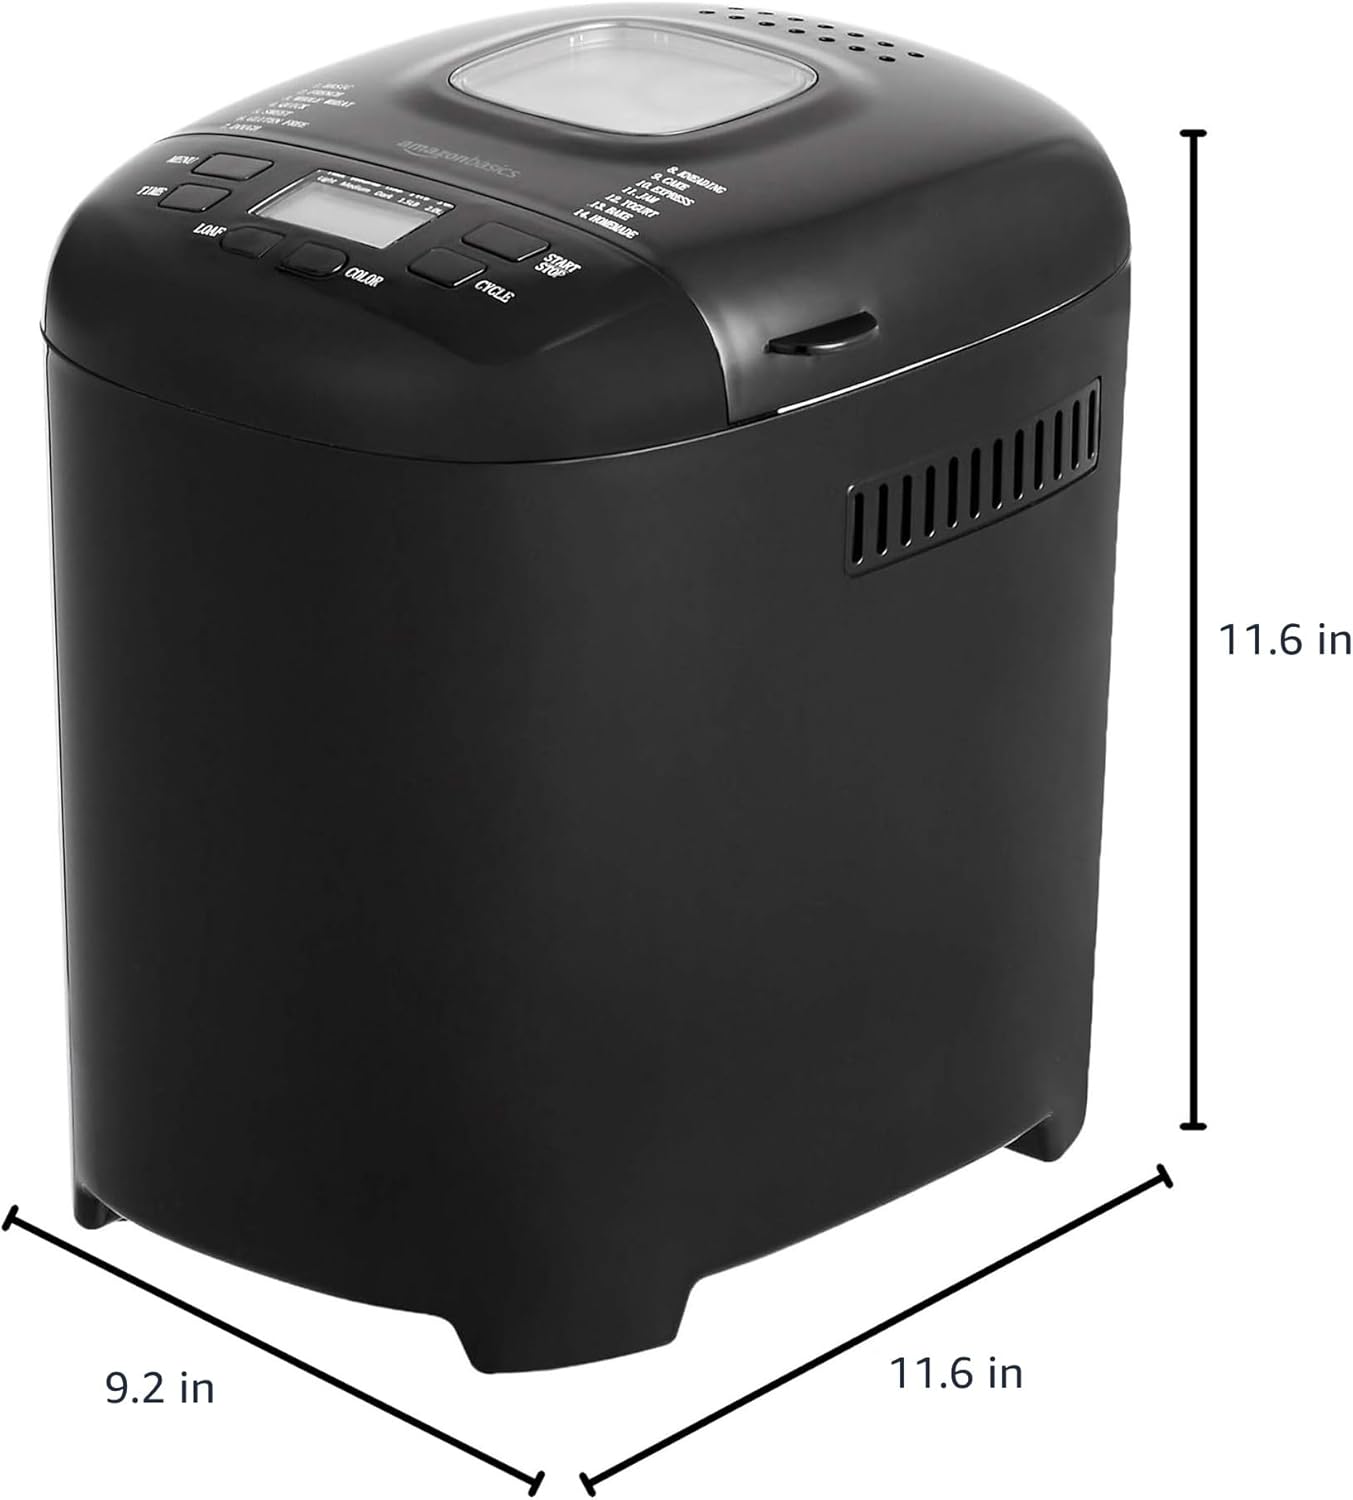
Abbildung 6: Produktabmessungen. This image provides a visual representation of the bread maker's dimensions, indicating a depth of 11.6 inches, a width of 9.2 inches, and a height of 11.6 inches.
Garantieinformationen
For detailed warranty information, please refer to the warranty card included with your product packaging or visit the official Amazon Basics webDie Garantie deckt in der Regel Material- und Verarbeitungsfehler bei normalem Gebrauch ab.
Kundenservice
If you have any questions, require assistance, or need to report an issue with your Amazon Basics Bread Maker, please contact Amazon Basics Customer Service. You can typically find contact information on the Amazon webSie finden die Informationen auf der Website unter den Rubriken „Hilfe“ oder „Kundenservice“ oder in Ihren Bestelldetails.
Für Online-Support besuchen Sie: Amazon Kundenservice