
1. Einleitung
The Walfront Y102 USB IP67 Endoscope is a versatile inspection camera designed for various applications, including industrial, automotive, and household inspections. Featuring a 5.5mm lens with 6 adjustable LED lights and a 5-meter cable, it provides clear visuals in dark or hard-to-reach areas. Its 3-in-1 USB design ensures wide compatibility with Android devices and computers.
Zu den Hauptmerkmalen gehören:
- Bequem und praktisch: 6 adjustable LED lights for improved visibility in dark environments.
- Premium Qualität: Robuste Konstruktion für den Langzeitgebrauch.
- Extensive Usage: Compatible with Android devices and computers via its 3-in-1 USB connection.
- Great Performance: 2.0MP CMOS HD camera for enhanced image resolution and clarity.
- Produktbeschreibung: 5.5mm diameter lens, IP67 waterproof rating, and 5-meter USB cable.
2. Produktkomponenten
The Y102 Endoscope package includes the main endoscope unit with its integrated cable and USB connector, along with several useful accessories.

Figure 2.1: The Walfront Y102 USB Endoscope, showing the camera head, control unit, coiled 5-meter cable, and the 3-in-1 USB connector (USB-A, Micro USB, USB-C).

Figure 2.2: The endoscope unit displayed with its standard accessories: a side mirror for angled viewing, a hook for retrieving objects, and a magnet for metallic items.
The control unit, located on the cable, features a button for capturing images and a rotary dial for adjusting the brightness of the LED lights.

Figure 2.3: Detail of the control unit, highlighting the capture button and the integrated wheel for adjusting the intensity of the LED illumination.
3. Einrichtungsanweisungen
To begin using your Walfront Y102 Endoscope, follow these steps to connect it to your device:
- Anwendung installieren: For Android devices, download and install a compatible endoscope application from your device's app store. Popular choices include "USB Camera", "OTG View", or "AN98". For Windows PCs, you may need to install a specific driver or use a webCam-Anwendung.
- Connect Endoscope: Plug the appropriate USB connector (USB-A, Micro USB, or USB-C) into your Android smartphone, tablet, or computer's USB port. Ensure your device supports OTG (On-The-Go) functionality for Android.
- Anwendung starten: Open the installed endoscope application. The application should automatically detect the endoscope and display the live video feed.

Figure 3.1: Illustration of the endoscope connected to a smartphone (left) and a laptop (right), demonstrating its multi-device compatibility.
4. Bedienungsanleitung
Once connected and the application is running, you can begin using your endoscope for inspection:
- Insert Endoscope: Carefully insert the camera head into the area you wish to inspect. The flexible cable allows for navigation through tight spaces.
- LED-Leuchten anpassen: Use the rotary dial on the control unit to adjust the brightness of the 6 LED lights. Increase brightness in dark environments for clearer images.
- Bilder/Videos aufnehmen: Use the button on the control unit to take still photographs. Most applications also offer a record button within the software interface to capture video footage.
- Zubehör verwenden: Attach the side mirror for viewing at a 90-degree angle, the hook for retrieving small objects, or the magnet for picking up metallic items.

Figure 4.1: The endoscope camera head with its 6 adjustable LED lights providing illumination for inspection.
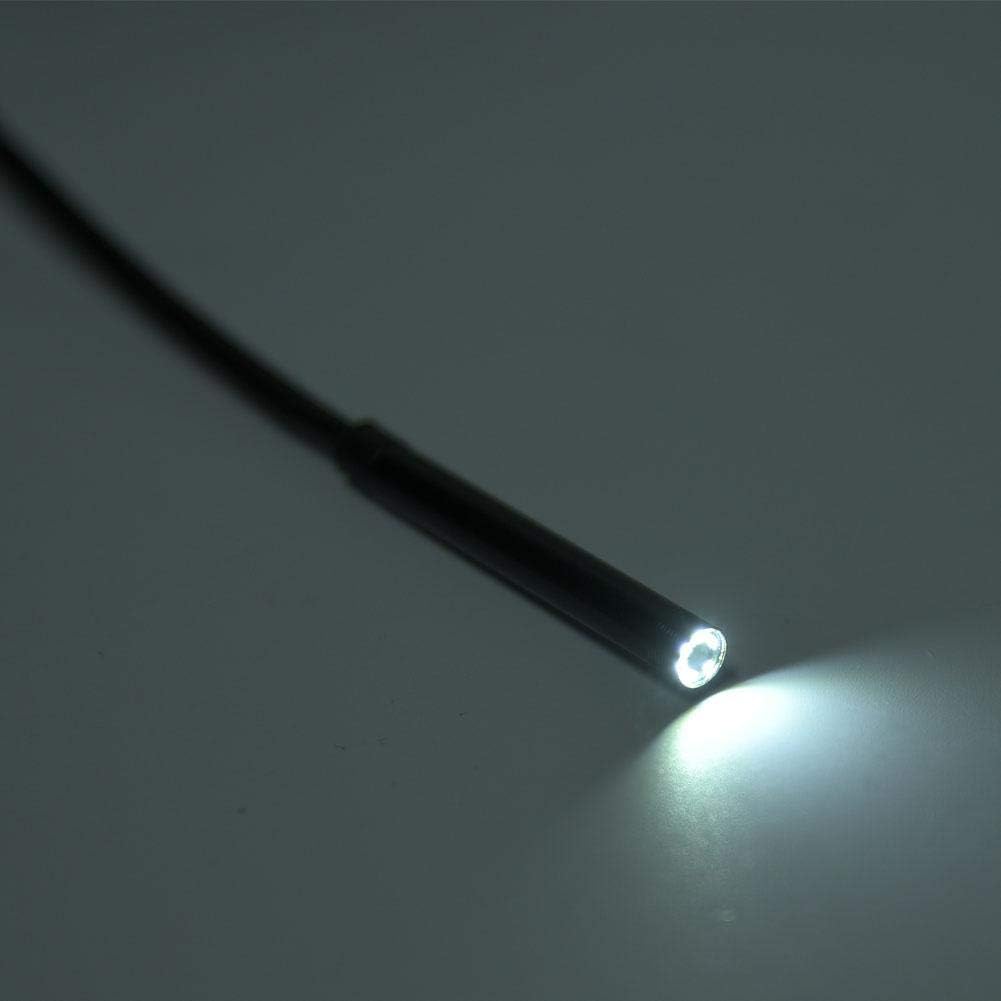
Figure 4.2: Practical applications of the endoscope, including inspecting internal wall structures and accessing areas behind appliances.
5. Wartung
Eine ordnungsgemäße Wartung gewährleistet die Langlebigkeit und optimale Leistung Ihres Endoskops:
- Reinigung: Nach jedem Gebrauch, insbesondere in schmutziger oder feuchter Umgebung, sollten Sie die Kameralinse und das Kabel vorsichtig mit einem weichen Tuch abwischen.amp cloth. The IP67 rating indicates resistance to dust and water immersion up to 1 meter for 30 minutes, but it is not designed for prolonged underwater use or harsh chemicals.
- Trocknen: Ensure the endoscope and its connectors are completely dry before storing.
- Lagerung: Bewahren Sie das Endoskop an einem kühlen, trockenen Ort, vor direkter Sonneneinstrahlung und extremen Temperaturen geschützt auf. Wickeln Sie das Kabel locker auf, um Knicke oder Beschädigungen zu vermeiden.
- Vermeiden Sie Bücken: Do not excessively bend or crimp the cable, as this can damage internal wiring.
6. Fehlerbehebung
If you encounter issues with your Walfront Y102 Endoscope, refer to the following common problems and solutions:
| Problem | Mögliche Ursache | Lösung |
|---|---|---|
| No image displayed / Device not recognized. |
|
|
| Das Bild ist unscharf oder dunkel. |
|
|
| Die App stürzt ab oder friert ein. |
|
|
7. Spezifikationen
| Besonderheit | Detail |
|---|---|
| Modell | Y102 |
| Linsendurchmesser | 5.5 mm |
| Kameraauflösung | 2.0MP CMOS HD (Video Capture Resolution: 480p) |
| LED-Leuchten | 6 einstellbare LEDs |
| Kabellänge | 5 Meter |
| Wasserdichtigkeit | IP67 |
| Konnektivität | 3-in-1 USB (USB-A, Micro USB, USB-C) |
| Kompatibilität | Android (OTG support required), Windows PC |
| Makro-Fokusbereich | 5 cm - ∞ |
| Technische Daten | 4.72 x 4.72 x 1.38 Zoll |
| Artikelgewicht | 0.704 Unzen |
| Farbe | Schwarz |
| Hersteller | Walfront |
8. Garantie und Support
For information regarding warranty coverage and terms for your Walfront Y102 Endoscope, please refer to the documentation provided at the time of purchase or contact the seller directly. Support inquiries, technical assistance, or questions about product functionality should also be directed to the point of purchase or the manufacturer's official support channels.