Timex TW500
Timex Wireless Charging Alarm Clock Radio
Modell: TW500
Einführung
The Timex TW500 is a versatile alarm clock radio designed for modern living. It features wireless charging for compatible devices, a USB charging port, dual digital alarms, an FM radio with presets, a dimmable display, and a sleep timer. This manual provides detailed instructions for setting up and operating your device.
Produkt überview

Front View: The Timex TW500 alarm clock radio features a large, clear green LED display showing the time, along with indicators for PM, alarm status, and charging. Control buttons are located on the top panel.

Duale Ladefähigkeit: This image illustrates the dual charging feature of the TW500, with a smartphone wirelessly charging on the top surface and another smartphone connected to the USB-A charging port located on the back of the unit.

Dual-Alarm-Einstellungen: The TW500 supports two independent alarm settings, allowing users to schedule separate wake times for different days or for two individuals.
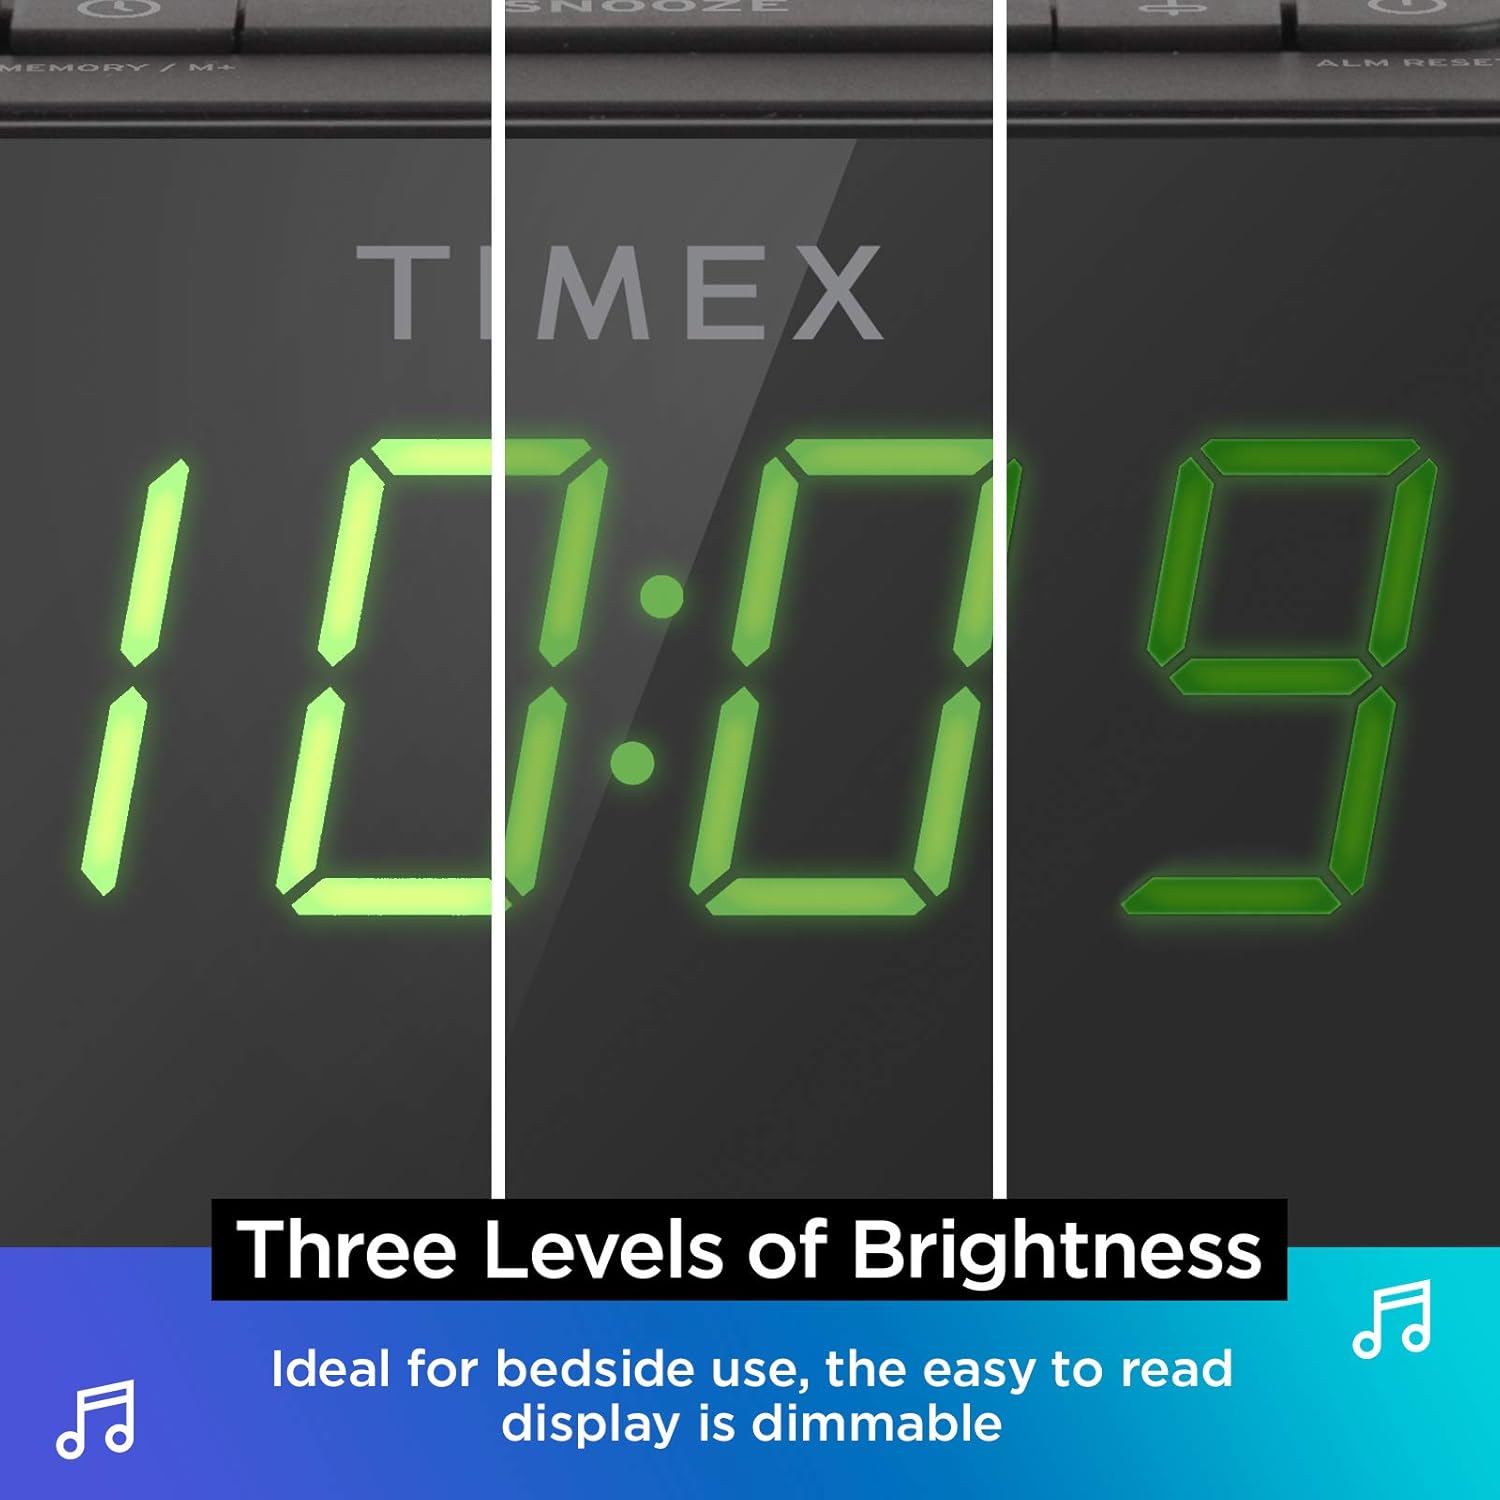
Dimmbares Display: The digital display offers multiple brightness levels, ensuring comfortable viewing in various lighting conditions, from bright daylight to a dark bedroom.
Aufstellen
1. Stromanschluss
Connect the supplied AC power adapter to the DC jack on the back of the unit and plug the other end into a working wall outlet. The unit will power on and the display will light up.
2. Batterie-Backup-Installation
Für die kontinuierliche Zeiterfassung bei Stromausfalltages, install one CR-2032 battery (included) into the battery compartment on the bottom of the unit. Ensure correct polarity (+/-) as indicated.
3. Antenneneinrichtung
Extend the FM wire antenna on the back of the unit fully for optimal FM radio reception. Adjust its position as needed to improve signal quality.
Bedienungsanleitung
Einstellen der Uhrzeit
- Halten Sie die ZEITEINSTELLUNG Drücken Sie die Taste auf der Oberseite so lange, bis die Zeitanzeige blinkt.
- Drücken Sie die - or + Tasten zum Einstellen der Stunde. Beachten Sie die PM-Anzeige.
- Drücken Sie die ZEITEINSTELLUNG button again to confirm the hour and move to minutes setting.
- Drücken Sie die - or + Tasten zum Einstellen der Minuten.
- Drücken Sie die ZEITEINSTELLUNG Drücken Sie die Taste ein letztes Mal, um die Zeit zu speichern und den Zeiteinstellungsmodus zu verlassen.
Alarme einstellen (Alarm 1 & Alarm 2)
The TW500 features two independent alarms. The process is identical for both.
- Halten Sie die ALARM ONE or ALARM TWO Drücken Sie die Taste so lange, bis die Alarmzeit blinkt.
- Drücken Sie die - or + Tasten zum Einstellen der Weckzeit. Beachten Sie die PM-Anzeige.
- Drücken Sie die jeweilige Taste ALARM ONE or ALARM TWO button again to confirm the hour and move to minutes setting.
- Drücken Sie die - or + Tasten zum Einstellen der Alarmminuten.
- Drücken Sie die jeweilige Taste ALARM ONE or ALARM TWO button again to select the alarm source (FM radio or Tone). The corresponding icon will light up.
- Drücken Sie die jeweilige Taste ALARM ONE or ALARM TWO button one last time to save the alarm setting. The alarm indicator will remain lit.
To turn an alarm off, repeatedly press the corresponding ALARM ONE or ALARM TWO button until the alarm indicator light turns off.
FM-Radiobetrieb
- Drücken Sie die EIN/AUS Taste, um das Radio einzuschalten.
- Drücken Sie die - or + buttons to tune to your desired FM station. Press and hold to auto-scan for the next available station.
- Drücken Sie die VOLUME - or LAUTSTÄRKE + Tasten zum Einstellen der Lautstärke.
- Voreinstellungen festlegen: Halten Sie die MEMORY/M+ button. The preset number will flash. Use the - or + Tasten zum Auswählen einer voreingestellten Zahl (1-10). Drücken MEMORY/M+ wieder zu speichern.
- Voreinstellungen abrufen: Drücken Sie kurz die UKW-SENDUNGSVORWÄRTSGRUPPEN Taste zum Durchschalten der gespeicherten Sender.
- Drücken Sie die EIN/AUS Taste zum Ausschalten des Radios.
Kabelloses Laden
The top surface of the TW500 features a Qi-compatible wireless charging pad.
- Place your Qi-enabled smartphone or other compatible device directly onto the wireless charging pad.
- Ensure the device is centered on the charging pad for optimal connection. A charging indicator on your device or the TW500 (if applicable) will confirm charging has begun.
- Nehmen Sie Ihr Gerät heraus, sobald es vollständig aufgeladen ist.
Aufladen über USB
A 5W USB-A charging port is located on the back of the unit.
- Connect your device's USB charging cable to the USB port on the TW500.
- Verbinden Sie das andere Ende des Kabels mit Ihrem Gerät. Der Ladevorgang startet automatisch.
Display-Dimmer
Die Displayhelligkeit kann nach Ihren Wünschen angepasst werden.
- Drücken Sie die DIMMER button repeatedly to cycle through different brightness levels (High, Medium, Low, Off).
Einschlaftimer
Mit dem Sleep-Timer können Sie beim Radiohören einschlafen; das Radio schaltet sich nach einer voreingestellten Zeit automatisch aus.
- Während das Radio spielt, drücken Sie die Taste SCHLAFEN button repeatedly to cycle through sleep timer options (e.g., 10, 20, 30, 60, 90 minutes, Off).
- Das Radio spielt für die ausgewählte Dauer und schaltet sich dann automatisch aus.
Schlummerfunktion
Wenn ein Alarm ertönt, drücken Sie die große Taste. SCHLAFEN Mit der Taste oben am Gerät kann der Alarm für 9 Minuten stummgeschaltet werden. Nach Ablauf der Schlummerzeit ertönt der Alarm erneut.
Wartung
- Reinigung: Reinigen Sie die Außenseite des Geräts mit einem weichen, trockenen Tuch. Verwenden Sie keine flüssigen Reinigungsmittel oder Scheuermittel.
- Batteriewechsel: Replace the CR-2032 backup battery annually or if the time display is incorrect after a power outage.
- Lagerung: Wenn Sie das Gerät über einen längeren Zeitraum lagern, trennen Sie es vom Stromnetz und entfernen Sie die Backup-Batterie.
Fehlerbehebung
| Problem | Mögliche Ursache | Lösung |
|---|---|---|
| Gerät lässt sich nicht einschalten. | Netzteil nicht angeschlossen oder Steckdose defekt. | Ensure AC adapter is securely plugged into the unit and a live wall outlet. Test the outlet with another device. |
| Der Alarm ertönt nicht. | Alarm nicht eingestellt, Alarmlautstärke zu niedrig oder Alarm ausgeschaltet. | Verify alarm time and source are set correctly. Increase radio volume if alarm source is FM. Ensure alarm indicator is lit. |
| Schlechter FM-Radioempfang. | Antenne nicht ausgefahren oder schlechtes Signalgebiet. | Fully extend the FM wire antenna and reposition it for better reception. Try moving the unit to a different location. |
| Kabelloses Laden funktioniert nicht. | Device not Qi-compatible, not centered, or foreign object on pad. | Ensure your device supports Qi wireless charging. Re-position the device centrally on the pad. Remove any metal objects or thick cases. |
| USB-Ladefunktion funktioniert nicht. | Kabel defekt oder Gerät nicht kompatibel. | Try a different USB cable. Ensure the device is compatible with standard USB charging. |
Technische Daten
- Modell: TW500
- Abmessungen: 5.48 Zoll (B) x 2.17 Zoll (T) x 5.20 Zoll (H)
- Gewicht: 0.7 Pfund (ca. 0.32 kg)
- Leistungsaufnahme: Netzteil (im Lieferumfang enthalten)
- Batterie-Backup: 1 x CR-2032 Batterie (im Lieferumfang enthalten)
- Kabelloses Laden: Qi-kompatibel
- USB Ladeanschluss: 5 W USB-A
- Radio: FM with 10 presets
- Anzeige: 0.9" Green LED, Dimmable
- Alarme: Dual Digital Alarms (Wake to Radio or Tone)
Offizielles Produktvideo
Dieses Video bietet einen visuellen Überblick überview of the Timex TW500, highlighting its key features such as wireless charging, USB charging, FM radio, dual alarms, and dimmable display. It demonstrates the product's compact design and functionality.
Garantie und Support
This Timex product comes with a limited warranty. For detailed warranty information, product support, or to register your product, please refer to the warranty card included in your product packaging or visit the official Timex website. If you are not 100% satisfied with your new Timex alarm clock radio and its performance, please contact the seller for assistance.
Hersteller: Timex
UPC: 758859207179
Ask a question about this manual
Ask about setup, troubleshooting, compatibility, parts, safety, or missing instructions. Manuals+ will review the question and use this page’s manual context to help answer it.