1. Produktüberschreitungview
The Thlevel 20A 12V/24V Solar Charge Controller is designed to manage the power flow from your solar panel to your battery, ensuring efficient charging and protecting the battery from overcharge and over-discharge. It features a clear LCD display for monitoring system status and adjustable parameters for various battery types and load requirements. This controller is suitable for home, commercial, and industrial solar power systems.

Figure 1: Thlevel 20A 12V/24V Solar Charge Controller front view.
Hauptmerkmale:
- Ladestrom: 20A; USB-Ausgang: 5V/2A max; Batterie Voltage: 12V/24V auto-identification.
- Umfassender Sicherheitsschutz: Built-in short-circuit protection, open-circuit protection, reverse connection protection, and overload protection.
- Advanced Charge Management: Features 3-level PWM charge management for optimal battery health.
- Einstellbare Parameter: Integrated industrial micro-controller allows for adjustable charge and discharge parameters, and configurable load operating modes.
- Effiziente Wärmeableitung: Dual MOS reverse current protection ensures low heat generation and high reliability.
- Benutzerfreundliche Oberfläche: LCD screen displays real-time status and data, making setup and operation straightforward.
2. Installation and System Connection
Follow these steps for proper installation. Ensure all connections are secure and correct to prevent damage to the controller or other components. Schließen Sie immer zuerst die Batterie an.

Abbildung 2: Systemanschlussdiagramm.
- Connect Battery (1): Connect the battery to the charge controller first. Ensure correct polarity (+ to + and - to -). The controller will automatically detect 12V or 24V battery systems.
- Connect Solar Panels (2): Connect the solar panel(s) to the charge controller. Again, observe correct polarity.
- Connect DC Load (3 - Optional): Connect your DC loads (e.g., LED lights) to the controller's load terminals. Ensure correct polarity.
- Connect Inverter (4 - Optional): If using an inverter for AC loads, connect it to the battery terminals. The inverter should not be connected directly to the load terminals of the controller.
Wichtiger Hinweis: Connect in strict accordance with the sequence: 1. Battery, 2. Solar Panel, 3. Load. Disassembly should be in the reverse order to prevent damage.
Montage:
- Mount the controller on a vertical surface to allow for proper heat dissipation.
- Ensure adequate clearance around the controller for air circulation.
- Avoid mounting in direct sunlight, high temperatures, or areas prone to water exposure.
3. Bedienung und Einstellungen
The controller features an LCD display and three buttons for navigation and parameter adjustment.
3.1. LCD-Display-Schnittstelle

Figure 3: LCD Display and Button Functions.
- MENU-Taste: Short press to switch between display interfaces. Long press (3-5 seconds) to enter or exit parameter setting mode.
- AUF-Taste: In parameter setting mode, press once to increase the parameter value.
- DOWN/ON/OFF Button: In parameter setting mode, press once to decrease the parameter value. In normal display mode, press to turn the load on or off.
The LCD displays various information including voltage, ampere-hour, load output status, battery status, and solar panel charging light indicators (On: Direct/Boost Charge; Slowly Flash: Float Charge).
3.2. Parametereinstellungen
To adjust parameters, long press the SPEISEKARTE button for 3-5 seconds to enter the setting interface. Use the UP Und RUNTER buttons to modify values. Long press the SPEISEKARTE button again to save and exit, or long press RUNTER to restore default parameters.

Figure 4: Parameter Setting Flow.
The common adjustable parameters include:
- Schwimmer Voltage: Die voltage, bei dem die Batterie nach vollständiger Aufladung gehalten wird.
- Entladung Wiederverbindung Voltage: Die voltage at which the load will reconnect after low voltage-Trennung.
- Entladungsstopp-Volumetage: Die voltage, bei dem die Last getrennt wird, um die Batterie vor Tiefentladung zu schützen.
- Arbeitsmodus: Configures how the load operates (e.g., 24 hours, dusk to dawn, timed).
- Batterietyp: Select the battery type (e.g., B01 for GEL, B02 for Sealed, B03 for Flood). This controller is only applicable to lead-acid batteries (Open type, VRLA, GEL, etc.).
4. Wartung
Regelmäßige Wartung gewährleistet optimale Leistung und Langlebigkeit Ihres Solarladereglers.
- Sauberkeit: Halten Sie den Controller sauber und frei von Staub und Schmutz. Verwenden Sie zum Reinigen ein trockenes Tuch.
- Verbindungen: Periodically check all wiring connections to ensure they are tight and free from corrosion. Loose connections can cause overheating and damage.
- Belüftung: Ensure that the ventilation openings are not blocked to allow for proper heat dissipation.
- Umgebungsbedingungen: Verify that the controller is operating within its specified temperature and humidity ranges.
- Batteriezustand: Überwachen Sie den Zustand und die Spannung Ihres Akkus.tage regularly. A healthy battery is crucial for the overall system performance.
5. Fehlersuche und Sicherheitsvorkehrungen
The Thlevel solar charge controller is equipped with multiple safety features to protect itself and your solar power system. Understanding these protections can help in basic troubleshooting.

Figure 5: Built-in Security Protections.
- Kurzschlussschutz: Automatically disconnects if a short circuit is detected in the load or solar panel circuit. Check wiring for shorts.
- Überlastschutz: Disconnects the load if the current exceeds the rated capacity (20A). Reduce the load or use a higher-rated controller.
- Überstromschutz: Similar to overload, protects against excessive current flow.
- Überladeschutz: Stops charging the battery once it reaches the set overcharge voltage, wodurch Schäden verhindert werden.
- Untervolumentage Schutz: Disconnects the load when the battery voltage fällt unter den festgelegten Untervol.tage threshold, protecting the battery from deep discharge.
- Überlautstärketage Schutz: Protects the system from excessively high voltage Eingänge.
- Verpolungsschutz: Protects the controller from damage if the battery or solar panel connections are reversed. However, always ensure correct polarity during installation.
Häufige Probleme:
- Kein Display/Keine Stromversorgung: Überprüfen Sie die Batterieanschlüsse und stellen Sie sicher, dass die Batterie ausreichend geladen ist.
- Akku lädt nicht: Verify solar panel connections, ensure panels are receiving sunlight, and check for any shading. Confirm battery type setting is correct.
- Laden funktioniert nicht: Check load connections, ensure the load is within the controller's current limits, and verify the load work mode settings. The battery might be too low (under-voltage-Schutz aktiviert).
6. Technische Daten
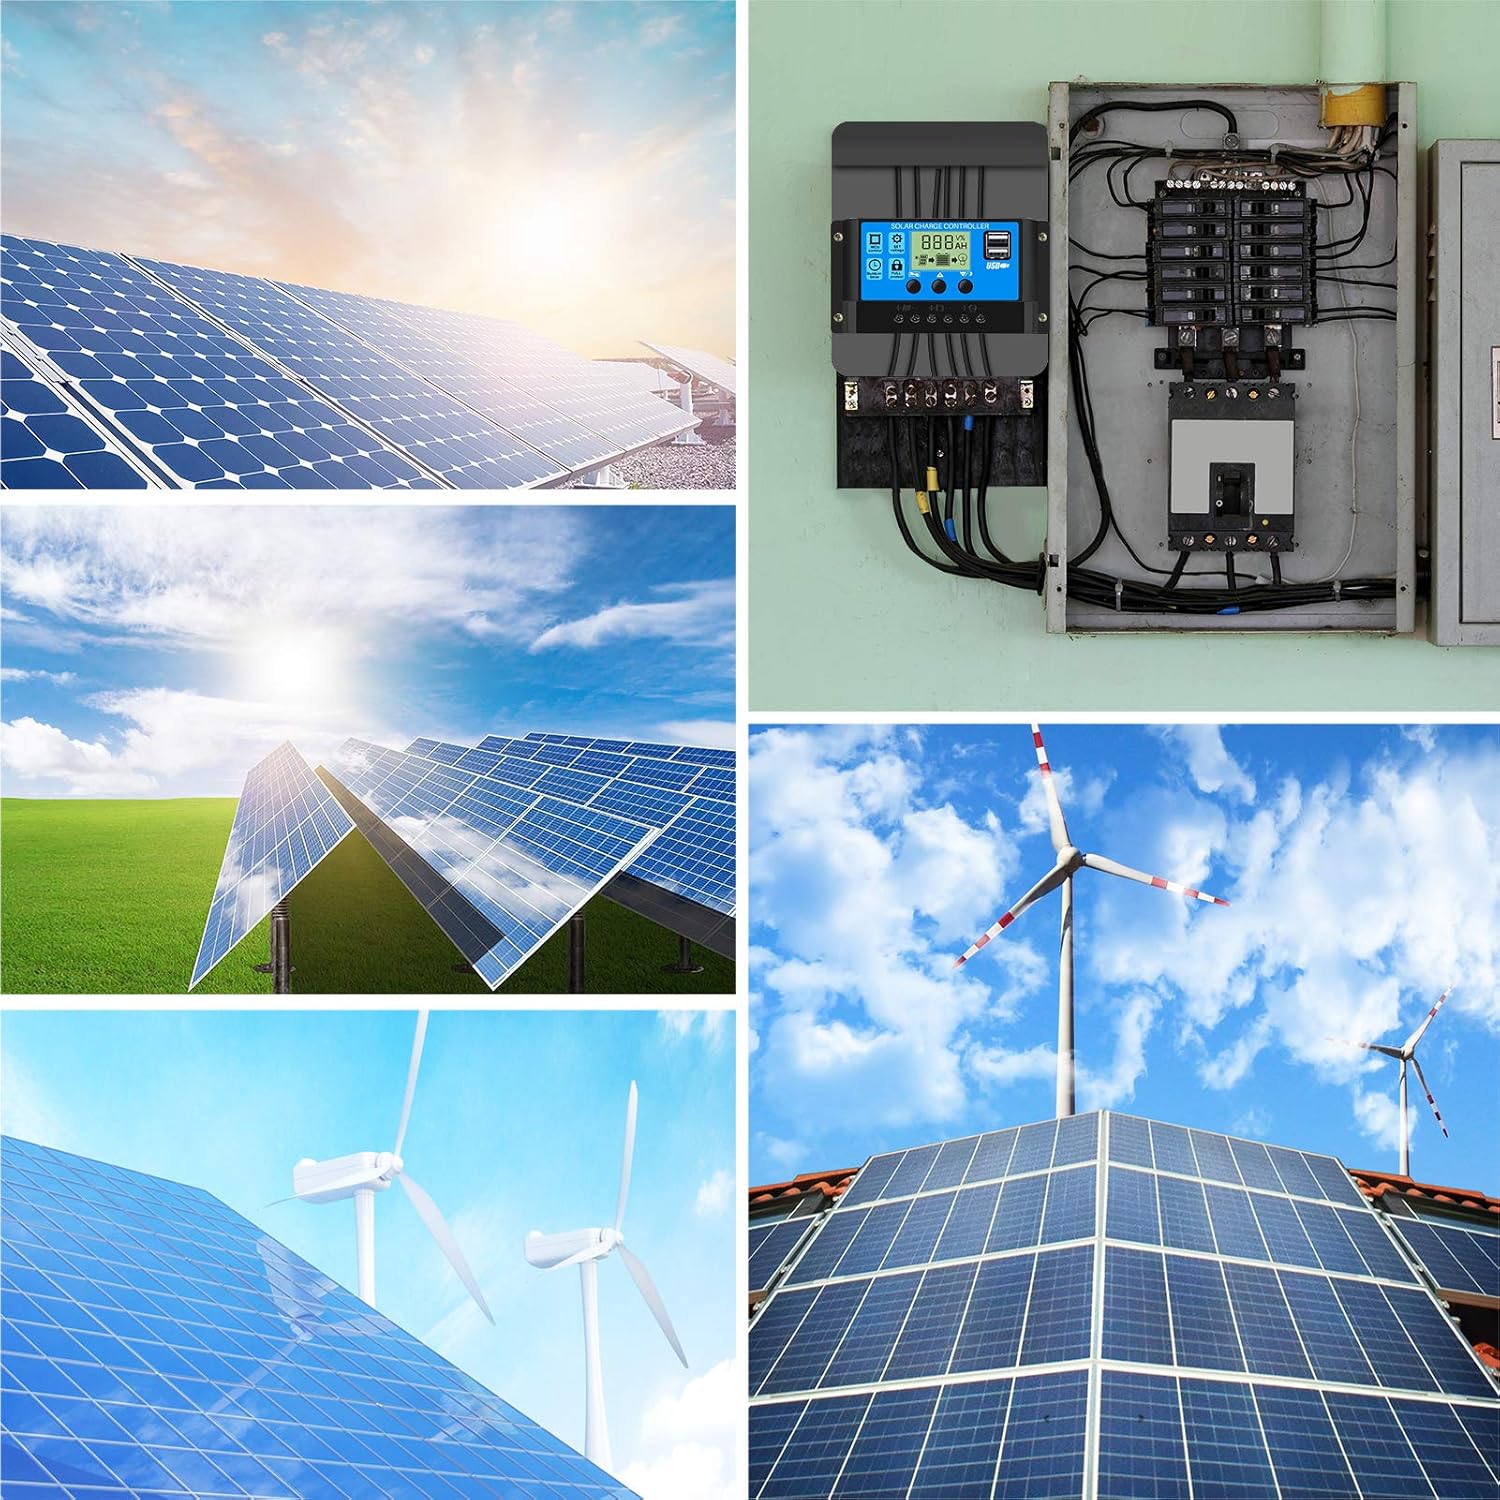
Abbildung 6: Produktabmessungen.
| Besonderheit | Spezifikation |
|---|---|
| Nennladestrom | 20 A |
| USB-Ausgang | 5 V/2 A (max.) |
| Batterie Voltage | 12V/24V (Auto-identification) |
| Max. PV-Eingangsvolumentage | 50 V |
| Maximale PV-Eingangsleistung | 260 W (12 V), 520 W (24 V) |
| Abmessungen (L x B x H) | 13.3 x 7 x 3.5 cm (5.23 x 2.75 x 1.38 Zoll) |
| Gewicht | 132 Gramm |
| Material | Plastik |
| Anzeigetyp | LCD |
| Betriebstemperatur | -35°C bis +60°C |
7. Sicherheitshinweise
Please read and follow all safety instructions carefully before installation and operation.
- This controller is designed for 12V/24V lead-acid batteries only (GEL, Sealed, Flooded). Do not use with other battery types (e.g., Lithium-ion) unless explicitly stated by the manufacturer.
- Ensure all wiring is correctly polarized before connecting. Incorrect polarity can damage the controller and other components.
- Install the controller in a well-ventilated, dry, and cool environment, away from flammable materials and corrosive gases.
- Versuchen Sie nicht, den Controller selbst zu zerlegen oder zu reparieren. Wenden Sie sich für Reparaturen an qualifiziertes Fachpersonal.
- Halten Sie Kinder von den Komponenten der Solaranlage fern.
- Tragen Sie während der Installation geeignete persönliche Schutzausrüstung (PSA), wie z. B. Handschuhe und Augenschutz.
8. Garantie und Support
This product is manufactured by Thlevel. For warranty information or technical support, please refer to the retailer or contact Thlevel customer service directly. Keep your purchase receipt as proof of purchase.
While specific warranty details are not provided in this manual, most electronic devices come with a standard manufacturer's warranty covering defects in materials and workmanship under normal use.