
1. Einleitung
This manual provides detailed instructions for the Walfront HBV-W202012HD USB Camera Module. This compact camera module is designed for various applications requiring high-definition imaging and broad system compatibility. Please read this manual thoroughly before using the product to ensure proper setup and operation.

Bild 1.1: Nahaufnahme view of the Walfront HBV-W202012HD USB Camera Module, showing its compact design and lens.
2. Produktmerkmale
The Walfront HBV-W202012HD USB Camera Module offers a range of features for versatile use:
- Hochauflösende Bildgebung: Equipped with a 1-megapixel lens, providing clear 1280x720P resolution.
- Weites Feld von View: Verfügt über ein 50°-Sichtfeld view for broader visual coverage.
- Breite Systemkompatibilität: Supports WinXP, Win7, Win8, Win10, OS X, Linux, and Android operating systems.
- Manueller Fokus: Allows adjustment of focus according to object distance for optimal clarity.
- OV9726 Photosensitive Chip: Utilizes a high-definition OV9726 chip for enhanced image quality.
- Plug and Play (UVC Protocol): Standard UVC protocol and USB interface ensure easy, driver-free installation.
- OTG-Unterstützung: Compatible with On-The-Go (OTG) functionality for direct connection to mobile devices.
- IR Supplementary Light Support: Can be connected to an IR supplementary light for improved night vision.
- Vielseitige Anwendungen: Suitable for QR scanning, face recognition, industrial products, and various DIY projects.

Image 2.1: Visual comparison demonstrating the clarity provided by the 1-megapixel high-definition lens.

Image 2.2: Illustration showing the wider coverage of the 50-degree field of view compared to a normal lens.

Abbildung 2.3: Beispielamples of diverse applications for the camera module, such as license plate recognition, face recognition, and robot vision.
3. Einrichtung
3.1 Packungsinhalt
Bevor Sie mit der Einrichtung fortfahren, vergewissern Sie sich bitte, dass alle Komponenten im Paket enthalten sind:
- 1 x Walfront HBV-W202012HD USB Camera Module
- 1 x USB Cable (approximately 50cm / 19.7in)

Image 3.1: The camera module connected to its USB cable, as typically found in the package.
3.2 Connecting the Camera Module
- Unpack the Module: Carefully remove the camera module and USB cable from its packaging.
- Schließen Sie das Kabel an: Attach the small connector end of the USB cable to the corresponding port on the camera module. Ensure it is securely seated.
- Mit Gerät verbinden: Plug the standard USB-A end of the cable into an available USB port on your computer (Windows, OS X, Linux) or a compatible Android device with OTG support.
- Treiberinstallation: The module is UVC compliant and typically does not require manual driver installation. Your operating system should automatically recognize and install the necessary drivers.
- Überprüfung: Open a camera application or software on your device to verify that the camera module is detected and displaying video.
Video 3.1: Demonstration of unboxing and handling the Walfront HBV-W202012HD USB Camera Module and its USB cable.
4. Bedienung
4.1 Grundlegende Verwendung
Once connected and recognized by your system, the camera module can be used with various applications:
- Windows: Use the built-in Camera app or third-party webCam-Software.
- OS X: Use Photo Booth, QuickTime Player, or other compatible applications.
- Linux: Use applications like Cheese, VLC, or other webcam utilities.
- Android (OTG): Requires an OTG-compatible device and a camera app that supports external USB cameras.
4.2 Fokus anpassen
The HBV-W202012HD features manual focus. To adjust the focus:
- Point the camera module at the desired object or scene.
- Gently rotate the lens ring on the camera module until the image appears clear and sharp on your display.
- Bei Bedarf an unterschiedliche Entfernungen anpassen.

Image 4.1: The camera module illustrating its field of view, which can be optimized through manual focus adjustment.
4.3 IR Supplementary Light (Optional)
For low-light or night vision applications, the module supports an external IR supplementary light. Connect the IR light to the designated pins on the camera module's PCB. Refer to the module's pinout diagram for correct connection. This will enhance image clarity in dark environments.
5. Wartung
To ensure the longevity and optimal performance of your camera module, follow these maintenance guidelines:
- Reinigung: Reinigen Sie die Linse vorsichtig mit einem weichen, fusselfreien Tuch. Bei hartnäckigen Verschmutzungen verwenden Sie eine Linsenreinigungslösung, die speziell für optische Oberflächen entwickelt wurde. Vermeiden Sie scheuernde Materialien oder aggressive Chemikalien.
- Lagerung: Store the camera module in a cool, dry place away from direct sunlight and extreme temperatures. If not in use for extended periods, consider storing it in an anti-static bag.
- Handhabung: Handle the module by its edges to avoid touching the lens or the electronic components on the PCB. Static electricity can damage sensitive electronics.
- Feuchtigkeit: Keep the module away from water and high humidity. Moisture can cause internal damage and corrosion.
6. Fehlerbehebung
If you encounter issues with your Walfront HBV-W202012HD USB Camera Module, refer to the following common problems and solutions:
| Problem | Mögliche Ursache | Lösung |
|---|---|---|
| Camera not detected / No image |
|
|
| Bild ist verschwommen |
|
|
| Schlechte Bildqualität bei schwachem Licht |
|
|
| Android device not recognizing camera |
|
|
7. Spezifikationen
Technical specifications for the Walfront HBV-W202012HD USB Camera Module:
| Besonderheit | Detail |
|---|---|
| Modell | HBV-W202012HD |
| Auflösung | 1 Megapixel (1280x720P) |
| Fotosensor | OV9726 (1/6 inch) |
| Fachgebiet View (Sichtfeld) | 50° |
| Brennweite | 3.2 mm (Maximum) |
| Fokustyp | Manueller Fokus |
| Konnektivität | USB 2.0 |
| Protokoll | UVC (USB Video Class) |
| Kompatibilität | WinXP, Win7, Win8, Win10, OS X, Linux, Android (with OTG) |
| Besondere Merkmale | IR Supplementary Light Support |
| Videoaufnahmeformat | MJPG |
| Kabellänge | Ca. 50 cm (19.7 Zoll) |
| Gewicht | Ca. 0.352 Unzen |
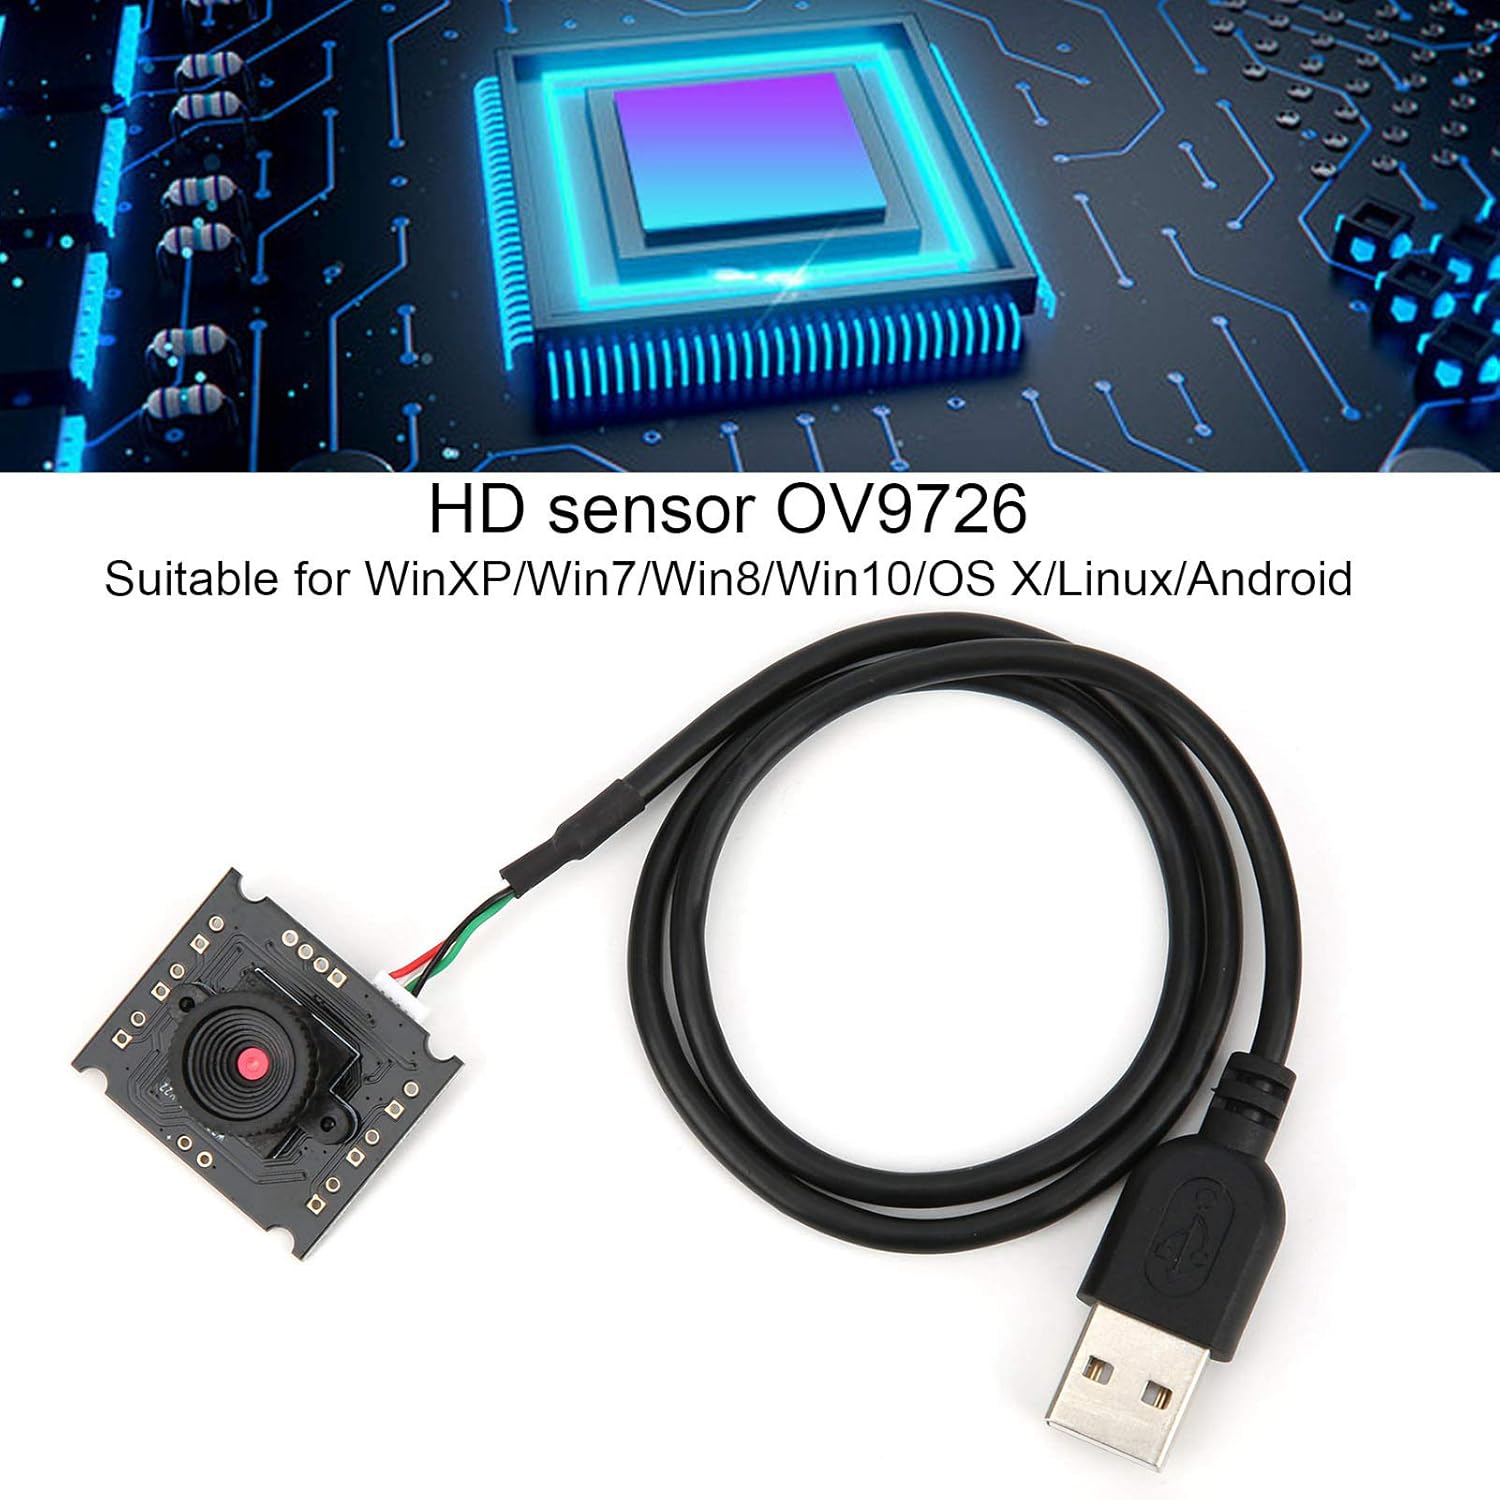
Image 7.1: Illustration highlighting the OV9726 HD sensor and broad operating system compatibility.
8. Garantie und Support
Walfront products are manufactured to high-quality standards. For specific warranty information, please refer to the documentation included with your purchase or contact your retailer. For technical support or inquiries, please reach out to Walfront customer service through their official channels.