
LIECTROUX C30B
LIECTROUX C30B Hybrid Robot Vacuum and Mop User Manual
Modell: C30B
1. Einleitung
Thank you for choosing the LIECTROUX C30B Hybrid Robot Vacuum and Mop. This intelligent cleaning device is designed to simplify your home maintenance with its advanced features, including dynamic navigation, powerful 4KPA suction, and versatile 2-in-1 vacuuming and mopping capabilities. It integrates seamlessly with smart home systems like Amazon Alexa and Google Assistant for convenient control. Please read this manual thoroughly before operating the device to ensure proper use and maintenance.

Figure 1.1: LIECTROUX C30B Robot Vacuum and Mop with its accompanying mobile application interface and the interchangeable dustbin/water tank.
2. Wichtige Sicherheitshinweise
To reduce the risk of injury or damage, read these safety instructions carefully and keep them handy for future reference. This appliance is for household use only.
- Do not operate the robot in environments with open flames or fragile objects.
- Vor der Inbetriebnahme muss sichergestellt werden, dass alle Stromkabel, Kleinteile und lose Gegenstände vom Boden entfernt sind, um ein Verheddern zu vermeiden.
- Do not allow children or pets to play with the robot. Supervise children when the robot is in use.
- Verwenden Sie ausschließlich die vom Hersteller mitgelieferte Original-Ladestation und das Original-Netzteil.
- Verwenden Sie den Roboter nicht zum Aufsammeln von großen Trümmern, Flüssigkeiten oder brennenden/rauchenden Materialien.
- Reinigen Sie die Bürsten und Sensoren regelmäßig, um eine optimale Leistung zu gewährleisten.
- Der Roboter und seine elektronischen Bauteile dürfen nicht in Wasser eingetaucht werden.
- If the robot is not used for a long period, fully charge it and store it in a cool, dry place.
3. Packungsinhalt
Prüfen Sie beim Auspacken, ob alle Komponenten vorhanden und in einwandfreiem Zustand sind.
- Robot Host (Main Unit)
- Ladestation
- Fernbedienung (Batterien nicht im Lieferumfang enthalten)
- Netzteil
- Wassertank
- Mülltonne
- Reinigungswerkzeug
- HEPA-Filter (2x)
- Seitenbürsten (4x)
- Mopping Pads (2x)
- Bedienungsanleitung
- App-Installationsanleitung
4. Produktüberschreitungview
Familiarize yourself with the main components of your LIECTROUX C30B robot vacuum.
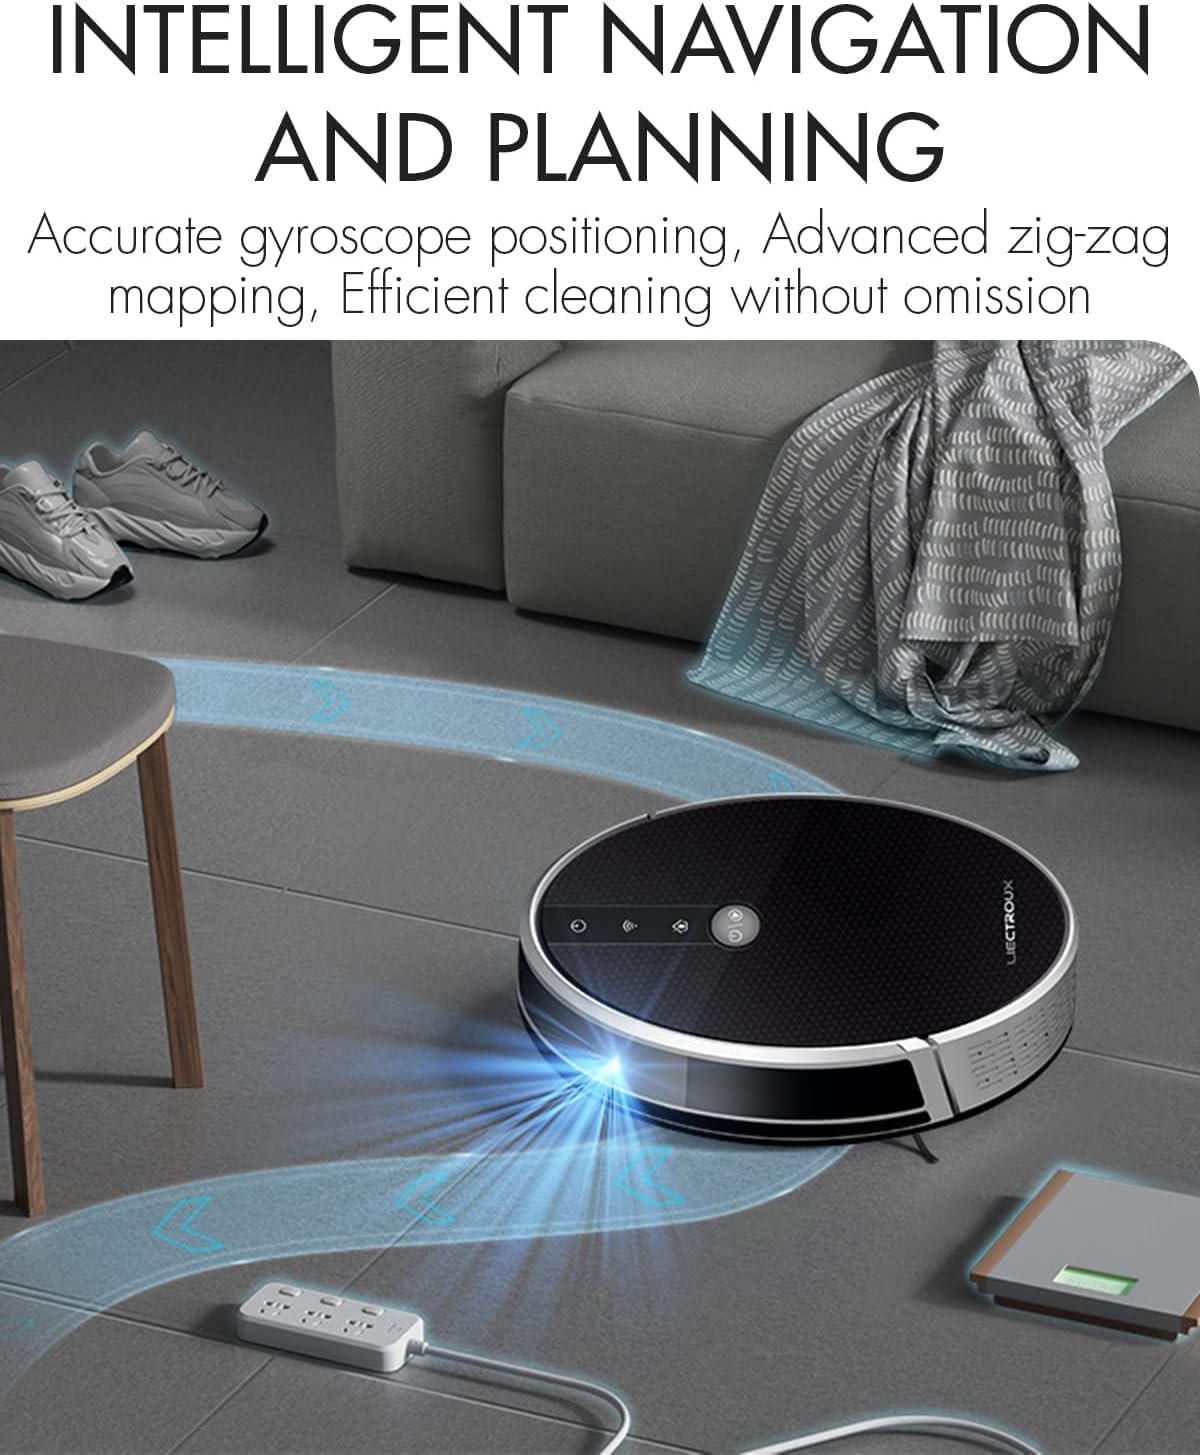
Figure 4.1: The robot vacuum utilizing its intelligent navigation system to plan and execute efficient cleaning paths, ensuring thorough coverage of your home.
4.1. Hauptmerkmale
- Gyroscope Smart Navigation: Detects the entire house and builds a real-time cleaning roadmap for efficient, room-to-room cleaning.
- Super Suction & 2-in-1 Functionality: Equipped with a NIDEC brushless motor and V-shaped floating central brush for deep cleaning. Interchangeable 600ml dustbin and water tank allow for simultaneous vacuuming and mopping.
- Schlankes Gehäusedesign: At 7.4 cm (2.9 inches) thin, it can easily clean under furniture and hard-to-reach areas.
- Absturzsensoren: Integrated infrared sensors detect obstacles and prevent falls from stairs or ledges.
- Leiser Betrieb: Designed to operate at a low noise level (45 dB), minimizing disturbance.
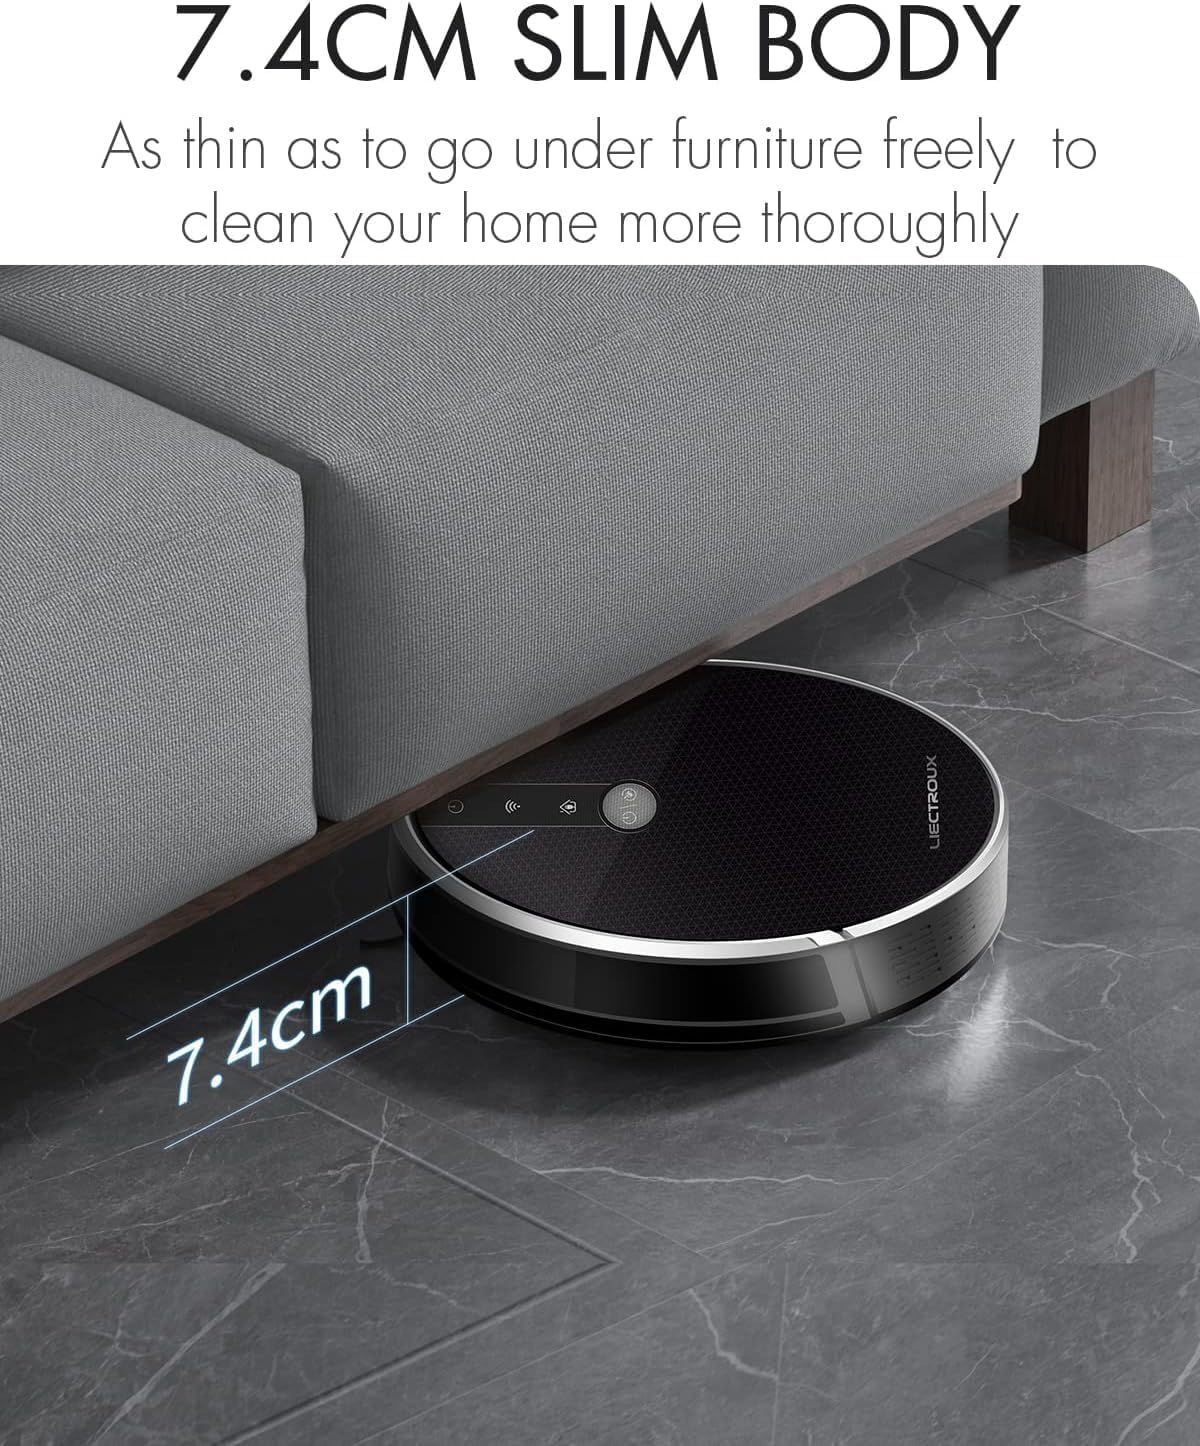
Figure 4.2: The robot's ultra-slim 7.4 cm body allows it to effortlessly clean under low-lying furniture, ensuring no dust or debris is left behind.
5. Einrichtung
5.1. Aufladen des Roboters
- Place the charging station against a wall in an open, uncluttered area. Ensure there is at least 1 meter (3.3 feet) of clear space on both sides and 2 meters (6.6 feet) in front of the station.
- Connect the power adapter to the charging station and plug the other end into a wall outlet.
- Place the robot onto the charging station, ensuring the charging contacts align. The robot will automatically begin charging. A full charge takes approximately 4-5 hours.
- For initial use, it is recommended to fully charge the robot before its first cleaning cycle.
5.2. Montage der Seitenbürsten
Attach the side brushes by pressing them onto the square posts at the bottom of the robot until they click into place. Ensure the left (L) and right (R) brushes are installed on the correct sides.
5.3. Aufstellen eines Mülleimers oder Wassertanks
The LIECTROUX C30B comes with an interchangeable dustbin and water tank. Choose the appropriate container for your cleaning needs.
- Zum Staubsaugen: Insert the dustbin into the designated slot at the rear of the robot until it locks securely.
- Zum Wischen: Fill the water tank with clean water (do not use detergents or harsh chemicals). Attach a mopping pad to the bottom of the water tank. Insert the water tank into the designated slot at the rear of the robot until it locks securely.
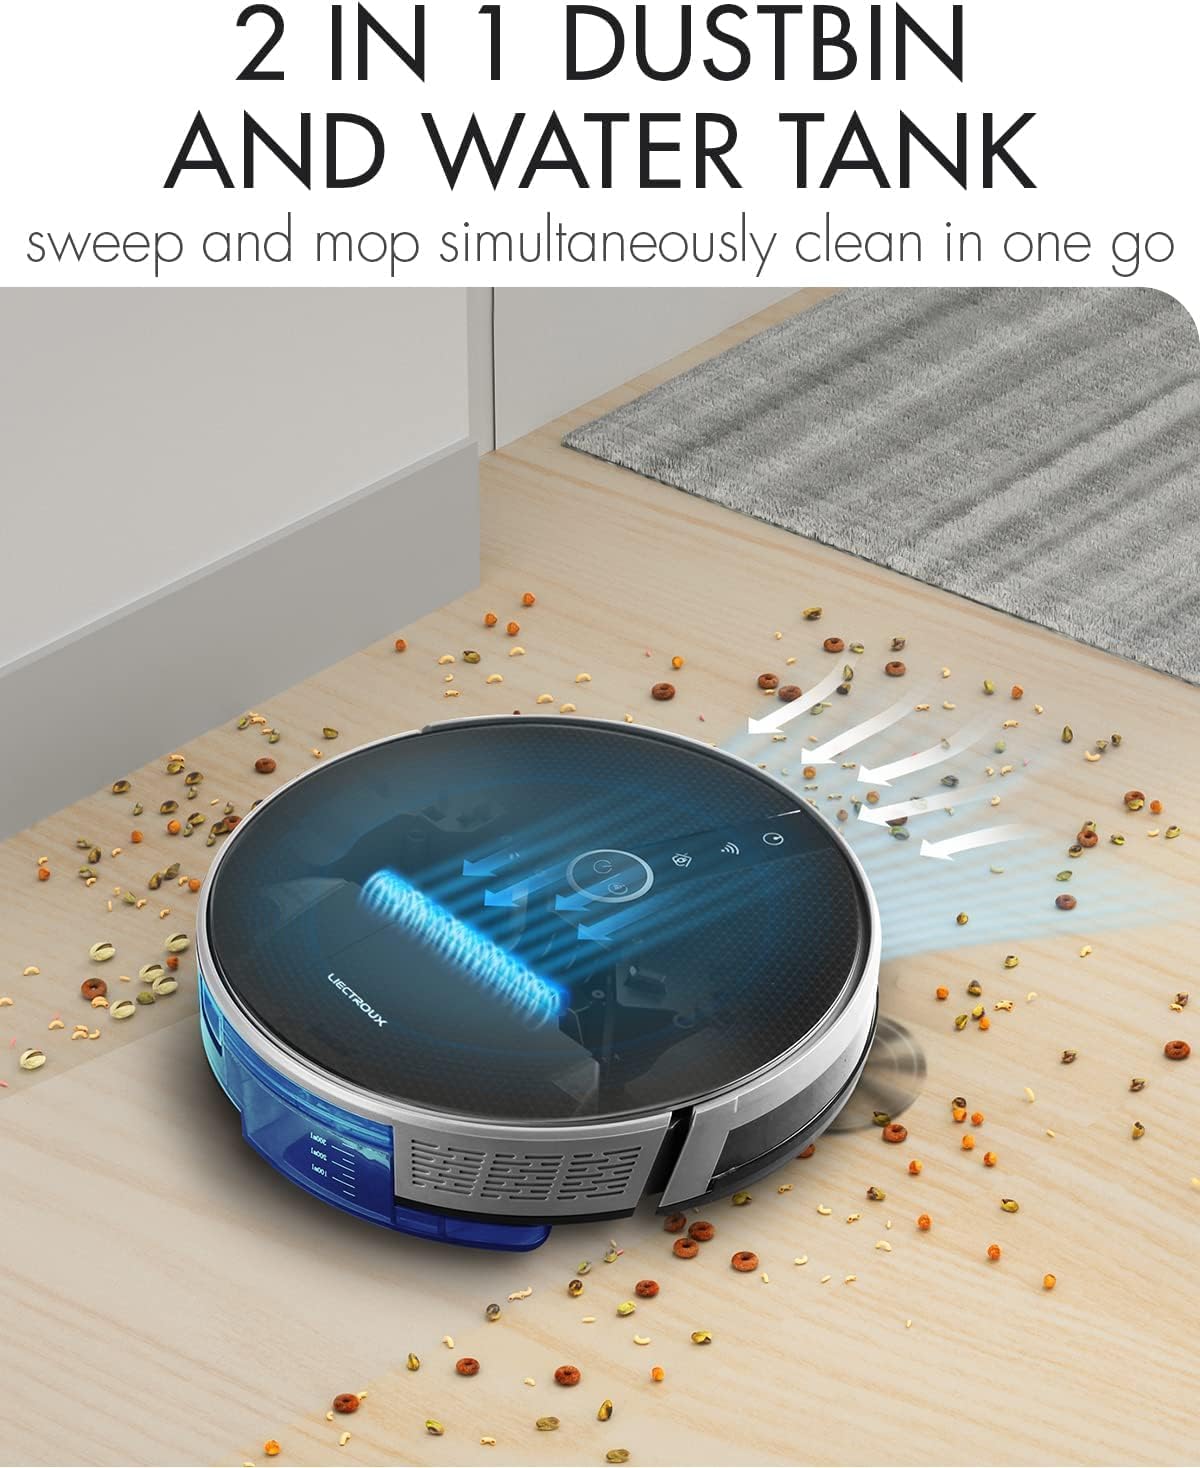
Figure 5.1: The robot's innovative 2-in-1 design allows for easy switching between the dustbin for vacuuming and the water tank for mopping, enabling simultaneous sweep and mop functions.
5.4. App-Installation und Verbindung
The LIECTROUX C30B can be controlled via the Tuya Smart app. It also supports voice control through Amazon Alexa and Google Assistant.
- Download the "Tuya Smart" app from the App Store (iOS) or Google Play Store (Android).
- Registrieren Sie ein Konto und melden Sie sich an.
- Stellen Sie sicher, dass Ihr Roboter aufgeladen und eingeschaltet ist.
- In the app, tap "+" to add a device. Select "Small Home Appliance" > "Robot Vacuum".
- Follow the on-screen instructions to connect the robot to your home Wi-Fi network (2.4GHz only).
- Sobald die Verbindung hergestellt ist, können Sie den Roboter über Ihr Smartphone steuern, Reinigungszeiten planen und seinen Status überwachen.

Figure 5.2: The mobile application provides comprehensive remote control, allowing users to manage cleaning modes, schedules, and monitor the robot's status from anywhere.
6. Bedienungsanleitung
6.1. Reinigungsmodi
The LIECTROUX C30B offers 6 cleaning modes to suit various needs:
- Automatische Reinigung: The robot intelligently plans its route to clean the entire area.
- Wischmodus: When the water tank is installed, the robot will perform wet mopping.
- Einzelzimmerreinigung: Cleans a specific room. Close the door to confine the robot to that area.
- Kantenreinigung: Der Roboter reinigt entlang von Wänden und Möbelkanten.
- Fleckenreinigung: Konzentriert die Reinigung auf einen bestimmten verschmutzten Bereich in einem spiralförmigen Muster.
- Geplante Reinigung: Über die App können Sie bestimmte Zeiten festlegen, zu denen der Roboter automatisch mit der Reinigung beginnen soll.
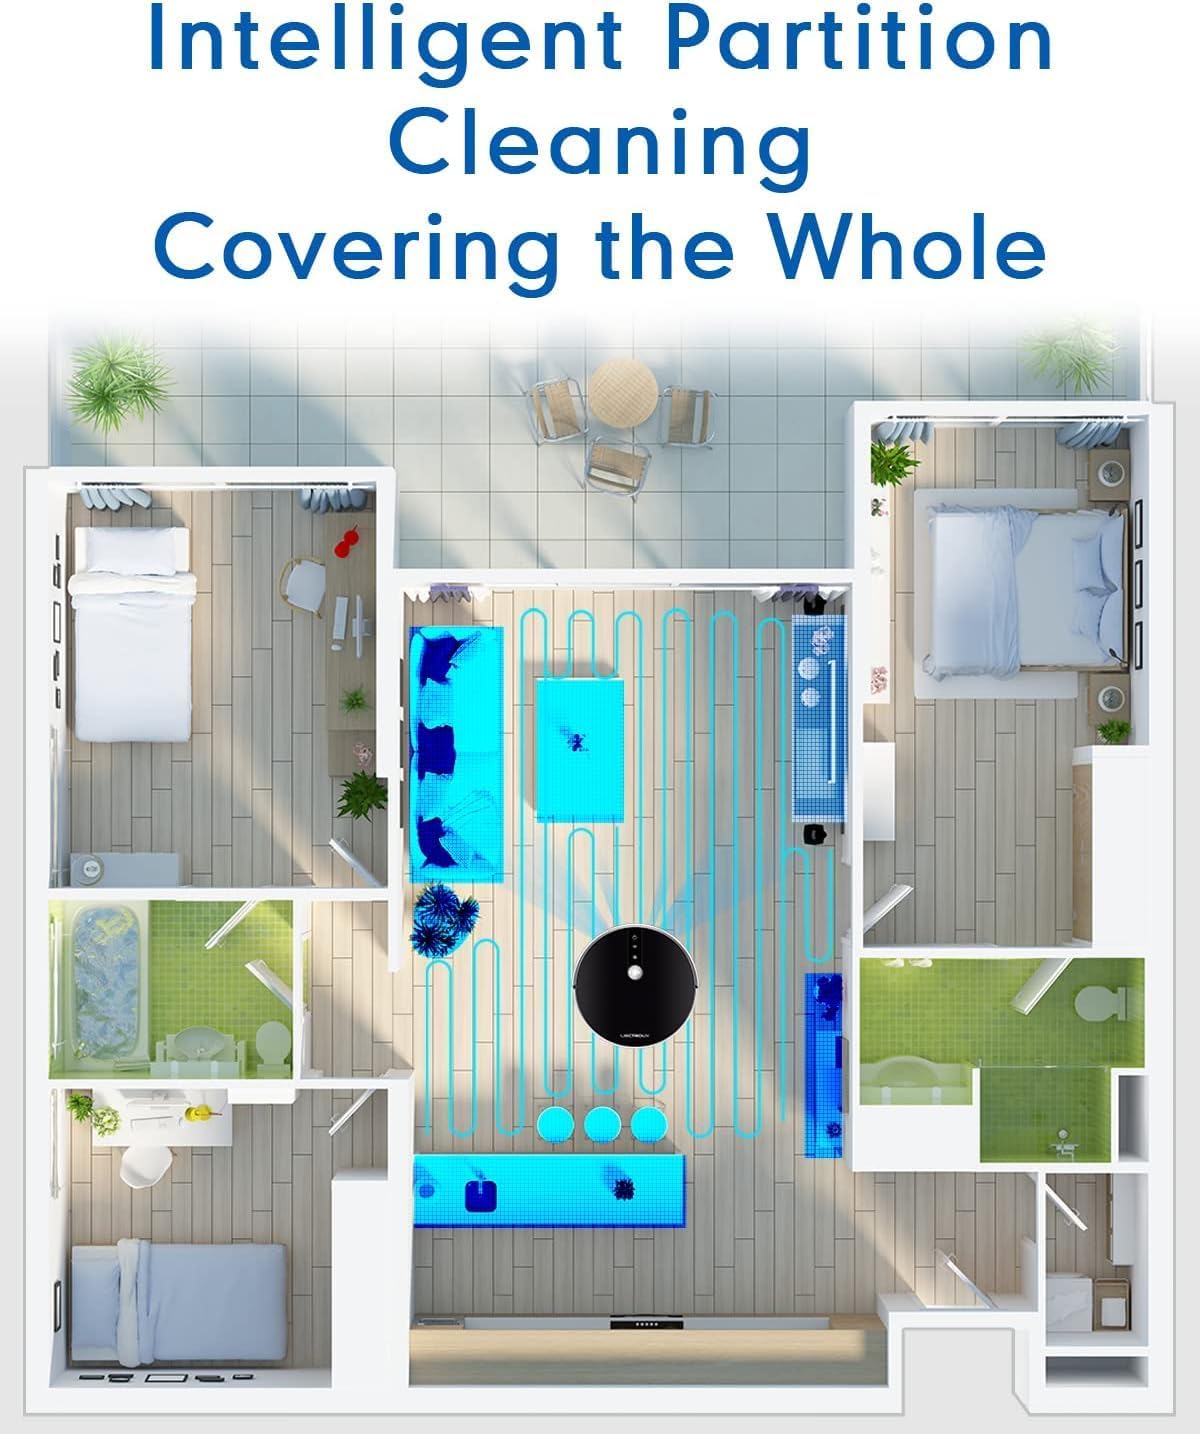
Figure 6.1: The robot's intelligent partition cleaning capability allows it to map and clean different areas of your home systematically, ensuring comprehensive coverage.
6.2. Starten/Pausieren der Reinigung
- Auf dem Roboter: Drücken Sie den Ein-/Ausschalter auf der Oberseite des Roboters, um die Reinigung zu starten oder zu pausieren.
- Verwenden der Fernbedienung: Use the "Auto Clean" button on the remote control.
- Per App: Use the "Start" or "Pause" buttons within the Tuya Smart app.
6.3. Sprachsteuerung (Alexa/Google Assistant)
Once connected to the Tuya Smart app, you can link your robot to Amazon Alexa or Google Assistant for voice commands.
- Enable the "Tuya Smart" skill in your Alexa or Google Home app.
- Verknüpfen Sie Ihr Tuya Smart-Konto.
- Entdecken Sie Geräte.
- Sie können nun Befehle wie die folgenden verwenden:
- "Alexa, start cleaning the robot vacuum."
- "Hey Google, tell the robot vacuum to go back to charging."
- "Alexa, stop the robot vacuum."

Figure 6.2: The robot vacuum seamlessly integrates with smart home assistants like Amazon Alexa and Google Assistant, allowing for convenient voice-activated control of cleaning tasks.
7. Wartung
Regelmäßige Wartung ist entscheidend für die optimale Leistung und Langlebigkeit Ihres Saugroboters.
7.1. Entleeren des Mülleimers
Empty the dustbin after each use or when the "Dustbin Full" indicator appears on the app.
- Drücken Sie den Entriegelungsknopf für den Abfalleimer und ziehen Sie den Abfalleimer heraus.
- Öffnen Sie den Deckel des Abfalleimers und leeren Sie den Inhalt in einen Mülleimer.
- Clean the dustbin with the provided cleaning tool or a soft cloth. It can also be rinsed with water, but ensure it is completely dry before re-installing.
7.2. Filter reinigen
Clean the HEPA filter and sponge filter weekly. Replace HEPA filters every 3-6 months, depending on usage.
- Entferne den Mülleimer.
- Take out the HEPA filter and sponge filter.
- Klopfen Sie die Filter leicht ab, um Staub zu entfernen. HEPA-Filter dürfen nicht mit Wasser gewaschen werden.
- Rinse the sponge filter with water if necessary, and ensure it is completely dry before re-installing.
7.3. Cleaning Main Brush and Side Brushes
Clean the main brush and side brushes weekly to remove tangled hair and debris.
- Hauptbürste: Flip the robot over. Press the release tabs on the brush guard to remove it. Lift out the main brush. Use the cleaning tool to cut and remove any tangled hair. Reinstall the brush and guard.
- Seitenbürsten: Gently pull the side brushes off their posts. Remove any hair or debris. If brushes are worn, replace them.
7.4. Cleaning Water Tank and Mopping Pads
Nach jedem Wischvorgang:
- Leeren Sie das restliche Wasser aus dem Tank.
- Remove the mopping pad and rinse it thoroughly with water. Allow it to air dry completely.
- Clean the water tank interior if necessary.
7.5. Reinigung der Sensoren und Ladekontakte
Wipe the sensors and charging contacts regularly with a clean, dry cloth to ensure proper function.
- Absturzsensoren: Befindet sich an der Unterseite des Roboters.
- Wall Sensors: Befindet sich am vorderen Stoßfänger.
- Ladekontakte: On the bottom of the robot and on the charging station.

Figure 7.1: The robot is equipped with anti-drop sensors that detect changes in elevation, such as stairs, preventing it from falling and ensuring safe operation.
8. Fehlerbehebung
Sollten Sie Probleme mit Ihrem Saugroboter haben, finden Sie in der folgenden Tabelle häufige Probleme und Lösungen.
| Problem | Mögliche Ursache | Lösung |
|---|---|---|
| Roboter lässt sich nicht einschalten. | Niedriger Akkustand oder nicht geladen. | Place the robot on the charging station and ensure it is fully charged. |
| Der Roboter bleibt häufig stecken. | Hindernisse, verhedderte Bürsten oder verschmutzte Sensoren. | Clear obstacles from the cleaning path. Clean main brush, side brushes, and all sensors. |
| Mangelhafte Reinigungsleistung. | Voller Staubbehälter, verstopfter Filter oder abgenutzte Bürsten. | Empty dustbin. Clean/replace filters. Clean/replace brushes. |
| Der Roboter kehrt nicht zur Ladestation zurück. | Charging station obstructed or out of range. Dirty charging contacts. | Ensure charging station is in an open area. Clean charging contacts on both robot and station. |
| Probleme mit der App-Verbindung. | Incorrect Wi-Fi password, 5GHz network, or robot too far from router. | Stellen Sie sicher, dass Sie ein 2.4-GHz-WLAN-Netzwerk verwenden. Geben Sie das WLAN-Passwort erneut ein. Bringen Sie den Roboter näher an den Router heran. Starten Sie Roboter und Router neu. |
Wenn das Problem nach dem Ausprobieren dieser Lösungen weiterhin besteht, wenden Sie sich bitte an den Kundensupport.
9. Technische Daten
| Besonderheit | Spezifikation |
|---|---|
| Modellnummer | C30B |
| Marke | LIECTROUX |
| Abmessungen (L x B x H) | 33 x 33 x 7.4 cm (13 x 13 x 2.9 Zoll) |
| Gewicht | 2.7 kg |
| Leistung | 28 Watt |
| Bandtage | 14.4 Volt |
| Akku-Typ | Lithium-Ionen-Akku (2500 mAh) |
| Geräuschpegel | 45 dB |
| Fassungsvermögen des Staubbehälters | 0.6 Liter |
| Filtertyp | HEPA |
| Oberflächenempfehlung | Hartböden, Teppiche |
| Steuerungstyp | App Control, Voice Control (Alexa, Google Assistant), Remote Control |
| Laufzeit | 100-120 minutes (approx. 170-220 sq meters) |
10. Garantie und Support
The LIECTROUX C30B Hybrid Robot Vacuum and Mop comes with a 24-month professional warranty Diese Garantie gilt ab Kaufdatum und deckt Herstellungsfehler sowie Funktionsstörungen bei normalem Gebrauch ab.
10.1. Garantieausschlüsse
Von der Garantie ausgeschlossen sind:
- Schäden, die durch unsachgemäße Verwendung, Fahrlässigkeit oder Unfälle verursacht wurden.
- Normal wear and tear of consumable parts (e.g., brushes, filters, mopping pads).
- Schäden, die durch unbefugte Reparaturen oder Änderungen verursacht wurden.
- Schäden, die durch äußere Faktoren wie Stromschwankungen oder Naturkatastrophen verursacht werden.
10.2. Kundendienst
For technical assistance, warranty claims, or general inquiries, please contact LIECTROUX customer support through the retailer where you purchased the product or visit the official LIECTROUX webWebsite für Kontaktinformationen.
Please have your model number (C30B) and proof of purchase ready when contacting support.
Ask a question about this manual
Ask about setup, troubleshooting, compatibility, parts, safety, or missing instructions. Manuals+ will review the question and use this page’s manual context to help answer it.