1. Produktüberschreitungview
The Ratakee Digital Alarm Clock Radio is designed to provide reliable timekeeping, dual alarm functionality, and AM/FM radio reception. It features a large LED display with adjustable brightness for comfortable viewing day and night. This manual provides detailed instructions for setting up and operating your device.

Bild: Vorderseite view of the Ratakee Digital Alarm Clock Radio, displaying the time 12:00 in blue LED digits.
2. Einrichtung
2.1 Stromanschluss
To power the clock radio, plug the AC adapter into any standard 110V wall outlet. The display will illuminate, indicating the unit is receiving power.
2.2 Installation der Notstromversorgung
For battery backup, insert two (2) AAA batteries (not included) into the battery compartment located on the bottom of the unit. These batteries will preserve your time and alarm settings during a power outage, but will not power the display or alarm functions.
2.3 Anfangszeiteinstellung
Upon first power-up or after a prolonged power interruption without battery backup, the display may show a default time. Refer to the 'Setting Time' section under 'Operating' for instructions on how to set the current time.
3. Bedienungsanleitung
3.1 Zeiteinstellung
- Halten Sie die ZEITEINSTELLUNG Drücken Sie die Taste, bis die Stundenziffern zu blinken beginnen.
- Verwenden Sie die STUNDE Und MINUTE Tasten, um die Zeit einzustellen.
- Drücken ZEITEINSTELLUNG Zur Bestätigung und zum Verlassen des Zeiteinstellungsmodus erneut den Zeiteinstellungsmodus aufrufen.
3.2 Displayhelligkeit (Dimmer)
The clock features a 1.6-inch LED display with adjustable brightness. To adjust the display brightness:
- Drücken Sie die DIMMER button repeatedly to cycle through the 4 available brightness levels. Select the level most comfortable for your environment.

Image: Comparison of the clock display at high and low brightness settings, demonstrating the dimmer function.
3.3 Alarmeinstellungen (Doppelalarm)
This clock supports two independent alarms (Alarm 1 and Alarm 2). Each alarm can be set to a beep sound or a radio station.
- Halten Sie die ALARM 1 or ALARM 2 Drücken Sie die Taste so lange, bis die Ziffern der Alarmstunde blinken.
- Verwenden Sie die STUNDE Und MINUTE Tasten zum Einstellen der gewünschten Weckzeit.
- Drücken Sie die ALARM 1 or ALARM 2 button again to select the alarm source (Beep or Radio). The corresponding icon will appear on the display.
- Drücken Sie die ALARM 1 or ALARM 2 button a third time to confirm and activate the alarm.
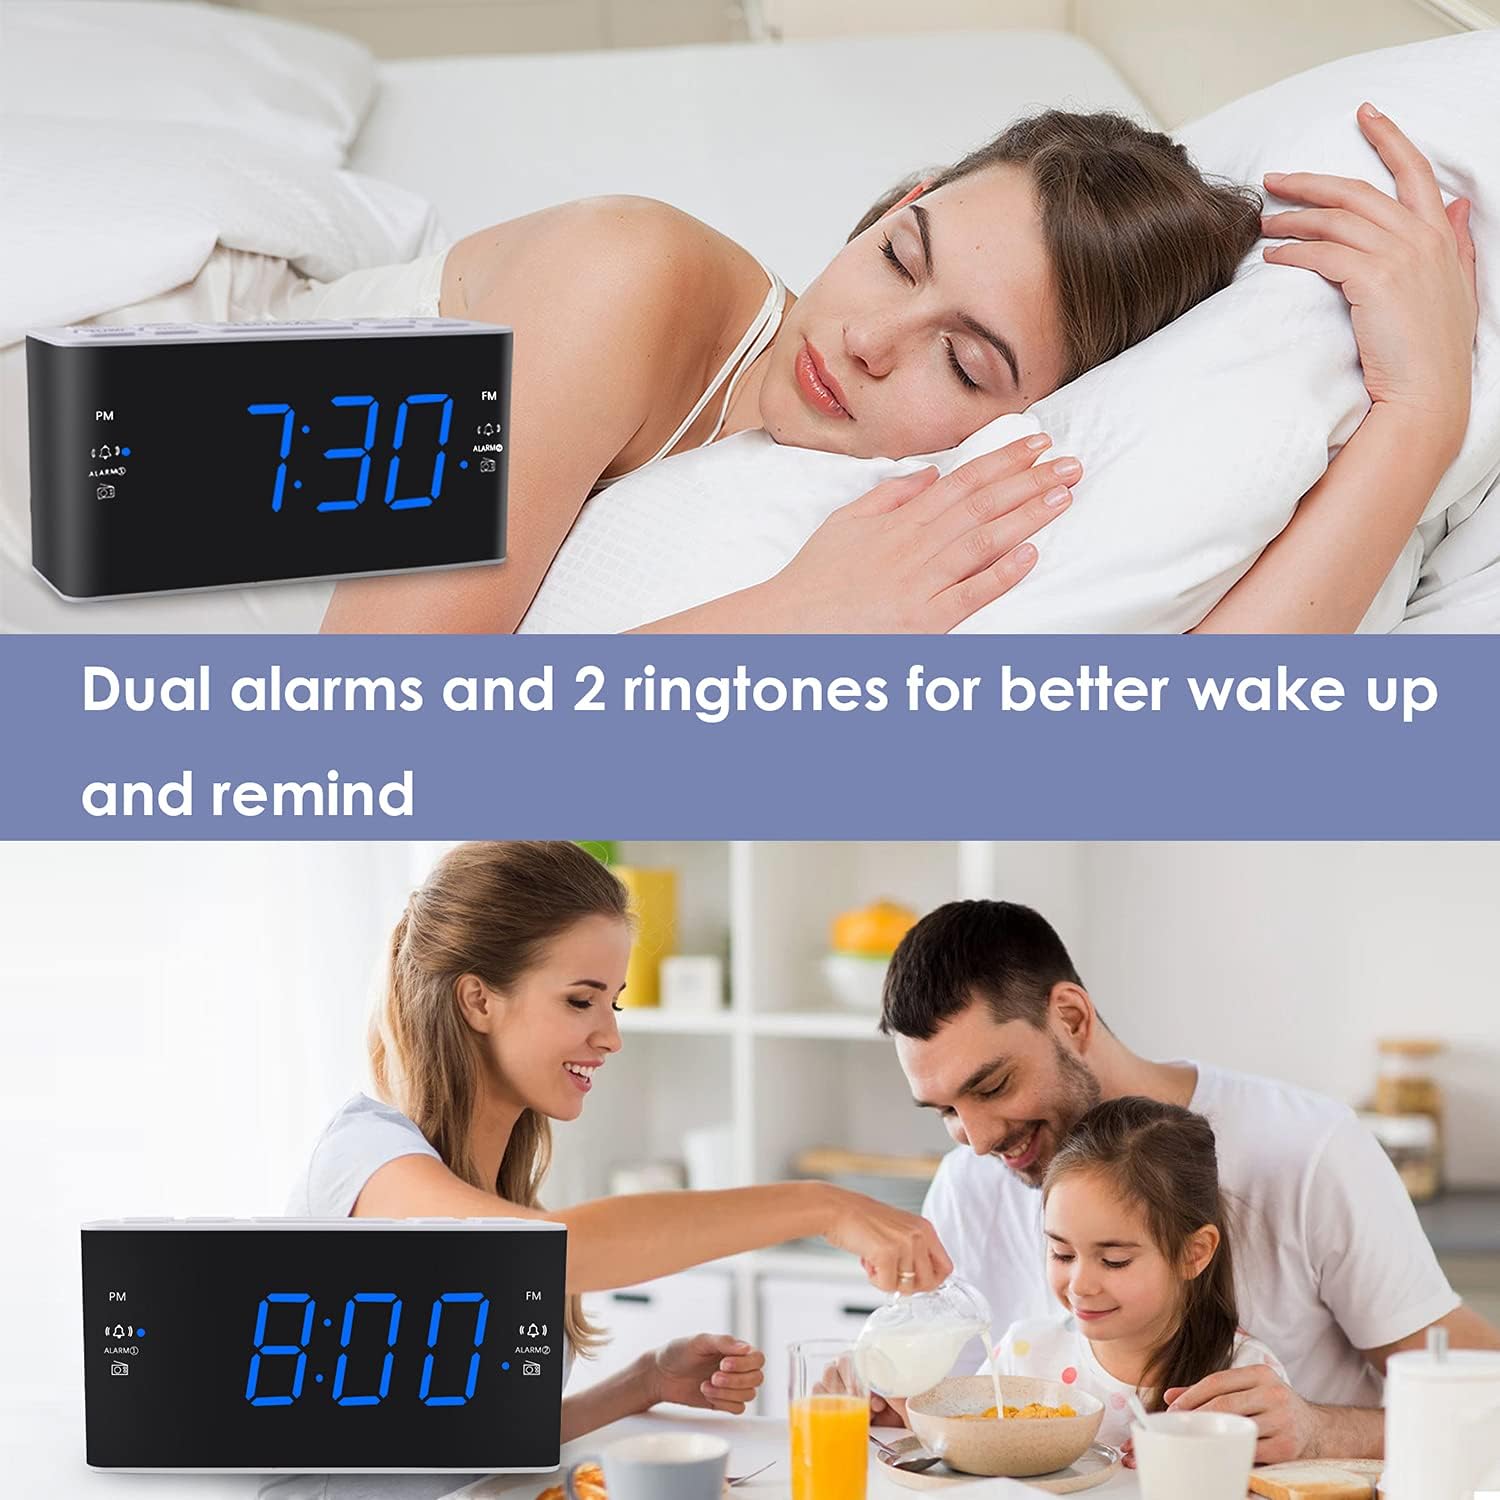
Image: Visual representation of the dual alarm feature, showing the clock used for different wake-up scenarios.
3.4 Schlummerfunktion
Wenn ein Alarm ertönt, drücken Sie die große Taste. SCHLAFEN button on top of the unit to temporarily silence the alarm for 9 minutes. The alarm will sound again after this period. You can repeat the snooze function up to 5 times.
To turn off the alarm completely for 24 hours, press any other button on the clock (e.g., Radio, Time Set, Alarm 1/2) while the alarm is sounding.
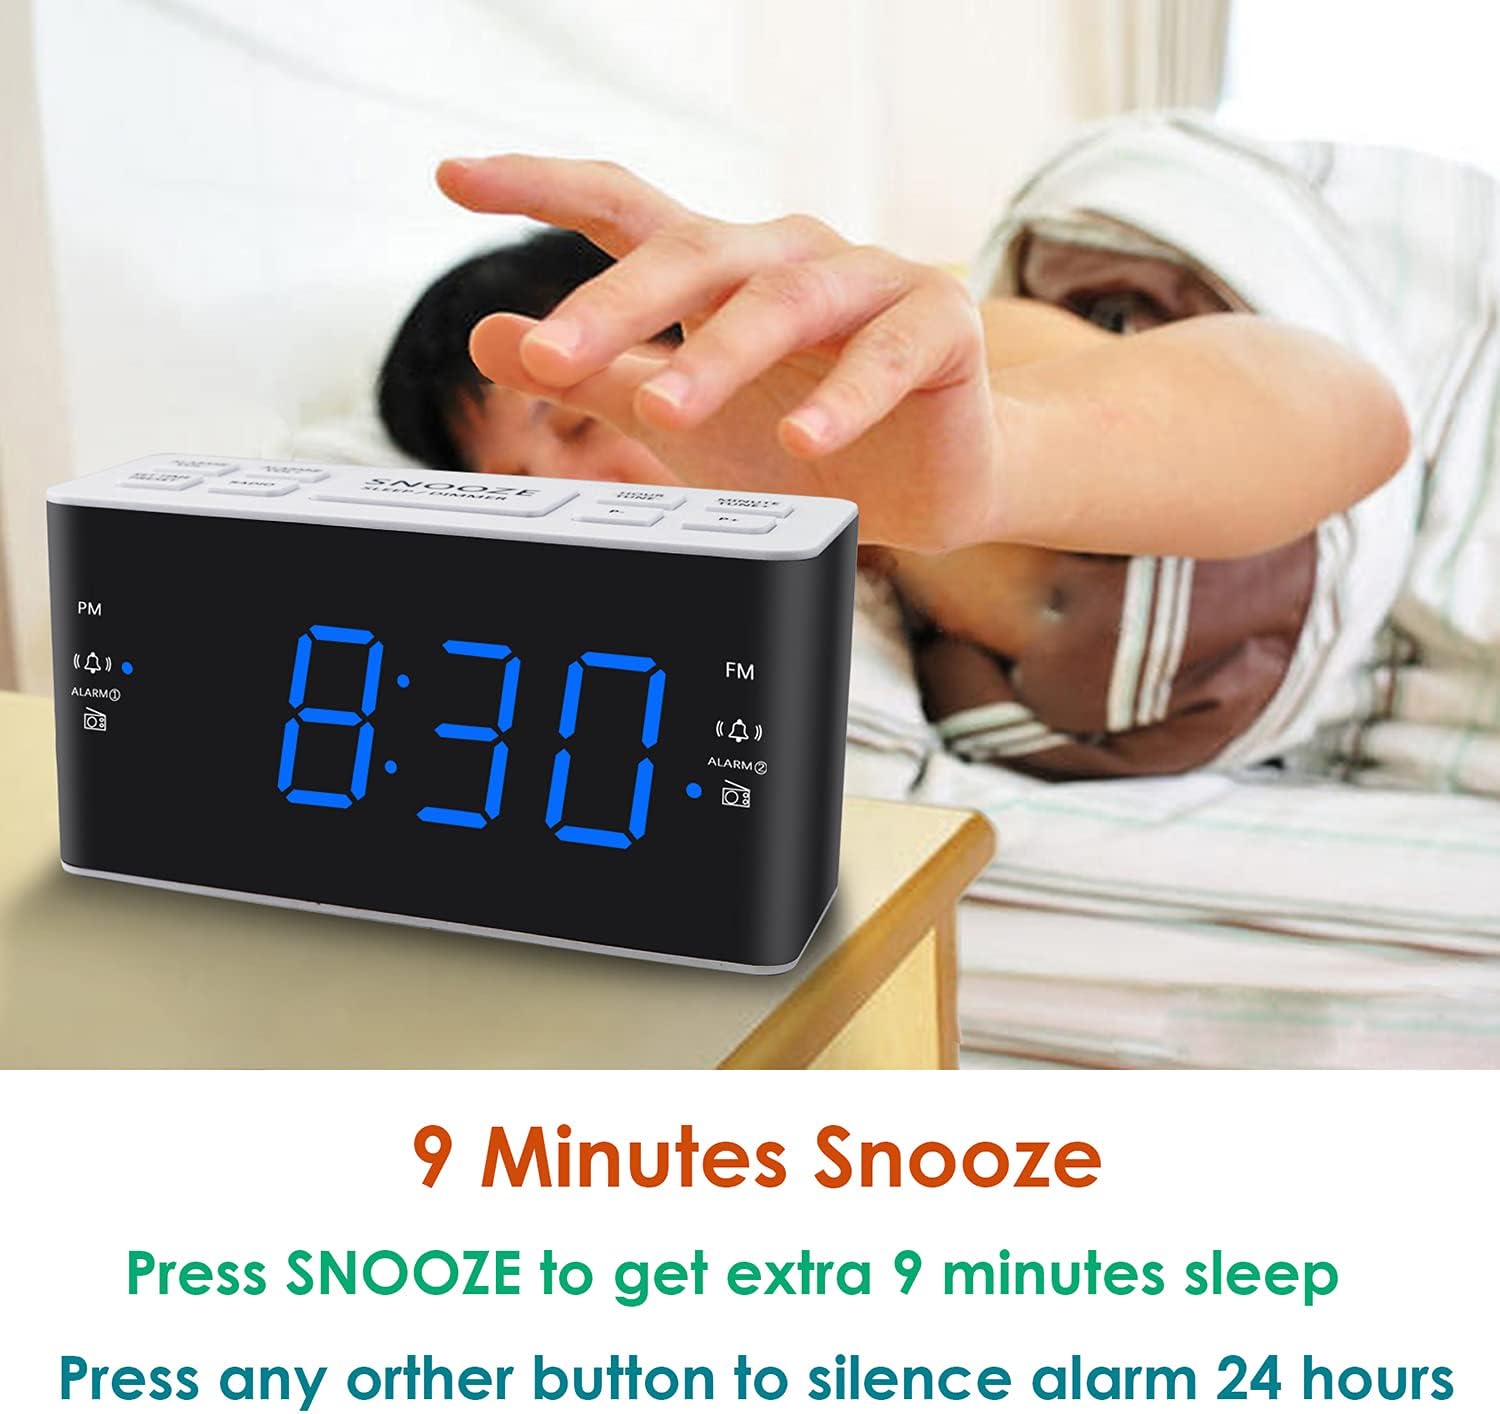
Image: Demonstrates the easy access and function of the snooze button for an additional 9 minutes of sleep.
3.5 AM/FM-Radiobetrieb
The clock radio features digital tuning for AM and FM bands.
- Drücken Sie die RADIO Knopf zum Ein- und Ausschalten des Radios.
- Verwenden Sie die TUNE+ Und MELODIE- Tasten zur manuellen Einstellung der gewünschten Frequenz.
- Drücken und halten TUNE+ or MELODIE- um automatisch nach dem nächsten verfügbaren Sender zu suchen.
- Stellen Sie die Lautstärke mit den Lautstärke+ Und vol- buttons (0-15 levels).
3.6 Saving Radio Presets
You can save up to 20 AM stations and 20 FM stations for quick access.
- Stellen Sie den gewünschten Radiosender ein.
- Halten Sie die VOREINSTELLUNG Drücken Sie die Taste so lange, bis die voreingestellte Zahl blinkt.
- Verwenden Sie die TUNE+ or MELODIE- Tasten zur Auswahl der gewünschten Voreinstellungsnummer (P01-P20).
- Drücken VOREINSTELLUNG erneut, um die Station zu bestätigen und zu speichern.
Um eine gespeicherte Voreinstellung aufzurufen, drücken Sie kurz die Taste VOREINSTELLUNG Drücken Sie die Taste wiederholt, um durch Ihre gespeicherten Sender zu blättern.
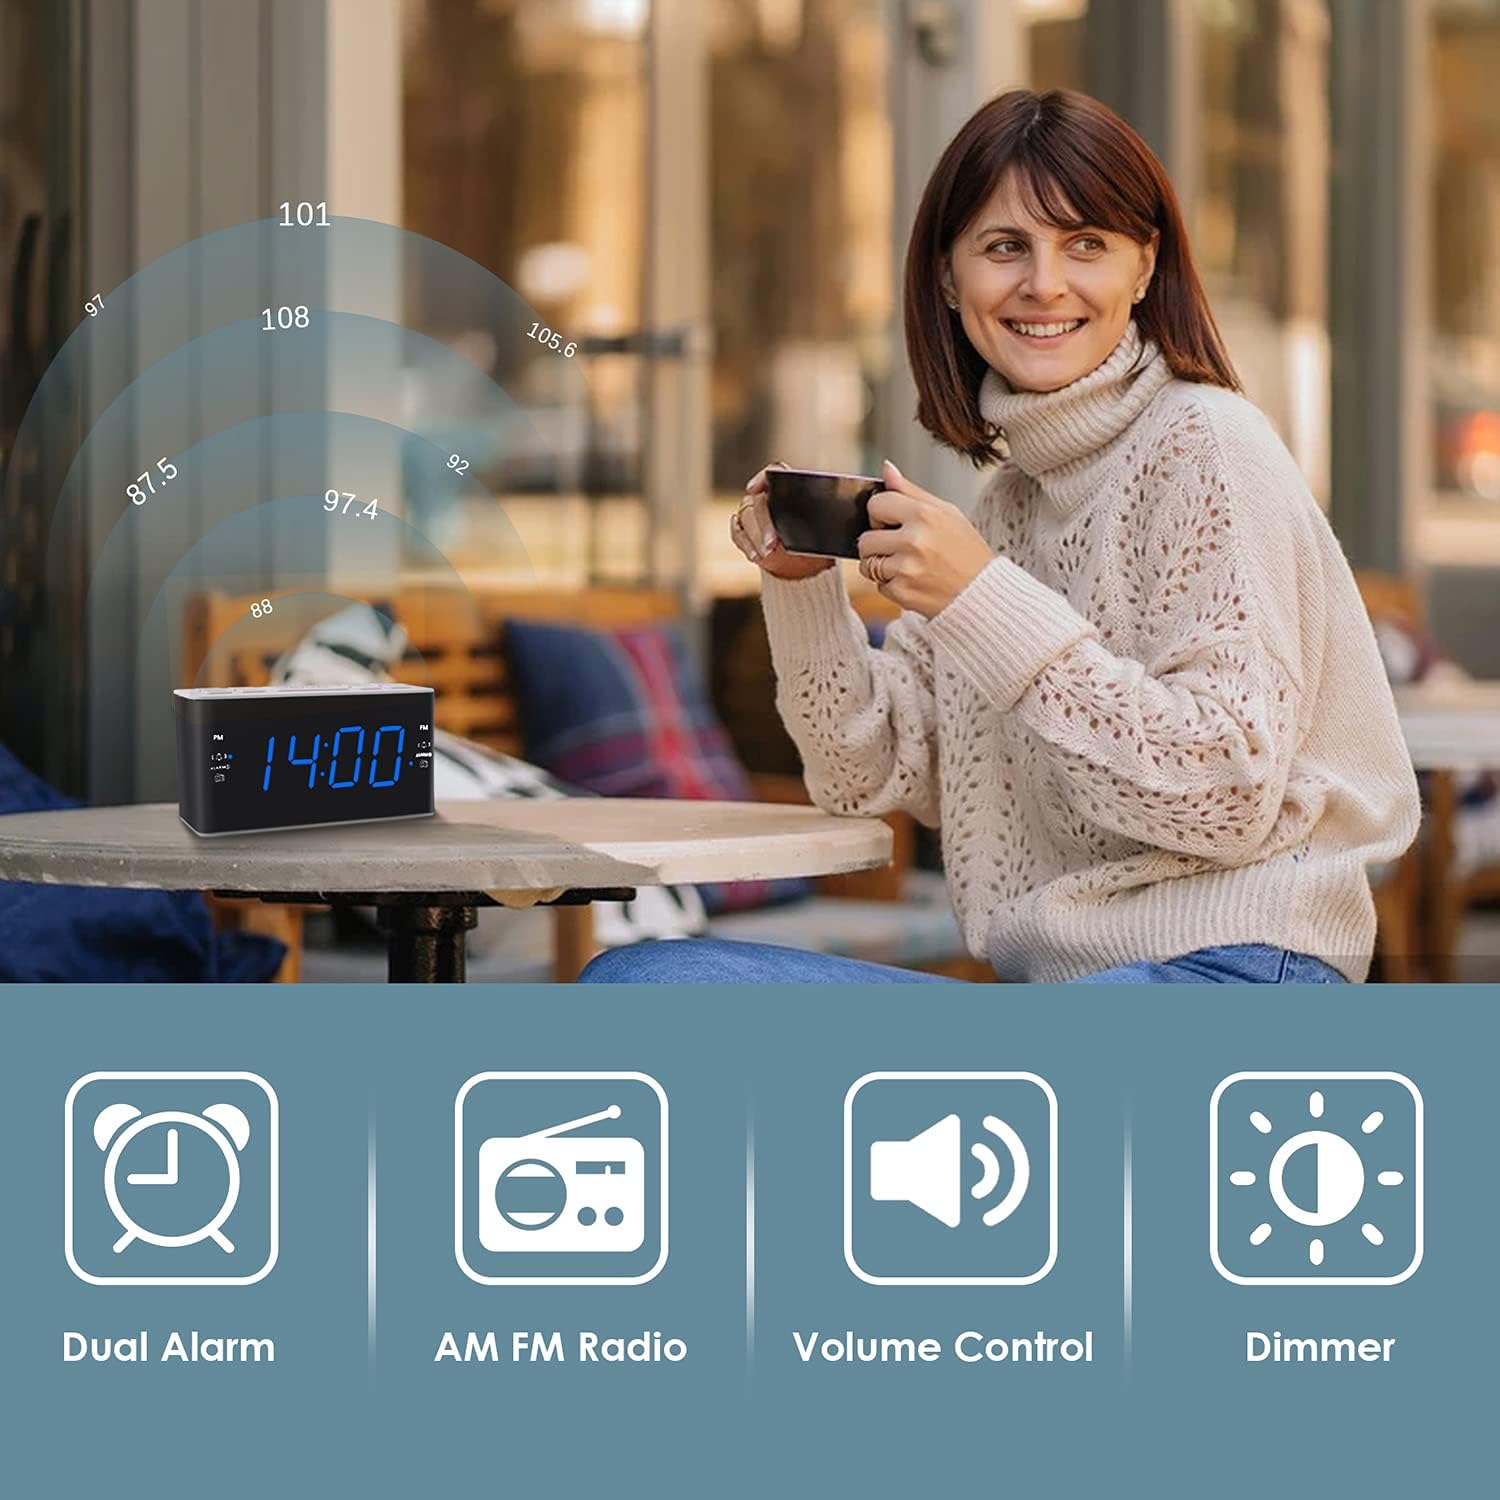
Image: Illustrates the various features of the clock radio, including AM/FM radio functionality.
3.7 Sleeptimer
Mit dem Sleep-Timer können Sie beim Radiohören einschlafen; das Radio schaltet sich nach einer voreingestellten Zeit automatisch aus.
- Während das Radio spielt, drücken Sie die Taste SCHLAFEN button repeatedly to cycle through the available sleep timer durations (10-90 minutes).
- Das Radio spielt für die ausgewählte Dauer und schaltet sich dann automatisch aus.
4. Wartung
4.1 Reinigung
To clean the clock radio, gently wipe the surface with a soft, dry cloth. Do not use abrasive cleaners, waxes, or solvents as they may damage the finish. Ensure the unit is unplugged before cleaning.
4.2 Batteriewechsel
Wenn die Uhr während eines Stromausfalls die Zeit- oder Alarmeinstellungen verlierttage, the AAA backup batteries may need replacement. Replace both batteries simultaneously with new ones, ensuring correct polarity.
5. Fehlerbehebung
If you encounter issues with your Ratakee Digital Alarm Clock Radio, please refer to the following common solutions:
- Kein Strom/Display aus: Ensure the AC adapter is securely plugged into both the clock and a working wall outlet. Check if the outlet has power.
- Alarm ertönt nicht: Verify that the alarm is activated (alarm icon visible on display) and the alarm time is correctly set. Check the alarm volume level.
- Radiostörungen/Schlechter Empfang: Extend the FM wire antenna fully for better reception. Try repositioning the clock radio to a different location to improve signal strength. For AM reception, rotate the unit to find the best signal.
- Zeit/Einstellungen nach Stromausfall verlorentage: Ensure fresh AAA batteries are installed correctly in the battery backup compartment.
Sollte das Problem nach dem Ausprobieren dieser Lösungsansätze weiterhin bestehen, wenden Sie sich bitte an den Kundendienst, um weitere Unterstützung zu erhalten.
6. Spezifikationen
| Marke | Ratakee |
| Modellnummer | H249US |
| Farbe | Blaue LED |
| Technische Daten | 15.49 x 7.87 x 5.59 cm |
| Artikelgewicht | 350 g |
| Material | Plastik |
| Anzeigetyp | LED |
| Stromquelle | AC Powered (110V) |
| Batterie-Backup | 2 x AAA-Batterien (nicht im Lieferumfang enthalten) |
| FM-Frequenzbereich | 87.5–108 MHz |
| AM Frequenzbereich | 520-1710 KHz |
| Besondere Merkmale | Alarm, Brightness Dimmer, Radio |

Image: Product dimensions of the Ratakee Digital Alarm Clock Radio.
7. Garantie und Support
Ratakee is committed to providing quality products and customer satisfaction. If you have any questions regarding the operation, setup, or performance of your alarm clock radio, please do not hesitate to contact our customer support team.
In the event that the product is deemed defective, you may be eligible for a hassle-free replacement or refund. For specific inquiries or to report an issue, please reach out to us directly. We are dedicated to assisting you and ensuring a positive experience with your Ratakee product.