
Kavolet AAL3477640380121LF
Kavolet Smart Wi-Fi Thermostat 16A for Electric Heating
Model: AAL3477640380121LF
1. Einleitung
Thank you for choosing the Kavolet Smart Wi-Fi Thermostat. This device is designed to provide intelligent temperature control for electric heating systems, enhancing comfort and energy efficiency in your home, office, or other environments. Featuring a large LCD touch screen, Wi-Fi connectivity, and APP control, it offers flexible weekly programming to suit your lifestyle.

Image 1.1: Kavolet Smart Wi-Fi Thermostat and its mobile application interface. This image illustrates the thermostat's sleek design and its remote control capability via a smartphone app.
Hauptmerkmale:
- Electric Heating Compatibility: Suitable for various electric heating systems.
- Duales Sensorsystem: Equipped with an internal sensor for ambient temperature and an external floor sensor for high-temperature protection.
- Wöchentlich programmierbar: Supports 7-day weekly operation modes with 6 daily time settings for customized temperature schedules.
- APP-Steuerung: Remotely manage your thermostat settings from your smartphone, anytime and anywhere.
- Large LCD Touch Screen: Clear display with backlight for easy reading and intuitive touch controls.
- Hohe Genauigkeit: Hält die Temperatur innerhalb von 1°C des Sollwerts.
- Datenspeicher: Die Einstellungen bleiben auch bei Stromausfall erhalten.
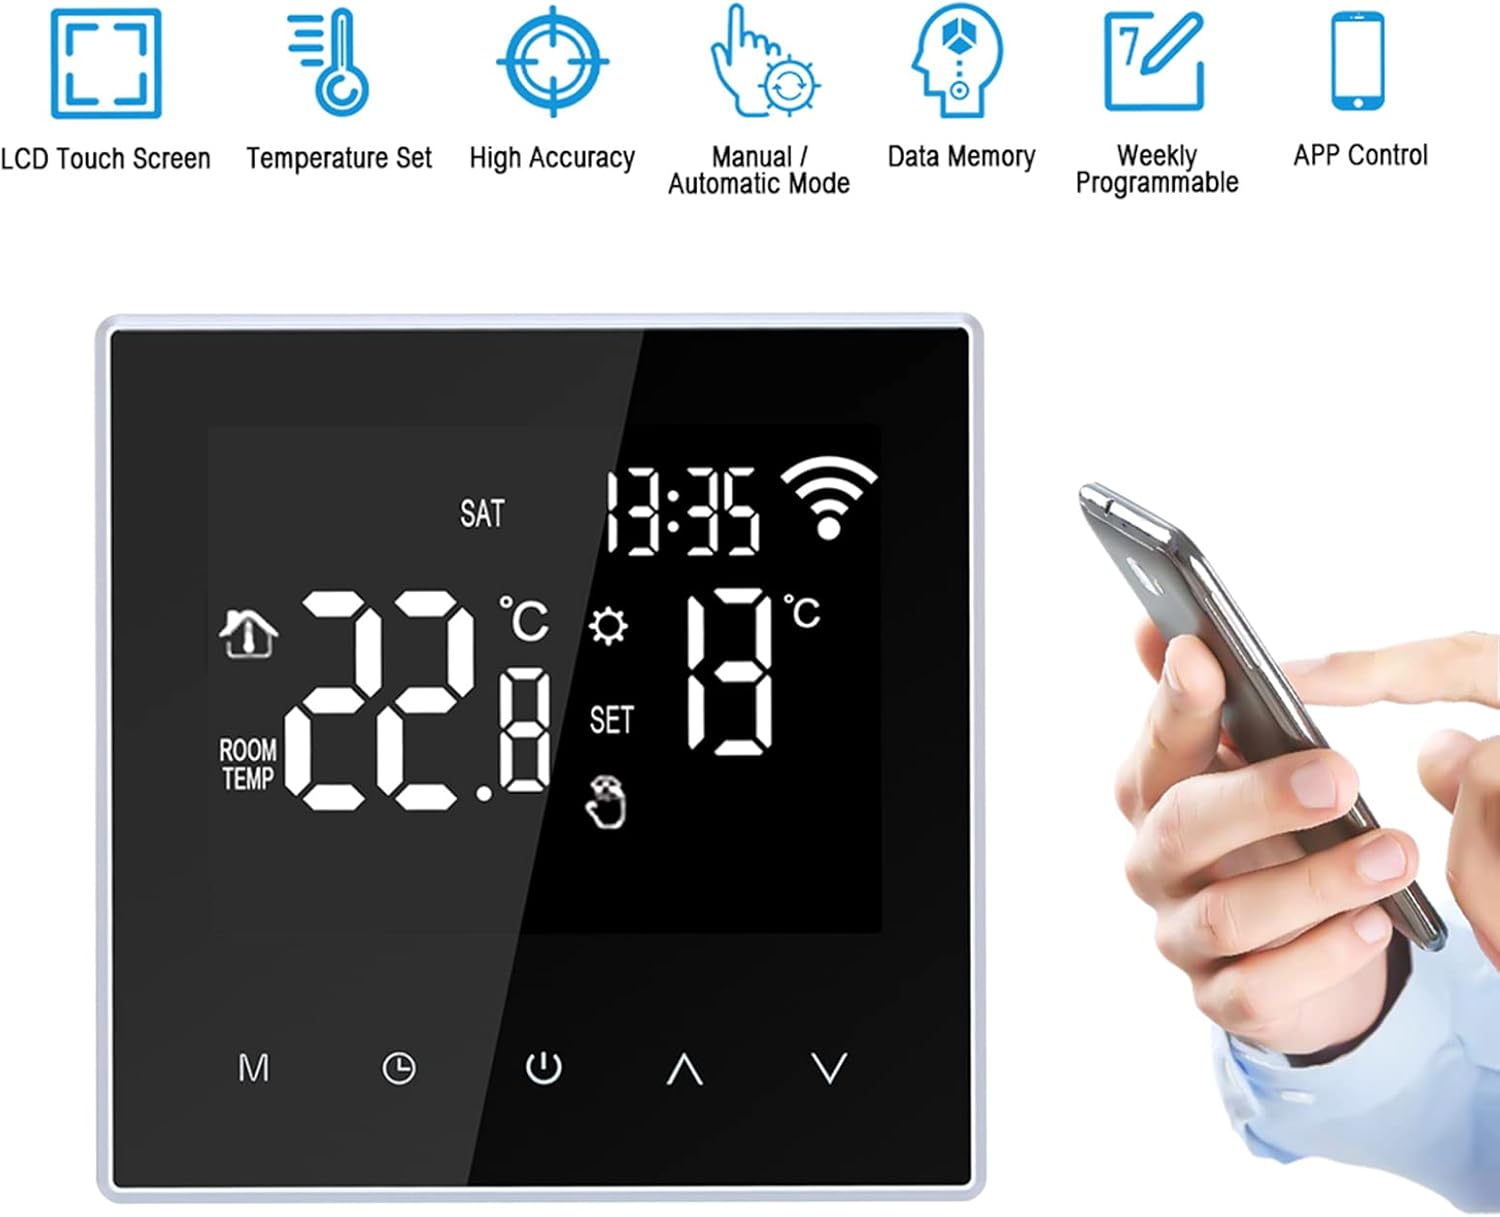
Image 1.2: Visual representation of the thermostat's main features, including LCD touch screen, temperature setting, high accuracy, manual/automatic mode, data memory, weekly programmability, and APP control.
2. Sicherheitshinweise
WARNUNG: Installation of this thermostat involves high voltage. To prevent electric shock or damage to the product, installation must be performed by a qualified professional electrician in accordance with local electrical codes and regulations.
- Vor der Installation oder Wartung des Thermostats muss immer die Stromzufuhr am Sicherungsautomaten unterbrochen werden.
- Ensure all wiring connections are secure and correctly matched to avoid short circuits or malfunction.
- Bedienen Sie das Thermostat nicht mit nassen Händen.
- Halten Sie das Gerät von Wasser und übermäßiger Luftfeuchtigkeit fern.
- This product is designed for electric heating systems only. Do not use with other heating types.
3. Packungsinhalt
Bitte überprüfen Sie nach dem Öffnen den Packungsinhalt, um sicherzustellen, dass alle Artikel vorhanden sind:
- 1 x Kavolet Smart Wi-Fi Thermostat
- 1 x 3-meter Sensor Cable (external floor sensor)
- 2 x Befestigungsschrauben
- 1 x Benutzerhandbuch (Englisch)
4. Spezifikationen
| Marke | Kavolet |
| Modellnummer | AAL3477640380121LF |
| Farbe | Schwarz |
| Stromversorgung | 220V AC 50 / 60Hz |
| Aktuelle Last | 16 A |
| Temperaturgenauigkeit | ±1 °C |
| Temperatureinstellbereich | 5-60°C |
| Temperaturregelbereich | 5-95°C (Factory Default: 35°C) |
| Energieaufnahme | <2 W |
| Zeitfehler | <1 % |
| Schalenmaterial | PC (flammhemmend) |
| Sensoren | Internal (ambient), External (floor protection) |
| Installationsabstand | 60 mm |
| Schutzklasse | IP20 |
| Steuerungstyp | Berühren Sie die Tasten |
| Konnektivität | W-lan |
| Artikelabmessungen (L*B*H) | 86 x 86 x 40 mm (3.4 x 3.4 x 1.6 Zoll) |
| Artikelgewicht | 168 g (5.9 oz) |

Image 4.1: Detailed dimensions of the Kavolet Smart Wi-Fi Thermostat, showing its front and side profiles mit Maßen in Millimetern und Zoll.
5. Installation und Einrichtung
Wichtig: As stated in the safety information, installation must be carried out by a qualified professional electrician. Incorrect installation can lead to electric shock, fire, or damage to the device.
5.1 Schaltplan
Refer to the following diagram for correct wiring connections. Ensure power is disconnected before proceeding.

Image 5.1: Wiring diagram for the Kavolet Thermostat (model ME88H.16). It shows connections for AC230V, 16A, N, L1, N1, and sensor terminals (1, 2).
- Terminals 1 & 2: External sensor connection.
- Terminals 3 & 4: Power supply (N and L1).
- Terminals 5 & 6: Load connection (N1 and L).
- Stellen Sie gegebenenfalls eine ordnungsgemäße Erdung sicher.
5.2 Physische Installation
- Die Stromzufuhr am Hauptleistungsschalter unterbrechen.
- Mount the backplate of the thermostat to a standard 60mm wall box using the provided screws.
- Connect the wires according to the wiring diagram (Image 5.1).
- Bringen Sie die Frontplatte des Thermostats vorsichtig an der montierten Rückplatte an und achten Sie darauf, dass sie sicher einrastet.
- Stellen Sie die Stromversorgung am Leistungsschalter wieder her.
5.3 Erstes Einschalten und WLAN-Verbindung
- Upon first power-on, the thermostat display will illuminate.
- Download the compatible mobile application (e.g., Smart Life, Tuya Smart) from your smartphone's app store.
- Register or log in to the application.
- Follow the in-app instructions to add a new device. This typically involves putting the thermostat into pairing mode (often by pressing and holding a specific button combination until a Wi-Fi icon flashes rapidly).
- Geben Sie Ihre WLAN-Zugangsdaten ein (2.4-GHz-Netzwerk erforderlich).
- Sobald die Verbindung hergestellt ist, leuchtet das Wi-Fi-Symbol auf dem Thermostatdisplay dauerhaft.
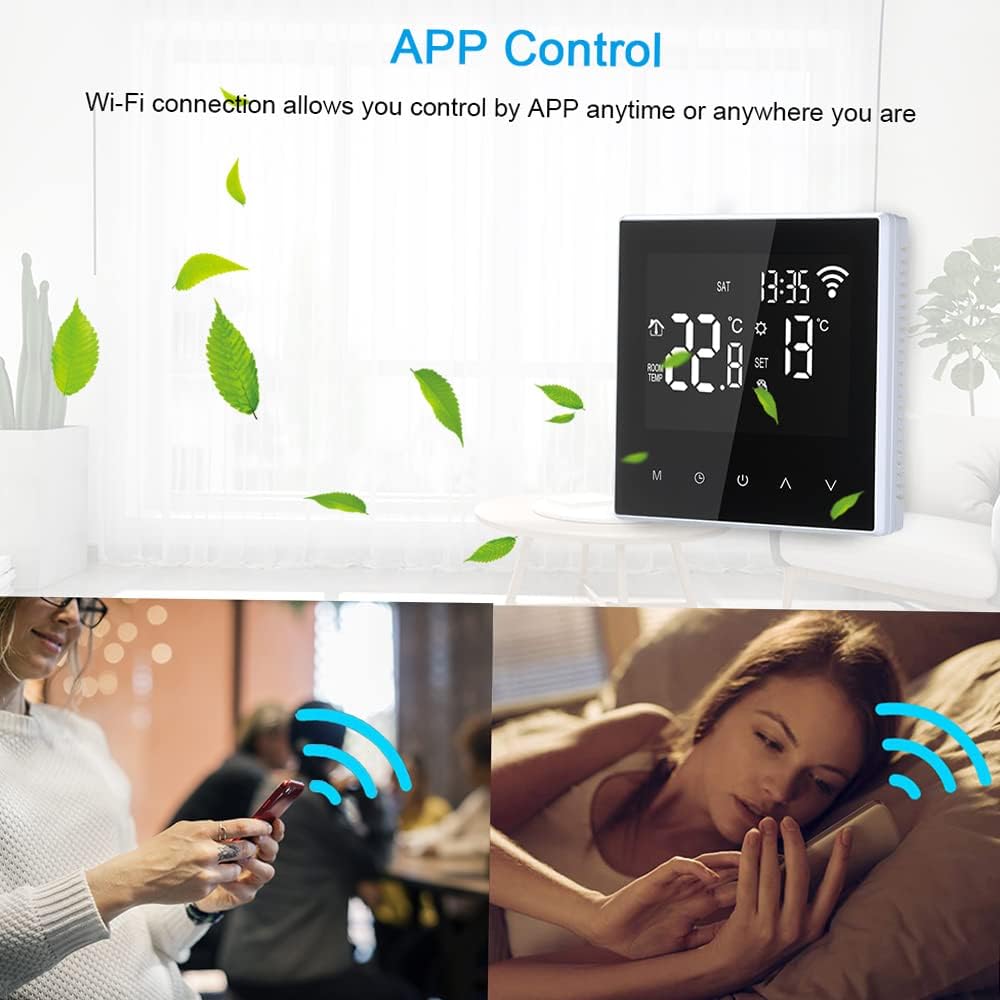
Image 5.2: The thermostat display alongside a smartphone screen demonstrating the APP control functionality, highlighting the convenience of remote temperature management.
6. Bedienungsanleitung
6.1 Anzeige überview
The LCD screen provides all necessary information and control options. Refer to the diagram below for key indicators:

Image 6.1: Annotated diagram of the Kavolet Thermostat's LCD display, indicating the positions of Time, Week, Room Temperature, Setting Temperature, Manual/Automatic Mode indicator, Touch Keys, Mode Key (M), Clock Key, Power ON/OFF, Up Button, and Down Button.
- Zeit: Aktuelle Zeitanzeige.
- Woche: Aktueller Wochentag.
- Raumtemperatur: Current ambient temperature detected by the internal sensor.
- Temperatur einstellen: Desired temperature set by the user or program.
- Manueller/Automatischer Modus: Indicates whether the thermostat is operating in manual or programmed mode.
- Wi-Fi-Symbol: Indicates Wi-Fi connection status (flashing for pairing, solid for connected).
- Heizungssymbol: Appears when the heating system is active.
6.2 Tastenfunktionen
- M (Mode Key): Press to switch between Manual mode and Automatic (Programmed) mode.
- Uhrschlüssel: Press and hold to enter time and week setting mode. Short press to confirm settings.
- Ein-/Ausschalten: Drücken Sie diese Taste, um den Thermostat ein- oder auszuschalten.
- Aufwärtstaste (▲): Erhöhen Sie die Temperatureinstellung oder navigieren Sie durch die Menüoptionen.
- Abwärtstaste (▼): Temperatureinstellung verringern oder Menüoptionen durchsuchen.
6.3 Uhrzeit und Wochentag einstellen
- Halten Sie die Uhrschlüssel until the time display flashes.
- Verwenden Sie die Nach oben (▲) Und Runter (▼) Tasten zum Einstellen der Stunde.
- Drücken Sie die Uhrschlüssel again to move to minute adjustment, then day of the week adjustment.
- Verwenden Nach oben (▲) Und Runter (▼) to set the minutes and day.
- Drücken Sie die Uhrschlüssel Ein letztes Mal speichern und beenden.
6.4 Betrieb im manuellen Modus
- Drücken Sie die M (Mode Key) until the manual mode icon is displayed.
- Verwenden Sie die Nach oben (▲) or Runter (▼) buttons to set your desired temperature. The thermostat will maintain this temperature until changed or switched to automatic mode.
6.5 Weekly Programming (Automatic Mode)
The thermostat supports 6 time modes daily for 7 days a week. This allows for customized heating schedules.

Image 6.2: The thermostat display highlighting its weekly programmable feature, indicating support for 7-day operation modes with multiple daily temperature settings.
- Drücken Sie die M (Mode Key) until the automatic mode icon is displayed.
- Um in den Programmiermodus zu gelangen, halten Sie die Taste gedrückt. M (Mode Key) for several seconds. The display will show the first programming period (e.g., "Period 1" or a specific time slot).
- Verwenden Sie die Nach oben (▲) Und Runter (▼) Tasten zum Einstellen der Startzeit und der gewünschten Temperatur für jeden Zeitraum.
- Drücken M (Mode Key) to cycle through the 6 periods for the current day, and then to the next day.
- Repeat for all 7 days and 6 periods as desired.
- Sobald alle Einstellungen abgeschlossen sind, drücken Sie die Taste Ein-/Ausschalten button or wait for a few seconds for the thermostat to automatically save and exit programming mode.
6.6 APP-Steuerung
Once the thermostat is connected to your Wi-Fi network and paired with the mobile application, you can control it remotely:
- Passen Sie die Temperatureinstellungen an.
- Switch between manual and automatic modes.
- Modify weekly programming schedules.
- Überwachen Sie die aktuelle Raumtemperatur.
- Access advanced settings (if available in the app).

Image 6.3: The thermostat in a home setting, illustrating its role in maintaining a comfortable temperature with high accuracy, benefiting occupants.
7. Wartung
- Reinigung: Wischen Sie das Display und das Gehäuse des Thermostats vorsichtig mit einem weichen, trockenen Tuch ab. Verwenden Sie keine Scheuermittel oder Lösungsmittel und sprühen Sie diese nicht direkt auf das Gerät.
- Vermeiden Sie Flüssigkeiten: Ensure no liquids enter the thermostat's casing, as this can cause damage or electric shock.
- Sensorpflege: Keep the external floor sensor free from obstructions and debris to ensure accurate temperature readings.
- Firmware-Updates: Periodically check the mobile application for any available firmware updates for your thermostat to ensure optimal performance and security.
8. Fehlerbehebung
| Problem | Mögliche Ursache | Lösung |
|---|---|---|
| Der Thermostat lässt sich nicht einschalten. | Keine Stromversorgung; falsche Verkabelung; Schutzschalter ausgelöst. | Prüfen Sie den Sicherungsautomaten. Überprüfen Sie die Verkabelung (ggf. durch einen Fachmann überprüfen). Stellen Sie sicher, dass die Stromversorgung wiederhergestellt ist. |
| Heizungsanlage reagiert nicht. | Incorrect temperature setting; thermostat in OFF mode; wiring issue; heating system malfunction. | Ensure thermostat is ON and set to a temperature higher than ambient. Check wiring. Consult a heating technician if the heating system itself is faulty. |
| Die WLAN-Verbindung ist instabil oder unterbrochen. | Weak Wi-Fi signal; incorrect Wi-Fi password; router issue; thermostat too far from router. | Ensure thermostat is within Wi-Fi range. Restart your router. Re-enter Wi-Fi credentials in the app. Ensure you are using a 2.4GHz network. |
| Ungenaue Temperaturmessungen. | Sensor obstruction; thermostat exposed to direct sunlight or drafts; faulty sensor. | Ensure sensors are clear. Relocate thermostat if exposed to external influences. Contact support if sensor is suspected faulty. |
| Cannot program schedules. | Thermostat in Manual mode; incorrect programming steps. | Switch to Automatic mode. Review Section 6.5 for detailed programming steps. |
9. Garantie und Support
Kavolet products are designed for reliability and performance. While specific warranty details are not provided in this manual, please retain your proof of purchase for any warranty claims.
Kundendienst:
For technical assistance, troubleshooting beyond this manual, or warranty inquiries, please contact Kavolet customer support through the retailer where you purchased the product or refer to the official Kavolet webWebsite für Kontaktinformationen.
Wenn Sie den Support kontaktieren, halten Sie bitte die folgenden Informationen bereit:
- Product Model: AAL3477640380121LF
- Kaufdatum
- Beschreibung des Problems
Ask a question about this manual
Ask about setup, troubleshooting, compatibility, parts, safety, or missing instructions. Manuals+ will review the question and use this page’s manual context to help answer it.