
Einführung
This manual provides detailed instructions for the installation, operation, and maintenance of the 3nStar LDT114 Direct Thermal Label Printer. The LDT114 is designed for various labeling applications, offering reliable performance with its dual-wall framed construction and all-metal print head. Please read this manual thoroughly before using the printer to ensure proper setup and optimal functionality.
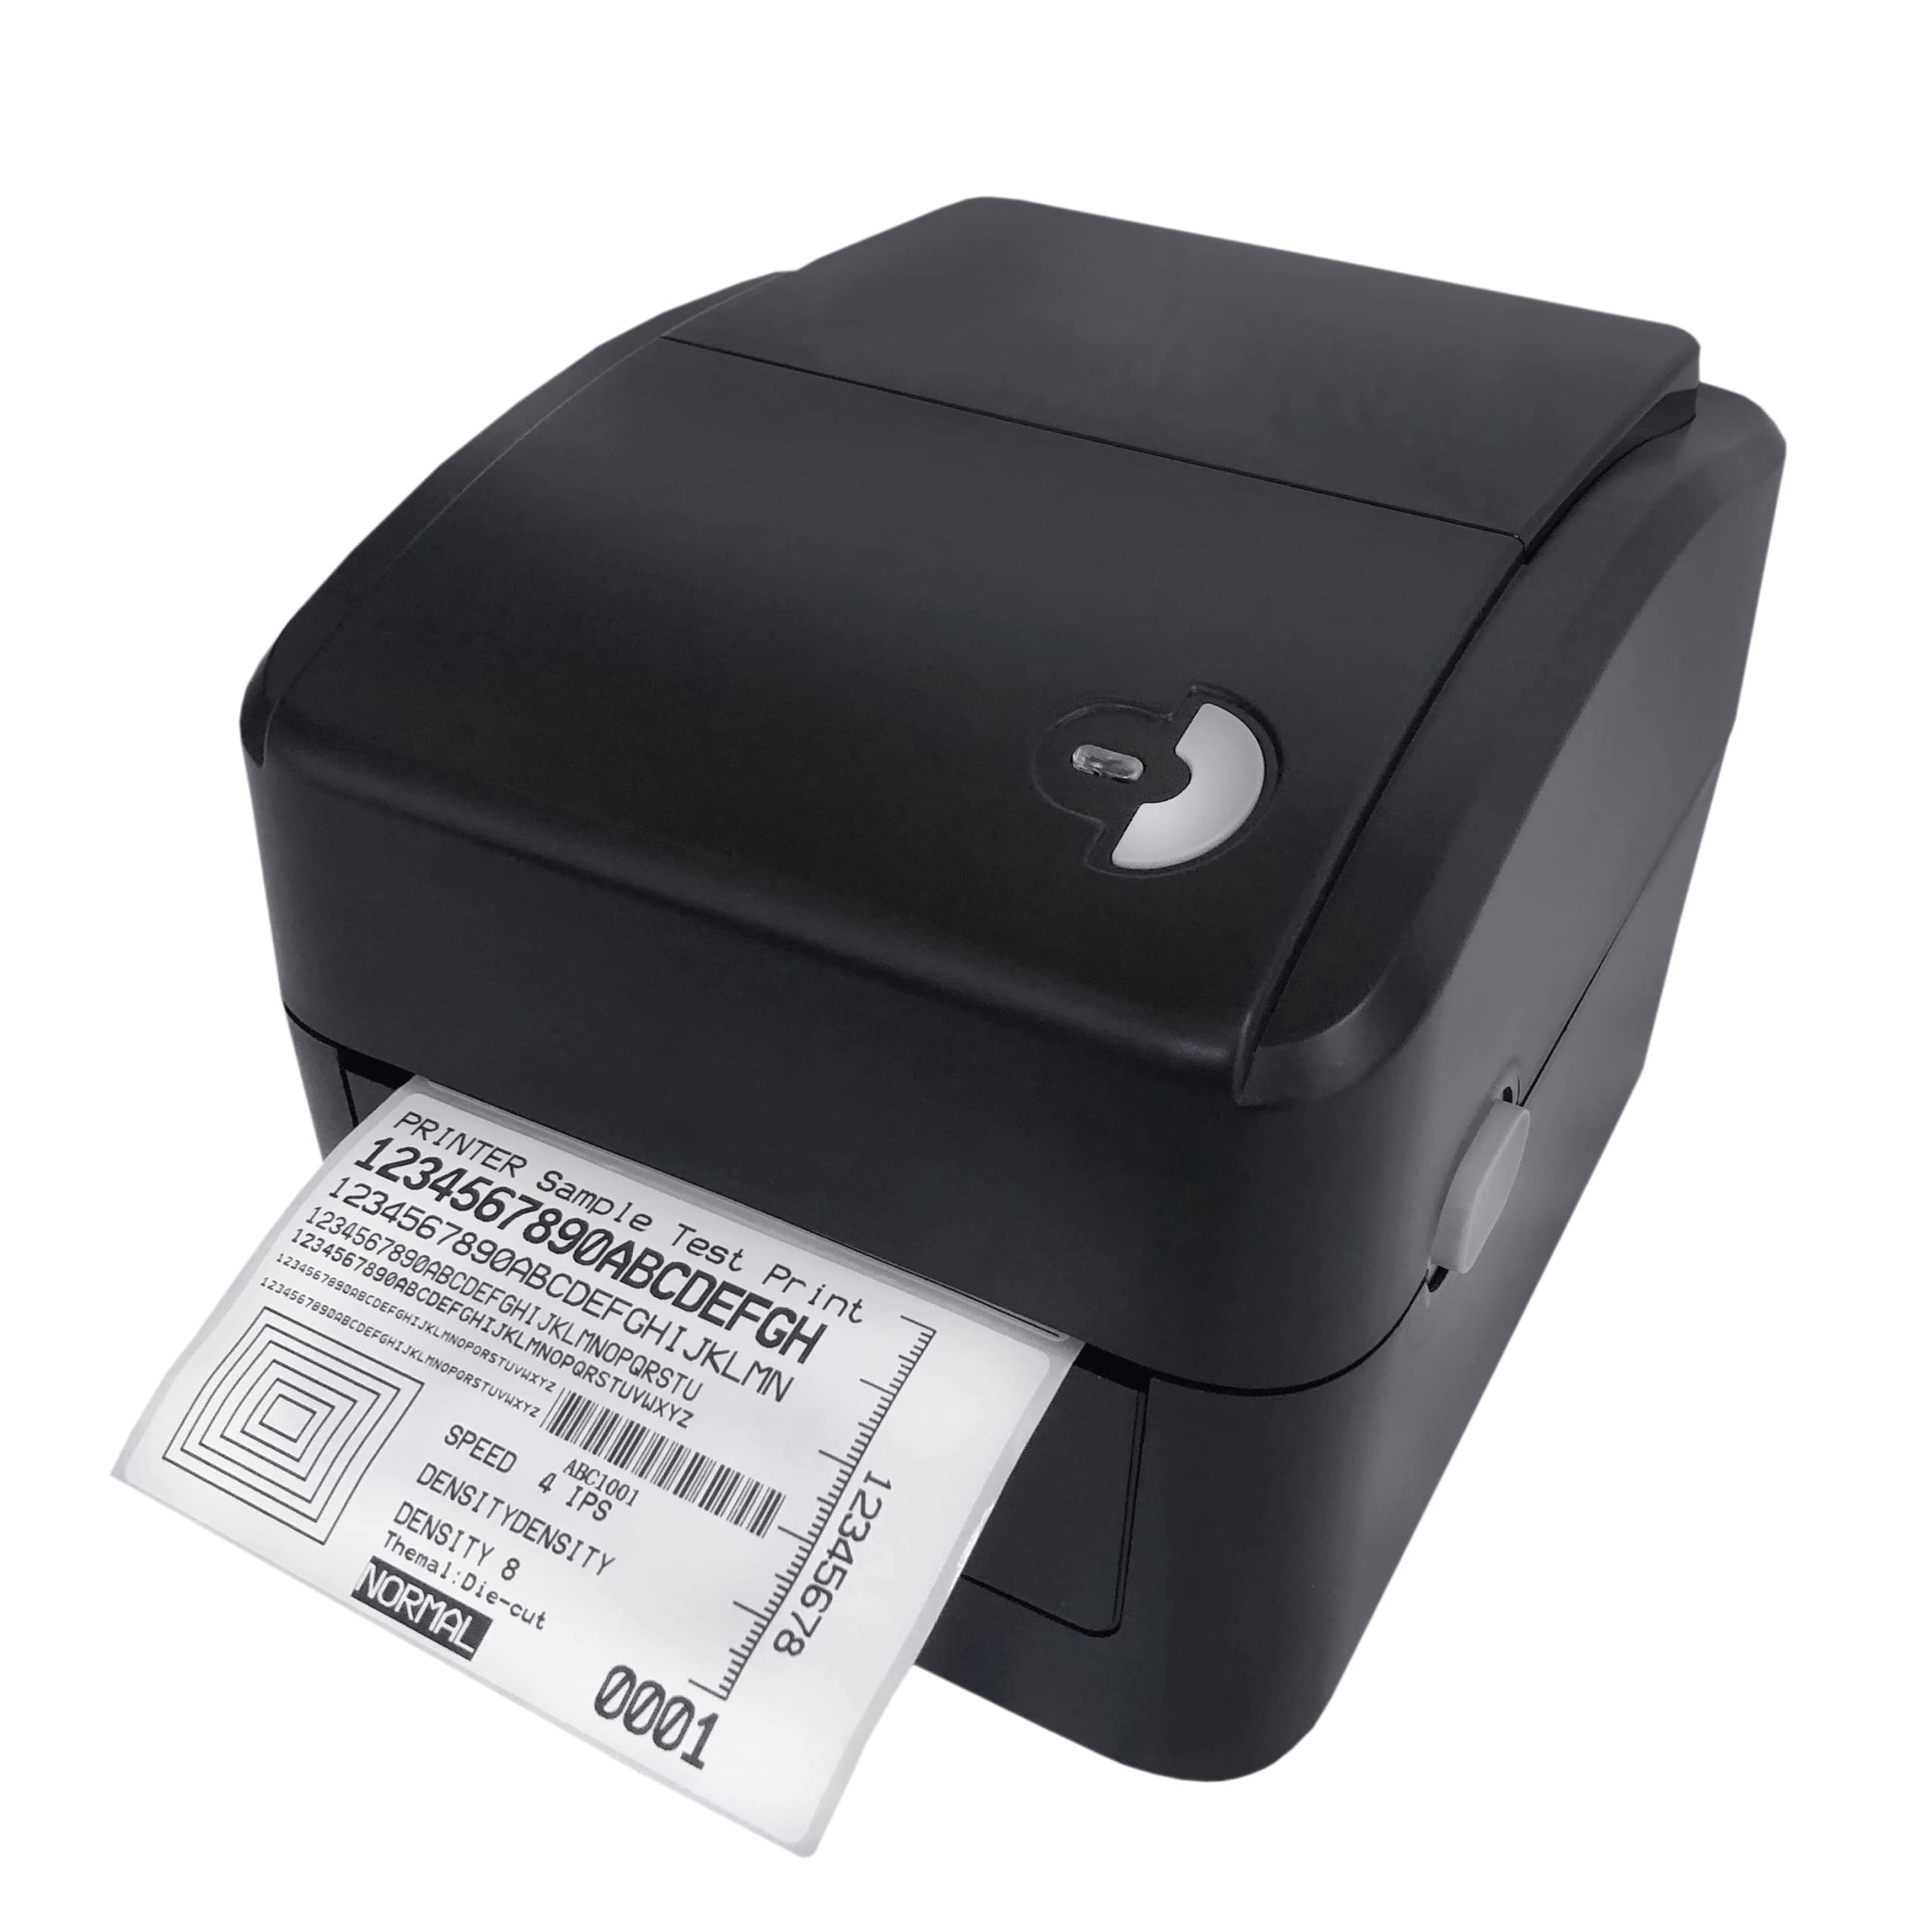
Image: The 3nStar LDT114 Direct Thermal Label Printer in operation, showing a sampDas Etikett wird gerade gedruckt.
1. Einrichtung
1.1 Auspacken und Prüfen
- Nehmen Sie den Drucker vorsichtig aus der Verpackung.
- Verify that all included components are present: printer unit, power adapter, power cord, USB cable, quick start guide, and Windows labeling software driver CD.
- Inspect the printer for any visible damage. If damage is found, contact your vendor immediately.
1.2 Anschließen des Druckers
- Stromanschluss: Connect the external switching power adapter to the printer's power input port. Plug the power cord into the adapter and then into a suitable electrical outlet.
- Datenverbindung:
- USB-Schnittstelle: Connect one end of the provided USB cable to the USB port on the printer and the other end to an available USB port on your computer.
- LAN (Ethernet) Interface: Connect an Ethernet cable to the LAN port on the printer and to your network router or switch.

Image: Rear panel of the LDT114 printer, highlighting the power, USB, and Ethernet connectivity ports.
1.3 Installation von Treibern und Software
- Insert the provided Windows labeling software driver CD into your computer's CD/DVD drive.
- Follow the on-screen instructions to install the printer drivers and the Bartender Label Printing Software.
- For network setup, refer to the software documentation for configuring the printer on your LAN.
1.4 Ladeetiketten
- Stellen Sie sicher, dass der Drucker ausgeschaltet ist.
- Öffnen Sie die obere Abdeckung des Druckers.
- Place the label roll onto the media holder, ensuring the labels feed from the bottom of the roll.
- Adjust the media guides to fit the width of your labels snugly, without pinching.
- Feed the leading edge of the labels through the print mechanism until it extends slightly past the print head.
- Schließen Sie die obere Abdeckung sicher.

Image: The LDT114 printer with its top cover open, illustrating the internal mechanism for loading label rolls.
2. Bedienungsanleitung
2.1 Ein-/Ausschalten
- To power on, ensure the power cord is connected and flip the power switch located at the rear of the printer to the 'ON' position.
- Zum Ausschalten den Netzschalter in die Position „AUS“ schalten.
2.2 Grundlegendes Drucken
- Stellen Sie sicher, dass der Drucker an Ihren Computer angeschlossen und eingeschaltet ist.
- Open your label design software (e.g., Bartender) or any application from which you wish to print.
- Select the 3nStar LDT114 printer from the list of available printers.
- Configure your print settings, such as label size, orientation, and number of copies.
- Initiate the print command. The printer will begin printing labels at a speed of up to 6 IPS.
2.3 Etikettenkalibrierung
For accurate label printing, especially when changing label sizes or types, calibration may be necessary. Refer to the Bartender Label Printing Software manual or the printer driver settings for specific calibration procedures. Typically, this involves a sensor adjustment to correctly detect the gaps between labels.
3. Wartung
3.1 Reinigung des Druckkopfes
Regular cleaning of the print head ensures optimal print quality and extends the life of the printer. It is recommended to clean the print head after every few label roll changes or if print quality degrades.
- Power off the printer and disconnect the power cord.
- Öffnen Sie die obere Abdeckung.
- Using a cotton swab lightly moistened with 100% alcohol, gently wipe the print head surface from the center outwards. Avoid touching the print head with bare hands.
- Lassen Sie den Druckkopf vollständig trocknen, bevor Sie die Abdeckung schließen und die Stromversorgung wiederherstellen.
3.2 Reinigung der Walzenplatte
The platen roller helps feed the labels smoothly. Clean it regularly to prevent label jams and ensure consistent feeding.
- Power off the printer and disconnect the power cord.
- Öffnen Sie die obere Abdeckung.
- Rotate the platen roller and wipe its surface with a cotton swab lightly moistened with 100% alcohol.
- Lassen Sie es vollständig trocknen, bevor Sie den Deckel schließen und die Stromversorgung wiederherstellen.
4. Fehlerbehebung
| Problem | Mögliche Ursache | Lösung |
|---|---|---|
| Der Drucker lässt sich nicht einschalten. | Netzkabel nicht angeschlossen; Steckdose defekt. | Überprüfen Sie die Stromanschlüsse; versuchen Sie es mit einer anderen Steckdose. |
| No labels are printing. | Labels not loaded correctly; printer offline; driver issue. | Reload labels; check printer status; reinstall drivers. |
| Schlechte Druckqualität (verblasst, Linien). | Dirty print head; low-quality labels; incorrect print settings. | Clean print head; use recommended labels; adjust print density. |
| Labels are jamming. | Incorrect label loading; media guides too tight/loose; dirty platen roller. | Reload labels correctly; adjust media guides; clean platen roller. |
| Der Drucker wird vom Computer nicht erkannt. | USB/LAN cable disconnected; driver not installed or corrupted. | Check cable connections; reinstall printer drivers. |
5. Spezifikationen
| Besonderheit | Detail |
|---|---|
| Modell | LDT114 |
| Drucktechnologie | Thermodirekt |
| Druckauflösung | 203 DPI (Punkte pro Zoll) |
| Maximale Druckgeschwindigkeit | 6 IPS (Zoll pro Sekunde) |
| Druckfarbe | Monochrom (Schwarz) |
| Konnektivität | USB, Ethernet (LAN) |
| Erinnerung | 8 MB SDRAM, 8 MB Flash (Micro SD Card Reader for expansion) |
| Emulation | TSPL (EPL, ZPL, DPL compatible) |
| Maximale Medienbreite | 4.5 Zoll |
| Maximale Drucklänge | 70 Zoll |
| Produktabmessungen (T x B x H) | 17.8 x 20.3 x 15.2 Zentimeter |
| Artikelgewicht | 2 Kilogramm |
| Energieaufnahme | 44 Watt (Betrieb) |
| Besondere Merkmale | Network-Ready, Double-walled clamshell design |
| Im Lieferumfang enthaltene Komponenten | Printer, Power Adapter, Power Cord, USB Cable, Quick Start Guide, Windows Labeling Software Driver CD |
6. Garantieinformationen
The 3nStar LDT114 Direct Thermal Label Printer comes with a 1 Jahre eingeschränkte Garantie Diese Garantie gilt ab Kaufdatum und deckt Material- und Verarbeitungsfehler bei normalem Gebrauch ab. Sie deckt keine Schäden ab, die durch Missbrauch, Unfälle, unbefugte Änderungen oder unsachgemäße Installation verursacht wurden. Bitte bewahren Sie Ihren Kaufbeleg für Garantieansprüche auf.
7. Unterstützung
For technical assistance, troubleshooting beyond this manual, or warranty inquiries, please contact 3nStar customer support. Refer to the contact information provided with your product packaging or visit the official 3nStar webBesuchen Sie die Website für die aktuellsten Supportinformationen.
- Online-Ressourcen: Check the 3nStar website for FAQs, updated drivers, and additional documentation.
- Kontakt: Refer to your product's quick start guide or packaging for specific customer service contact numbers or email addresses.