1. Einleitung
This manual provides essential information for the safe and efficient operation of your Fresh 65L Electric Oven. Please read all instructions carefully before using the appliance and retain this manual for future reference.
1.1 Sicherheitshinweise
- Ensure the oven is placed on a stable, heat-resistant surface.
- Do not operate the oven near flammable materials.
- Always use oven mitts when handling hot items or surfaces.
- Halten Sie Kinder während des Betriebs vom Gerät fern.
- Unplug the oven from the power outlet when not in use or before cleaning.
- Tauchen Sie das Gerät, das Kabel oder den Stecker nicht in Wasser oder andere Flüssigkeiten.
2. Produktüberschreitungview
Familiarize yourself with the components of your Fresh 65L Electric Oven.
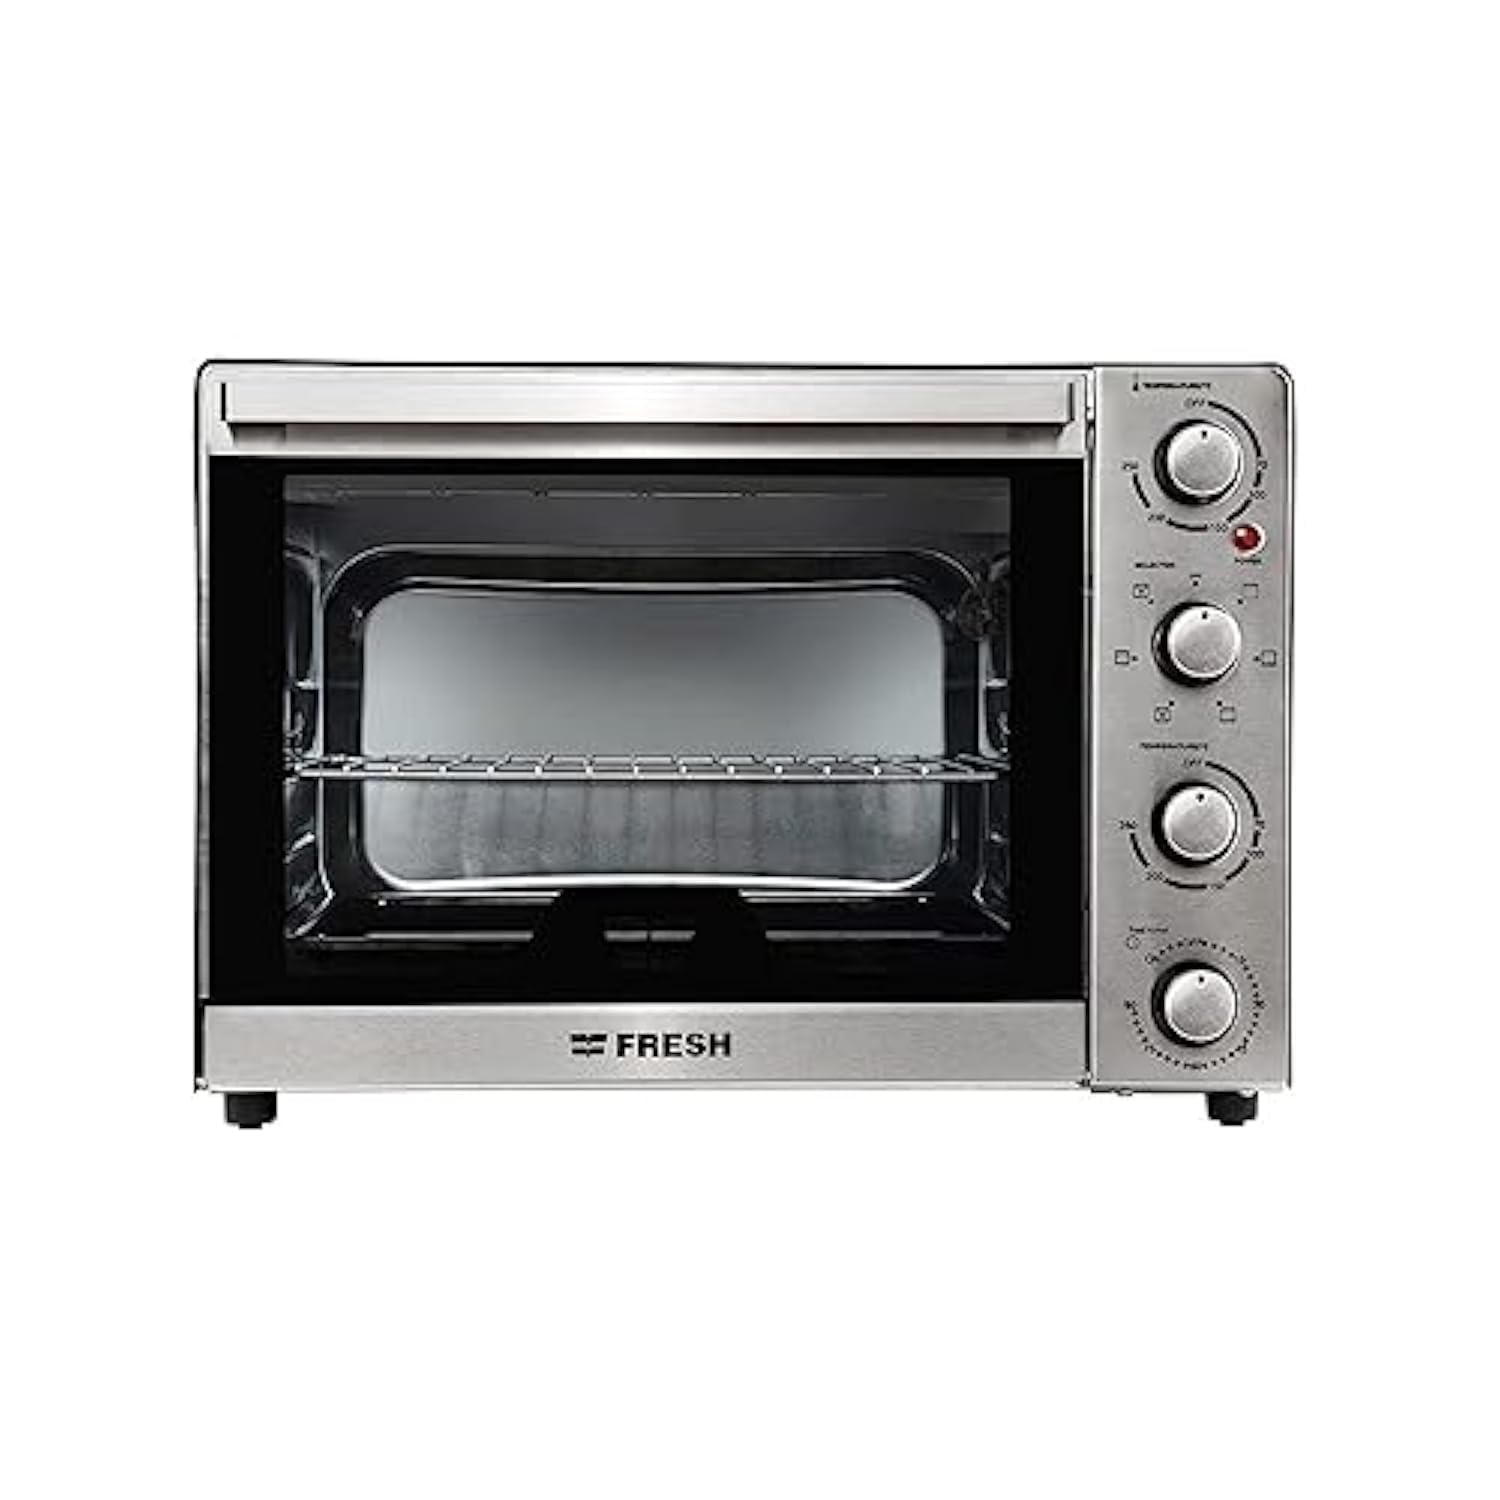
Abbildung 1: Vorderseite view of the Fresh 65L Electric Oven, showcasing its silver finish and compact design.
2.1 Systemsteuerung
Figure 2: Detail of the control panel, featuring temperature, function, and timer knobs.
- Temperaturregler: Die Kochtemperatur lässt sich von 100 °C bis 250 °C einstellen.
- Funktionswahlknopf: Selects heating elements (top, bottom, both), grill, or fan convection.
- Timer-Knopf: Sets the cooking time up to 90 minutes. An alarm bell rings when the time expires.
- Kontrollleuchte: Illuminates when the oven is heating and turns off when the set temperature is reached.
2.2 Enthaltene Komponenten
- Rechteckiges Tablett
- Edelstahlregal
- Grillgabel
Figure 3: Standard accessories provided with the oven.
3. Einrichtung
3.1 Auspacken und Aufstellen
- Carefully remove the oven and all packaging materials.
- Place the oven on a flat, stable, and heat-resistant surface. Ensure there is adequate clearance (at least 10 cm) on all sides for proper ventilation.
- Do not place the oven directly against a wall or under cabinets that are not heat-resistant.
3.2 Erstgebrauch
Before first use, perform the following steps to remove any manufacturing residues:
- Wash the rectangular tray, stainless steel shelf, and grill fork with warm, soapy water, then rinse and dry thoroughly.
- Schließen Sie den Backofen an eine geerdete Steckdose an.
- Set the temperature control to 250°C and the function selector to both top and bottom heating elements.
- Set the timer for 15 minutes. A slight odor or smoke may be observed during this initial heating; this is normal.
- Nach 15 Minuten den Ofen ausschalten und vollständig abkühlen lassen.
4. Bedienungsanleitung
4.1 Grundlegende Bedienung
- Place food on the rectangular tray or stainless steel shelf.
- Schließen Sie die Backofentür.
- Die gewünschte Temperatur wird mit dem Temperaturregler eingestellt.
- Select the desired cooking function (e.g., top heat, bottom heat, both, grill, fan) using the Function Selector Knob.
- Stellen Sie die Garzeit mit dem Timerknopf ein. Der Backofen beginnt sich aufzuheizen.
- The indicator light will turn off once the set temperature is reached. It will cycle on and off during cooking to maintain temperature.
- When the timer expires, an alarm bell will ring, and the oven will turn off automatically.
4.2 Verwendung der Grillfunktion
To use the grill function, select the grill setting on the Function Selector Knob. The top heating elements will activate. This is suitable for browning or toasting.
4.3 Using the Fan (Convection) Function
The fan function (convection) circulates hot air inside the oven, ensuring more even cooking and faster results. Select the fan setting on the Function Selector Knob. This can be used in conjunction with other heating elements.
5. Wartung und Reinigung
Regelmäßige Reinigung gewährleistet optimale Leistung und verlängert die Lebensdauer Ihres Backofens.
5.1 Außenreinigung
- Ensure the oven is unplugged and completely cool.
- Wischen Sie die Außenflächen mit einem weichen, damp Stoff. Verwenden Sie keine Scheuermittel oder Scheuerschwämme.
5.2 Innenreinigung
- Ensure the oven is unplugged and completely cool.
- Remove the rectangular tray, stainless steel shelf, and grill fork. Wash them in warm, soapy water.
- Wischen Sie die Innenwände mit ad . abamp cloth and mild detergent. For stubborn stains, a non-abrasive oven cleaner designed for conventional ovens can be used, following the product instructions.
- Do not spray cleaning solutions directly onto heating elements or the interior light.
- Mit einem sauberen Tuch trockenwischen.
6. Fehlerbehebung
| Problem | Mögliche Ursache | Lösung |
|---|---|---|
| Backofen heizt nicht | Nicht angeschlossen; Stromausfalltage; timer not set; temperature not set. | Check power connection; verify power supply; set timer and temperature. |
| Food cooks unevenly | Incorrect rack position; oven overloaded; fan not activated. | Adjust rack position; avoid overcrowding; use fan function for even cooking. |
| Übermäßige Rauchentwicklung beim Kochen | Essensreste im Ofen; Fettspritzer. | Clean oven interior thoroughly; use a drip tray for fatty foods. |
| Timer bell does not ring | Der Timerknopf ist nicht richtig eingestellt. | Ensure timer is wound past 10 minutes and then set to desired time. |
7. Spezifikationen
| Besonderheit | Spezifikation |
|---|---|
| Modellnummer | FR6503RCL |
| Kapazität | 65 Liter |
| Wastage | 2200 Watt |
| Temperaturregelung | 100 °C - 250 °C |
| Timer | Up to 90 Minutes with Alarm Bell |
| Heizelemente | 4 Edelstahl |
| Besondere Merkmale | Grill, Fan (Convection), Interior Light, Indicator Light |
| Material | Edelstahl |
| Steuerungstyp | Knopf |
| Türstil | Dropdown-Tür |
| Ungefähre Abmessungen (Verpackung) | 121 x 121 x 121 cm |
| Artikelgewicht | 12.25 kg |
8. Garantie und Support
This Fresh Electric Oven is covered by a manufacturer's warranty. Please refer to the warranty card included with your purchase for specific terms, conditions, and duration. For technical support, service, or spare parts, please contact Fresh customer service through the details provided on your warranty documentation or the official Fresh webWebsite.
Do not attempt to repair the appliance yourself. Unauthorized repairs may void the warranty and pose safety risks.