
1. Einleitung
Thank you for choosing the BONTEC OOXM3308 Adjustable Tilting Ceiling TV Mount. This product is designed to securely hold most 26-55 inch televisions, offering versatile viewing angles and space-saving installation. Please read this manual thoroughly before installation to ensure safe and correct assembly and operation. Keep this manual for future reference.
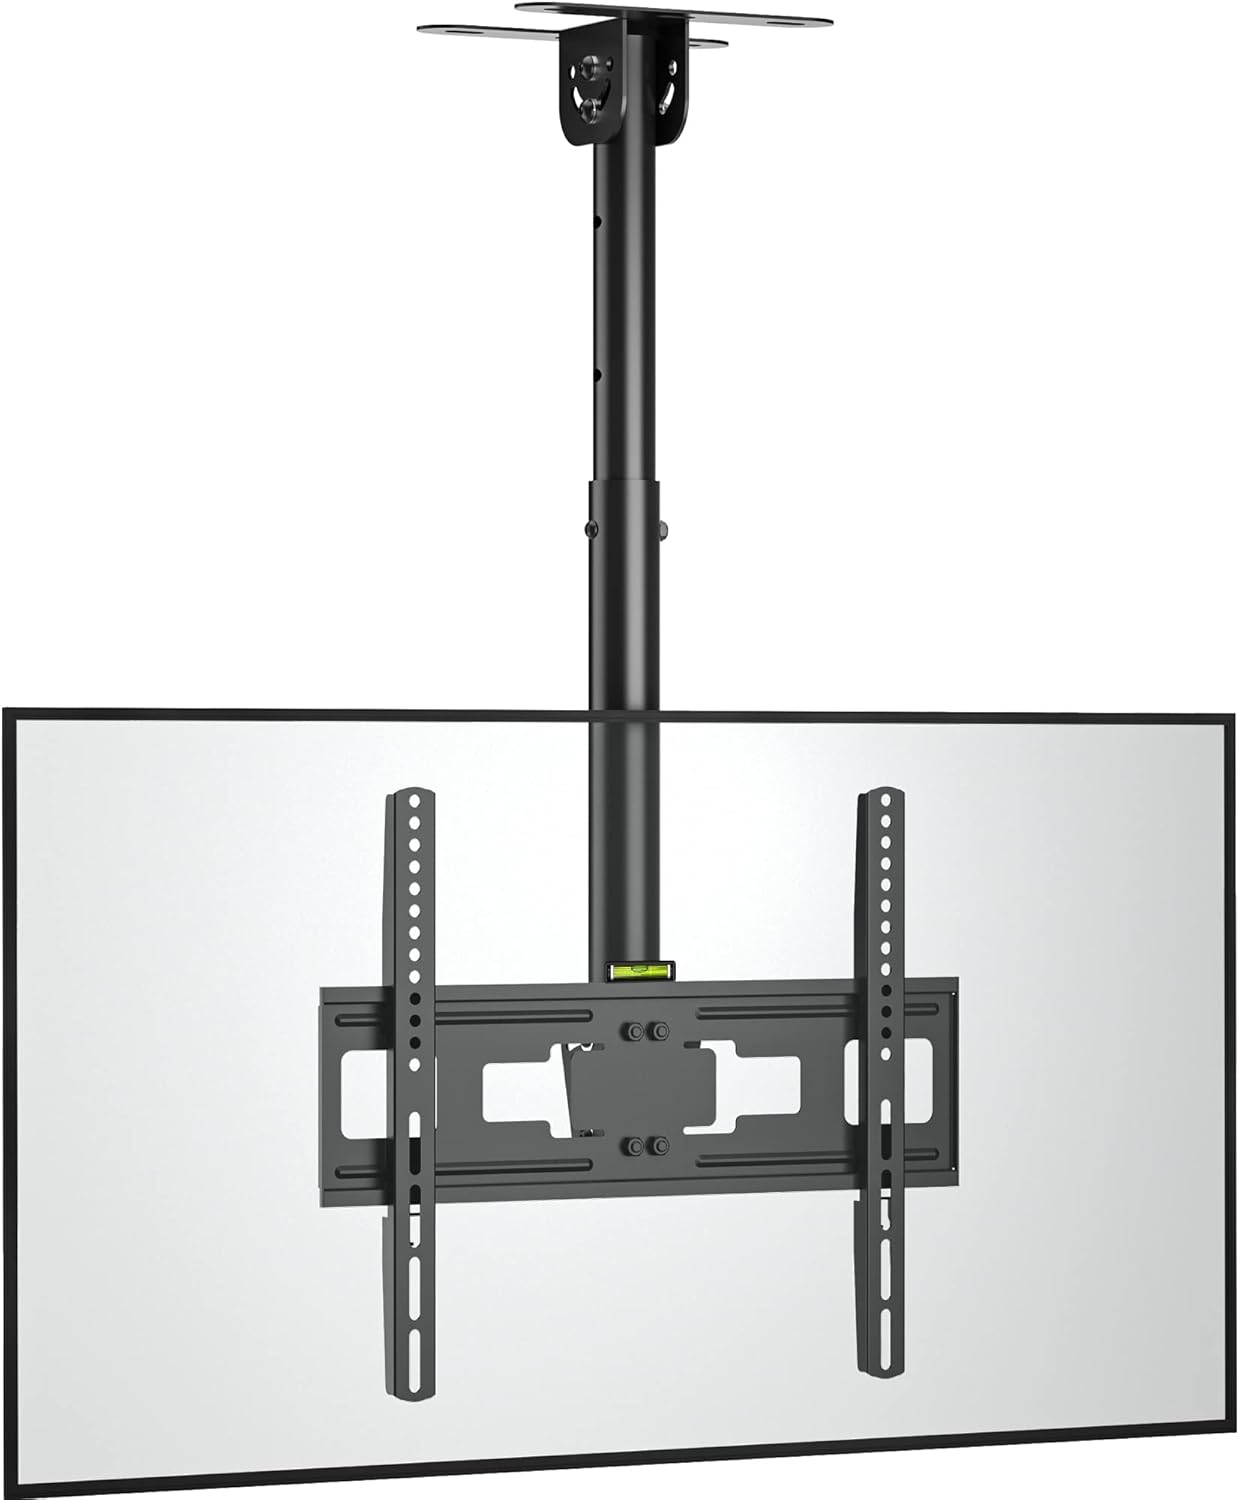
Image 1.1: The BONTEC OOXM3308 Ceiling TV Mount with a television attached.
2. Sicherheitshinweise
WARNUNG: Failure to read and follow all instructions may result in personal injury, property damage, or voiding of warranty. Improper installation can lead to serious injury.
- Beginnen Sie die Installation erst, nachdem Sie alle Anweisungen und Warnhinweise in diesem Handbuch gelesen und verstanden haben.
- Stellen Sie sicher, dass die Montagefläche das Gesamtgewicht der Halterung und des Fernsehers sicher tragen kann.
- Verwenden Sie ausschließlich die mitgelieferte Hardware. Beschädigte Teile dürfen nicht verwendet werden.
- Dieses Produkt ist nur für den Gebrauch in Innenräumen vorgesehen.
- Die maximale Tragfähigkeit von 45 kg (99 lbs) darf nicht überschritten werden.
- Ensure VESA patterns are compatible (75x75mm to 400x400mm).
- Always use a qualified technician for installation if you are unsure about the process.
- Do not use concrete anchors on wood studs. Do not mount on drywall alone.
3. Packungsinhalt
Prüfen Sie vor der Installation, ob alle Komponenten vorhanden und unbeschädigt sind. Sollten Teile fehlen oder defekt sein, wenden Sie sich bitte an den BONTEC-Kundendienst.

Bild 3.1: Überview of height adjustment and included fitting hardware.
Fitting Hardware Included:
- Betonanker (x6)
- Holzschrauben (x6)
- Washers (φ8mm) (x6)
- Schraubenschlüssel (x1)
TV Mounting Screws:
- M4*30mm Schrauben
- M6*16mm Schrauben
- M8*16mm Schrauben
- M4/M6/M8 Vierkantscheiben
- M6*30mm Schrauben
- M8*50mm Schrauben
- D8*5mm Spacers
- D8*10mm Spacers
4. Produktmerkmale
The BONTEC OOXM3308 mount offers several features for optimal TV placement and viewErfahrung.

Image 4.1: Multiple features including forward tilt and swivel adjustment.
- Universelle Kompatibilität: Designed for most 26-55 inch televisions.
- Robuste Konstruktion: Made from strong alloy steel, supporting up to 45 kg (99 lbs).
- VESA-Konformität: Unterstützt VESA-Normen von 75x75mm bis 400x400mm.
- Verstellbarer Schwenkarm: Features a ±90° swivel adjustment for flexible viewwinkeln.
- Kippmechanismus: The TV plate can be tilted downwards by 25° to reduce glare and optimize viewing.
- Integrated Height Adjustment: The mount offers an adjustable height range from 580mm to 840mm. Adjustments can be made using manual screws and the provided wrench.
- Secure Ceiling Attachment: Six locating holes ensure the mount is securely fastened to the ceiling.

Image 4.2: Illustration of the strong steel central column and secure locating holes.

Image 4.3: VESA compatibility and screen size range (26-55 inches).

Abbildung 4.4: Niedrigprofilfile tilting design with maximum capacity and VESA specifications.
5. Einrichtung und Installation
Follow these steps carefully for safe and secure installation.
5.1 Prüfungen vor der Installation
- Gewicht des Fernsehers: Ensure your TV weighs no more than 45 kg (99 lbs).
- VESA-Muster: Check the VESA mounting holes on the back of your TV. They must be between 75x75mm and 400x400mm.
- Deckentyp: Identify your ceiling type (wood stud, concrete, or brick) to use the correct hardware.
5.2 Montage der Deckenplatte
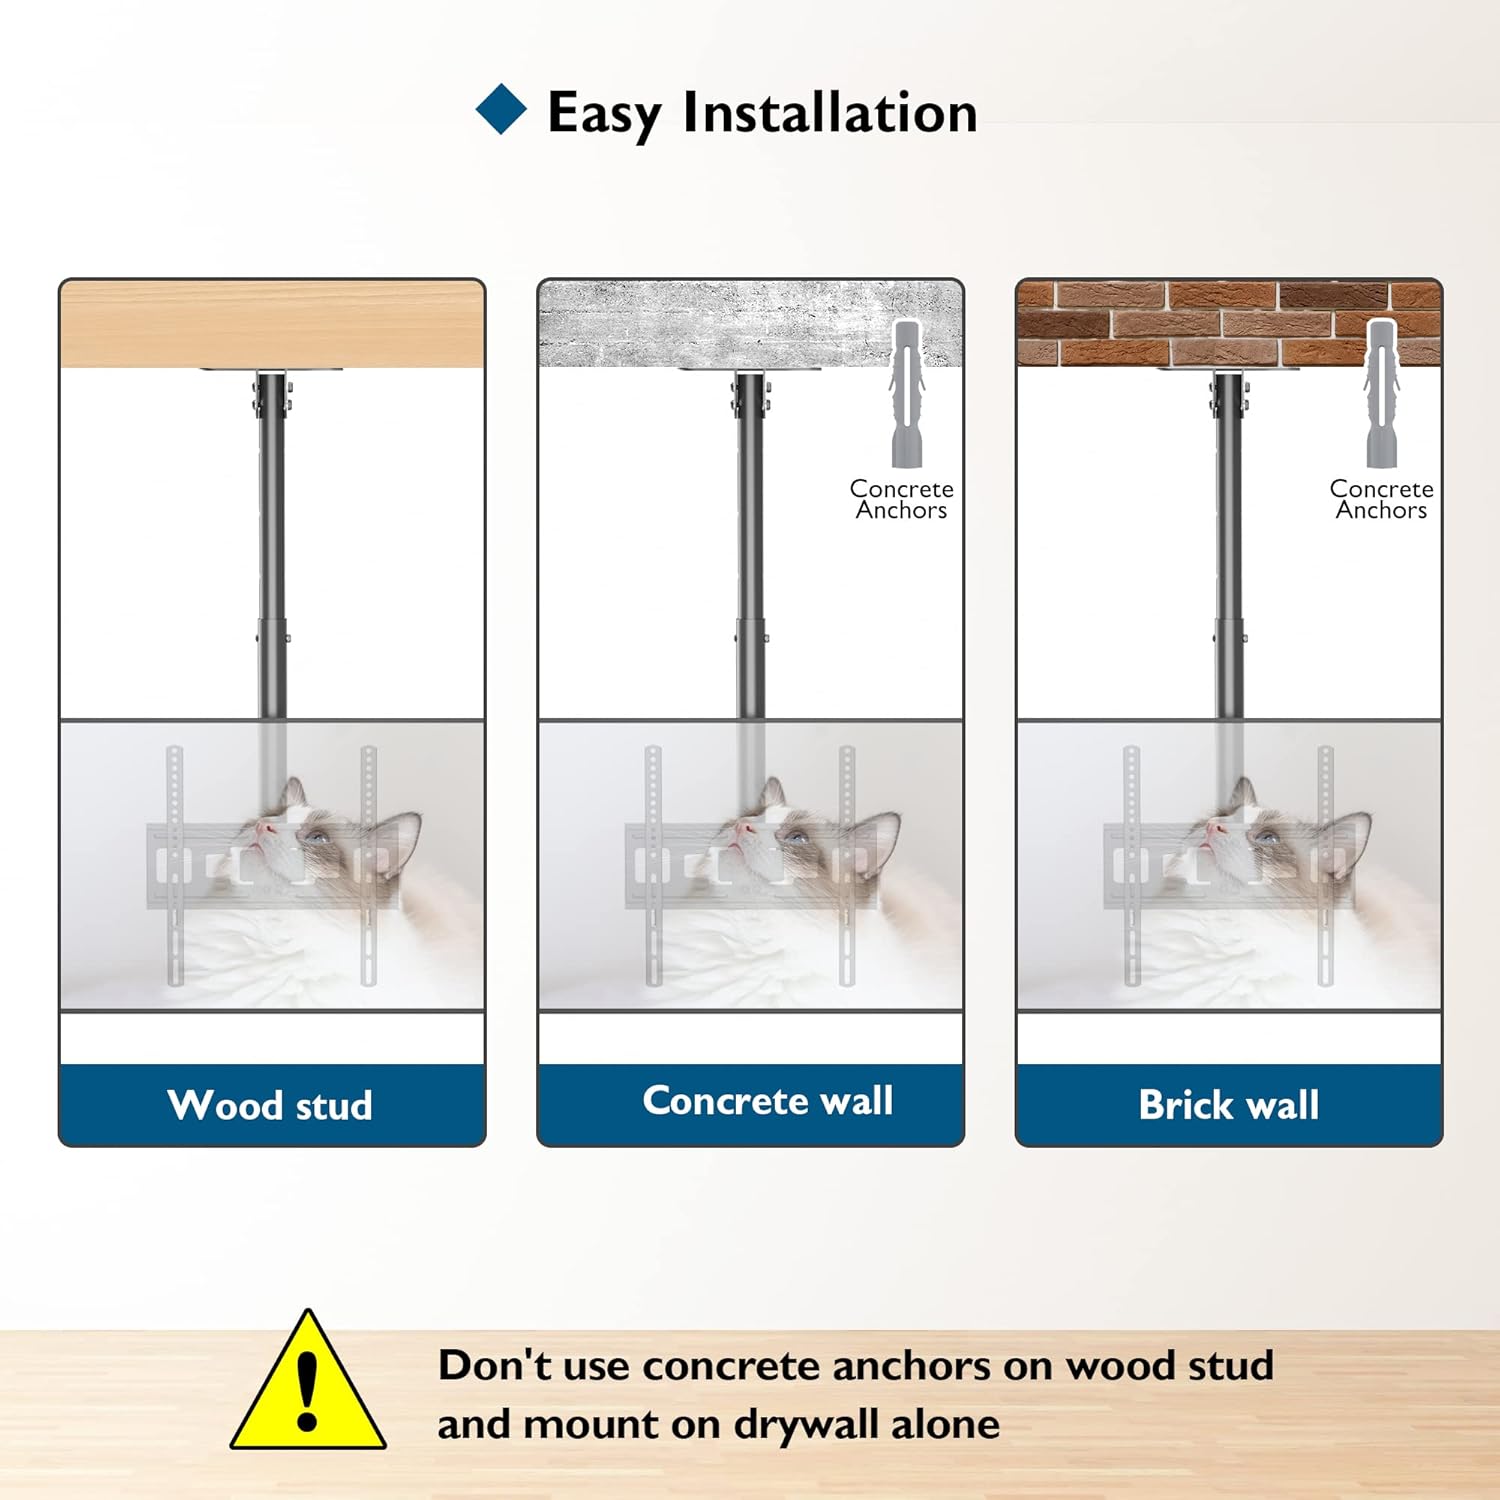
Image 5.1: Easy installation methods for various ceiling types.
- Position the ceiling plate at the desired location. Use a pencil to mark the six mounting holes.
- For Wood Stud: Drill pilot holes into the center of the wood stud. Secure the ceiling plate using the Lag Bolts and Washers.
- For Concrete/Brick Wall: Drill holes using an appropriate drill bit for concrete/brick. Insert the Concrete Anchors into the drilled holes. Secure the ceiling plate using the Lag Bolts and Washers.
- Ensure the ceiling plate is firmly attached and level.
5.3 Attaching the TV to the Mount
- Attach the TV mounting arms to the back of your television using the appropriate M4, M6, or M8 screws and spacers from the provided hardware kit. Ensure the arms are centered and securely fastened.
- Carefully lift the television and hook the mounting arms onto the main bracket of the ceiling mount.
- Secure the TV to the mount using the safety screws or locking mechanism, if applicable, to prevent accidental dislodgement.
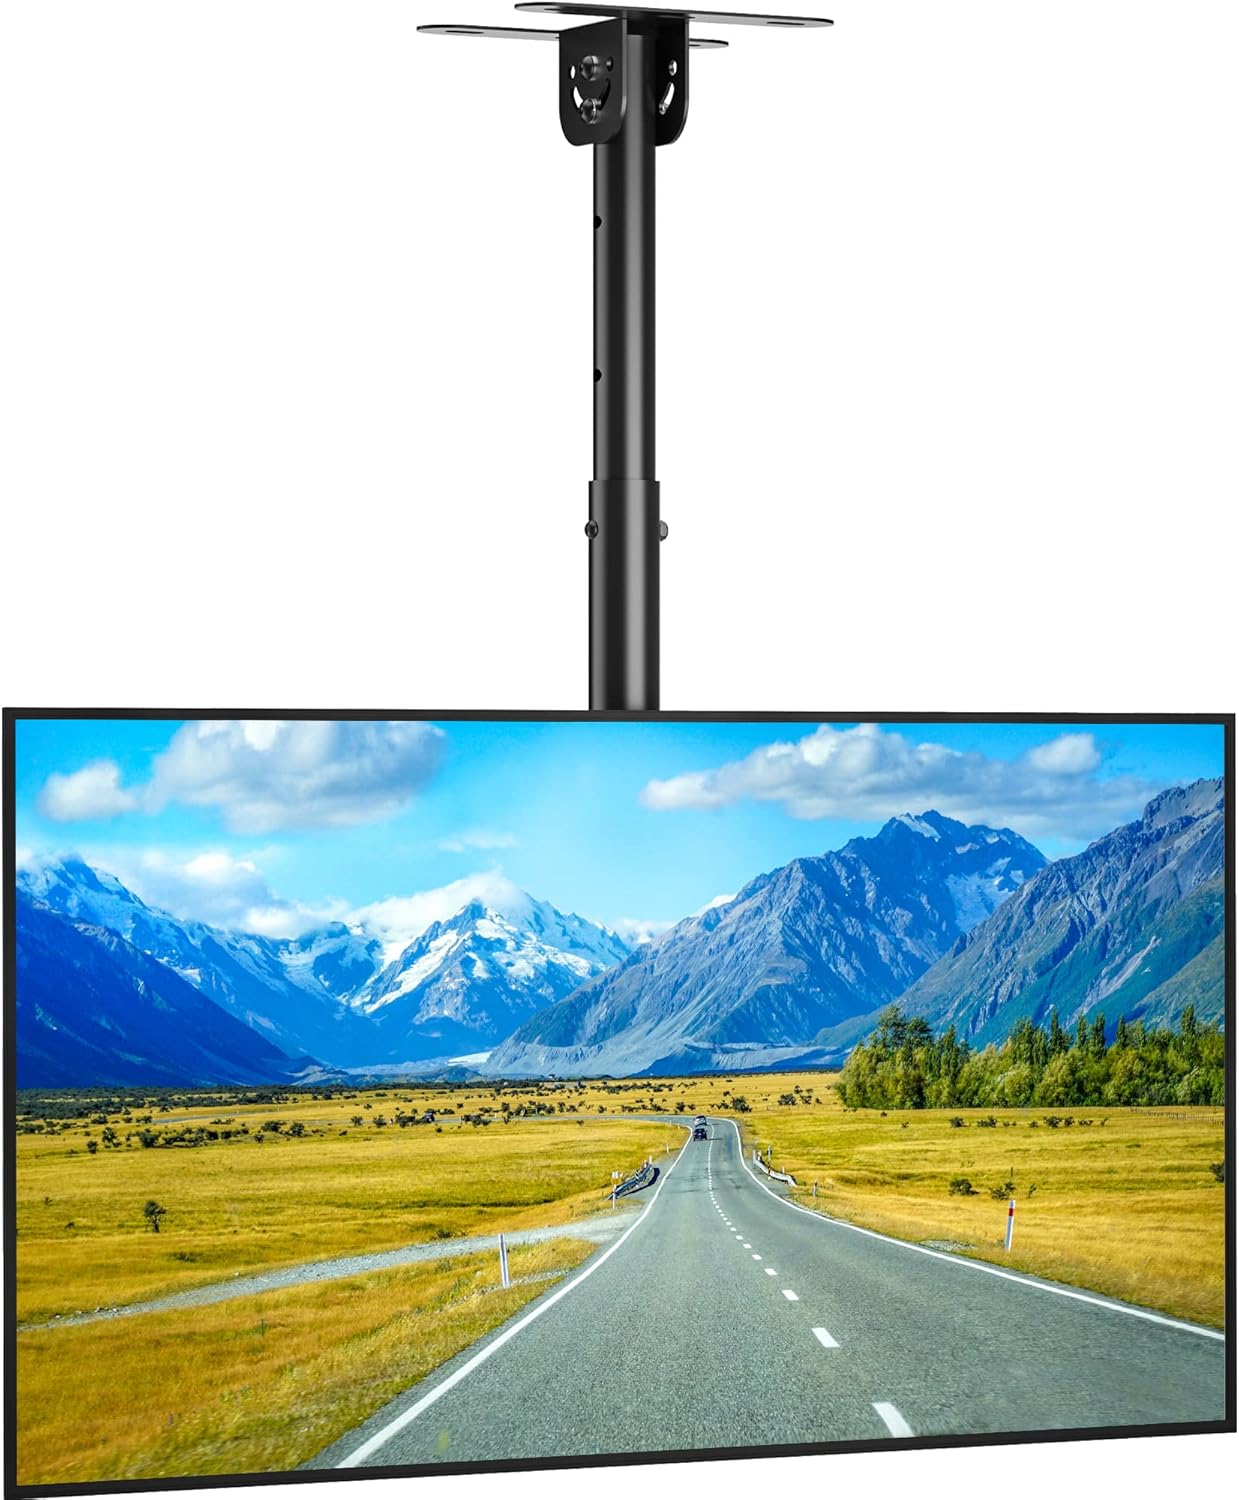
Image 5.2: The BONTEC ceiling TV mount with a television installed.
6. Bedienungsanleitung
Once installed, the BONTEC OOXM3308 mount allows for various adjustments to achieve your preferred viewing-Winkel.
6.1 Höhenverstellung
The mount offers a height range of 580mm to 840mm. To adjust the height:
- Loosen the manual screws on the central column.
- Carefully slide the TV and lower column to the desired height.
- Tighten the manual screws firmly to secure the height.
6.2 Neigungsverstellung
The TV plate can be tilted downwards by 25°.
- Locate the tilt adjustment knob or mechanism on the mount.
- Loosen the knob/mechanism.
- Adjust the TV to the desired tilt angle.
- Tighten the knob/mechanism to lock the tilt in place.
6.3 Schwenkverstellung
The mount allows for a ±90° swivel.
- Gently rotate the TV to the left or right to achieve the desired viewing-Winkel.
- The swivel mechanism is designed to hold its position once adjusted.

Abbildung 6.1: Beispielamples of the wide range of applications for the BONTEC ceiling TV mount.
7. Wartung
- Überprüfen Sie regelmäßig alle Schrauben und Verbindungen, um sicherzustellen, dass sie fest und sicher sind.
- Reinigen Sie die Halterung mit einem weichen, trockenen Tuch. Vermeiden Sie scheuernde Reiniger oder Lösungsmittel.
- Do not hang objects from the mount or TV.
8. Fehlerbehebung
- Der Fernseher ist nicht waagerecht: Check the ceiling plate installation for levelness. Adjust the TV mounting arms if they allow for minor leveling adjustments.
- Das Gefährt fühlt sich instabil an: Re-check all mounting screws and bolts. Ensure they are tightened according to the instructions. Verify the ceiling structure can support the weight.
- Schwierigkeiten beim Einstellen von Neigung/Schwenkung: Ensure no locking mechanisms or knobs are overtightened. Apply a small amount of silicone lubricant to moving parts if necessary, avoiding contact with electrical components.
- Fehlende Teile: Refer to Section 3, "Package Contents." Contact BONTEC customer support for replacement parts.
9. Spezifikationen
| Spezifikation | Detail |
|---|---|
| Marke | BONTEC |
| Modell | OOXM3308 |
| Kompatible TV-Größen | 26 - 55 Zoll |
| Gewichtskapazität | Bis zu 45 kg (99 lbs) |
| VESA-Kompatibilität | 75 x 75 mm bis 400 x 400 mm |
| Neigungswinkel | 25° Downward |
| Schwenkwinkel | ±90° |
| Höhenverstellbereich | 580 mm - 840 mm |
| Material | Legierter Stahl |
| Montagetyp | Deckenmontage |
| Produktgewicht | 3.71 kg |
10. Garantie und Support
BONTEC products are designed for durability and performance. For warranty information, technical support, or assistance with installation, please contact BONTEC customer service through the retailer where the product was purchased or visit the official BONTEC webWebsite.
Bitte bewahren Sie Ihren Kaufbeleg für Garantieansprüche auf.