
1. Einleitung
This manual provides instructions for the safe and effective use of your SmallRig LP-E6NH Camera Battery Charger Set. This set includes two 2040mAh rechargeable batteries and a dual-slot charger designed for various Canon camera models. Please read this manual thoroughly before use and retain it for future reference.
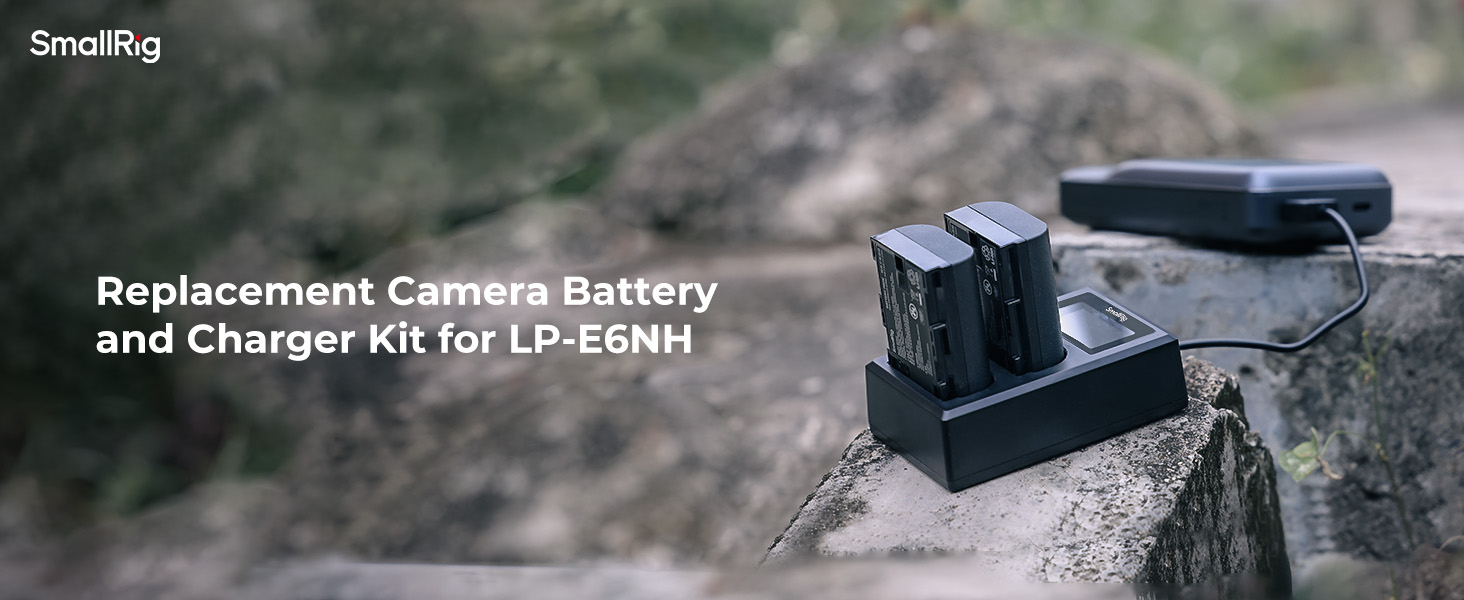
Image 1.1: SmallRig LP-E6NH Camera Battery Charger Set components.
2. Produktüberschreitungview und Packungsinhalt
2.1 Packungsinhalt
- 1 x Dual-Slot Battery Charger
- 2 x LP-E6NH Rechargeable Batteries (2040mAh each)
- 2 x Battery Protective Covers
2.2 Hauptmerkmale
- Dual-Slot Charging: Charges one or two batteries simultaneously.
- Mehrere Ladeoptionen: Features a built-in USB-A cable and a USB-C input port.
- Intelligenter LCD-Bildschirm: Displays real-time charging status, including current, voltage, progress, and charged capacity.
- Sicherheitsschutz: Incorporates 6-point protection against over-charging, over-current, short-circuit, over-discharge, over-voltage, and recovery issues.
- Hohe Kompatibilität: Fully decoded batteries compatible with a wide range of Canon cameras.

Abbildung 2.1: Detailansicht view of the charger, batteries, and protective covers.
3. Spezifikationen
| Besonderheit | Detail |
|---|---|
| Modellnummer | 3821-SR |
| Batteriekapazität | 2040 mAh (pro Akku) |
| Charger Input (USB-A) | 5V/2.1A (Minimum) |
| Charger Input (USB-C) | 5V/2.1A (Minimum) |
| Ausgangsvolumentage | 8.4 V |
| Technische Daten | 3.54"D x 2.2"W x 1.06"H (Charger) |
| Artikelgewicht | 10 ounces / 283 grams (Total package) |
4. Kompatibilität
The SmallRig LP-E6NH batteries and charger are fully compatible with the following Canon camera models:
- Canon EOS R, R5, R6, R7, R5 C, R6 Mark II
- Canon EOS 5D Mark II, 5D Mark III, 5D Mark IV, 5DS, 5DS R
- Canon EOS 6D, 6D Mark II
- Canon EOS 7D, 7D Mark II
- Canon EOS 60D, 60Da, 70D, 80D, 90D
- Canon XC10, XC15

Image 4.1: Visual representation of compatible Canon camera models.
5. Einrichtungs- und Ladeanleitung
5.1 Stromversorgung des Ladegeräts
The charger offers two methods for power input:
- Eingebautes USB-A-Kabel: Connect the integrated USB-A cable from the charger to a USB power source (e.g., USB adapter, car charger, power bank).
- USB-C-Eingang: Use a USB-C cable (not included) to connect the charger's USB-C port to a compatible USB-C power source.
Important: Do not use both USB-A and USB-C input interfaces simultaneously.

Image 5.1: Multiple ways to power the charger using USB-A or USB-C.
5.2 Batterien einlegen
Insert one or two LP-E6NH batteries into the designated charging slots (CH1 and CH2) on the charger. Ensure the battery contacts align correctly with the charger pins.
5.3 Überwachung des Ladestatus
The intelligent LCD screen will activate upon battery insertion and power connection, displaying real-time charging information for each battery:
- CH1/CH2 Indication: Identifies the charging slot.
- Ladestrom: Displays the current in milliamperes (mA).
- Ladevolumentage: Zeigt die Lautstärke antage in Volt (V).
- Ladefortschritt: Visual indicator (circular segments) showing 25%, 50%, 75%, and 100% charged status.
- Geladene Kapazität: Displays the accumulated charged capacity in milliampere Stunden (mAh).
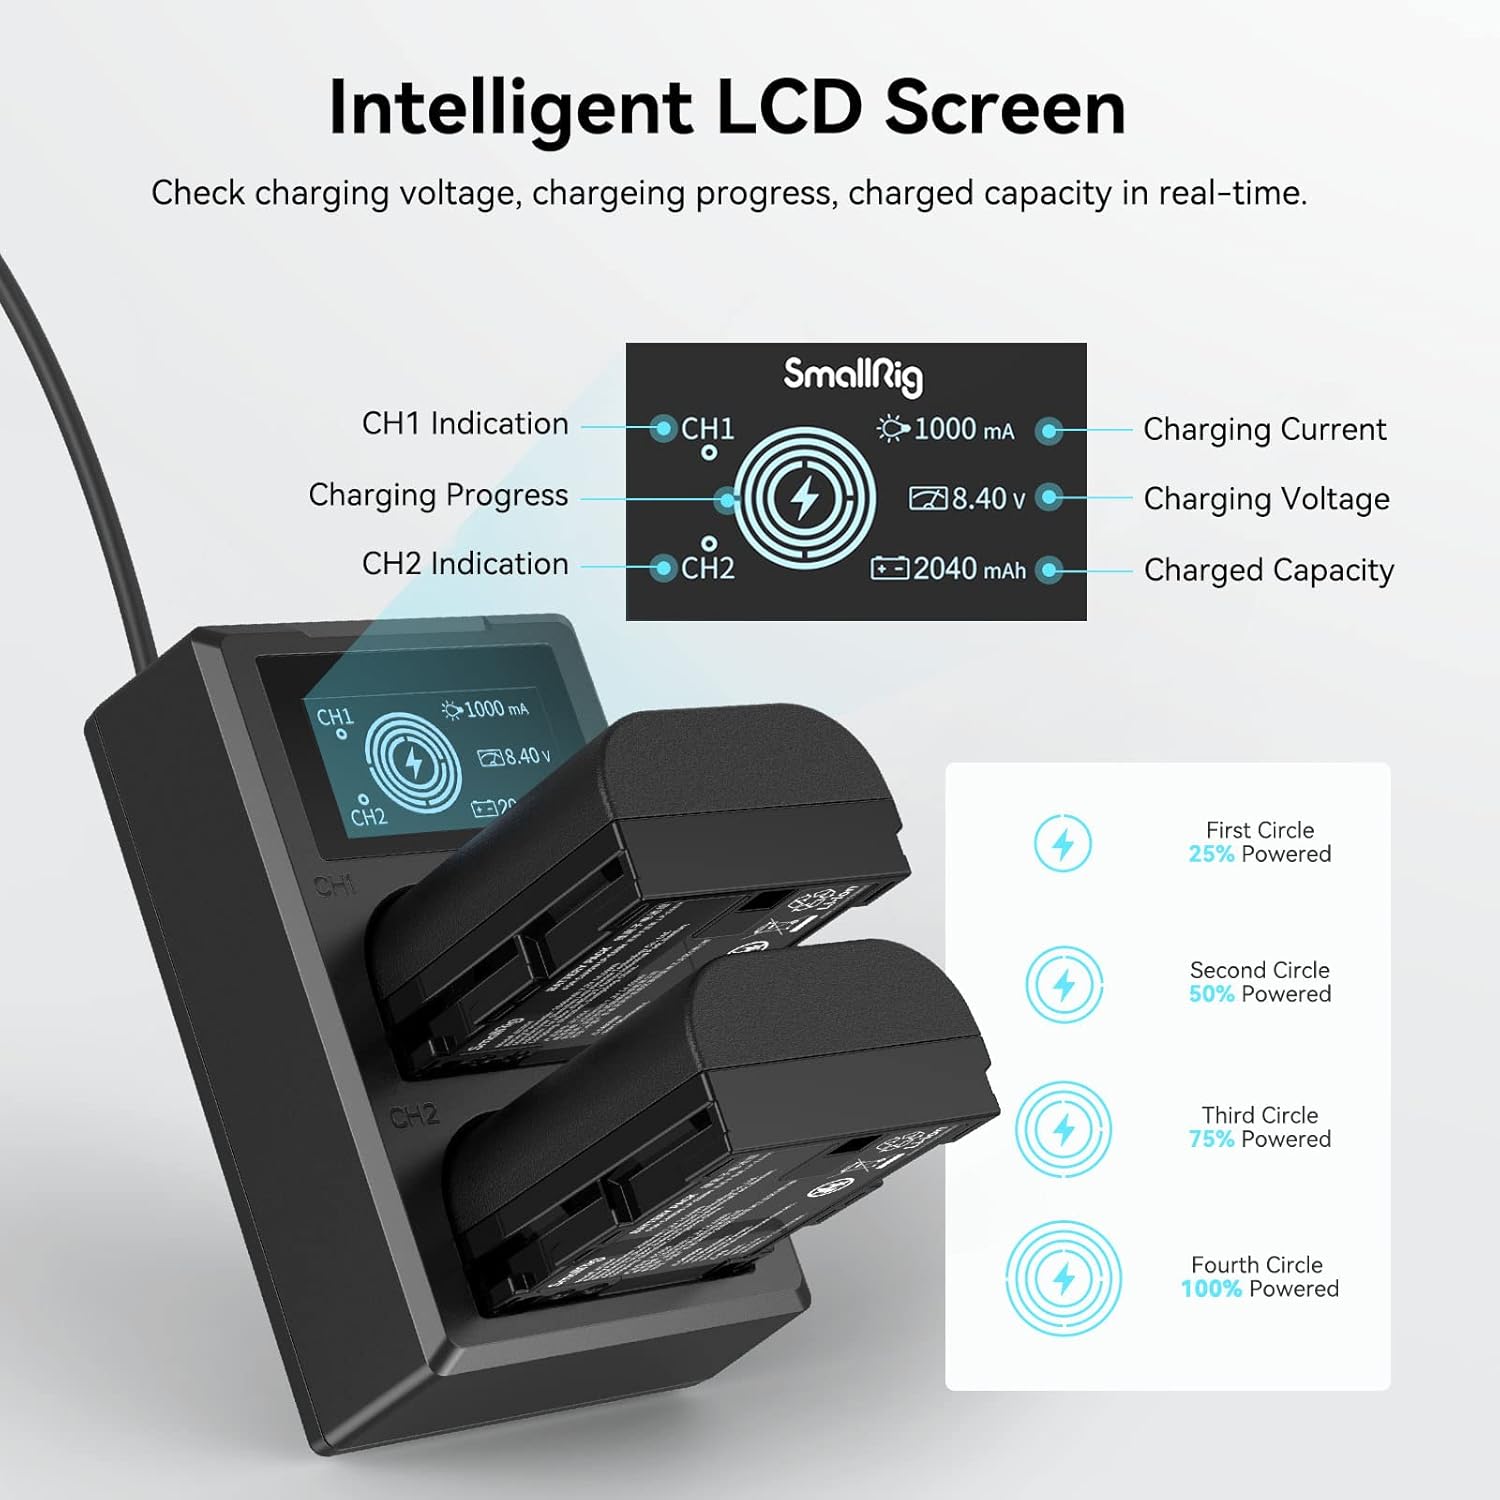
Image 5.2: Understanding the Intelligent LCD Screen display.
6. Operating the Batteries
6.1 Battery Installation in Camera
Once fully charged, remove the batteries from the charger. Refer to your camera's instruction manual for proper battery installation procedures. Ensure the battery is inserted correctly into the camera's battery compartment.
6.2 Batterieleistung
Each 2040mAh battery is designed to provide extended power for continuous recording or taking photos. Actual performance may vary based on camera model, usage patterns, and environmental conditions.

Image 6.1: Battery capacity and estimated usage.
7. Sicherheitsinformationen und Schutzmaßnahmen
The SmallRig LP-E6NH Battery Charger Set is equipped with a 6-point protection system to ensure safe operation and protect your devices:
- Überladeschutz: Prevents batteries from being charged beyond their capacity.
- Überstromschutz: Schutzmaßnahmen gegen übermäßigen Stromfluss.
- Kurzschlussschutz: Schaltet die Stromzufuhr im Falle eines Kurzschlusses automatisch ab.
- Überentladungsschutz: Prevents batteries from being discharged too deeply.
- Überlautstärketage Schutz: Protects against input voltage Wellen.
- Recovery Protection: Ensures safe recovery from protection states.

Bild 7.1: Überview of the 6-point protection system.
8. Wartung
- Keep the charger and batteries clean and dry. Avoid exposure to moisture or extreme temperatures.
- Use a soft, dry cloth to clean the contacts on both the batteries and the charger regularly.
- Store batteries in a cool, dry place when not in use, ideally with their protective covers installed.
- Avoid dropping or subjecting the charger and batteries to strong impacts.
- Versuchen Sie nicht, das Produkt zu zerlegen oder zu modifizieren.
9. Fehlerbehebung
- Ladegerät lässt sich nicht einschalten: Ensure the USB cable is securely connected to both the charger and a functional power source. Verify the power source is providing at least 5V/2.1A.
- Akkus laden nicht: Check if the batteries are inserted correctly into the slots with contacts aligned. Ensure the charger is powered. Clean battery and charger contacts if necessary.
- LCD screen not displaying information: Confirm the charger is powered and batteries are inserted. If the issue persists, try a different power source or cable.
- Langsames Laden: Ensure your power adapter provides sufficient output (at least 5V/2.1A). Lower output power sources will result in slower charging times.
- Battery not recognized by camera: Ensure the battery is fully charged and correctly inserted. If the issue persists, try another compatible battery to rule out a camera issue.
10. Garantie und Support
SmallRig products are designed for reliability and performance. For warranty information, technical support, or service inquiries, please contact SmallRig customer service through their official website or the retailer where the product was purchased. Please have your product model number (3821-SR) and proof of purchase available.