
1. Einleitung
The XIAOVV BP9 is a 2.4GHz WiFi outdoor security camera designed for home surveillance. It features HD 2MP resolution, a 10000mAh solar panel for continuous power, and an IP65 waterproof rating, making it suitable for various outdoor environments. This manual provides detailed instructions for installation, operation, maintenance, and troubleshooting to ensure optimal performance of your security camera.
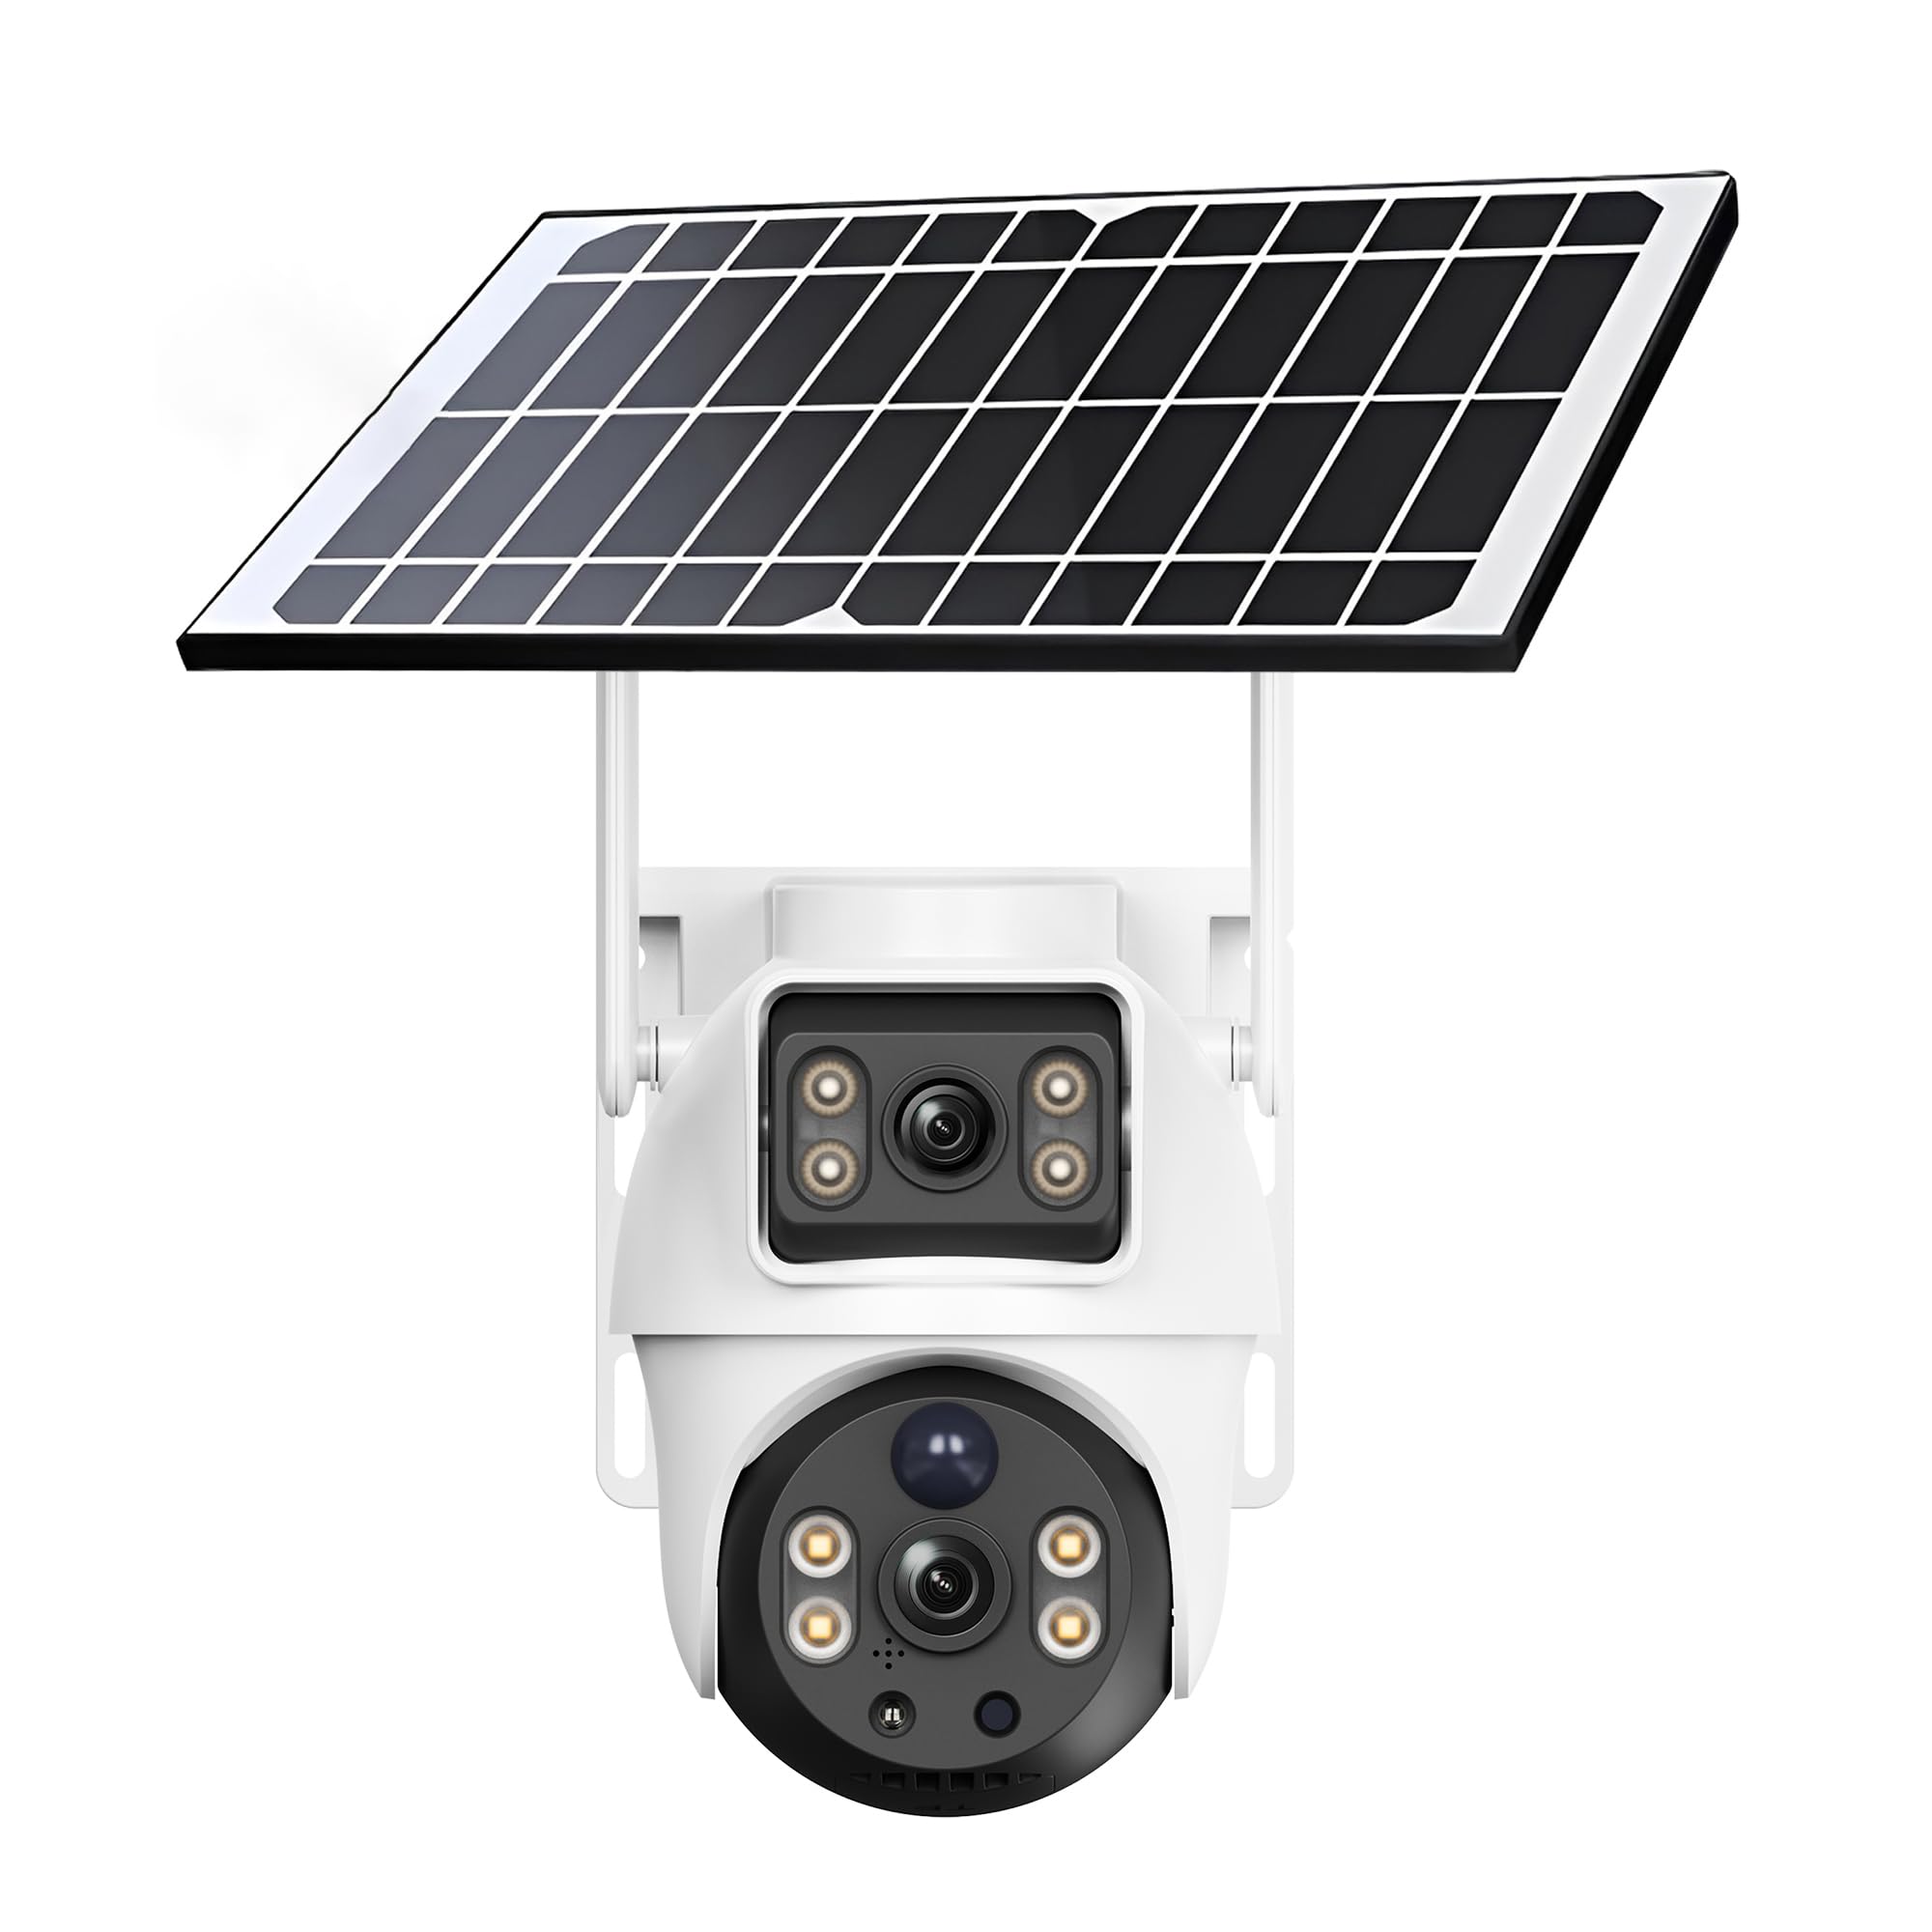
Figure 1: XIAOVV BP9 Solar WiFi Outdoor Security Camera.
2. Einrichtung
2.1 Packungsinhalt
Vor der Installation prüfen Sie bitte, ob alle Komponenten vorhanden sind:
- XIAOVV BP9 Security Camera
- Solar Panel with integrated 10000mAh battery
- Montagehalterungen und Schrauben
- USB-Ladekabel
- Benutzerhandbuch (dieses Dokument)
2.2 Erstes Aufladen des Akkus
It is recommended to fully charge the camera's integrated battery via the USB charging cable before the first use. This ensures the camera has sufficient power for initial setup and operation, especially if solar exposure is limited during installation.
2.3 Physische Installation
The camera offers flexible installation options. You can mount the camera and solar panel together using a single bracket, or separately to optimize solar exposure for the panel. Choose a location that provides a clear view des Bereichs, den Sie überwachen möchten, und stellt sicher, dass das Solarpanel täglich mehrere Stunden direktes Sonnenlicht erhält.
- Montageort auswählen: Identify a suitable outdoor location, ideally at a height of 2.5 to 3 meters (8-10 feet) to deter tampering and provide a wide viewing-Winkel.
- Bohrlöcher: Use the provided mounting template (if included) or mark the positions for drilling. Drill pilot holes for the screws.
- Klammern anbringen: Secure the mounting brackets to the wall using the screws and wall anchors.
- Mount Camera and Solar Panel: Attach the camera and solar panel to the brackets. Ensure the solar panel is angled to maximize sun exposure. Connect the solar panel cable to the camera.

Figure 2: Camera and solar panel mounted on a wall.
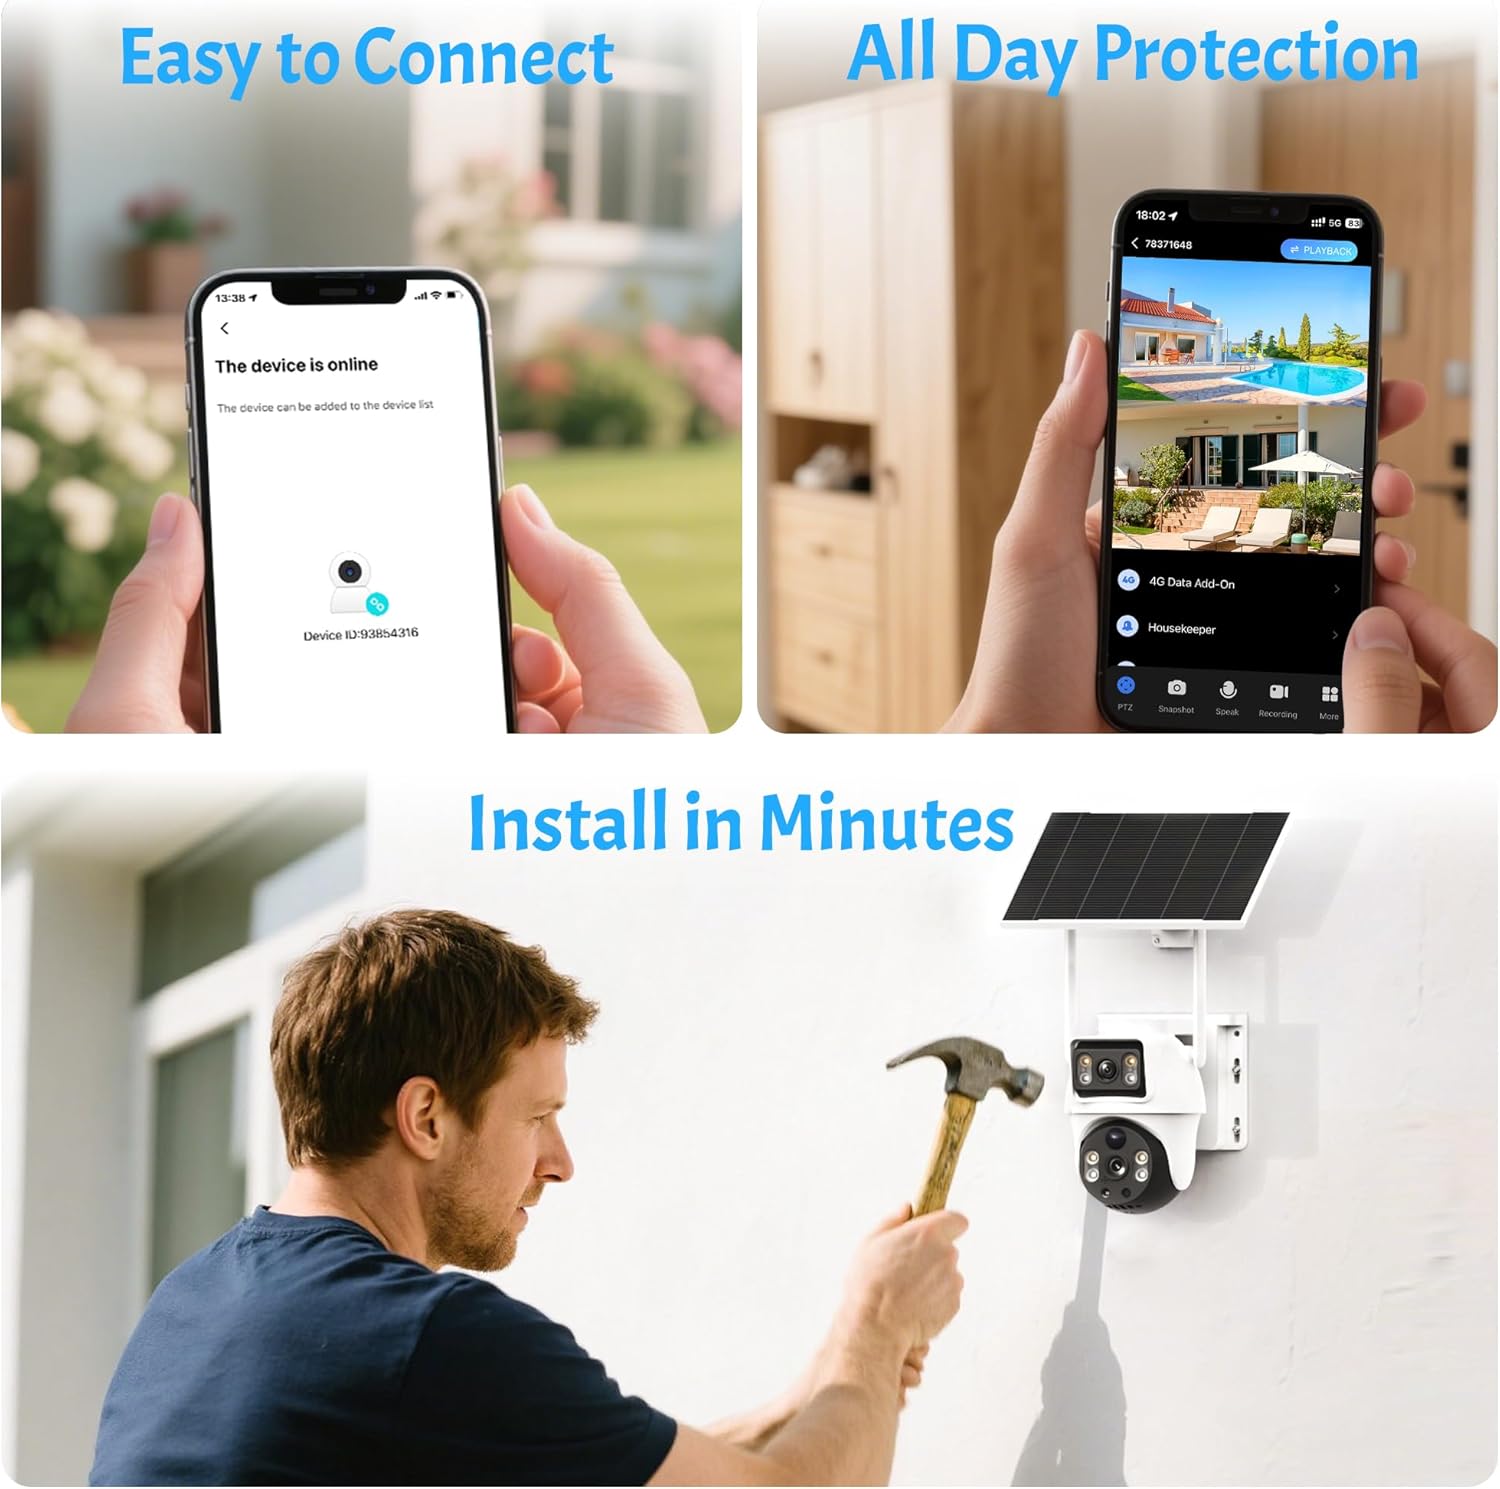
Figure 3: Simplified installation and connection steps.
2.4 App-Installation und Gerätekopplung
The camera is controlled via a dedicated mobile application. Ensure your smartphone is connected to a 2.4GHz WiFi network, as the camera does not support 5GHz WiFi.
- Laden Sie die App herunter: Suchen nach the official XIAOVV app (or specified app in packaging) on the Apple App Store (for iOS) or Google Play Store (for Android) and install it.
- Ein Konto erstellen: Open the app and follow the prompts to create a new user account using your email address.
- Gerät hinzufügen: Select the option to add a new device. The app will typically guide you to scan a QR code located on the camera itself.
- Mit WLAN verbinden: Enter your 2.4GHz WiFi network password when prompted. The app will then generate a QR code on your phone screen.
- QR-Code scannen: Position your phone screen in front of the camera lens (approximately 15-20 cm or 6-8 inches away) until the camera emits a confirmation sound, indicating successful scanning and connection.
- Komplette Einrichtung: Follow any remaining on-screen instructions to name your camera and finalize the setup process.
3. Bedienung der Kamera
3.1 Live View und Fernzugriff
Once connected, you can access the live video feed from your camera anytime, anywhere, using the mobile app. The app allows you to monitor your property in real-time.

Figure 4: App interface showing multiple camera views.
3.2 Schwenk- und Neigesteuerung
The camera supports pan (horizontal rotation) and tilt (vertical inclination) movements. Use the controls within the app to adjust the camera's viewing angle remotely. You can also set up to six preset positions for quick navigation to frequently monitored areas.

Abbildung 5: Bspamples of preset camera positions.
3.3 Bewegungserkennung und Benachrichtigungen
The camera features reliable motion detection. When motion is detected within the monitoring range, the camera can automatically trigger a siren and spotlight, begin recording, and send instant notifications to your smartphone. You can customize the detection sensitivity and notification settings in the app.

Figure 6: Intruder detection and smartphone alert.

Figure 7: Siren and spotlight activation upon detection.
3.4 Nachtsicht
The camera provides clear vision even in low-light conditions. It supports both infrared night vision and HD color night vision, allowing you to see details clearly day and night.
3.5 Zwei-Wege-Audio
Equipped with a built-in microphone and speaker, the camera enables two-way audio communication. You can listen to what's happening around the camera and speak through the camera using your smartphone app.
3.6 Aufzeichnung und Speicherung
Recordings can be stored locally on a Micro SD card (not included) or via cloud storage (subscription may apply). The camera records events triggered by motion detection. The duration of recordings can vary based on the operational mode (e.g., 'low power' vs. 'adaptive') and continuous movement.
3.7 Gemeinsame Nutzung durch mehrere Benutzer
You can effortlessly share camera access with family members or trusted friends through the app, enhancing overall home security and convenience.

Abbildung 8: Funktion zur gemeinsamen Nutzung durch mehrere Benutzer.
3.8 Advanced Features (AI Detection)
The camera may offer advanced AI detection features capable of distinguishing between pets, packages, and vehicles. Please note that these advanced features may require an additional fee or subscription.

Figure 9: AI detection capabilities.
4. Wartung
4.1 Wirkungsgrad der Solarmodule
To ensure continuous power, regularly check that the solar panel is clean and free from obstructions like dirt, leaves, or snow. The battery autonomy is highly dependent on solar exposure, weather conditions, and the frequency of motion detection events.

Figure 10: Smart solar panel with 10000mAh battery.
4.2 Reinigung
Periodically clean the camera lens and the solar panel with a soft, damp cloth to maintain optimal image quality and charging efficiency. Avoid using harsh chemicals or abrasive materials.
4.3 Witterungsbeständigkeit
The camera has an IP65 international protection rating, meaning it is protected against dust ingress and low-pressure water jets from any direction. It is designed to withstand various outdoor weather conditions, including rain and direct sunlight.
5. Fehlerbehebung
5.1 Verbindungsprobleme
- Camera frequently disconnects: Ensure your router is within range and provides a strong 2.4GHz WiFi signal. Walls and other obstructions can weaken the signal. Try repositioning the camera or router.
- Es kann keine WLAN-Verbindung hergestellt werden: Double-check that your WiFi network is 2.4GHz. Verify the WiFi password entered during setup. Ensure your smartphone is also connected to the 2.4GHz network during pairing.
- QR-Code-Scan fehlgeschlagen: Ensure the camera lens is clean. Adjust the distance between your phone screen and the camera lens (typically 15-20 cm). Ensure the screen brightness is sufficient.
5.2 Stromversorgungs- und Batterieprobleme
- Kamera lädt nicht: Verify the solar panel is clean and receives adequate direct sunlight. Check the connection cable between the solar panel and the camera. If necessary, charge the camera directly via USB.
- Kurze Akkulaufzeit: Battery performance can be affected by frequent motion detections, cold weather, and insufficient solar charging. Adjust motion detection sensitivity and review operational modes (e.g., 'low power' mode conserves battery).
5.3 Motion Detection and Notification Issues
- Keine Benachrichtigungen erhalten: Check your smartphone's app notification settings and ensure they are enabled for the XIAOVV app. Verify the camera's motion detection settings in the app are active and sensitivity is appropriately configured.
- Motion detection not working or delayed: Ensure the camera's operational mode is not set to an overly aggressive power-saving mode that might delay activation. Adjust motion detection zones and sensitivity.
5.4 Allgemeine Fehlerbehebung
- Kamera reagiert nicht: Try restarting the camera by pressing and holding the reset button (if available) or disconnecting and reconnecting the power.
- Probleme mit der Bildqualität: Ensure the camera lens is clean. Check your network connection speed, as poor bandwidth can affect live stream quality.
6. Spezifikationen
| Besonderheit | Spezifikation |
|---|---|
| Marke | XIAOVV |
| Modellnummer | BP9 |
| Konnektivitätstechnologie | Drahtlos (nur 2.4-GHz-WLAN) |
| Empfohlene Verwendung | Überwachung |
| Innen-/Außenbereich | Im Freien |
| Besonderheit | Tragbar |
| Kompatible Geräte | Smartphone (Android, iOS) |
| Stromquelle | Solarbetrieben (10000-mAh-Akku) |
| Internationale Schutzbewertung | IP65 |
| Videoauflösung | 1080p (2 Megapixel) |
| Viewing-Winkel | 355 Grad (Schwenk-/Neigefunktion) |
| Optischer Zoom | None (8x Digital Zoom) |
| Nachtsicht | Farb-Nachtsicht |
| Alarmtyp | Zwei-Wege-Audio |
| Kontrollmethode | Anwendung |
| Montagetyp | Wandhalterung |
| Artikelabmessungen | 24.2 x 22 x 19.8 cm |
| Artikelgewicht | 1.75 Kilogramm |
7. Garantie und Support
7.1 Garantieinformationen
Bitte beachten Sie die Produktverpackung oder die Angaben des Verkäufers. webDie genauen Garantiebedingungen finden Sie auf der Website. Üblicherweise gilt für Produkte eine eingeschränkte Herstellergarantie, die Material- und Verarbeitungsfehler abdeckt.
7.2 Kundendienst
For technical assistance, troubleshooting, or any other inquiries regarding your XIAOVV BP9 camera, please contact the professional support team provided by XIAOVV. Contact details can usually be found on the product packaging, the official XIAOVV webWebsite oder über Ihre Einkaufsplattform.