
1. Produktüberschreitungview
The FLEXTAILGEAR Tiny Pump 2X is a compact, multi-functional portable air pump designed for inflating and deflating various items, and it also features an integrated camping lantern. Weighing only 3.3 oz (93.55g), it offers enhanced air pressure of 4 kPa (0.58 PSI) and an airflow capacity of 180 Liters Per Minute. Its magnetic design allows for versatile placement, and the built-in LED light provides three brightness levels for different lighting needs.

Figure 1: FLEXTAILGEAR Tiny Pump 2X showcasing sein kompaktes Design und seine wichtigsten Funktionen.

Abbildung 2: Detailansichtview of the Tiny Pump 2X's capabilities.
2. Einrichtung
2.1 Aufladen des Geräts
The Tiny Pump 2X features a rechargeable battery. To charge, locate the USB-C port on the side of the device. Connect the provided USB-C cable to the pump and plug the other end into a compatible USB power source. The battery indicator lights will show charging status.

Abbildung 3: Position des USB-C-Ladeanschlusses.
2.2 Anbringen der Düsen
The pump comes with 5 different nozzles to accommodate various inflatable products. Select the appropriate nozzle for your item and firmly insert it into the inflation port (top) or deflation port (bottom) of the pump.

Figure 4: Nozzle selection and application examples.
3. Bedienungsanleitung
3.1 Inflation
- Select the correct nozzle and attach it to the Aufblasöffnung (top of the device).
- Stecken Sie die Düse fest in das Ventil des Gegenstands, den Sie aufblasen möchten.
- Double-click the power button to start the pump.
- Once the item is inflated to the desired firmness, double-click the power button again to turn off the pump.

Abbildung 5: Die Inflation schreitet voran.
3.2 Deflation
- Select the correct nozzle and attach it to the Entlüftungsöffnung (bottom of the device).
- Führen Sie die Düse fest in das Ventil des Gegenstands ein, den Sie entleeren möchten.
- Double-click the power button to start the pump. The pump will now extract air from the item.
- Once the item is deflated, double-click the power button again to turn off the pump.
Video 1: Demonstration of the FLEXTAILGEAR Tiny Pump 2X inflating and deflating an air mattress, showcasing its efficiency and ease of use for both functions.
3.3 CampLaternenfunktion
- Um das c einzuschaltenamping lantern, press and hold the power button for approximately 1.5 seconds. The light will turn on at its lowest brightness setting (40 lumens).
- To cycle through brightness levels (40 lumens, 160 lumens, 400 lumens), short press the power button.
- To turn off the lantern, press and hold the power button for approximately 1.5 seconds.

Abbildung 6:Camping lantern brightness settings.
3.4 Magnetisches Design
The Tiny Pump 2X features a built-in magnet, allowing it to be attached to ferromagnetic surfaces such as cars, iron frames, or other camping equipment for convenient lighting. Ensure the surface is magnetically attracted for secure attachment.
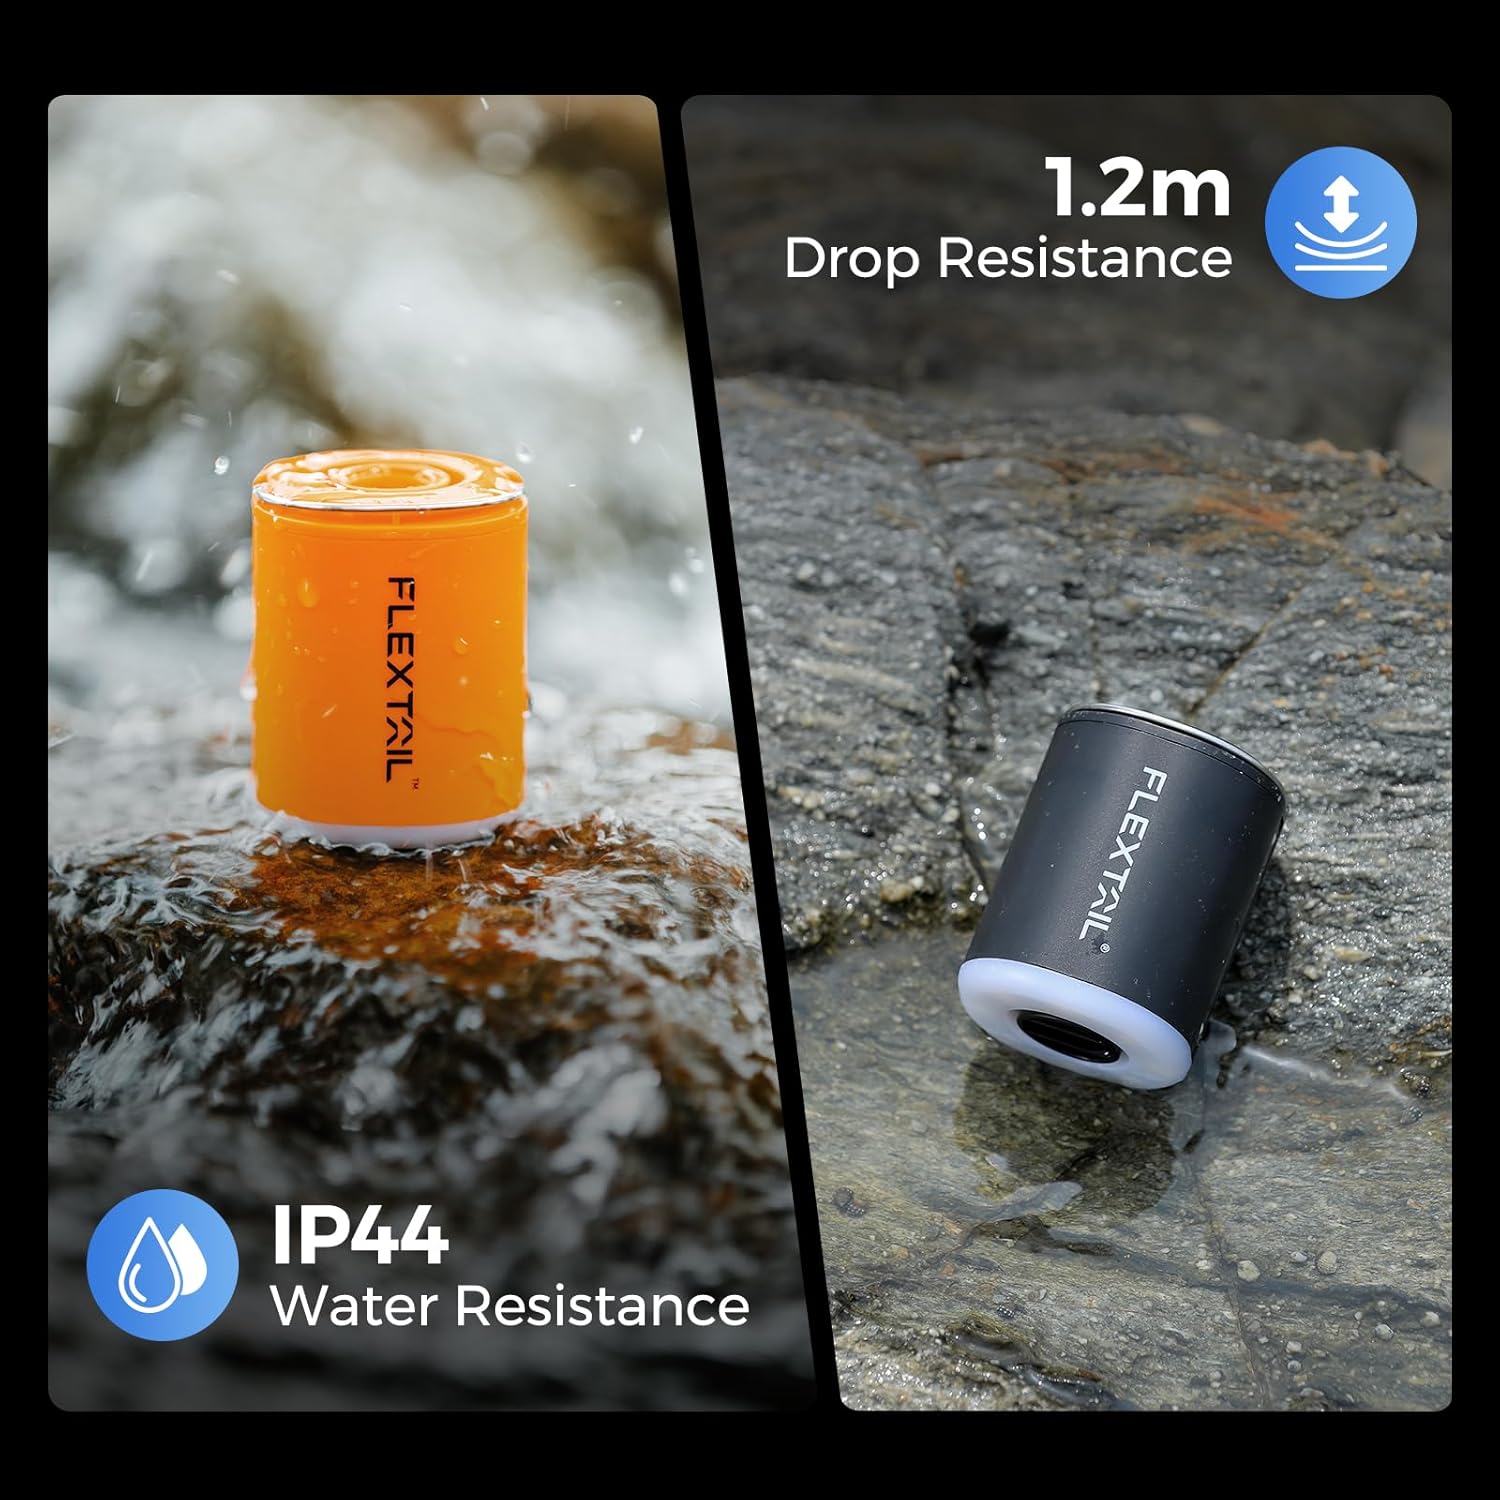
Figure 7: Magnetic attachment for hands-free use.
4. Wartung
- Reinigung: Reinigen Sie das Gerät mit einem weichen, trockenen Tuch. Verwenden Sie keine scharfen Chemikalien oder Scheuermittel.
- Lagerung: Bewahren Sie die Pumpe und das Zubehör an einem kühlen, trockenen Ort fern von direkter Sonneneinstrahlung und extremen Temperaturen auf.
- Batteriepflege: For optimal battery life, charge the device fully before long-term storage and recharge every 3-6 months.
- Dauereinsatz: Do not use the pump continuously for more than 15 minutes to prevent overheating and prolong its lifespan.
5. Fehlerbehebung
| Problem | Mögliche Ursache | Lösung |
|---|---|---|
| Pumpe schaltet sich nicht ein | Niedriger Batteriestand; Fehlbedienung | Charge the device; Double-click the power button to start. |
| Schwacher Luftstrom | Incorrect nozzle; Low battery; Blocked port | Ensure correct nozzle is used; Recharge battery; Check for obstructions in ports. |
| Laterne geht nicht an | Niedriger Batteriestand; Fehlbedienung | Laden Sie das Gerät auf; Halten Sie den Ein-/Ausschalter 1.5 Sekunden lang gedrückt. |
6. Spezifikationen
| Besonderheit | Detail |
|---|---|
| Marke | FLEXHECKZAHNRAD |
| Modell | Winzige Pumpe 2X |
| Material | Acrylnitril-Butadien-Styrol (ABS) |
| Artikelgewicht | 93.55 Gramm (3.3 Unzen) |
| Technische Daten | 1.8 Zoll L x 1.77 Zoll B x 2.3 Zoll H |
| Stromquelle | Batteriebetrieben (wiederaufladbar) |
| Luftstromkapazität | 180 Liter pro Minute |
| Maximaler Druck | 4 kPa (0.58 psi) |
| Betriebsmodus | Automatisch |
| Lantern Brightness Levels | 40 Lumens (up to 10h), 160 Lumens (up to 2.5h), 400 Lumens (up to 1h) |
| Batteriekapazität | 1300 mAh |
| Wasserbeständigkeit | IP44 |
7. Garantie und Support
For warranty information, technical support, or any inquiries regarding your FLEXTAILGEAR Tiny Pump 2X, please refer to the official FLEXTAILGEAR webBesuchen Sie die Website oder kontaktieren Sie direkt den Kundenservice. Bewahren Sie Ihren Kaufbeleg für Garantieansprüche auf.