
1. Einleitung
Thank you for choosing the TMEZON 4G LTE Solar Wireless Outdoor Security Camera. This manual provides detailed instructions for the installation, operation, and maintenance of your camera. Please read this manual thoroughly before use to ensure proper functionality and to maximize the camera's performance.
This camera is designed for outdoor surveillance in areas without Wi-Fi access, utilizing 4G LTE connectivity. It features a built-in rechargeable battery and a solar panel for continuous power, 2K resolution, 355° pan and 90° tilt capabilities, color night vision, PIR motion detection, and two-way audio communication.
2. Packungsinhalt
Bitte überprüfen Sie den Paketinhalt nach Erhalt. Sollten Artikel fehlen oder beschädigt sein, kontaktieren Sie bitte unseren Kundenservice.
- TMEZON 4G LTE Solar Wireless Outdoor Security Camera
- Solarpanel
- Montagehalterung
- Befestigungsschrauben und Anker
- USB-Ladekabel
- Bedienungsanleitung
- Pre-installed 100MB SIM Card
3. Produktüberschreitungview
Machen Sie sich mit den Komponenten der Kamera vertraut.

Bild: Vorderseite view of the TMEZON 4G LTE Solar Wireless Outdoor Security Camera, showing the main camera unit, solar panel, and antennas. This camera operates using 4G LTE signal, eliminating the need for Wi-Fi.
- Kameraobjektiv: Nimmt Videoaufnahmen auftage.
- Infrarot-LEDs: Für Schwarzweiß-Nachtsicht.
- Spotlights: For color night vision and alarm illumination.
- PIR-Sensor: Detects motion based on heat signatures.
- Mikrofon: Erfasst Audio für die Zwei-Wege-Kommunikation und Aufzeichnung.
- Lautsprecher: Gibt Audiosignale für die Zwei-Wege-Kommunikation und Alarme aus.
- Antennen: Für den 4G-LTE-Signalempfang.
- Solarmodul: Lädt den internen Akku mithilfe von Sonnenlicht auf.
- SIM-Kartensteckplatz: For the 4G LTE SIM card.
- Micro-SD-Kartensteckplatz: Für lokale Videospeicherung (bis zu 128 GB, nicht im Lieferumfang enthalten).
- Reset-Taste: Dient dazu, die Kamera auf die Werkseinstellungen zurückzusetzen.
- USB Ladeanschluss: For initial charging or manual charging.
4. Einrichtung
4.1 Erstaufladung
Before first use, fully charge the camera's built-in battery using the provided USB cable and a 5V/2A power adapter (not included). The charging indicator light will turn solid blue when fully charged.
4.2 Installation der SIM-Karte und der Micro-SD-Karte
The camera comes with a pre-installed 100MB SIM card. If you wish to use your own SIM card or install a Micro SD card for local storage, follow these steps:
- Locate the SIM card and Micro SD card slots on the camera body. These are typically protected by a rubber cover.
- Carefully open the rubber cover.
- Insert the Nano SIM card into the SIM card slot with the gold contacts facing down and the notched corner oriented correctly. Push until it clicks into place.
- Insert a Micro SD card (Class 10 or higher, up to 128GB, not included) into the Micro SD card slot with the gold contacts facing down. Push until it clicks into place.
- Ensure both cards are securely seated.
- Close the rubber cover firmly to maintain the camera's IP65 waterproof rating.

Bild: Nahaufnahme view of the camera's card slots, showing how to insert a Nano SIM card (included) and a Micro SD card (not included).
4.3 App-Installation & Kontoerstellung
The camera operates with the UBox app. Download it from your smartphone's app store (iOS App Store or Google Play Store).
- Suchen nach "UBox" in your app store and download the application.
- Open the UBox app and register a new account using your email address.
- Befolgen Sie die Anweisungen auf dem Bildschirm, um den Registrierungs- und Anmeldevorgang abzuschließen.
4.4 Kamerakopplung
- Ensure your camera is powered on and fully charged.
- Open the UBox app and tap the "+" icon to add a new device.
- Select "4G Camera" or "Add 4G Device" from the options.
- Scannen Sie den QR-Code, der sich auf der Kamera oder ihrer Verpackung befindet.
- Follow the app's prompts to connect the camera. The camera will emit a voice prompt when successfully connected.
- Benennen Sie Ihre Kamera, um sie leichter identifizieren zu können.
4.5 Montage der Kamera
Choose a suitable location for mounting the camera. Consider areas with good 4G signal reception and sufficient sunlight exposure for the solar panel.
- Ort auswählen: Identify a mounting spot that provides the desired viewing angle and receives direct sunlight for several hours daily.
- Bohrlöcher markieren: Use the mounting bracket as a template to mark the positions for drilling holes on the wall or surface.
- Bohrlöcher: Drill holes at the marked positions. Insert wall anchors if mounting on masonry or concrete.
- Halterung anbringen: Befestigen Sie die Montagehalterung mit den mitgelieferten Schrauben an der Wand.
- Kamera anschließen: Mount the camera onto the bracket. Adjust the angle of the solar panel to maximize sun exposure.
- Sichere Verbindungen: Ensure all cables (solar panel to camera) are securely connected and protected from weather.

Image: The TMEZON camera mounted outdoors with its solar panel, illustrating its wire-free, solar-powered operation.

Image: The camera being sprayed with water, highlighting its IP65 waterproof rating, suitable for outdoor use in various weather conditions.
5. Bedienungsanleitung
5.1 Live View & Schwenk-/Neigesteuerung
Über die UBox-App können Sie auf den Live-Videostream zugreifen und die Kamerabewegung steuern.
- Öffnen Sie die UBox-App und wählen Sie Ihre Kamera aus der Geräteliste aus.
- Der Live-Videostream wird angezeigt.
- Use the directional controls (pan/tilt) on the app interface to rotate the camera horizontally (355°) and vertically (90°).

Abbildung: Ein Smartphone, das das Livebild anzeigt view from the camera, with on-screen controls for 355° horizontal and 90° vertical rotation.
5.2 Bewegungserkennung und Benachrichtigungen
The camera uses PIR (Passive Infrared) detection to identify human movement and send alerts.
- Enable motion detection in the camera settings within the UBox app.
- Passen Sie die Empfindlichkeitsstufen nach Bedarf an, um Fehlalarme zu minimieren.
- When motion is detected, the camera will send an alert notification to your smartphone.
- The camera can also activate its spotlights and siren as an alarm.

Image: A smartphone screen showing a "Motion Detection" alarm message from the UBox app, indicating a person detected by the camera.

Image: The camera's alarm siren and flashes activating in response to an intruder, with a smartphone notification showing "Person is detected from Device 01."
5.3 Zwei-Wege-Audio
Kommunizieren Sie mit Besuchern oder schrecken Sie Eindringlinge mit dem eingebauten Mikrofon und Lautsprecher der Kamera ab.
- Während im Leben view, tap the microphone icon in the UBox app to speak.
- Your voice will be transmitted through the camera's speaker.
- Release the microphone icon to listen to the audio from the camera's location.
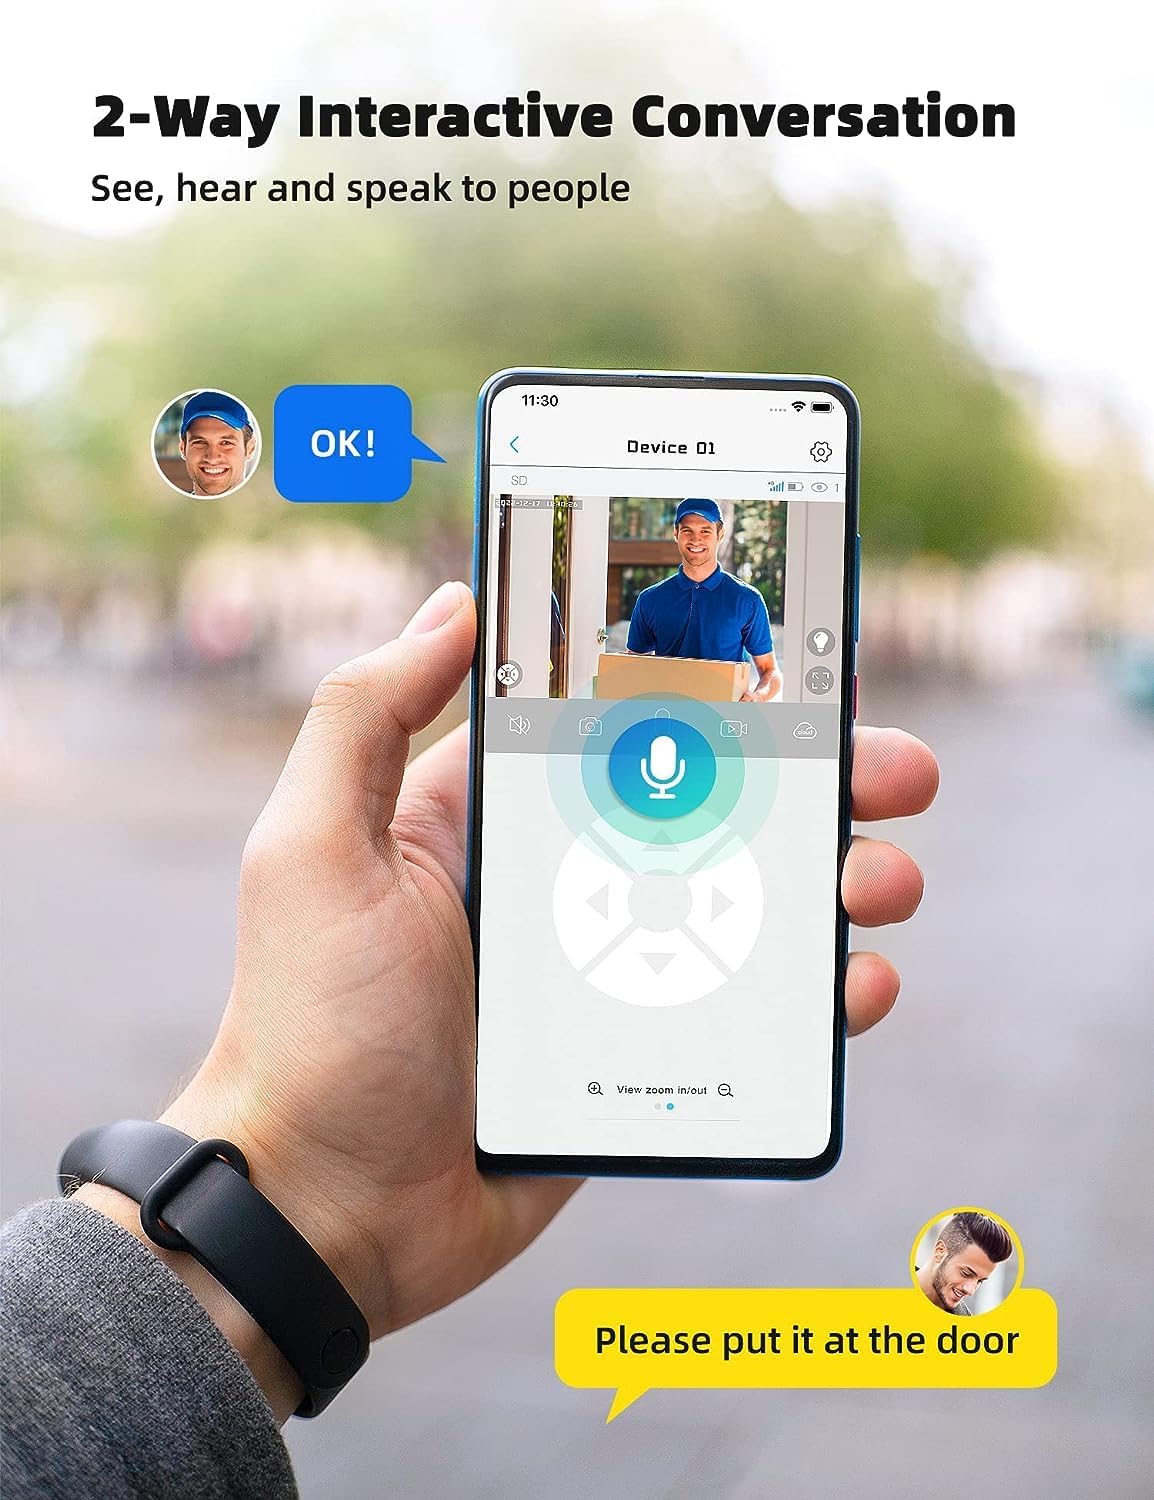
Image: A smartphone displaying the UBox app interface for two-way communication, showing a person speaking through the camera to a delivery person.

Image: A user communicating in real-time with a delivery person via the camera's two-way audio feature, instructing them to place a package by the door.
5.4 Aufnahme und Wiedergabe
The camera supports both Micro SD card storage and cloud storage (subscription may be required).
- Motion-triggered events are automatically recorded.
- Zu view recordings, navigate to the "Playback" section in the UBox app.
- Wählen Sie Datum und Uhrzeit für die erneute Aktualisierung aus.view aufgenommenes footage.
- If the Micro SD card is full, older recordings will be overwritten by new ones.
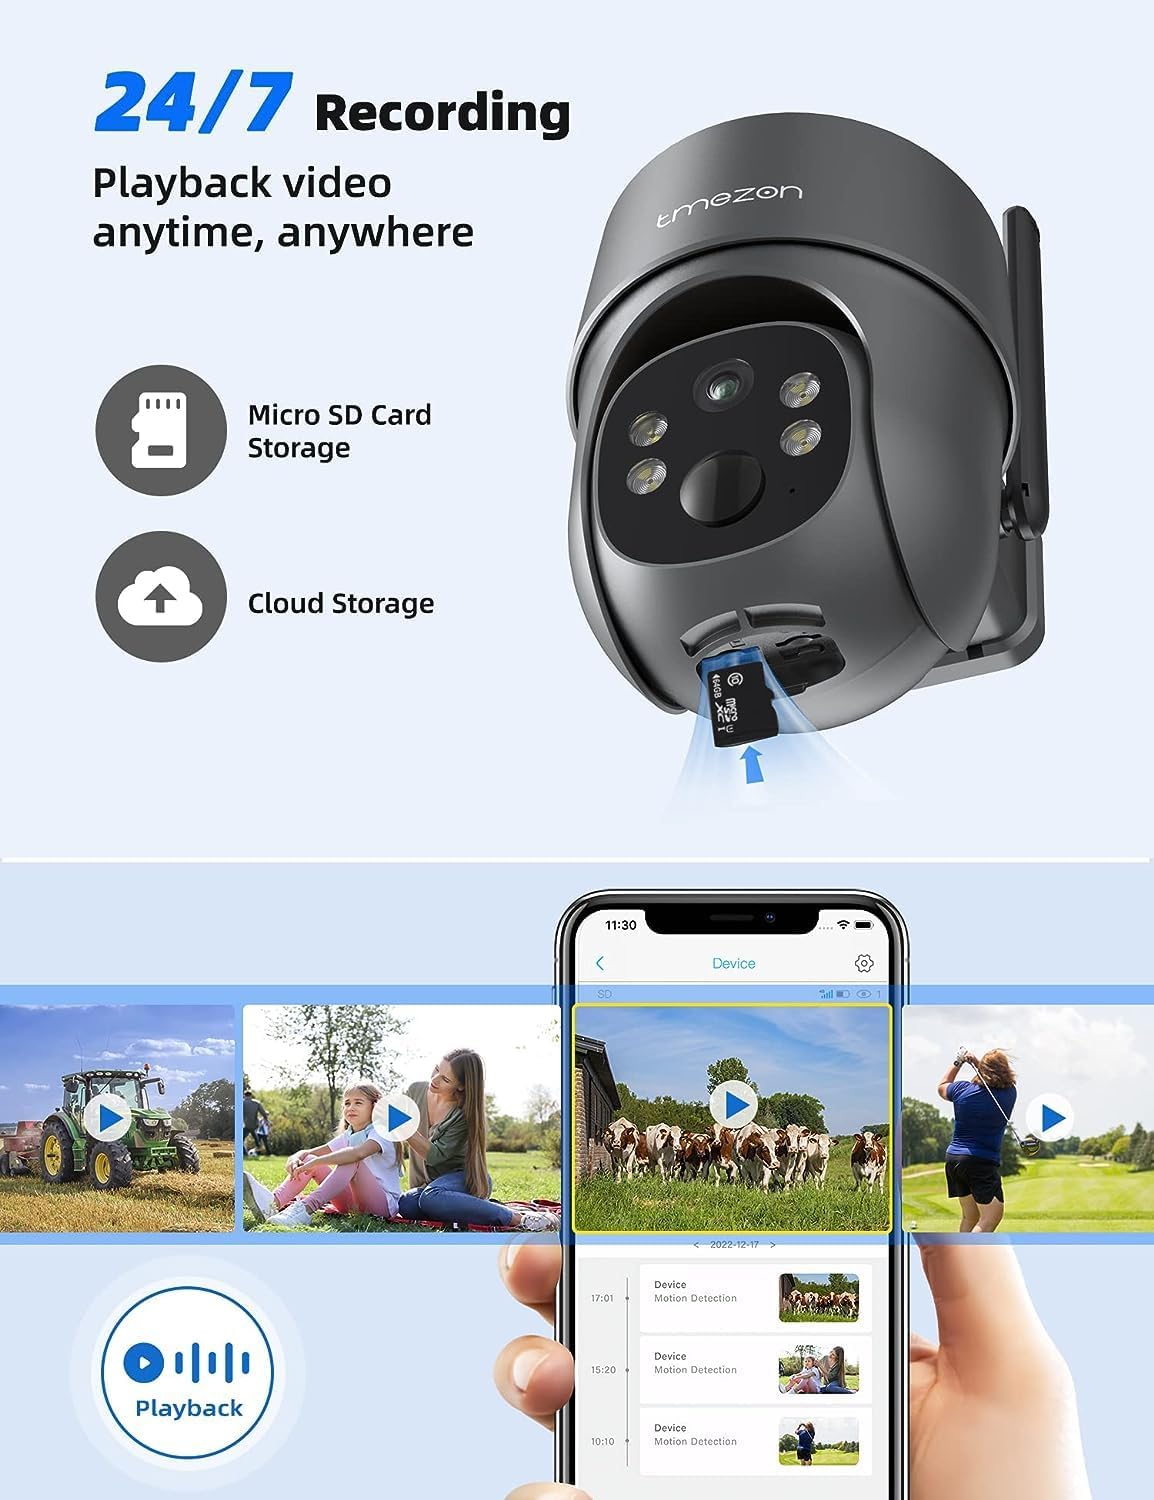
Image: A smartphone displaying the UBox app's playback interface, showing a timeline of recorded events and various video clips.
5.5 Nachtsichtmodi
Die Kamera bietet zwei Nachtsichtmodi:
- Infrarot-Nachtsicht (IR): Liefert klare Schwarzweißvideos bei schwachen Lichtverhältnissen.
- Farbnachtsicht: Activates the camera's spotlights to provide full-color video even in darkness. This mode can be enabled in the app settings.
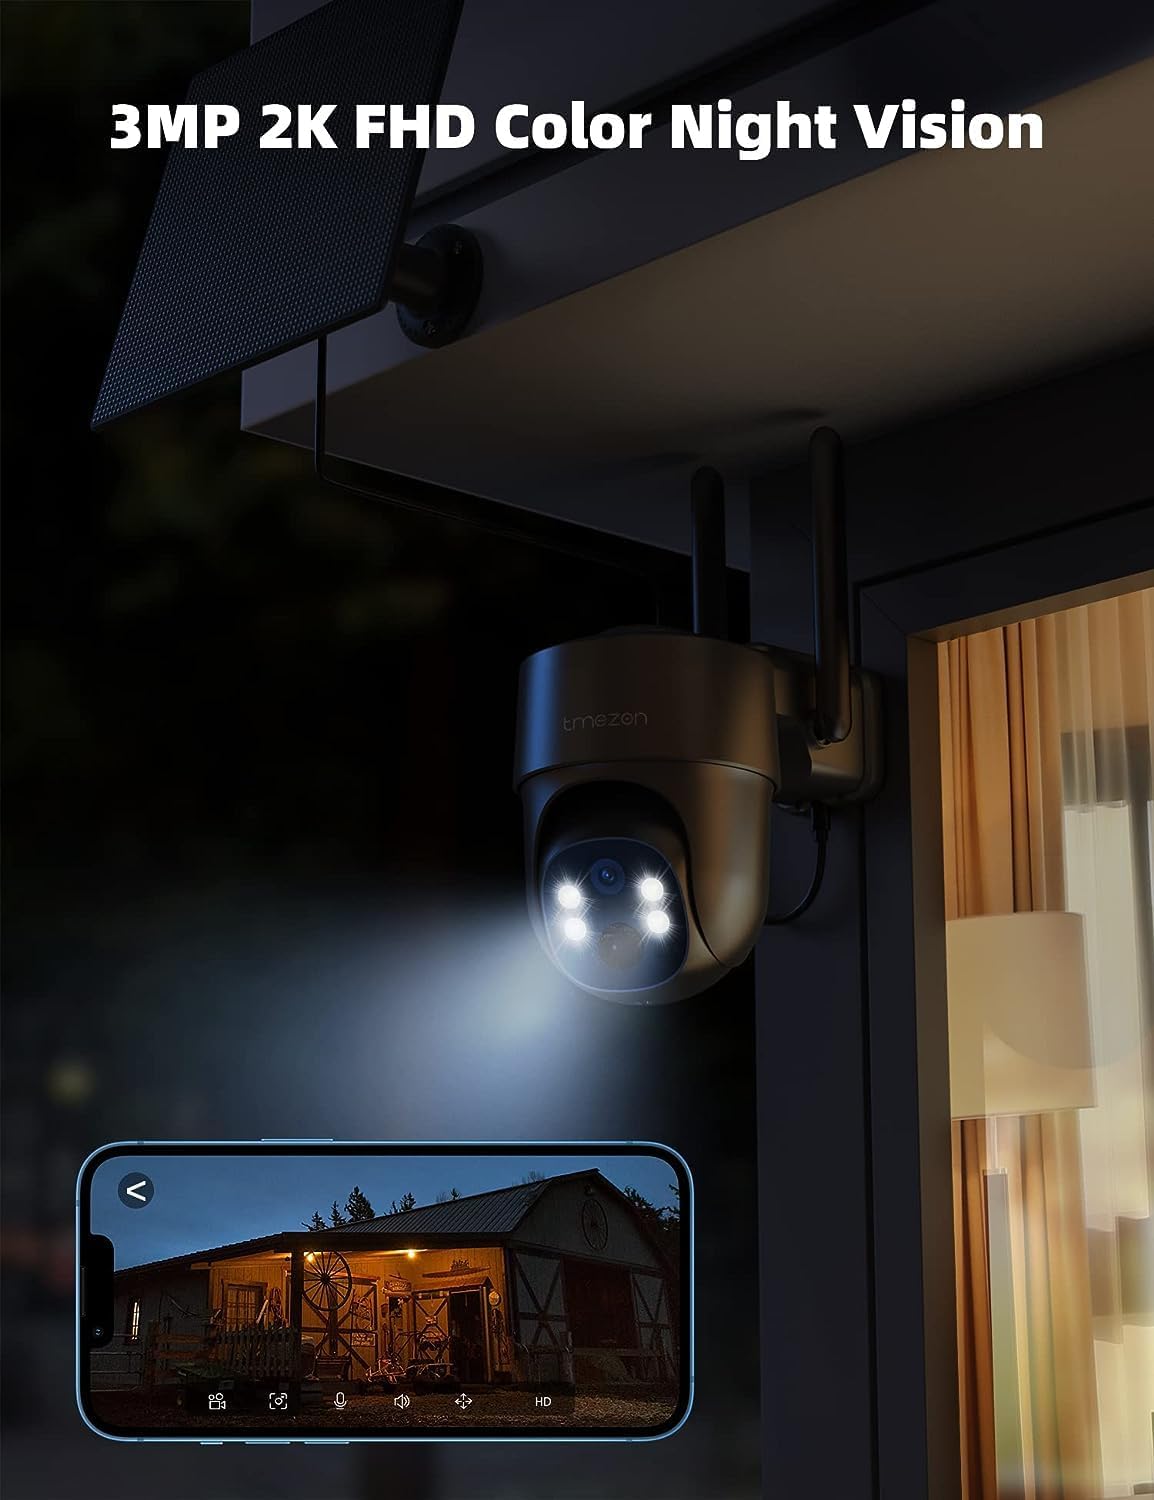
Image: The TMEZON camera operating at night with its spotlights on, providing clear 2K color night vision of the surrounding area.

Image: A split image demonstrating the difference between night vision with spotlights off (monochrome) and spotlights on (color), showcasing the camera's 2K color night vision capability.
6. Wartung
6.1 Battery & Solar Panel Care
- Regularly check the battery level in the UBox app.
- Ensure the solar panel is clean and free from dust, dirt, or obstructions (e.g., leaves, snow) to ensure efficient charging.
- Richten Sie das Solarpanel so aus, dass es den ganzen Tag über maximales direktes Sonnenlicht empfängt.
- If the camera's battery level is consistently low due to insufficient sunlight, consider manually charging it via the USB port.
6.2 Reinigung
- Verwenden Sie ein weiches,amp cloth to clean the camera lens and body.
- Do not use harsh chemicals or abrasive cleaners, as these can damage the camera's finish or lens.
- Ensure the rubber covers for the card slots and charging port are securely closed after any maintenance to maintain waterproofing.
7. Fehlerbehebung
7.1 Camera Not Connecting to 4G Network
- Stellen Sie sicher, dass die SIM-Karte korrekt eingesetzt und aktiviert ist.
- Prüfen Sie, ob die SIM-Karte über einen aktiven Datentarif verfügt.
- Verify 4G signal strength at the camera's location. Move the camera to an area with better signal if necessary.
- Restart the camera by pressing the reset button or power cycling it.
7.2 Häufige Verbindungsabbrüche
- Poor 4G signal strength can cause disconnections. Relocate the camera or consider a 4G signal booster.
- Ensure the camera's battery is sufficiently charged.
7.3 Bewegungserkennung funktioniert nicht oder es gibt zu viele Fehlalarme
- Check motion detection settings in the UBox app. Ensure it is enabled.
- Adjust PIR sensitivity levels. Lower sensitivity for fewer false alarms, higher for more sensitive detection.
- Ensure there are no objects (e.g., tree branches, reflective surfaces) that might trigger false alarms in the detection zone.
7.4 Cannot View Aufnahmen
- Ensure a Micro SD card is inserted correctly and formatted (if applicable) in the app.
- Check if cloud storage is active and your subscription is valid.
- Verify that motion detection recording is enabled in the app settings.
7.5 Kamera lädt nicht über Solarpanel
- Stellen Sie sicher, dass das Solarpanel sauber und frei von Verunreinigungen ist.
- Prüfen Sie, ob das Kabel des Solarpanels fest mit der Kamera verbunden ist.
- Check if the solar panel is receiving direct sunlight for several hours daily.
- In prolonged cloudy weather, manual charging via USB may be required.
8. Spezifikationen
| Besonderheit | Detail |
|---|---|
| Modellnummer | MZ-C8-4G-EU |
| Konnektivitätstechnologie | Drahtlos (4G LTE) |
| Auflösung | 2K (2000 Pixels effective capture) |
| Schwenkwinkel | 355 Grad |
| Neigungswinkel | 90 Grad |
| Nachtsicht | Farb-Nachtsicht |
| Besondere Merkmale | Motion Detector, Two-Way Audio |
| Stromquelle | Solar Powered (with 9,600 mAh rechargeable battery) |
| Akku-Typ | 2 Lithium-Ionen-Akku (im Lieferumfang enthalten) |
| Bandtage | 5 Volt |
| Wastage | 5 Wattstunden |
| IP-Schutzart | IP65 (wasserdicht) |
| Lagerung | Micro SD Card (up to 128GB, not included), Cloud Storage (subscription optional) |
| Controllertyp | Android (UBox App) |
| Montagetyp | Wandhalterung |
9. Garantie und Support
9.1 Garantieinformationen
TMEZON products typically come with a standard manufacturer's warranty. Please refer to the warranty card included in your package or visit the official TMEZON webDie vollständigen Garantiebedingungen finden Sie auf der Website. Bewahren Sie Ihren Kaufbeleg als Kaufnachweis für Garantieansprüche auf.
9.2 Kundendienst
If you encounter any issues or have questions regarding your TMEZON 4G LTE Solar Wireless Outdoor Security Camera, please contact TMEZON customer support. Contact information can usually be found on the official webWebsite oder in der Produktverpackung.
- Online-Hilfe: Visit the TMEZON official webWebsite mit häufig gestellten Fragen, Anleitungen zur Fehlerbehebung und Kontaktformularen.
- E-Mail-Support: Die E-Mail-Adresse des Kundensupports finden Sie in der Produktdokumentation.