Einführung
This manual provides essential information for the safe and efficient operation, installation, and maintenance of your Cecotec Bolero Dresscode Serie 50 Inverter A 7 Kg integrated front-load washing machine. Please read these instructions carefully before using the appliance and retain them for future reference.
Sicherheitshinweise
Beachten Sie beim Gebrauch von Elektrogeräten stets die grundlegenden Sicherheitsvorkehrungen, um das Risiko von Bränden, Stromschlägen und Verletzungen zu verringern. Dieses Gerät ist ausschließlich für den Hausgebrauch bestimmt.
- Stellen Sie sicher, dass das Netzteil mit den Angaben auf dem Typenschild des Geräts übereinstimmt.
- Die Waschmaschine darf nicht in Betrieb genommen werden, wenn das Netzkabel oder der Stecker beschädigt ist.
- Halten Sie Kinder und Haustiere während des Betriebs vom Gerät fern.
- Do not open the detergent dispenser or door during a wash cycle, especially when the water level is high or temperature is hot.
- Vor der Reinigung oder Durchführung von Wartungsarbeiten ziehen Sie den Netzstecker des Geräts.
- Installieren Sie das Gerät nicht an Orten, die direkter Sonneneinstrahlung oder extremen Temperaturen ausgesetzt sind.
Setup und Installation
1. Auspacken und Aufstellen
Carefully remove all packaging materials. Ensure all transit bolts are removed from the rear of the machine before use. Failure to do so can cause severe vibration and damage.
Place the washing machine on a firm, level surface. This integrated model is designed to fit within standard kitchen cabinetry.

Abbildung 1: Vorderseite view of the washing machine with approximate dimensions: Width 60cm, Depth 55cm, Height 82cm.

Figure 2: The washing machine seamlessly integrated into a kitchen environment, demonstrating its design for built-in installation.
2. Nivellieren des Geräts
Adjust the leveling feet at the bottom of the machine to ensure it is perfectly stable and level. A level appliance reduces noise and vibration during operation.
3. Wasser- und Abwasseranschlüsse
- Schließen Sie den Wasserzulaufschlauch an einen Kaltwasserhahn mit 3/4-Zoll-Gewinde an. Achten Sie auf dichte Verbindungen, um Leckagen zu vermeiden.
- Position the drain hose into a standpipe or over the edge of a sink, ensuring it is securely fastened to prevent dislodgement during draining.
4. Elektrische Verbindung
Stecken Sie das Netzkabel in eine geerdete Steckdose. Verwenden Sie keine Verlängerungskabel oder Adapter.
Bedienungsanleitung
1. Systemsteuerung überview
Das Bedienfeld verfügt über einen Programmwähler, ein digitales Display und verschiedene Funktionstasten zur individuellen Gestaltung Ihres Waschprogramms.
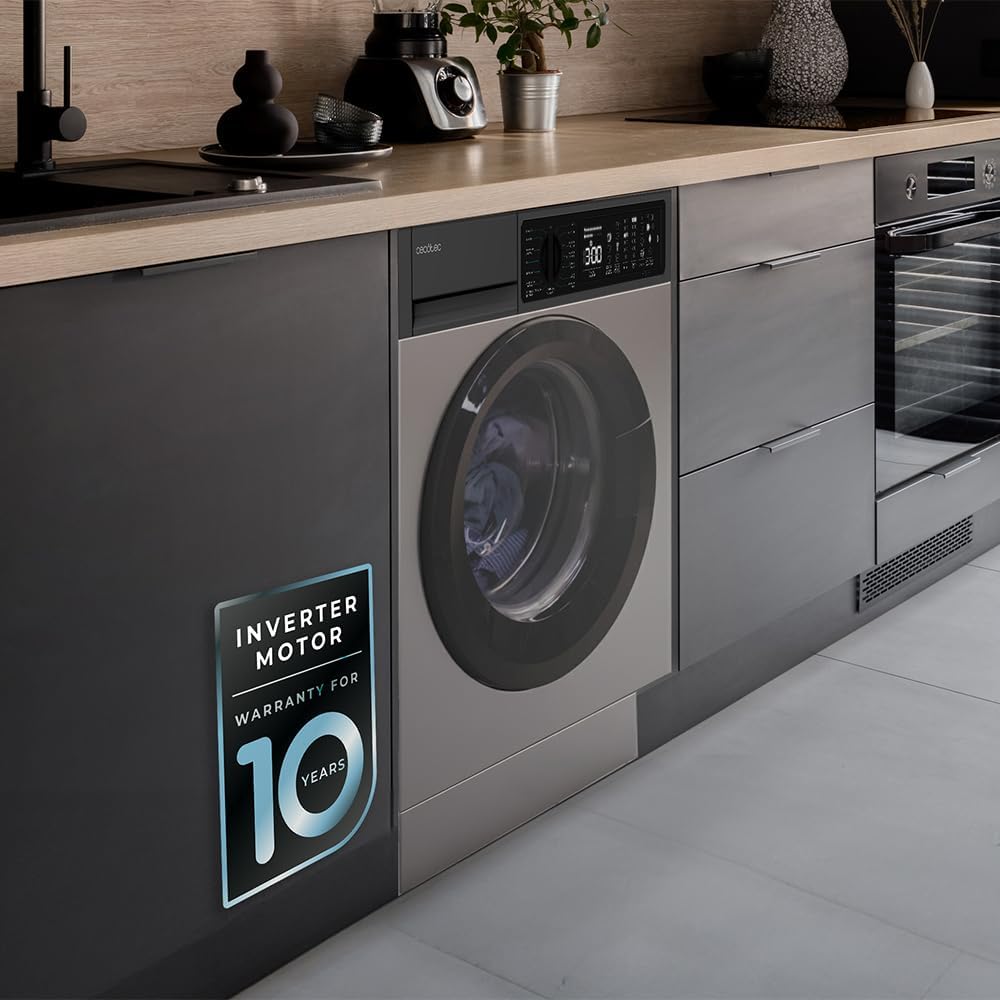
Abbildung 3: Ausführlich view of the control panel, showing the digital display, program options, temperature settings, and spin speeds.

Figure 4: The program selector dial allows you to choose from various wash cycles, including Jeans, Eco 40-60, Cotton, and specialized programs.
2. Wäsche einlegen
Open the washing machine door and load laundry, ensuring not to overload the drum. The maximum capacity for this model is 7 Kg. Distribute items evenly to prevent imbalance during spinning.

Figure 5: Prepare your laundry by sorting and placing it into the machine, ensuring the drum is not overfilled.
3. Zugabe von Waschmittel und Weichspüler
Pull out the detergent dispenser drawer. Add the appropriate amount of detergent to the main wash compartment and softener to the designated compartment. Close the drawer gently.
4. Program Selection and Customization
Turn the program selector dial to choose one of the 15 available programs. Use the function buttons to adjust settings such as temperature, spin speed, and activate special features.
- Verfügbare Programme: Jeans, Eco 40-60, Cotton, Cotton 20°C, Colors, Wool, Hand Wash, Spin/Drain, Anti-Allergy Care, Rinse, Express 15, Rapid 60', Dark/Wash, Mix, Sportswear.
- Temperaturkontrolle: Select from 20°C, 30°C, 40°C, 60°C, 90°C.
- Schleuderdrehzahl: Choose from 400, 600, 800, 1000, 1200 rpm.
5. Sonderfunktionen
- SteamMax: This program uses added steam to penetrate fabrics, sterilizing and eliminating odors.
- Stain Match Plus: Select the type of stain and its intensity level (up to 3 levels) for optimized stain removal.
- Allergieversorgung: Sterilizes laundry with steam at 99.9% before each wash, effective even in cold water, to remove germs and bacteria.
- Verzögerung beim Start: Program the machine to finish a cycle at a specific time, allowing you to plan your laundry around your schedule.
- Extraspülung: Adds an additional rinse cycle to ensure no detergent residue remains on clothes.
- Save+/Speed+: Options to either save energy (Save+) or reduce wash time (Speed+).

Figure 6: The Stain Match Plus feature targets specific stain types for effective cleaning.

Figure 7: The Allergy Care program ensures thorough sterilization, ideal for sensitive items like baby clothes.

Figure 8: Utilize Save+ for energy efficiency or Speed+ for quicker wash cycles, depending on your needs.
6. Starting and Ending a Cycle
Press the Start/Pause button to begin the selected wash cycle. The digital display will show the remaining time. Once the cycle is complete, the machine will signal, and the door will unlock. Remove your laundry promptly.

Figure 9: The SteamMax function in action, enveloping laundry in steam for deep cleaning and odor removal.
Wartung
1. Reinigung der Außenseite
Wischen Sie die Außenflächen mit einem weichen, damp Mit einem Tuch abwischen. Vermeiden Sie scheuernde Reiniger oder Lösungsmittel, die die Oberfläche beschädigen könnten.
2. Reinigung des Waschmittelspenders
Regularly remove and clean the detergent dispenser drawer to prevent residue buildup. Rinse it under running water and dry before reinserting.
3. Reinigung der Trommel
Führen Sie regelmäßig einen Wartungswaschgang durch (z. B. einen Heißwaschgang ohne Wäsche und mit einem Entkalkungsmittel), um die Trommel zu reinigen und Gerüche oder Rückstände zu entfernen.

Figure 10: The textured stainless steel drum interior is designed for effective washing and should be cleaned regularly.
4. Reinigung des Abflusssiebs
Locate the drain filter, usually at the bottom front of the machine. Open the cover, drain any residual water, and carefully remove and clean the filter of lint and debris. Reassemble securely.
Fehlerbehebung
Bevor Sie sich an den Kundendienst wenden, konsultieren Sie bitte die folgende Tabelle mit häufig auftretenden Problemen und deren Lösungen:
| Problem | Mögliche Ursache | Lösung |
|---|---|---|
| Maschine startet nicht | Kein Strom; Tür nicht geschlossen; Programm nicht ausgewählt. | Prüfen Sie die Stromverbindung; Stellen Sie sicher, dass die Tür verriegelt ist; Wählen Sie ein Programm aus und drücken Sie Start. |
| Wasser füllt sich nicht | Wasserhahn geschlossen; Zulaufschlauch geknickt; Wasserdruck zu niedrig. | Wasserhahn öffnen; Schlauch begradigen; Wasserdruck im Haushalt prüfen. |
| Wasser läuft nicht ab | Ablaufschlauch geknickt oder verstopft; Ablaufsieb verstopft. | Ablaufschlauch prüfen und reinigen; Ablaufsieb reinigen. |
| Übermäßige Vibration/Lärm | Transportsicherungen nicht entfernt; Maschine steht nicht waagerecht; ungleichmäßige Beladung. | Transportsicherungen entfernen; Nivellierfüße einstellen; Wäsche in der Trommel neu verteilen. |
| Waschmittelreste auf der Kleidung | Too much detergent; Detergent dispenser clogged; Insufficient rinse. | Reduce detergent amount; Clean dispenser; Select Extra Rinse option. |
Technische Daten
| Marke | Cecotec |
| Modellname | Bolero Dresscode 750 Bi Inverter Steel A |
| Modellnummer | 00129 |
| Typ | Integrated Front-Load Washing Machine |
| Kapazität | 7 Kg |
| Maximale Schleudergeschwindigkeit | 1200 U/min |
| Energieklasse | A |
| Anzahl der Programme | 15 |
| Besondere Merkmale | Inverter Motor, SteamMax, Stain Match Plus, Allergy Care, Delay Start, Extra Rinse, Auto Dose, High Efficiency, Temperature Control |
| Abmessungen (B x T x H) | 60 cm x 55 cm x 82 cm (ungefähr, basierend auf dem Produktbild) |
| Material | Stainless Steel (drum interior), Steel (exterior finish) |
| Geräuschpegel | 74 dB (vom Energielabel) |
| Energieaufnahme | 47 kWh / 100 cycles (from energy label) |
| Wasserverbrauch | 48 L / 100 cycles (from energy label) |

Figure 11: EU Energy Label for the Cecotec Bolero Dresscode Serie 50 Inverter A 7 Kg washing machine, indicating its energy efficiency and consumption details. For more details, visit the official EU EPREL database: https://eprel.ec.europa.eu/qr/2041690
Garantieinformationen
Dieses Produkt wird mit einem Standard 3 Jahr Garantie. The Inverter Motor specifically benefits from an extended 10 Jahr Garantie, reflecting its durability and advanced technology.

Figure 12: The Inverter Motor is highlighted with a 10-year warranty, ensuring long-term performance and reliability.
Please retain your proof of purchase for warranty claims. The warranty covers manufacturing defects under normal household use.
Kundenservice
For further assistance, technical support, or warranty inquiries, please contact Cecotec customer service. You can find contact information on the official Cecotec webWebsite oder über Ihren Händler.
If purchased via Amazon, you may also contact the seller directly: Offizieller Cecotec-Shop