Einführung
This user manual provides comprehensive instructions for the safe and effective use of your Scentsationals Honeycomb Capiz Wax Melt Warmer. This modern warmer is designed to fill your home with fragrance using scented wax melts, offering a flameless alternative to traditional candles. Please read this manual thoroughly before initial use and retain it for future reference.
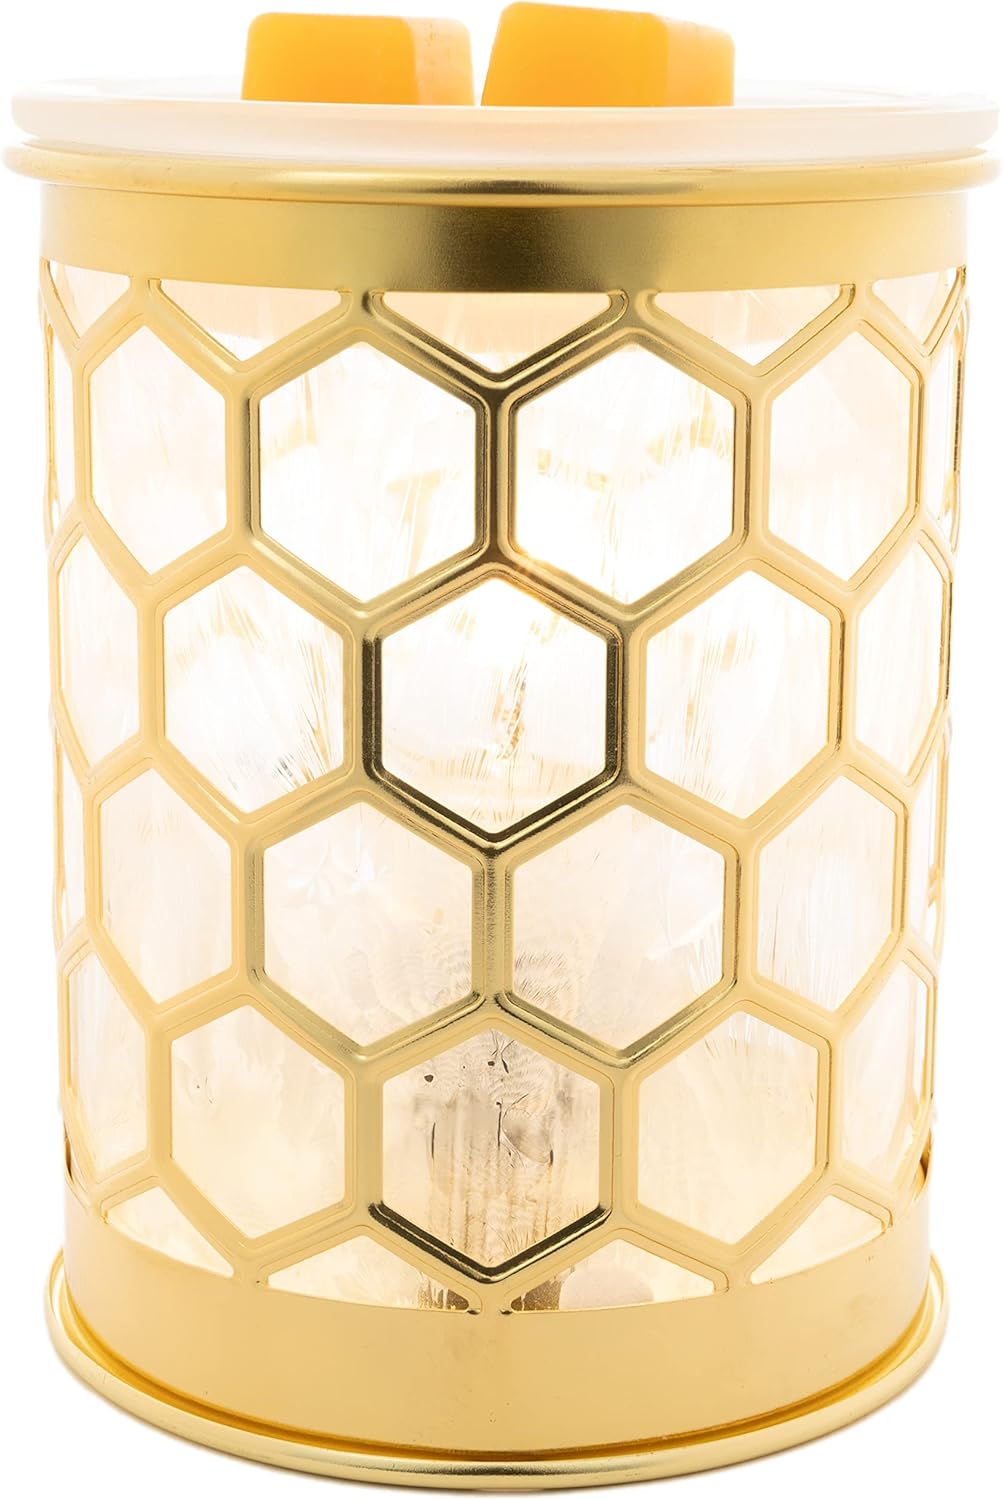
Image: Scentsationals Honeycomb Capiz Wax Melt Warmer
Wichtige Sicherheitsinformationen
WARNING: Please read all safety instructions before using this product. Failure to follow these instructions may result in electric shock, fire, or injury.
- Do not touch hot surfaces. The warmer and melted wax will become hot during operation.
- Unplug the warmer when not in use, before cleaning, or before changing the bulb.
- Außerhalb der Reichweite von Kindern und Haustieren aufbewahren.
- Place the warmer on a stable, level, heat-resistant, and non-flammable surface.
- Do not place the warmer near flammable materials, curtains, or drapes.
- Do not add water to the wax dish.
- Do not move the warmer while in operation or while wax is melted.
- Use only Scentsationals wax melts or similar approved fragrance cubes.
- Ensure the electrical cord is not pinched or damaged.
- Dieses Produkt ist nur für den Innenbereich bestimmt.
Packungsinhalt
Prüfen Sie, ob alle Teile vorhanden und unbeschädigt sind:
- Scentsationals Honeycomb Capiz Wax Melt Warmer Base
- Wachsschale
- 25W Light Bulb (for heat source)
Note: Scented wax cubes are sold separately.
Installationsanweisungen
- Unpack all components from the packaging and ensure they are intact.
- Place the warmer base on a flat, stable, and heat-resistant surface, away from any flammable objects.
- Carefully screw the included 25W light bulb into the bulb holder located inside the warmer base. Ensure it is securely tightened.
- Place the wax dish securely on top of the warmer base.
- Ensure the on/off switch located on the power cord is in the 'off' position.
- Stecken Sie das 5 Meter lange Netzkabel in eine normale Steckdose.

Image: Diagram of Wax Warmer Components
Bedienungsanleitung
- Place one or more Scentsationals scented wax cubes into the wax dish. Do not overfill the dish.
- Flip the on/off switch on the power cord to the 'on' position. The light bulb will illuminate, and the warmer will begin to heat the wax.
- The wax will melt, releasing fragrance into the room. The fast-heating plate quickly melts wax to release maximum aroma in minutes.
- To turn off the warmer, flip the on/off switch to the 'off' position. The light will turn off, and the wax will begin to solidify.
- Allow the warmer and wax to cool completely before handling or moving the unit.
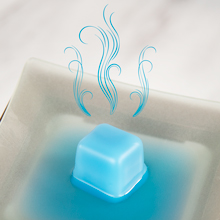
Image: Wax melting in dish
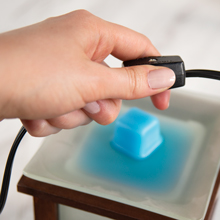
Image: Operating the On/Off Switch
Wartung und Reinigung
Regular cleaning ensures optimal performance and extends the life of your warmer.
- Vor der Reinigung muss der Wärmer immer vom Stromnetz getrennt und vollständig abgekühlt sein.
- To remove melted wax: Place cotton balls in the melted wax to soak it up, then wipe the dish clean with a soft cloth. Alternatively, allow the wax to cool and solidify completely. Once solid, slightly warm the wax for a few minutes until it loosens from the dish, then gently push the solidified wax out in one piece.
- Wipe the exterior of the warmer with a soft, damp Mit einem Tuch abwischen. Keine Scheuermittel, Lösungsmittel oder aggressive Chemikalien verwenden.
- Do not immerse the warmer base in water or any other liquid.
- Replace the light bulb only with a 25W bulb specifically designed for wax warmers. Using an incorrect bulb may damage the unit or pose a safety risk.
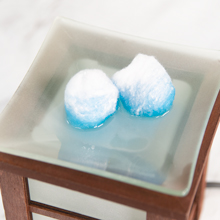
Image: Cleaning melted wax with cotton balls
Fehlerbehebung
| Problem | Mögliche Ursache/Lösung |
|---|---|
| Wärmer lässt sich nicht einschalten | Ensure the warmer is securely plugged into a working electrical outlet. Check that the on/off switch is in the 'on' position. Verify the light bulb is properly screwed in and not burnt out; replace if necessary. |
| No fragrance or weak fragrance | Ensure wax cubes are placed in the dish. Fragrance intensity can vary based on the type and age of the wax, as well as room size and ventilation. Try adding more wax cubes or using a different scent. Ensure the warmer has been on long enough for the wax to fully melt. |
| Das Licht ist zu hell | The warmer is designed to provide ambient light as part of its function. The brightness is a characteristic of the product. Consider placing it in an area where the light level is suitable for your preference, or use it as a decorative nightlight. |
Technische Daten
| Besonderheit | Detail |
|---|---|
| Marke | Duftstoffe |
| Modellname | Honeycomb Capiz Warmer |
| Stromquelle | Kabelgebundene Elektrik |
| Material | Glas, Metall |
| Wastage | 25 Watt |
| Artikelgewicht | 1.63 Pfund |
| Verpackungsabmessungen | 9.29 x 6.73 x 6.69 Zoll |
| UPC | 843283147464 |
| ASIN | B0BYF83MKD |
Garantie und Support
For product support, warranty information, or to inquire about replacement parts, please contact Scentsationals customer service. Refer to the product packaging or the official Scentsationals webDie aktuellsten Kontaktdaten finden Sie auf der Website.
Es wird empfohlen, den Kaufbeleg als Kaufnachweis für eventuelle Garantieansprüche aufzubewahren.
Besuchen Sie die Scentsationals Store on Amazon Für weitere Produkte und Informationen.