
Einführung
Vielen Dank für Ihren Einkauf.asing the Walfront Wooden LED Digital Alarm Clock. This manual provides comprehensive instructions to help you set up, operate, and maintain your new alarm clock. Please read this guide thoroughly before use to ensure proper functionality and longevity of the product.
Produkt überview und Hauptmerkmale
The Walfront Wooden LED Digital Alarm Clock combines functionality with a sleek, natural design. Its wooden and ABS material construction ensures durability and a pleasant aesthetic. The clock features a clear LED display and several convenient functions.

Image: The Walfront Wooden LED Digital Alarm Clock, showcasing its digital display for time, date, and day of the week.
Merkmale:
- Langlebiges Material: Constructed from wood and ABS material, providing a textured, durable, and long-lasting design.
- LED-Digitalanzeige: Features a clear LED light digital display that illuminates through the smoothed wooden surface, visible even in low light.
- Sprachsteuerungsfunktion: Activates the display to show time, date, and day of the week simultaneously upon detecting sound.
- Zeitformatoptionen: Supports both 12-hour and 24-hour time systems.
- Einstellbare Helligkeit: Offers three levels of brightness adjustment for comfortable viewbei unterschiedlichen Lichtverhältnissen.
- Mehrere Alarme: Includes three independent alarm functions.
- Weekday Alarm Setting: Option to set alarms to activate only on weekdays.
Installationshandbuch
Einschalten des Geräts:
The Walfront Digital Alarm Clock can be powered in two ways:
- USB-Datenkabel: Connect the provided USB data cable to the DC 5V port on the back of the clock and plug the other end into a compatible USB power adapter (not included) or a USB port.
- AAA-Batterien: For portable use or as a backup, insert four (4) AAA batteries (not included) into the battery compartment located on the back of the clock. Ensure correct polarity.
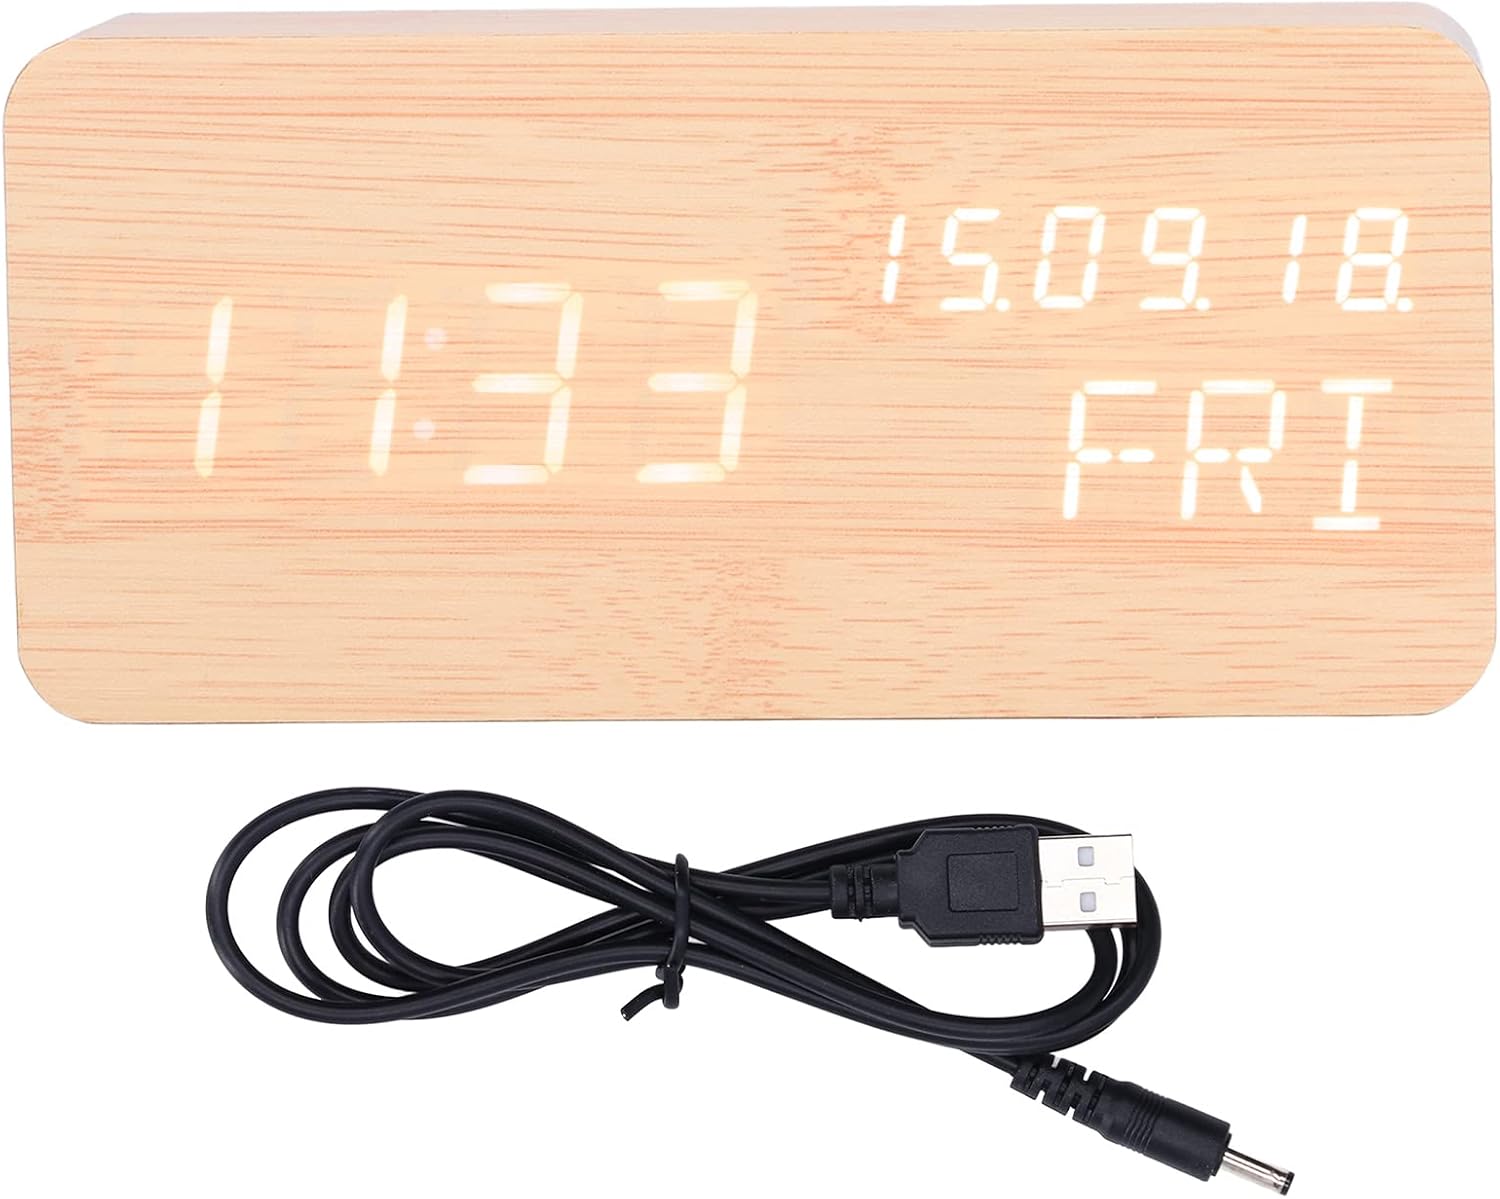
Image: The USB power cable used to power the alarm clock.

Bild: Rückseite view of the alarm clock, highlighting the battery compartment and control buttons (SET, UP, DOWN).
Bedienungsanleitung
Die Uhr verfügt über drei Bedienknöpfe auf der Rückseite: SATZ, UP, Und RUNTER.
Uhrzeit und Datum einstellen:
- Halten Sie die SATZ button to enter time setting mode. The display will flash.
- Verwenden Sie die UP Und RUNTER Tasten zum Einstellen der Stunde. Drücken SATZ Zur Bestätigung und zum Minutenprotokoll wechseln.
- Stellen Sie die Minuten mit ein UP/RUNTERund drücken Sie dann SATZ zur Bestätigung.
- Setzen Sie diesen Vorgang fort, um Jahr, Monat und Tag einzustellen.
- After setting the date, you can select 12-hour or 24-hour format using UP/RUNTERund drücken Sie dann SATZ.

Image: Two Walfront alarm clocks, demonstrating the display of time, date, and day of the week.
Alarme einstellen:
The clock supports three independent alarms (AL1, AL2, AL3).
- Drücken Sie im normalen Zeitanzeigemodus die Taste SATZ button repeatedly to cycle through AL1, AL2, AL3 settings.
- When an alarm (e.g., AL1) is displayed, press and hold SATZ to enter its setting mode.
- Verwenden UP/RUNTER to adjust the alarm hour, then press SATZ.
- Adjust alarm minutes with UP/RUNTERund drücken Sie dann SATZ.
- You can then choose to enable/disable the alarm or set it for weekdays only (indicated by 'ON E' for weekday alarm). Use UP/RUNTER zur Auswahl, und drücken Sie dann SATZ zur Bestätigung.
- Wiederholen Sie den Vorgang gegebenenfalls für AL2 und AL3.
Helligkeitsanpassung:
Die Uhr bietet drei Helligkeitsstufen. Im normalen Zeitanzeigemodus drücken Sie die Taste UP button to cycle through the brightness levels (L1, L2, L3, where L3 is brightest).
Sprachsteuerungsfunktion:
To activate the voice control function, ensure the clock is in power-saving mode (display off). A sound (e.g., clap, tap) will temporarily illuminate the display to show the time, date, and day of the week.

Image: The alarm clock displaying the current temperature in Celsius, alongside the date and day.
Wartung
- Reinigung: Use a soft, dry cloth to wipe the surface of the clock. Avoid using abrasive cleaners or solvents, which may damage the wooden finish or display.
- Platzierung: Place the clock on a stable, flat surface. Avoid direct sunlight, high temperatures, or high humidity, which can affect the wood and electronic components.
- Batteriewechsel: If using batteries, replace all four AAA batteries simultaneously when the display dims or functions become erratic. Do not mix old and new batteries.
- Energiequelle: When not in use for extended periods, disconnect the USB power cable and remove batteries to prevent leakage.
Fehlerbehebung
| Problem | Mögliche Ursache | Lösung |
|---|---|---|
| Das Display ist dunkel oder nicht sichtbar. | Niedriger Batteriestand oder zu geringe Helligkeitseinstellung. | Replace batteries or connect via USB. Press UP to adjust brightness level. |
| Clock not responding to voice control. | Voice control feature might be off or ambient noise is too low. | Ensure the clock is in power-saving mode (display off). Make a louder sound to activate. |
| Der Alarm ertönt nicht. | Alarm is not set or is set for weekdays only and it's a weekend. | Check alarm settings (AL1, AL2, AL3) and ensure they are enabled for the desired days. |
| Falsche Uhrzeit oder falsches Datum angezeigt. | Time/date was not set correctly or power interruption. | Re-enter time and date settings as per "Setting Time and Date" instructions. |
Produktspezifikationen
| Besonderheit | Detail |
|---|---|
| Artikeltyp | Wecker |
| Material | Wood, ABS |
| Produktgröße | Approx. 150 x 40 x 70 mm / 5.9 x 1.6 x 2.8 inches |
| Artikelgewicht | 9.2 Unzen |
| Stromversorgung | USB data cable (DC 5V), 4 x AAA batteries (not included) |
| Anzeigefunktionen | Time, Date, Week, Temperature (Celsius/Fahrenheit) |
| Zeitsystem | 12/24-Stunden-System |
| Helligkeitsstufen | 3 Stufen einstellbar |
| Alarmfunktionen | 3 sets of alarms, Weekday alarm option |
| Besondere Merkmale | Sprachsteuerungsfunktion |
| Modellnummer | WALFRONT73dgi05csv |
Garantie und Support
For warranty information or technical support, please refer to the retailer's return policy or contact Walfront customer service directly. Keep your purchase receipt as proof of purchase.