1. Einleitung
Thank you for choosing the COUGAR MX360 RGB Mid Tower Case. This manual provides essential information for the proper installation, operation, and maintenance of your new PC case. The MX360 RGB combines a sleek design with ARGB LED strips on the front panel, offering excellent cooling performance and support for a wide range of components, including up to a 360mm radiator, 315mm graphics cards, and 170mm CPU coolers. Its compact layout and full-length PSU shroud contribute to a clean and organized build.
2. Sicherheitshinweise
- Vor dem Einbau oder Ausbau von Bauteilen muss immer die Stromversorgung von der Steckdose getrennt werden.
- Handle components with care to avoid damage from static electricity. Consider using an anti-static wrist strap.
- Kleinteile und Schrauben von Kindern fernhalten.
- Sorgen Sie für ausreichende Belüftung rund um das Gehäuse, um eine Überhitzung zu vermeiden.
- Versuchen Sie nicht, das Gehäuse oder seine Komponenten zu verändern, da dies zum Verlust der Garantie und zu Sicherheitsrisiken führen kann.
3. Packungsinhalt
Bitte überprüfen Sie, ob alle folgenden Artikel in Ihrem Paket enthalten sind:
- COUGAR MX360 RGB Mid-Tower-Gehäuse
- Zubehörbox (mit Schrauben, Abstandshaltern, Kabelbindern usw.)
- Benutzerhandbuch (dieses Dokument)
4. Produktüberschreitungview
The COUGAR MX360 RGB case features a minimalist design with integrated ARGB lighting and a tempered glass side panel for showcasing your build.

Abbildung 4.1: Vorderseite view of the COUGAR MX360 RGB case, showing the interior and active RGB lighting.
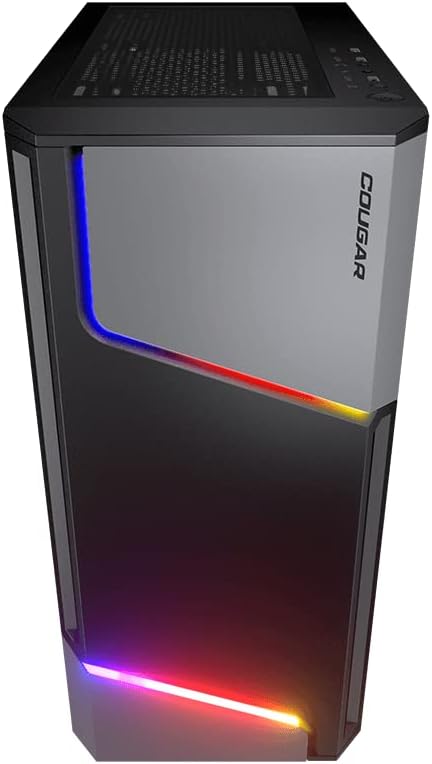
Abbildung 4.2: Vorderseite view of the COUGAR MX360 RGB case, highlighting the integrated ARGB LED strips.
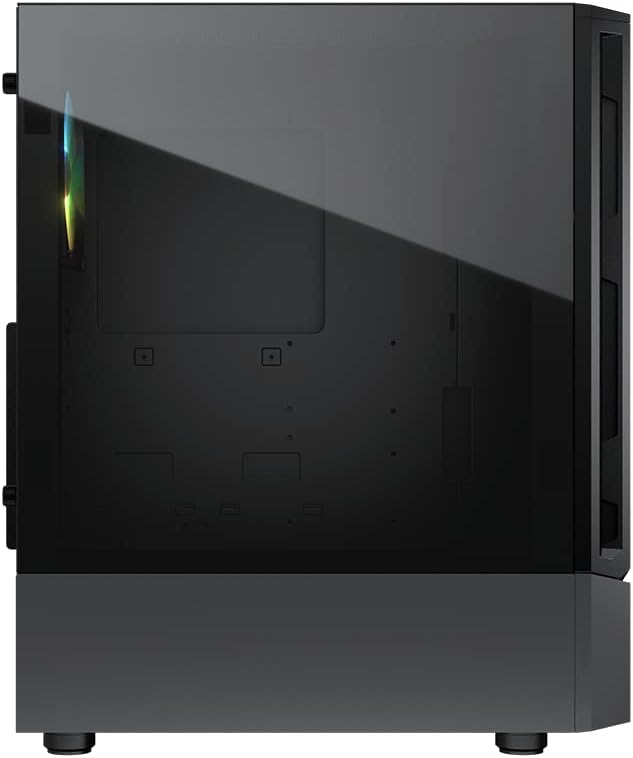
Abbildung 4.3: Seite view of the COUGAR MX360 RGB case, featuring the tempered glass panel.

Abbildung 4.4: Schräge Frontansicht view of the COUGAR MX360 RGB case, showcasing its design and ARGB elements.
5. Einrichtung und Installation
Follow these steps to install your components into the COUGAR MX360 RGB case.
5.1 Vorbereitung des Falls
- Stellen Sie das Gehäuse auf eine ebene, stabile Oberfläche.
- Remove the tempered glass side panel by unscrewing the thumb screws at the rear of the case and carefully sliding the panel off.
- Remove the opposite metal side panel by unscrewing the thumb screws and sliding it off.
5.2 Motherboard-Installation
- Installieren Sie die I/O-Blende (falls diese nicht bereits auf Ihrem Motherboard vorinstalliert ist) in die hintere Öffnung des Gehäuses.
- Ensure the correct standoffs are installed for your motherboard form factor (ATX, Micro-ATX, Mini-ITX). Adjust or add standoffs as needed.
- Setzen Sie das Motherboard vorsichtig auf die Abstandshalter und achten Sie dabei auf die Ausrichtung der Schraubenlöcher.
- Befestigen Sie das Motherboard mit den mitgelieferten Schrauben.
5.3 Installation des Netzteils (PSU)
- Locate the PSU shroud at the bottom of the case.
- Slide your PSU into the designated compartment from the rear of the case.
- Befestigen Sie das Netzteil mit Schrauben von der Rückseite des Gehäuses.
- Route necessary cables through the cutouts in the PSU shroud for cable management.
5.4 Installation des Speicherlaufwerks
The MX360 RGB supports various storage configurations.
- 3.5"-Festplatten: Install into the drive cage located under the PSU shroud.
- 2.5"-SSDs/HDDs: Mount onto the dedicated trays or mounting points behind the motherboard tray.
5.5 Installation der Grafikkarte (GPU)
- Entfernen Sie die erforderlichen PCIe-Steckplatzabdeckungen von der Rückseite des Gehäuses.
- Stecken Sie Ihre Grafikkarte in den entsprechenden PCIe-Steckplatz auf dem Motherboard.
- Secure the graphics card with screws. The case supports graphics cards up to 315mm in length.
5.6 Cooling System Installation (Fans/Radiators)
The case supports up to six fans and a 360mm water cooling radiator.
- Front: Supports up to 3 x 120mm or 2 x 140mm fans, or a 240/280/360mm radiator.
- Spitze: Supports up to 2 x 120mm or 2 x 140mm fans, or a 240/280mm radiator.
- Hinteren: Unterstützt 1 x 120-mm-Lüfter.
Install fans or radiators using the provided screws, ensuring proper airflow direction.
5.7 Anschlüsse an der Vorderseite
Connect the front panel cables (USB, Audio, Power, Reset, LED) to their corresponding headers on your motherboard. Refer to your motherboard manual for exact header locations.
5.8 ARGB Lighting Connection
The integrated ARGB LED strips on the front panel connect via a 5V/3Pin ARGB connector. Connect this cable to a compatible 5V/3Pin ARGB header on your motherboard to synchronize lighting effects with your system.
6. Bedienung des Gehäuses
Once all components are installed and connected, replace the side panels. Power on your system using the power button on the top I/O panel. The ARGB lighting will illuminate, controlled by your motherboard's software or a dedicated ARGB controller if you have one installed.
7. Wartung
Regelmäßige Wartung trägt dazu bei, die optimale Leistung und Langlebigkeit Ihrer PC-Komponenten zu gewährleisten.
- Staubfilter: The MX360 RGB includes removable dust filters (e.g., top, bottom). Periodically remove and clean these filters with compressed air or water (ensure they are completely dry before reinstallation).
- Innenreinigung: Use compressed air to remove dust from internal components like fans, heatsinks, and the motherboard.
- Außenreinigung: Wischen Sie die Außenflächen mit einem weichen, damp Tuch. Scheuermittel vermeiden.
8. Fehlerbehebung
Sollten Probleme auftreten, beachten Sie bitte die folgenden gängigen Schritte zur Fehlerbehebung:
- Kein Strom: Ensure all power cables (24-pin ATX, 8-pin CPU, GPU power) are securely connected. Check the PSU switch is in the 'ON' position. Verify front panel power button connection to the motherboard.
- ARGB-Beleuchtung funktioniert nicht: Confirm the 5V/3Pin ARGB connector is correctly plugged into a compatible motherboard header. Check your motherboard's RGB software for control settings.
- Überhitzung: Ensure all case fans are spinning and oriented correctly for optimal airflow. Check for dust buildup on filters and components. Verify CPU cooler and GPU cooler are properly installed.
- Lose Verbindungen: Re-seat all components (RAM, GPU, storage drives) and check all power and data cables.
9. Spezifikationen
| Besonderheit | Spezifikation |
|---|---|
| Marke | PUMA |
| Modellname | MX360RGB |
| Artikelmodellnummer | CGR-5CC6G-RGB |
| Gehäusetyp | Mittlerer Turm |
| Abmessungen (LxBxH) | 14.88 x 8.27 x 18.11 Zoll (378 x 210 x 460 mm) |
| Artikelgewicht | 10.56 Pfund (4.8 Kilogramm) |
| Material | Tempered Glass, Fine Metal |
| Farbe | Schwarz |
| Motherboard-Unterstützung | Mini-ITX / Micro-ATX / ATX |
| max. Grafikkartenlänge | 315 mm |
| max. Höhe des CPU-Kühlers | 170 mm |
| Netzteilunterstützung | Standard-ATX-PS2 |
| Kühlmethode | Luft Wasser |
| Kühlerhalterung | Front: 360mm / 280mm / 240mm / 140mm / 120mm Oben: 280 mm / 240 mm / 140 mm / 120 mm Hinten: 120mm |
| Fan-Unterstützung | Vorderseite: 3 x 120 mm / 2 x 140 mm Oberseite: 2 x 120 mm / 2 x 140 mm Hinten: 1 x 120 mm |
| Laufwerksschächte | 3.5" HDD: 2 2.5" SSD: 2+2 (converted from 3.5" drive bays) |
| E/A-Bedienfeld | USB 3.0 x 2, USB 2.0 x 1, Mic x 1, Audio x 1, RGB Button |
| Besonderheit | ARGB LED Strips, Full-length PSU Cover for Cable Hiding and Improved Airflow |
10. Garantie und Support
COUGAR products are designed and manufactured to the highest quality standards. For warranty information, please refer to the warranty card included with your product or visit the official COUGAR webBewahren Sie Ihren Kaufbeleg für Garantieansprüche auf.
For technical support or further assistance, please visit the official COUGAR webSie können die Website besuchen oder sich an deren Kundendienst wenden. Weitere Informationen und Ressourcen finden Sie auf der Website. COUGAR Store on Amazon.