
1. Produktüberschreitungview
The GMBACK Wireless Switch 2 Pro Controller is a versatile gaming controller designed for a wide range of platforms, including Nintendo Switch 2/Switch/Lite/OLED, Apple devices (iPhone, iPad, Mac, TV, Apple Arcade MFi Games), Android devices (phone, tablet, Android TV, TV boxes), PC/Laptop (Windows 7/8/9/10/11), and Steam. It features advanced functionalities such as programmable buttons, 6-axis gyro motion control, adjustable vibration, turbo modes, and customizable RGB lighting to enhance your gaming experience.

Bild: Vorderseite view of the GMBACK Wireless Switch 2 Pro Controller, showcasing sein ergonomisches Design und die beleuchteten Joysticks.
2. Packungsinhalt
Bitte überprüfen Sie nach dem Auspacken den Packungsinhalt, um sicherzustellen, dass alle Artikel vorhanden sind:
- GMBACK Wireless Switch 2 Pro Controller
- USB-Ladekabel
- Benutzerhandbuch (dieses Dokument)
3. Einrichtung und Verbindung
3.1 Weitgehende Kompatibilität
The controller supports a broad range of devices. Ensure your device's Bluetooth is enabled before attempting to pair.
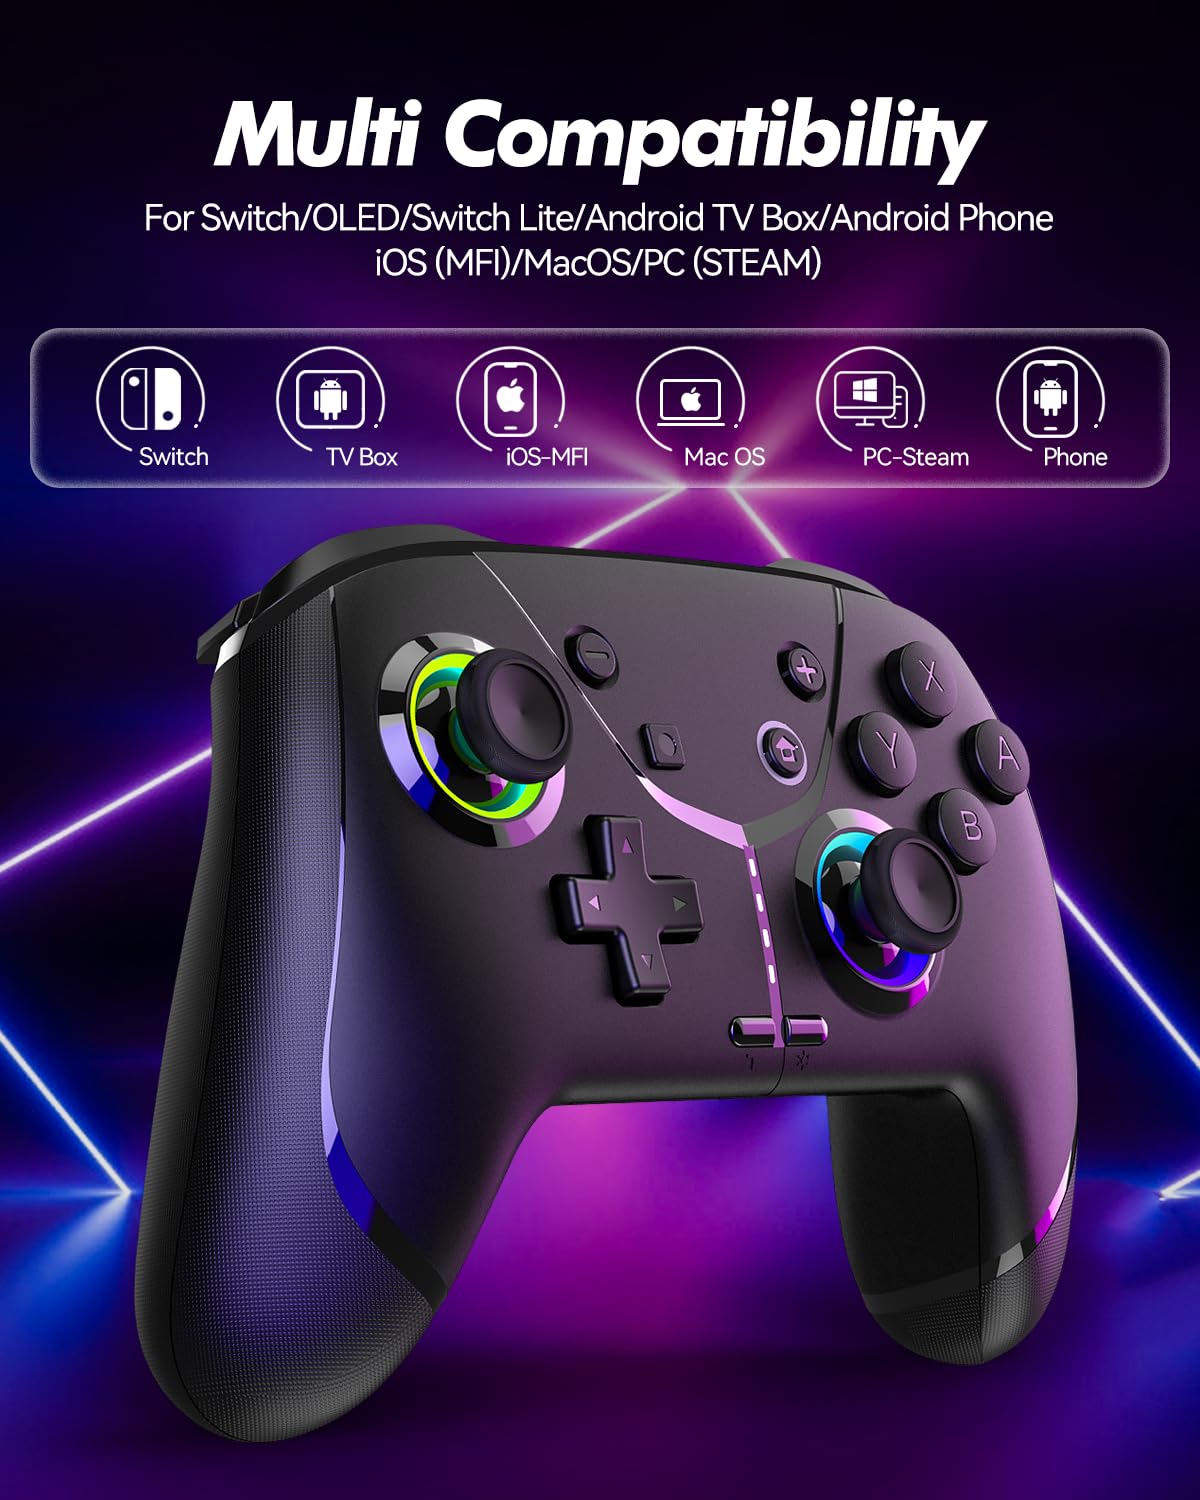
Image: Diagram illustrating the controller's compatibility with Nintendo Switch, TV Box, iOS-MFi, Mac OS, PC-Steam, and Phone devices.
3.2 Bluetooth-Verbindung
So koppeln Sie den Controller via Bluetooth:
- Stellen Sie sicher, dass der Controller ausreichend geladen ist.
- Schalten Sie den Controller durch Drücken der Home-Taste ein.
- Activate Bluetooth pairing mode on the controller (refer to specific device pairing instructions below).
- On your device (Switch, phone, PC), go to Bluetooth settings and search for new devices.
- Select "Pro Controller" or similar from the list to connect.
- Once connected, the indicator lights on the controller will stabilize.
3.3 Kabelverbindung
For PC or other compatible devices, you can connect the controller directly using the provided USB cable. This will typically allow for plug-and-play functionality without requiring Bluetooth pairing.
4. Bedienungsanleitung
4.1 Programmable Buttons (AR/AL)
The controller features two programmable buttons (AR and AL) on the back. These can be mapped to single buttons or record a sequence of up to 30 seconds of gaming operations.
- Mapping Single Buttons: Press the Program button, then the button you wish to map (e.g., A, B, X, Y, L, R, ZL, ZR, Left Joystick, Right Joystick, D-pad, +,-), then press AR or AL.
- Aufzeichnung von Makros: Press the Program button, then perform the sequence of actions you wish to record. Press AR or AL again to save the macro.

Bild: Nahaufnahme view of the controller's underside, highlighting the AR and AL programmable buttons and their mapping capabilities.
4.2 Motion Controls (6-Axis Gyro Sensor)
The built-in 6-axis gyro sensor allows for precise motion control in compatible games on Switch, mobile phones, PC, and TV. This feature enables intuitive aiming and movement based on the controller's orientation.

Image: Illustration of the 6-axis gyro sensor functionality, showing a user holding the controller with motion lines indicating active control in a racing game.
4.3 Einstellbare Vibration
The asymmetric dual motors provide four adjustable vibration intensities (100%, 70%, 50%, 0%) for an immersive gaming experience. Adjust the vibration level to your preference through the controller's settings or specific button combinations (refer to the quick start guide for details).

Image: Visual representation of the dual vibration feature with intensity levels (None, Weak, Medium, Strong) and the auto/manual turbo function.
4.4 Turbo Modes
The controller offers both auto and manual turbo modes with three adjustable speeds (5, 10, or 15 shots per second). This feature allows for rapid, continuous input of a button press, useful in fast-paced games.
- Manueller Turbo: Press the Turbo button and the desired action button simultaneously.
- Auto-Turbo: Press the Turbo button and the action button twice.
- Geschwindigkeit anpassen: While in Turbo mode, press the Turbo button and move the right joystick up or down to cycle through speeds.
4.5 ABXY Function Switching
Easily switch between Nintendo Switch (A/B/X/Y) and Xbox (Y/X/B/A) button layouts without physically removing buttons. This ensures compatibility and comfort across different gaming platforms.

Image: Depiction of the ABXY button layout switching feature, showing the buttons rotating to indicate the change between Nintendo and Xbox configurations.
4.6 Wake-Up Function and RGB Light
The controller supports a wake-up function for connected devices (e.g., Nintendo Switch). It also features cool RGB lighting around the joysticks, which can be customized or turned off to suit your preference.

Image: The controller with illuminated RGB lights around the joysticks, indicating the "Wake Up & Cool LED Light" feature.
4.7 Screenshot-Funktion
A dedicated screenshot button allows you to capture in-game moments instantly on compatible platforms.
5. Laden und Akkulaufzeit
The controller is equipped with a built-in 800 mAh rechargeable battery, providing approximately 15-20 hours of gameplay on a full charge. Charging time is typically around 3 hours.
- Connect the controller to a USB power source (e.g., console, PC, USB wall adapter) using the provided USB charging cable.
- Die Kontrollleuchten zeigen den Ladestatus an und schalten sich aus oder ändern die Farbe, wenn der Akku vollständig geladen ist.

Image: Illustration highlighting the controller's ergonomic design and battery specifications: 800mAh Lithium Battery, 3H Charging Time, and 15-20H Playing Time.
6. Wartung
To ensure the longevity and optimal performance of your GMBACK Wireless Switch 2 Pro Controller:
- Reinigen Sie den Controller mit einem weichen, trockenen Tuch. Vermeiden Sie die Verwendung von scharfen Chemikalien oder scheuernden Materialien.
- Bewahren Sie den Controller an einem kühlen, trockenen Ort fern von direkter Sonneneinstrahlung und extremen Temperaturen auf.
- Vermeiden Sie es, den Controller fallen zu lassen oder starken Stößen auszusetzen.
- Versuchen Sie nicht, den Controller zu zerlegen oder zu verändern, da dies zum Erlöschen der Garantie führt.
- Laden Sie den Controller regelmäßig auf, auch wenn er nicht häufig benutzt wird, um die Batterieleistung zu erhalten.
7. Fehlerbehebung
| Problem | Mögliche Ursache | Lösung |
|---|---|---|
| Der Controller lässt sich nicht einschalten. | Schwache Batterie. | Laden Sie den Controller mindestens 3 Stunden lang auf. |
| Kopplung via Bluetooth nicht möglich. | Controller nicht im Kopplungsmodus; Bluetooth-Störungen; Bluetooth am Gerät deaktiviert. | Ensure controller is in pairing mode. Turn off and on device Bluetooth. Move closer to the device. Try wired connection. |
| Eingabeverzögerung oder Verbindungsabbruch. | Niedriger Batteriestand; zu große Entfernung zum Gerät; Funkstörungen. | Laderegler. Näher an das Gerät herangehen. Störungen durch andere drahtlose Geräte reduzieren. |
| Tasten/Joysticks reagieren nicht. | Softwarefehler; physischer Schaden. | Restart the controller and the connected device. If problem persists, contact customer support. |
| Vibration funktioniert nicht. | Vibrationsintensität auf 0 % eingestellt; das Spiel unterstützt keine Vibration. | Adjust vibration intensity. Check game settings. |
8. Spezifikationen
- Modell: 6-Achsen-Gyrosensor
- Konnektivität: Bluetooth
- Kompatibilität: Nintendo Switch 2/Switch/Lite/OLED, Apple (iPhone, iPad, Mac, TV, MFi Games), Android (phone, tablet, TV), PC (Windows 7/8/9/10/11), Steam
- Batterie: 800 mAh Lithiumbatterie
- Ladezeit: Ca. 3 Stunden
- Spielzeit: 15-20 Stunden
- Merkmale: Programmable Buttons, 6-Axis Gyro, Adjustable Vibration, Turbo Modes, ABXY Function Switching, Wake-up, RGB Light, Screenshot
- Artikelgewicht: 11.3 Unzen
- Paketabmessungen: 6.61 x 5.2 x 2.76 Zoll
- Hersteller: GMBACK
9. Garantie und Support
GMBACK is committed to providing high-quality products and excellent customer service. For any issues or inquiries regarding your controller, please refer to the following:
- Garantieinformationen: Please retain your proof of purchase for warranty claims. Specific warranty terms may vary; refer to the product packaging or contact GMBACK customer support for details.
- Kundendienst: For technical assistance, troubleshooting, or warranty service, please contact GMBACK customer support through the retailer where you purchased the product or visit the official GMBACK store on Amazon: GMBACK Store.
- Online-Benutzerhandbuch: Eine PDF-Version des Benutzerhandbuchs steht möglicherweise zum Download bereit unter https://manuals.plus/m/56f01544f3b9d5425429644adc4053f7681b5d3717aa40f944cdb0f9bfccf36b.