
Sicherheitshinweise
Please read and understand all safety information before operating this multimeter. Failure to follow these instructions may result in electric shock, fire, or personal injury. Keep this manual for future reference.
- Vor Gebrauch stets sicherstellen, dass das Multimeter einwandfrei funktioniert.
- Nicht anwenden voltage oder Strom, der die für das Multimeter festgelegten maximalen Grenzwerte überschreitet.
- Seien Sie vorsichtig beim Arbeiten mit VolumentagEs liegt über 30 V AC RMS, 42 V Spitze oder 60 V DC. Diese SpannungentagEs besteht die Gefahr eines Stromschlags.
- Ensure test leads are properly connected and in good condition. Replace damaged leads immediately.
- Das Multimeter darf nicht in explosionsgefährdeten Bereichen mit Gasen, Dämpfen oder Staub betrieben werden.
- Vor der Messung von Widerstand, Kapazität oder Durchgang muss die Stromzufuhr zum zu prüfenden Stromkreis stets unterbrochen werden.
- Do not attempt to repair or modify the multimeter. Refer servicing to qualified personnel.
Produkt überview
The BSIDE A2X is a compact, rechargeable digital multimeter designed for various electrical measurements. It features a color LCD display, smart mode for automatic measurement, and a built-in flashlight for convenience.
Hauptmerkmale:
- Smart-Modus: Automatically detects and measures AC/DC voltage, Widerstand und Kontinuität.
- Automatisch Amp Test Activation: Automatically switches to AC/DC ampere test mode when test leads are plugged into the amp Hafen.
- Farb-LCD-Display: Verbessert die Lesbarkeit unter verschiedenen Lichtverhältnissen.
- Wiederaufladbarer Akku: Integrated rechargeable Li-ion battery with USB charging.
- VFC-Funktion: Misst AC-Voltage with variable frequency drives for accurate readings.
- Zusätzliche Funktionen: Capacitance, Diode, Frequency, V-Alert (Non-Contact Voltage), Live Wire Check, Environmental Temperature.
- Eingebaute Taschenlampe: Für bessere Sichtbarkeit in dunklen Umgebungen.
Aufstellen
1. Aufladen des Multimeters
The BSIDE A2X multimeter comes with a built-in rechargeable Li-ion battery. Before first use, fully charge the device.
- Connect the provided charging cable to the multimeter's charging port.
- Verbinden Sie das andere Ende des Ladekabels mit einem Standard-USB-Netzteil (nicht im Lieferumfang enthalten) oder einem USB-Anschluss Ihres Computers.
- Die Ladeanzeige leuchtet während des Ladevorgangs und erlischt, sobald der Akku vollständig geladen ist.

Image: The multimeter being charged via a USB cable, highlighting its rechargeable battery.
2. Messleitungen anschließen
Properly connect the test leads to the multimeter before taking any measurements.
- Insert the red test lead into the "V/Ω/mA" input jack.
- Stecken Sie die schwarze Messleitung in die "COM" (gemeinsame) Eingangsbuchse.

Image: The BSIDE A2X multimeter with its accessories, including test leads, charging cable, and carrying case.
Bedienungsanleitung
The BSIDE A2X features a smart mode for automatic detection of common measurements, as well as manual selection for specific functions.

Image: The multimeter's color LCD display showing various measurement functions and auto mode selection.
1. Ein-/Ausschalten
Halten Sie die Einschalttaste (⏻) to turn the multimeter on or off.
2. Intelligenter Modus (AUTO)
In Smart Mode, the multimeter automatically identifies and measures AC/DC voltage, resistance, and continuity. This is the default mode upon power-on.

Image: The multimeter's display highlighting the auto mode selection capability for various measurements.
3. Manuelle Funktionsauswahl
Press the "AUTO SEL" button to cycle through different measurement functions manually. The selected function will be indicated on the display.
- Bandtage Messung (AC/DC): Connect test leads in parallel to the circuit. Select AC or DC voltage mode if not in Smart Mode.
- Strommessung (AC/DC): To measure current, plug the red test lead into the "mA" input jack. The multimeter will automatically activate the current test function. Connect the multimeter in series with the circuit. Caution: Do not measure current on circuits with voltage über 600V.

Image: The multimeter demonstrating automatic amp test activation when leads are connected for current measurement.
- Widerstandsmessung (Ω): Stellen Sie sicher, dass der Stromkreis spannungsfrei ist. Schließen Sie die Messleitungen an das Bauteil an.
- Kapazitätsmessung: Stellen Sie sicher, dass der Kondensator vor dem Test entladen ist. Schließen Sie die Messleitungen an die Kondensatoranschlüsse an.
- Diodentest: Ensure the circuit is de-energized. Connect the red lead to the anode and the black lead to the cathode.
- Durchgangsprüfung: Ensure the circuit is de-energized. Connect test leads across the circuit path. A beeper sounds if resistance is less than 50Ω.
- Frequenzmessung (Hz): Schließen Sie die Testleitungen an die Signalquelle an.
- VFC-Funktion: Zur Messung von AC-Voltage with variable frequency drives. Select VFC mode manually.
- V-Alert (NCV - Non-Contact Voltage): Hold the top of the multimeter near a live conductor. The device will indicate the presence of AC voltage ohne direkten Kontakt.
- Prüfung stromführender Leitungen: Use the red test lead to touch the suspected live wire. The display will indicate "LIVE" if voltage wird erkannt.
- Umgebungstemperatur: The multimeter can display the ambient temperature.
4. Taschenlampe
Press the flashlight button to turn the built-in LED flashlight on or off. This is useful for working in dimly lit areas.
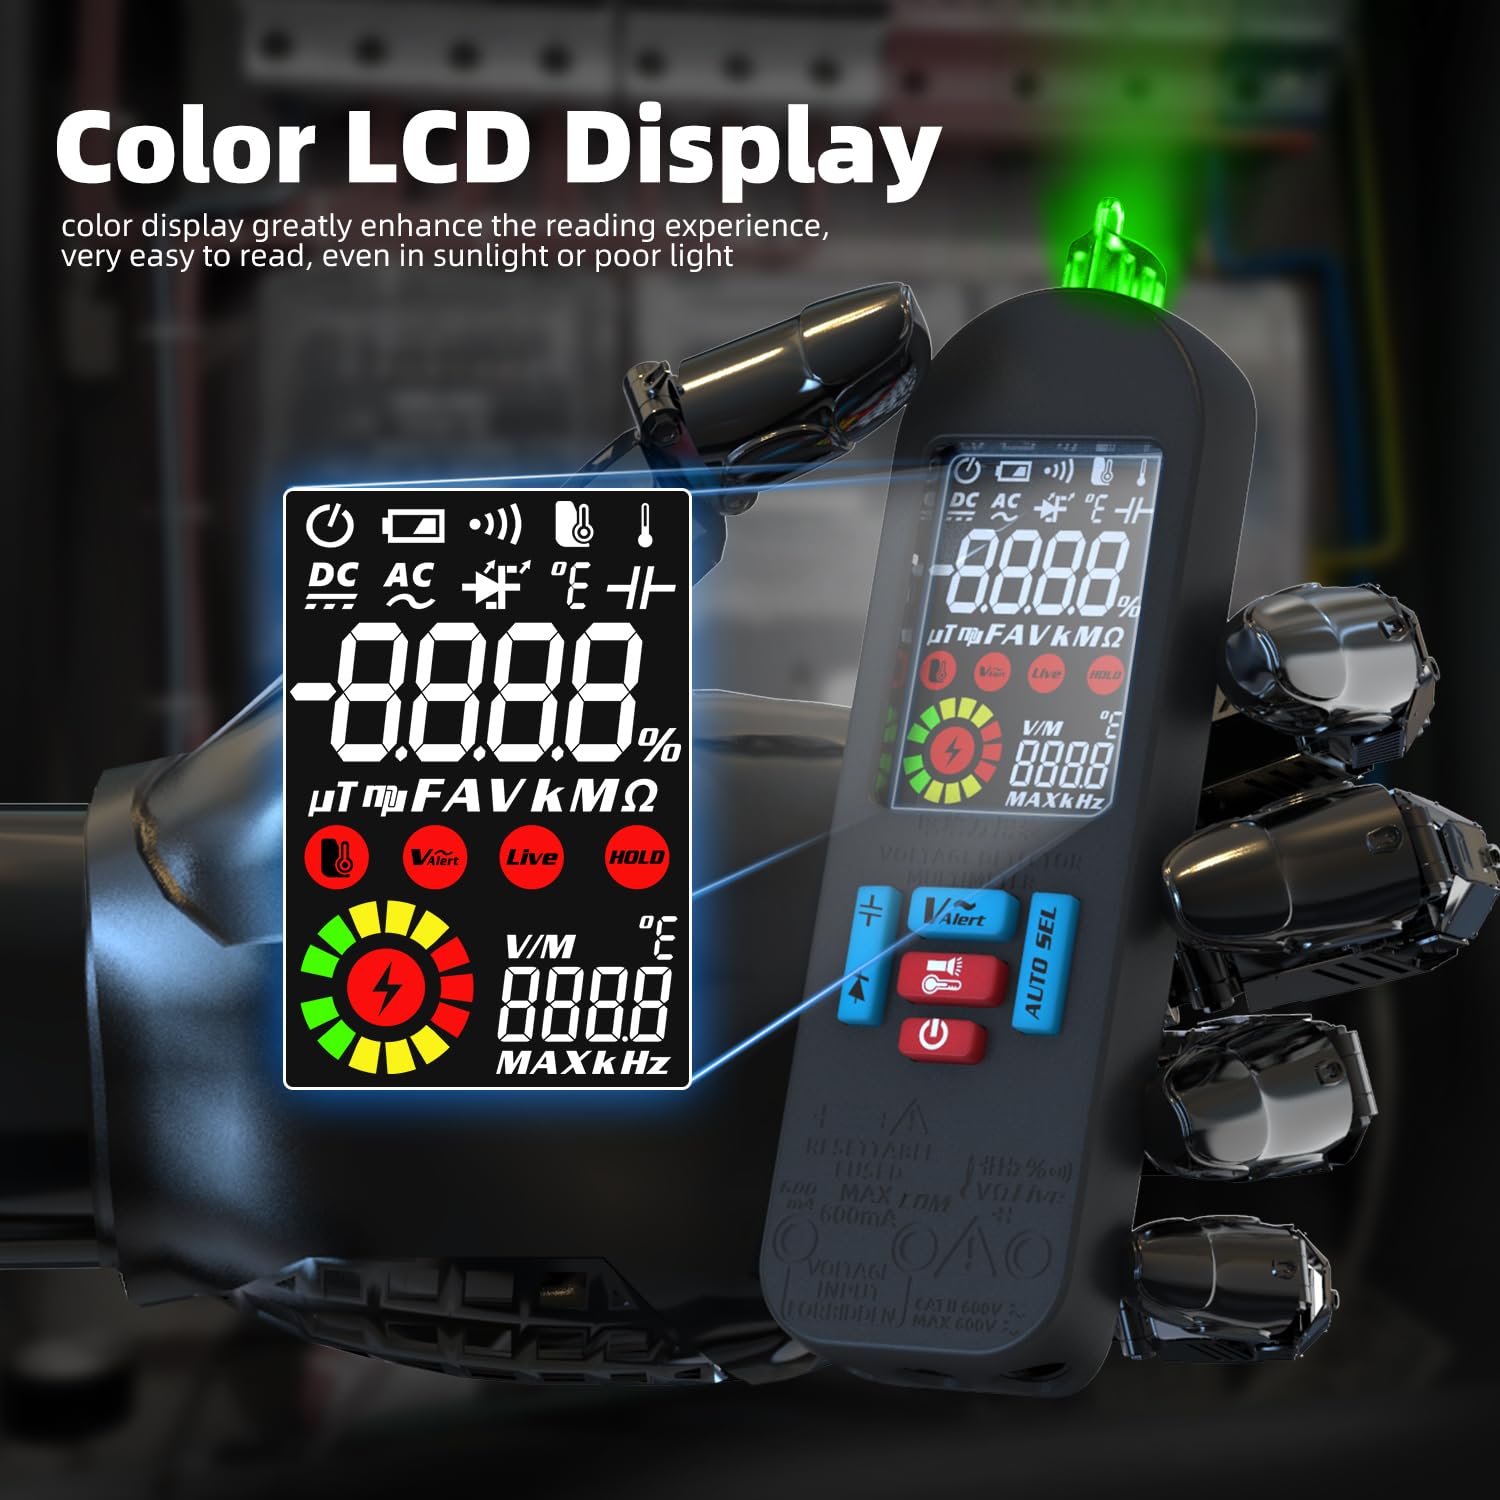
Image: The multimeter with its bright LED flashlight active, useful for testing in low-light conditions.
Wartung
1. Reinigung
Wischen Sie das Multimeter ab.asing mit Adamp Verwenden Sie ein Tuch und ein mildes Reinigungsmittel. Scheuermittel oder Lösungsmittel sind nicht geeignet. Stellen Sie vor der Reinigung sicher, dass das Gerät ausgeschaltet und von allen Stromkreisen getrennt ist.
2. Batteriepflege
The built-in Li-ion battery is rechargeable. Recharge the multimeter when the low battery indicator appears on the display. For long-term storage, charge the battery to approximately 50% every three months to prolong its lifespan.
3. Prüfung der Testleitungen
Regularly inspect test leads for any signs of damage, such as cracked insulation or exposed metal. Replace damaged leads immediately to prevent electric shock hazards.
Fehlerbehebung
| Problem | Mögliche Ursache | Lösung |
|---|---|---|
| Das Multimeter lässt sich nicht einschalten. | Niedriger oder leerer Akku. | Laden Sie das Multimeter mit dem mitgelieferten USB-Kabel auf. |
| Ungenaue Messwerte. | Falsche Funktion ausgewählt; schlechte Verbindung der Messleitung; externe Störungen. | Ensure correct function is selected (or use Smart Mode). Check test lead connections. Move away from strong electromagnetic fields. |
| Kein Durchgangssignal. | Resistance is above 50Ω; circuit is not de-energized. | Verify the circuit is de-energized. Check the resistance value on the display. |
| Im Display wird „OL“ (Überlastung) angezeigt. | Measurement exceeds the multimeter's range. | Ensure the measurement is within the specified range for the selected function. Disconnect immediately if measuring voltage/current beyond limits. |
Technische Daten
| Parameter | Bereich / Wert |
|---|---|
| MAX-Anzeige | 6000 Zählwerte |
| DC-Voltage | 0-620V (DC Mode) / 0.8-620V (Auto Mode) ±(0.8%+3) |
| AC-Lautstärketage | 60mV-620V (AC Mode) / 0.8V-620V ±(1.2%+5) |
| VFC AC Voltage | 10V-620V ±(4%+3) |
| Gleichstrom | 1-610mA ±(1.5%+3) |
| Wechselstrom | 1-610mA (40-1000Hz) ±(1.5%+3) |
| Widerstand | 0-6MΩ ±(1.2%+3); 6MΩ-60MΩ ±(2.0%+10) |
| Kapazität | 0.5µF-6mF ±(3.5%+8); 6mF-60mF ±(4.5%+10) |
| Frequenz | 0-999.9K Hz (900mVrms-20Vrms) ±(2.0%+10) |
| V-Alarm (NCV) | Ja |
| Prüfung auf stromführende Leitungen | Ja |
| Durchgangssummer | Sounds if resistance < 50Ω |
| Diodentest | Measures diodes within 3V |
| Umgebungstemperatur | 0-50℃ ±2.0℃ |
| Leistung | 3.7V (built-in, rechargeable) |
| Größe | 146 x 44 x 25.2 mm |
| Gewicht | 76g |
Garantie und Support
Informationen zur Garantie und technische Unterstützung finden Sie in der Ihrer Bestellung beiliegenden Dokumentation oder wenden Sie sich direkt an den Hersteller. Bewahren Sie Ihren Kaufbeleg für Garantieansprüche auf.