
1. Einrichtung
This section guides you through the initial setup of your Natec ATX NPC-2038 Semi-Tower PC Case, from unpacking to component installation.
1.1 Auspacken
- Carefully open the packaging and remove the PC case.
- Inspect the case for any signs of damage during transit. If damage is found, contact your retailer immediately.
- Remove all internal packaging materials and accessories. Keep the packaging for future transport or warranty claims.
1.2 Komponentenidentifikation
Familiarize yourself with the key components and features of your PC case.
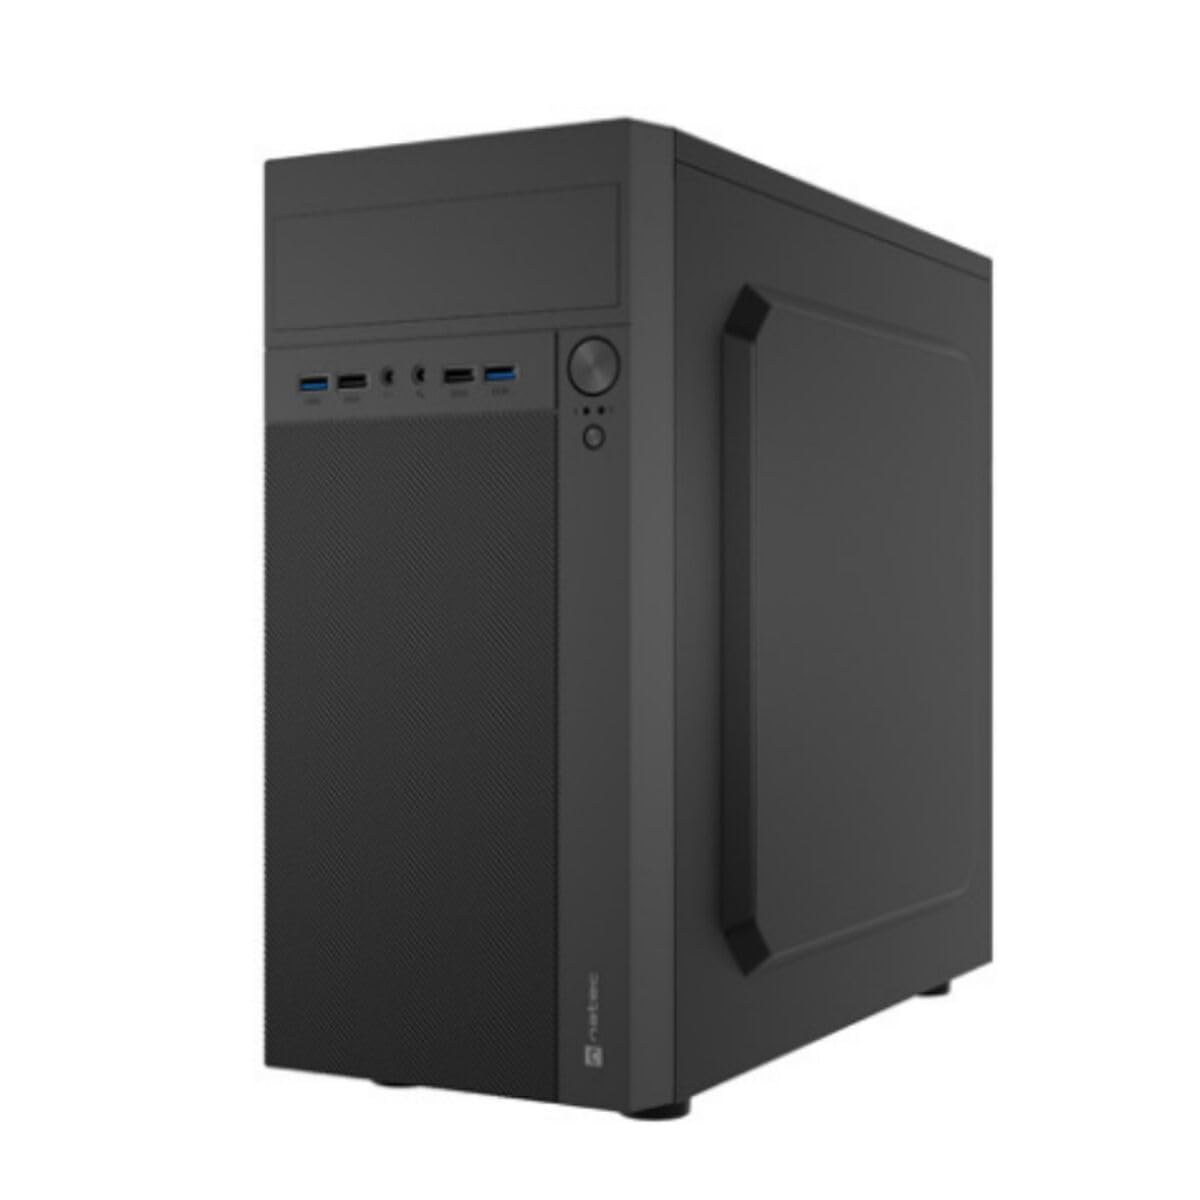
Bild 1: Vorne und seitlich view of the Natec ATX NPC-2038 Semi-Tower PC Case, highlighting its compact dimensions. The front panel features USB ports, audio jacks, and power/reset buttons. The case measures approximately 3.9 inches in depth, width, and height, indicating a compact design suitable for various setups.
- Vorderseite: Includes power button, reset button, USB 2.0 ports, USB 3.0 port, and audio input/output jacks.
- Seitenleiste: Removable panels for easy access to internal components.
- Rückwand: Features expansion slots and an opening for the motherboard I/O shield.
- Interne Buchten: Provides space for 3.5-inch hard drives and other storage devices.
1.3 Installation
- Bereiten Sie den Fall vor: Lay the case on its side and remove the side panel(s) by unscrewing the thumb screws at the rear.
- Motherboard installieren: Secure the Mini ATX motherboard onto the standoffs provided. Ensure all screws are tightened appropriately.
- Netzteil installieren: Mount the power supply unit (PSU) in the designated front mount area. Connect the necessary power cables to the motherboard and other components.
- Speicherlaufwerke installieren: Install 3.5-inch hard drives into the internal bays. Secure them with screws.
- Installation von Erweiterungskarten: Remove the necessary expansion slot covers and install any graphics cards or other expansion cards.
- Frontpanel-Kabel anschließen: Connect the front panel USB, audio, power, and reset cables to the corresponding headers on your motherboard. Refer to your motherboard manual for specific pin layouts.
- Kabelmanagement: Route cables neatly to ensure optimal airflow and a clean build.
- Fall abschließen: Reattach the side panel(s) and secure them with the thumb screws.
2. Bedienungsanleitung
This section details how to power on your system and utilize the front panel connections.
2.1 Einschalten
- Ensure all external peripherals (monitor, keyboard, mouse) are connected.
- Connect the power cable from your power supply unit to a wall outlet.
- Press the power button located on the front panel of the case. The system should initiate startup.
2.2 Anschlüsse an der Vorderseite
The front panel provides convenient access to various ports for your peripherals.
- USB 2.0-Anschlüsse (x2): For connecting standard USB devices such as keyboards, mice, and printers.
- USB 3.0-Anschluss (x1): For connecting high-speed USB devices like external hard drives or flash drives, offering faster data transfer rates.
- Audio Input (Microphone): Connect your microphone for voice communication.
- Audioausgang (Kopfhörer): Connect your headphones or speakers for audio playback.
3. Wartung
Regelmäßige Wartung trägt dazu bei, die Langlebigkeit und optimale Leistung Ihrer PC-Komponenten zu gewährleisten.
3.1 Reinigung
- Exterieur: Verwenden Sie ein weiches,amp Verwenden Sie ein Tuch, um die Außenflächen des Gehäuses abzuwischen. Vermeiden Sie scheuernde Reinigungsmittel.
- Innere: Öffnen Sie das Gehäuse regelmäßig und entfernen Sie Staubablagerungen von Lüftern, Kühlkörpern und anderen Komponenten mit Druckluft. Stellen Sie sicher, dass das System ausgeschaltet und vom Stromnetz getrennt ist, bevor Sie das Innere reinigen.
- Staubfilter: If your case includes dust filters, remove and clean them regularly to maintain good airflow.
3.2 Luftstrommanagement
Proper airflow is crucial for cooling your components. Ensure that the case fans are clean and unobstructed. Consider the direction of airflow (intake vs. exhaust) to optimize cooling efficiency.
4. Fehlerbehebung
This section addresses common issues you might encounter with your PC case and offers potential solutions.
| Problem | Mögliche Ursache | Lösung |
|---|---|---|
| Das System lässt sich nicht einschalten. | Stromkabel nicht angeschlossen, Netzteil ausgeschaltet, Netzschalter an der Vorderseite nicht richtig angeschlossen. | Check power cable connection, ensure PSU switch is on, verify front panel power cable connection to motherboard. |
| Die USB-Anschlüsse funktionieren nicht. | Die USB-Kabel an der Vorderseite sind nicht mit dem Motherboard verbunden. | Ensure USB 2.0 and USB 3.0 headers are correctly connected to the motherboard. |
| Die Audiobuchsen funktionieren nicht. | Front panel audio cable not connected to motherboard. | Verify the HD Audio cable is securely connected to the motherboard's audio header. |
| Überhitzte Bauteile. | Poor airflow, dust buildup. | Clean dust filters and internal components. Ensure fans are properly oriented for optimal airflow. |
5. Spezifikationen
Detailed technical specifications for the Natec ATX NPC-2038 Semi-Tower PC Case.
| Besonderheit | Wert |
|---|---|
| Marke | Natec |
| Modellname | HELIX (NPC-2038) |
| Gehäusetyp | Mittlerer Turm |
| Motherboard-Kompatibilität | Mini ATX |
| Farbe | multicoloured (Black) |
| Material | Legierter Stahl (Alloy Steel) |
| Montageart des Netzteils | Fronthalterung |
| Kühlmethode | Luft |
| Lüftergröße | 120 Millimeter |
| Anzahl der Lüfter | 1 (pre-installed, if applicable) |
| Total Expansion Slots Quantity | 4 |
| Total USB 2.0 Ports | 2 |
| Total USB 3.0 Ports | 1 |
| Internal Bays Quantity | 3 (for 3.5 Inches Hard Disk Form Factor) |
| Artikelgewicht | 1 Kilogramm |
| Artikelabmessungen (T x B x H) | 3.94"D x 3.94"W x 3.94"H (Approximate, based on provided data) |
| Empfohlene Verwendung für das Produkt | General-Purpose Computing |
6. Garantieinformationen
Natec products are manufactured to high-quality standards. This product is covered by a manufacturer's warranty against defects in materials and workmanship. The specific duration and terms of the warranty may vary by region and retailer. Please retain your proof of purchase for warranty claims. For detailed warranty information, refer to the documentation provided with your purchase or visit the official Natec webWebsite.
7. Unterstützung
If you encounter any issues not covered in this manual or require further assistance, please contact Natec customer support or your retailer. You can typically find contact information on the official Natec webauf der Website oder auf Ihrer Produktverpackung.
- Online-Hilfe: Visit the official Natec webWebsite mit FAQs, Treibern und Support-Ressourcen.
- Händler kontaktieren: For purchase-related issues or initial troubleshooting, your retailer may be able to provide immediate assistance.