1. Zu Endeview
The Retevis RA79 is a versatile dual-band amateur radio designed for reliable communication across various environments. It features multi-frequency reception, including aviation AM band, and offers flexible programming options. This manual provides essential information for setting up, operating, and maintaining your RA79 walkie-talkie.
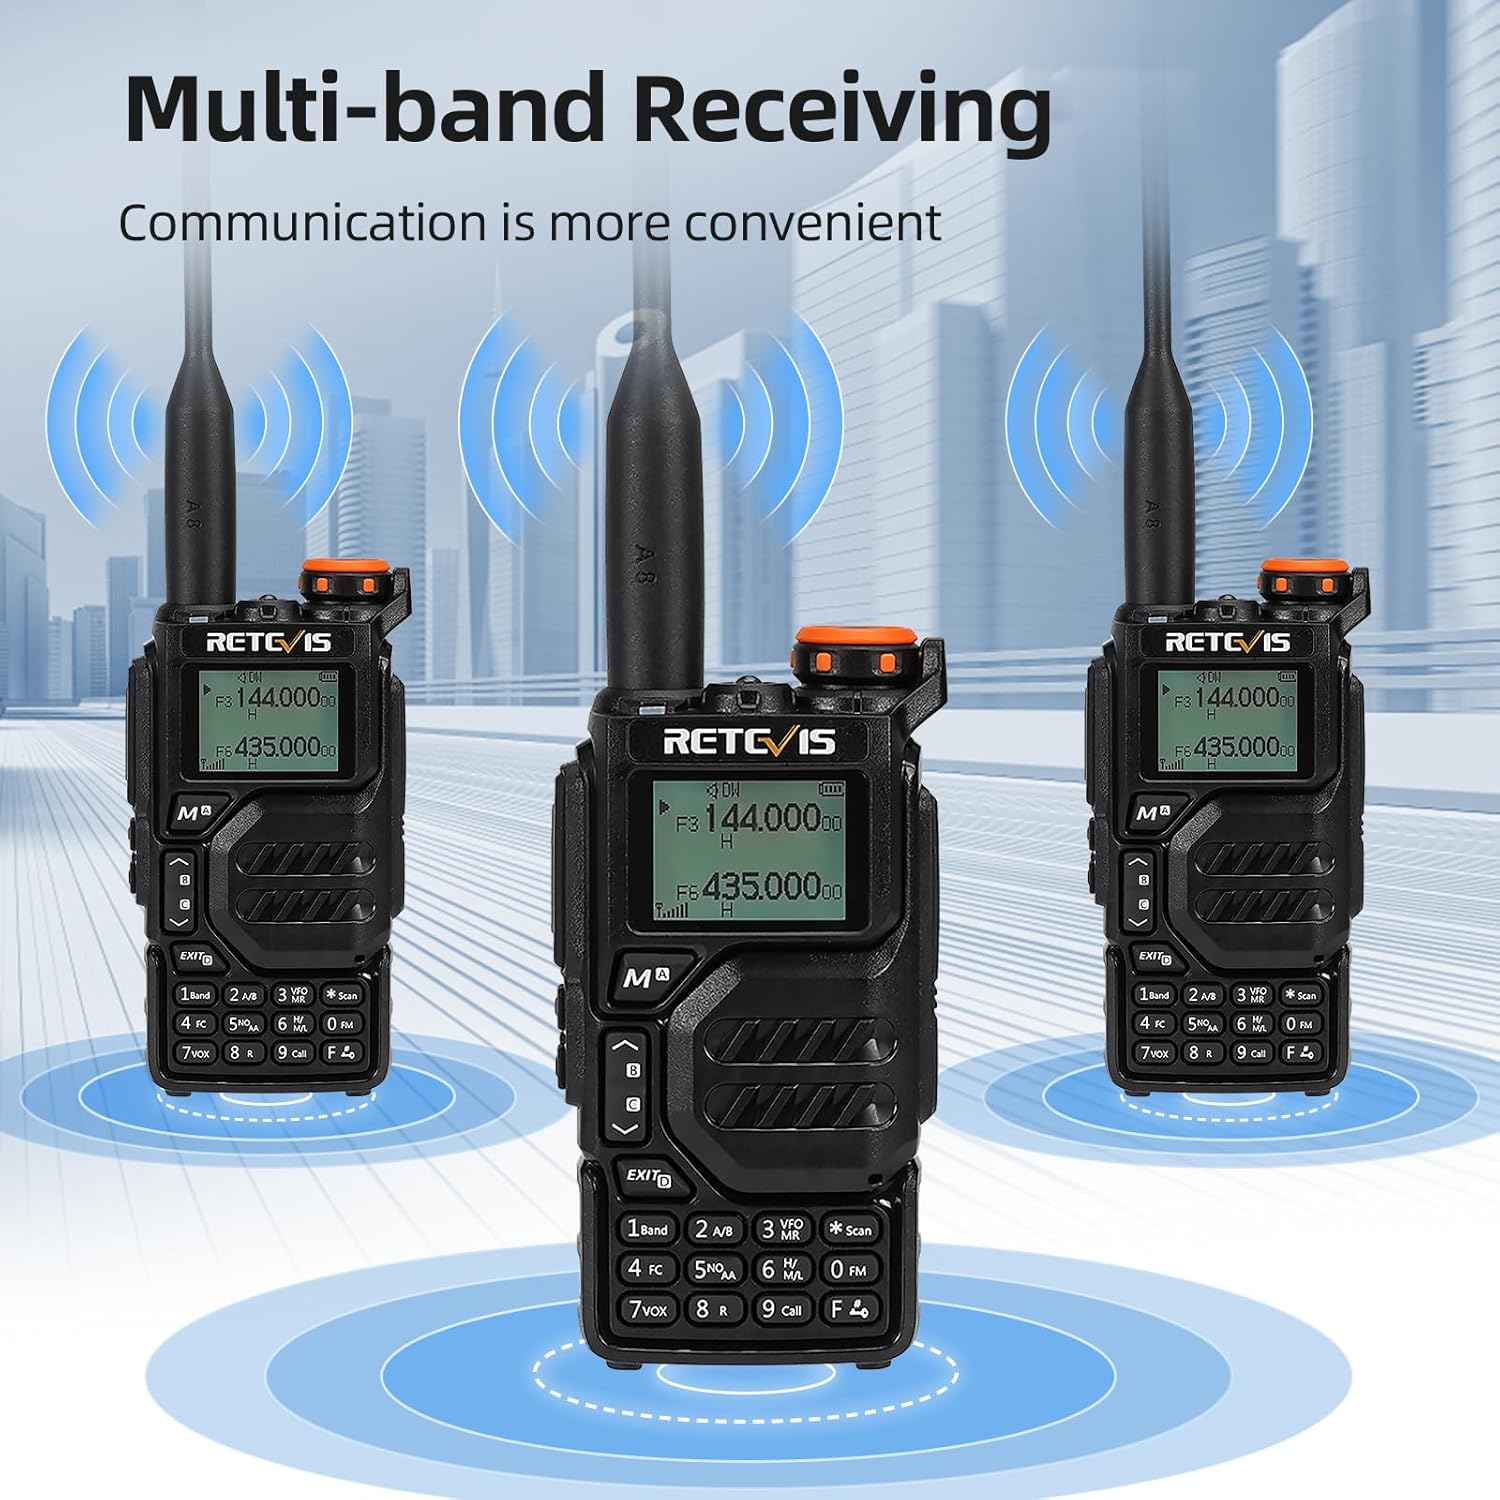
- Multi-frequency Reception: Supports 2m/70cm/FM/AM bands, including aviation AM reception, for diverse communication needs.
- Wiederaufladbarer Akku: Equipped with a 1400mAh Li-ion battery, offering extended standby and usage times. Features a convenient Type-C charging interface and USB charging port.
- Flexible Programmierung: Channels can be programmed manually via the keypad or using software with a data cable and CPS (Customer Programming Software).
- Integriertes FM-Radio: Allows for listening to FM broadcasts, providing entertainment during travel or downtime.
- Fernkommunikation: Utilizes higher power output and a longer antenna to extend its effective range, suitable for amateur radio enthusiasts, hunters, and travelers.
- Benutzerfreundliches Design: Features an intuitive operating interface and user-friendly design, making it accessible for beginners.
2. Lieferumfang
Upon unpacking your Retevis RA79, please ensure all items listed below are present:
- 2x Retevis RA79 Walkie-Talkie
- 2x Gürtelclip
- 2x Handschlaufe
- 2x Antenne
- 2x USB Desktop Charger
- 2x Multi-language User's Manual

3. Produktmerkmale
The Retevis RA79 is equipped with several features to enhance your communication experience:
- AM Aviation Receiving: Monitor aircraft and tower communications.
- Multi-band Receiving: Access 2m/70cm/FM/AM frequencies.
- One-Step Channel Capture: Easily pair two-way radios.
- Wireless Frequency Pairing: Convenient for outdoor team use.
- Lautsprechermikrofon: Enhances communication clarity and security.
- USB-Typ-C-Aufladung: Multiple charging options including adapter, power bank, PC, and vehicle.
- VFO Function: Change radio settings directly without a computer.


4. Einrichtung
4.1 Einlegen der Batterie
- Richten Sie den Akku an der Rückseite des Funkgeräts aus.
- Schieben Sie die Batterie nach oben, bis sie einrastet.
- To remove, press the release latch and slide the battery downwards.
4.2 Antennenanschluss
- Schrauben Sie die Antenne im Uhrzeigersinn in den Anschluss oben am Radio, bis sie fest sitzt.
- Nicht zu fest anziehen.
4.3 Montage des Gürtelclips
- Richten Sie den Gürtelclip an den dafür vorgesehenen Schlitzen auf der Rückseite des Funkgeräts aus.
- Befestigen Sie den Gürtelclip mit den mitgelieferten Schrauben.
4.4 Laden des Akkus
The RA79 can be charged using the included USB desktop charger or directly via its Type-C port.
- Connect the USB desktop charger to a power source.
- Place the radio (with battery installed) into the charging cradle. The indicator light will show charging status.
- Alternatively, connect a USB Type-C cable directly to the radio's charging port.
5. Bedienungsanleitung
5.1 Ein-/Ausschalten und Lautstärkeregelung
- To power on, rotate the power/volume knob clockwise.
- Durch Weiterdrehen können Sie die Lautstärke anpassen.
- Zum Ausschalten den Drehknopf gegen den Uhrzeigersinn drehen, bis er einrastet.
5.2 Kanalauswahl
The RA79 supports both Channel Mode and VFO (Frequency Mode).
- Kanalmodus: Use the UP/DOWN arrow keys to select a pre-programmed channel.
- VFO-Modus: Enter frequencies directly using the keypad. Press the 'VFO/MR' button to switch between modes.
5.3 Senden und Empfangen
- Zum Senden die PTT-Taste (Sprechtaste) an der Seite des Funkgeräts gedrückt halten. Deutlich in das Mikrofon sprechen.
- Lassen Sie die PTT-Taste los, um zu empfangen.
- Ensure the selected channel/frequency is clear before transmitting.
5.4 FM-Radiobetrieb
To activate the FM radio function:
- Press the 'FM' button (often a dedicated button or a function key).
- Use the UP/DOWN arrow keys to scan for stations or enter a frequency directly.
5.5 Advanced Programming via Mobile App (Ailunce HA2 Example)
The RA79 may support mobile app connectivity for advanced channel and setting modifications. Refer to the specific app instructions for your model.
6. Wartung
6.1 Reinigung
Reinigen Sie das Äußere des Radios regelmäßig mit einem weichen, fusselfreien Tuch.amp Tuch. Vermeiden Sie die Verwendung aggressiver Chemikalien oder Scheuermittel.
6.2 Batteriepflege
So verlängern Sie die Akkulaufzeit:
- Vermeiden Sie ein Überladen oder vollständiges Entladen der Batterie.
- Bewahren Sie Radio und Batterie an einem kühlen, trockenen Ort auf, wenn sie nicht benutzt werden.
7. Fehlerbehebung
| Problem | Mögliche Ursache | Lösung |
|---|---|---|
| Das Radio lässt sich nicht einschalten | Schwache oder leere Batterie; falsche Batterieinstallation | Laden Sie den Akku auf; stellen Sie sicher, dass der Akku korrekt eingesetzt ist. |
| Senden und Empfangen nicht möglich | Incorrect frequency/channel; antenna not properly attached; out of range | Frequenz-/Kanaleinstellungen prüfen; Antennenanschluss prüfen; näher an andere Funkgeräte herangehen. |
| Schlechte Audioqualität | Low volume; interference; damaged speaker/microphone | Lautstärke anpassen; sich von Störquellen entfernen; den Support kontaktieren, falls die Hardware beschädigt ist. |
8. Spezifikationen
- Marke: Retevis
- Modellnummer: RA79
- Farbe: Schwarz
- Anzahl der Kanäle: 200
- Besonderheit: Dualband
- Frequenzbereich: 144–146 MHz; 430–440 MHz
- Maximale Reichweite: 5 Kilometer
- Bandtage: 7.4 Volt (DC)
- Wasserbeständigkeit: Nicht wasserdicht
- Produktabmessungen: 65 mm (P x B x H)
- Anzahl Batterien: 1 Lithium-Ionen-Akku (im Lieferumfang enthalten)
- Kompatible Geräte: Two-way radios operating in 144-146 MHz and 430-440 MHz frequency ranges
- Tuner-Typ: U;V
- Ursprungsland: China
9. Garantie und Support
Retevis offers a 2-year warranty for the radio body and a 1-year warranty for accessories. A 30-day return policy is also provided without specific reason required. Beyond the warranty period, maintenance services are available, with buyers responsible for associated costs. For support, please contact Retevis on Amazon, and a response will be provided within 12 hours.