
1. Einleitung
This manual provides detailed instructions for the proper installation, operation, and maintenance of your KICKER CompR Subwoofer Enclosure system. Please read this manual thoroughly before use to ensure optimal performance and longevity of your product.
2. Lieferumfang
Im Paket sind folgende Komponenten enthalten:
- Pair (QTY 2) of Kicker 48VCWR122 CompR 12" 1000 Watt Peak Power 2 Ohm Black Car Audio Subwoofer Enclosures
- 50 feet 16 Gauge Speaker Wire
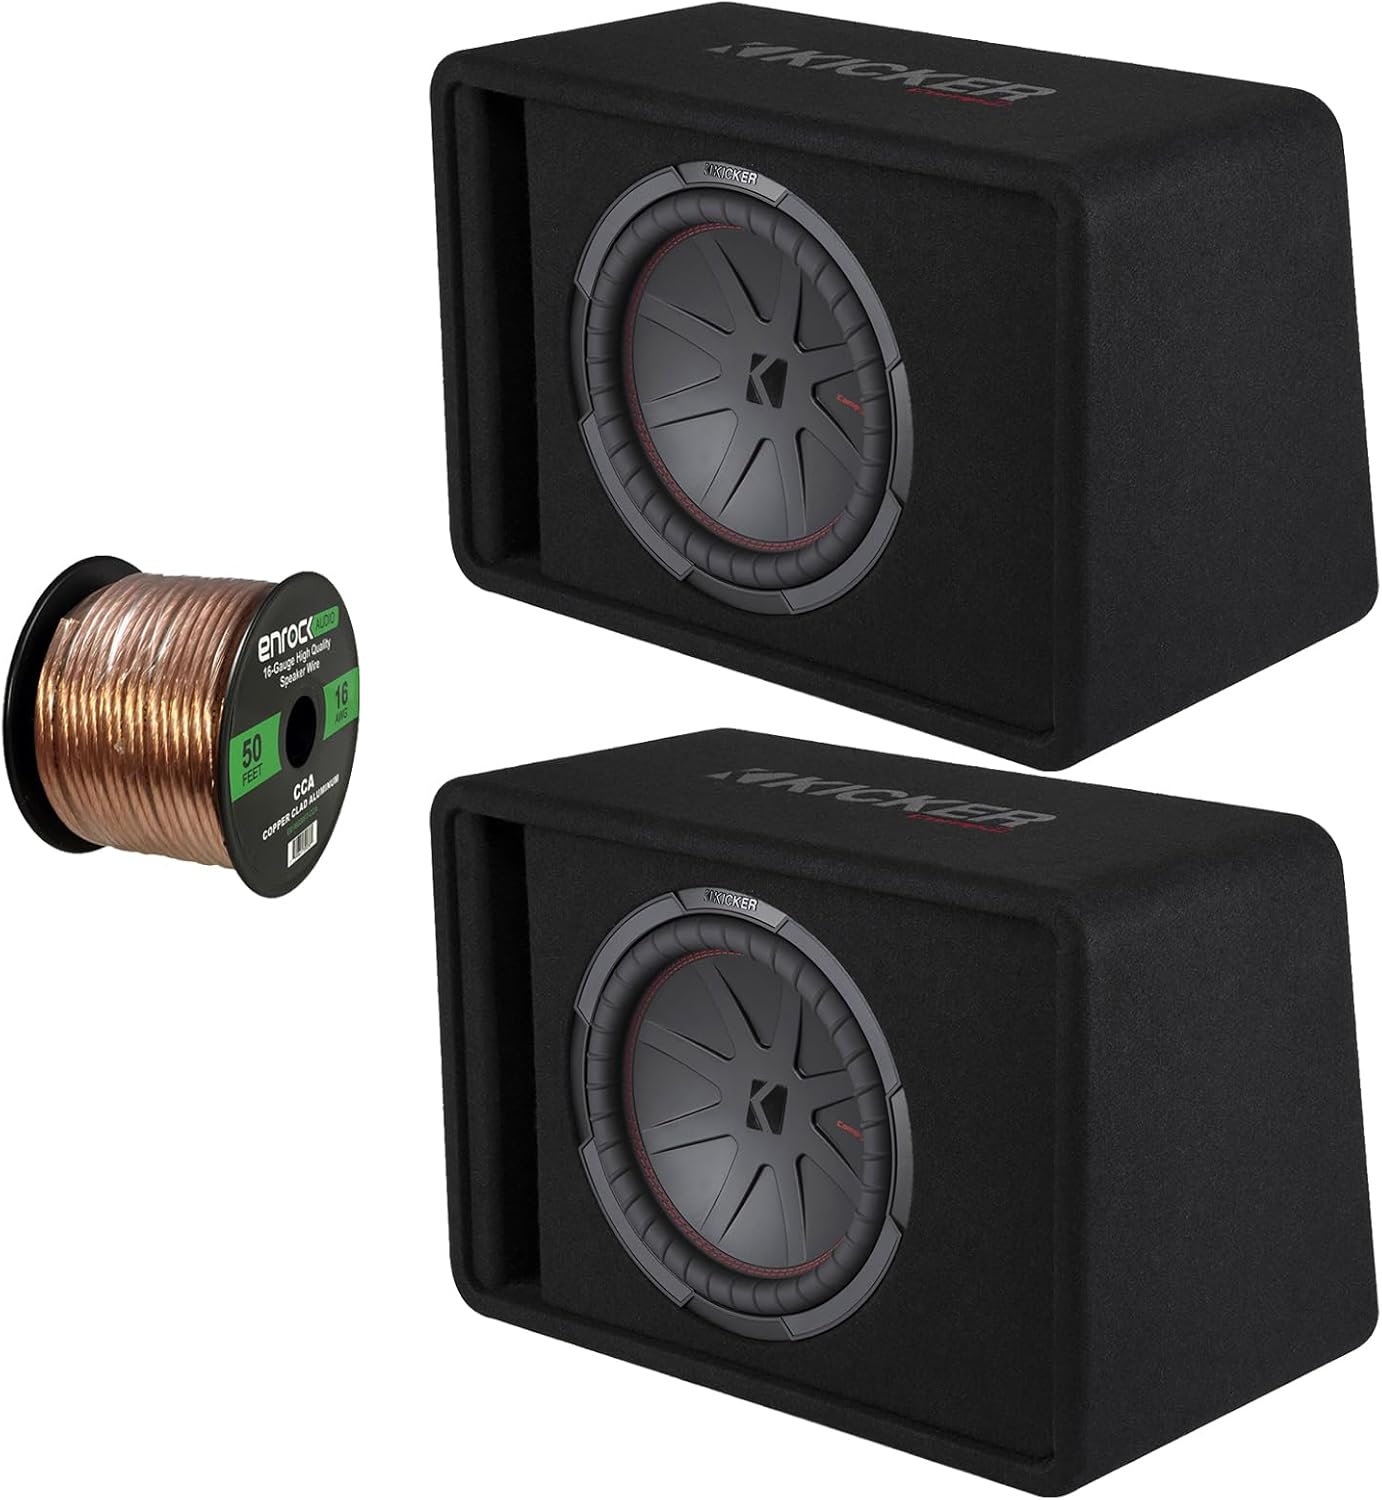
Image: Two Kicker CompR 12-inch subwoofer enclosures (black, rectangular) and a spool of 50 feet of 16-gauge copper-clad aluminum speaker wire. The subwoofers feature a black cone with a red stitched surround and a Kicker logo in the center.
3. Spezifikationen
| Besonderheit | Detail |
|---|---|
| Modellname | 2-CWR122 |
| Lautsprechertyp | Subwoofer |
| Lautsprechergröße | 12 Zoll |
| Umgang mit Spitzenleistung | 1000 Watt |
| RMS-Belastbarkeit | 500 Watt |
| Impedanz | 2 Ohm |
| Abstimmfrequenz | 36 Hz |
| SNR | 90.8 dB |
| Material der Tieftönermembran | Polypropylen |
| Surround-Material | Santopren |
| Kühltechnik | Zwangsluftkühlung |
| Gehäusekonstruktion | MDF (Mitteldichte Faserplatte) |
| Technische Daten | 10"D x 10"W x 10"H (per enclosure) |
| Lautsprecherkabelstärke | 16 Spur |
| Lautsprecherkabellänge | 50 Fuß |
| Konnektivitätstechnologie | Verdrahtet |
| Montagetyp | Untersitzmontage |
4. Einrichtung und Installation
4.1 Sicherheitsvorkehrungen
- Vor Beginn jeglicher elektrischer Installationen muss immer die Fahrzeugbatterie abgeklemmt werden.
- Ensure proper ventilation for the subwoofer enclosures to prevent overheating.
- Verwenden Sie geeignetes Werkzeug und tragen Sie während der Installation eine Schutzbrille.
- Wenn Sie sich bei einem Arbeitsschritt unsicher sind, konsultieren Sie einen professionellen Car-Audio-Einbauer.
4.2 Auswahl eines Montageortes
The KICKER CompR subwoofer enclosures are designed for compact spaces, ideal for under-seat or behind-seat mounting. Consider the following when selecting a location:
- Space Availability: Ensure there is sufficient clearance for the enclosure dimensions (10"D x 10"W x 10"H).
- Sichere Montage: The enclosure must be securely fastened to prevent movement during vehicle operation.
- Kabelführung: Plan for clean and safe routing of speaker wires to your ampschwerer.
- Akustik: Experiment with placement if possible to find the best sound performance for your vehicle's interior.
4.3 Verdrahtungsanweisungen
The subwoofer enclosures have a 2 Ohm impedance. Ensure your amplifier is stable at this impedance. The included 16-gauge speaker wire is suitable for connecting the subwoofers to your ampschwerer.
- Drähte vorbereiten: Cut the 16-gauge speaker wire to the required lengths for each subwoofer. Strip approximately 0.5 inches of insulation from both ends of each wire.
- Connect to Subwoofer: Connect the positive (+) terminal of the speaker wire to the positive terminal on the subwoofer enclosure. Connect the negative (-) terminal of the speaker wire to the negative terminal on the subwoofer enclosure. Ensure a secure connection.
- Verbinden mit AmpReiniger: Route the speaker wires to your amplifier. Connect the positive (+) wire from each subwoofer to the corresponding positive (+) output terminal on your amplifier. Connect the negative (-) wire from each subwoofer to the corresponding negative (-) output terminal on your ampschwerer.
- Polarität überprüfen: Double-check all connections to ensure correct polarity. Incorrect polarity can lead to reduced bass output and poor sound quality.
Notiz: For optimal performance, it is recommended to use an amplifier capable of delivering around 500 watts RMS per subwoofer at 2 Ohms.
5. Bedienungsanleitung
Once the KICKER CompR subwoofer enclosures are properly installed and connected to an ampFür den Betrieb des Verstärkers befolgen Sie bitte diese Schritte:
- Einschalten: Turn on your car audio system and the connected ampschwerer.
- Anfangsverstärkungseinstellung: Beginnen Sie mit dem amplifier's gain control set to its minimum (lowest) position.
- Adjust Head Unit Volume: Play a familiar piece of music with good bass content. Gradually increase the volume on your head unit (car stereo) until it reaches about 75% of its maximum level.
- Anpassen Amplifier Gewinn: Slowly increase the gain control on your amplifier until you hear distortion or the bass becomes muddy. Then, back off the gain slightly until the sound is clean and clear. This sets the maximum undistorted output of your ampschwerer.
- Fine-Tune Bass: Use the bass boost, crossover, and phase controls on your amplifier or head unit to fine-tune the bass response to your preference.
- Achten Sie auf Verzerrungen: Always listen for signs of distortion (e.g., crackling, buzzing, muddy bass). If distortion is heard, reduce the volume or amplifier gain immediately to prevent damage to the subwoofers.
Wichtig: Avoid prolonged operation at high volumes with audible distortion, as this can cause permanent damage to the subwoofers.
6. Wartung
The KICKER CompR subwoofer enclosures are designed for durability and require minimal maintenance. Follow these guidelines to ensure their longevity:
- Reinigung: Use a soft, dry cloth to wipe down the enclosure and subwoofer cone. Avoid using harsh chemicals or abrasive cleaners.
- Inspektion: Periodically inspect the speaker wire connections for any signs of corrosion or looseness. Ensure the enclosure is still securely mounted.
- Umgebungsbedingungen: While the enclosures are robust, avoid exposing them to extreme moisture or direct sunlight for extended periods.
- Belüftung: Ensure that the area around the enclosures allows for proper airflow, especially for the Forced-Air Cooling system, to prevent heat buildup.
7. Fehlerbehebung
| Problem | Mögliche Ursache | Lösung |
|---|---|---|
| Kein Ton von den Subwoofern |
|
|
| Distorted or Muffled Bass |
|
|
| Schwache Basswiedergabe |
|
|
8. Garantie und Support
KICKER products are designed and engineered to provide years of reliable performance. This product comes with a limited warranty. Please refer to the official KICKER webDie genauen Garantiebedingungen finden Sie auf der Website oder in Ihren Kaufunterlagen.
For technical support, troubleshooting assistance, or warranty claims, please contact KICKER customer service or visit their official webWebsite:
KICKER Offizieller WebWebsite: www.kicker.com
KICKER Store on Amazon: Visit the KICKER Store
Please have your product model number (2-CWR122) and proof of purchase ready when contacting support.