
1. Einleitung
The Qinlorgo PT 230 is a portable thermal printer designed for efficient black and white printing. It supports various printing tasks including receipts, restaurant orders, barcodes, QR codes, and text. This manual provides detailed instructions for setting up, operating, maintaining, and troubleshooting your device.

Image 1.1: The Qinlorgo PT 230 Portable Thermal Label Printer, showcasing dank seines kompakten Designs.
2. Einrichtung
2.1 Auspacken und erste Inspektion
Carefully remove all components from the packaging. Verify that all items listed in the package contents are present and undamaged. If any items are missing or damaged, contact customer support.
2.2 Einlegen von Thermopapier
- Öffnen Sie die Abdeckung des Papierfachs am Drucker.
- Insert a roll of thermal paper, ensuring the printing side is facing the thermal print head.
- Pull a small amount of paper out past the print head and close the cover securely.

Image 2.1: The printer shown with a thermal paper roll and the included USB cable, ready for setup.
2.3 Einschalten und Laden
The printer operates on a 3.7V Lithium Battery (not included in the specification list, but mentioned in the description as 'not included' in the package list, implying it's internal or needs to be purchased separately if not pre-installed). Connect the printer to a power source using the provided USB cable to charge the internal battery. The power indicator light will show charging status.
2.4 Anschließen des Druckers
The PT 230 supports both USB and Bluetooth connectivity.
- USB-Verbindung: Connect the printer to your computer using the USB cable. Drivers may be required for your operating system (Windows, Linux).
- Bluetooth Verbindung: Enable Bluetooth on your mobile device (iOS, Android) or computer. Suchen nach available devices and select the PT 230. Follow on-screen prompts to pair.

Bild 2.2: Eine Nahaufnahme view of the USB port located on the side of the printer, used for charging and data connection.
3. Bedienungsanleitung
3.1 Grundlegende Bedienelemente
The printer features simple button operations for power and paper feed.

Image 3.1: Close-up of the orange power button (left) and feed button (right) on the printer's front panel.
- Netzschalter: Zum Ein- oder Ausschalten des Druckers gedrückt halten.
- Feed-Button: Press to advance the paper by a small amount.
3.2 Druckprozess
- Ensure the printer is powered on and connected via USB or Bluetooth to your device.
- Open the application or software from which you intend to print (e.g., a POS system, a label design app).
- Select the Qinlorgo PT 230 as your printer.
- Initiate the print command from your application. The printer will begin printing receipts, orders, barcodes, or text as configured.
3.3 Unterstützte Plattformen und Software
The printer is compatible with various operating systems and can be integrated with different applications for printing:
- Betriebssysteme: For Linux, for Win7, for Win8, for Win10, for iOS, for Android.
- Print Instruction: ESC POS compatible instruction set.
- Bildunterstützung: Supports JPG, BMP, TIF, JPEG and other image formats, including grayscale printing.
- Barcode-Unterstützung: EAN 13, EAN 8, CODE39, TIF, CODABAR, CODE93, CODE128; UPC A, UPC E, CODEBAR.
- QR Code Support: QRCOE, PDF417.
4. Wartung
4.1 Drucker reinigen
Regelmäßige Reinigung trägt zur Erhaltung der Druckqualität bei und verlängert die Lebensdauer des Druckers.
- Schalten Sie den Drucker aus und trennen Sie ihn von der Stromquelle.
- Verwenden Sie ein weiches, fusselfreies Tuch dampened with isopropyl alcohol to gently wipe the thermal print head.
- Clean the paper path and exterior casinmit einem trockenen, weichen Tuch abwischen.
- Allow all components to dry completely before reconnecting power and operating the printer.
4.2 Batteriepflege
So maximieren Sie die Akkulaufzeit:
- Vermeiden Sie häufiges vollständiges Entladen des Akkus.
- Bewahren Sie den Drucker an einem kühlen, trockenen Ort auf, wenn er längere Zeit nicht benutzt wird.
- Charge the battery regularly, even if the printer is not in active use.
5. Fehlerbehebung
This section addresses common issues you might encounter with your Qinlorgo PT 230 printer.
- Drucker lässt sich nicht einschalten: Stellen Sie sicher, dass der Akku geladen ist. Schließen Sie den Drucker an eine Stromquelle an und versuchen Sie es erneut.
- Keine Druckausgabe: Check if the thermal paper is loaded correctly and the paper compartment cover is closed. Verify the printer is connected to your device and selected as the active printer in your application.
- Schlechte Druckqualität: The thermal print head may be dirty. Refer to the 'Cleaning the Printer' section. Ensure you are using high-quality thermal paper.
- Verbindungsprobleme (Bluetooth/USB): For Bluetooth, ensure the printer is discoverable and within range. For USB, check cable connections and ensure necessary drivers are installed on your computer.
- Drucker reagiert nicht: Try restarting the printer by turning it off and then on again.
6. Spezifikationen
Detailed technical specifications for the Qinlorgo PT 230 Portable Thermal Label Printer.
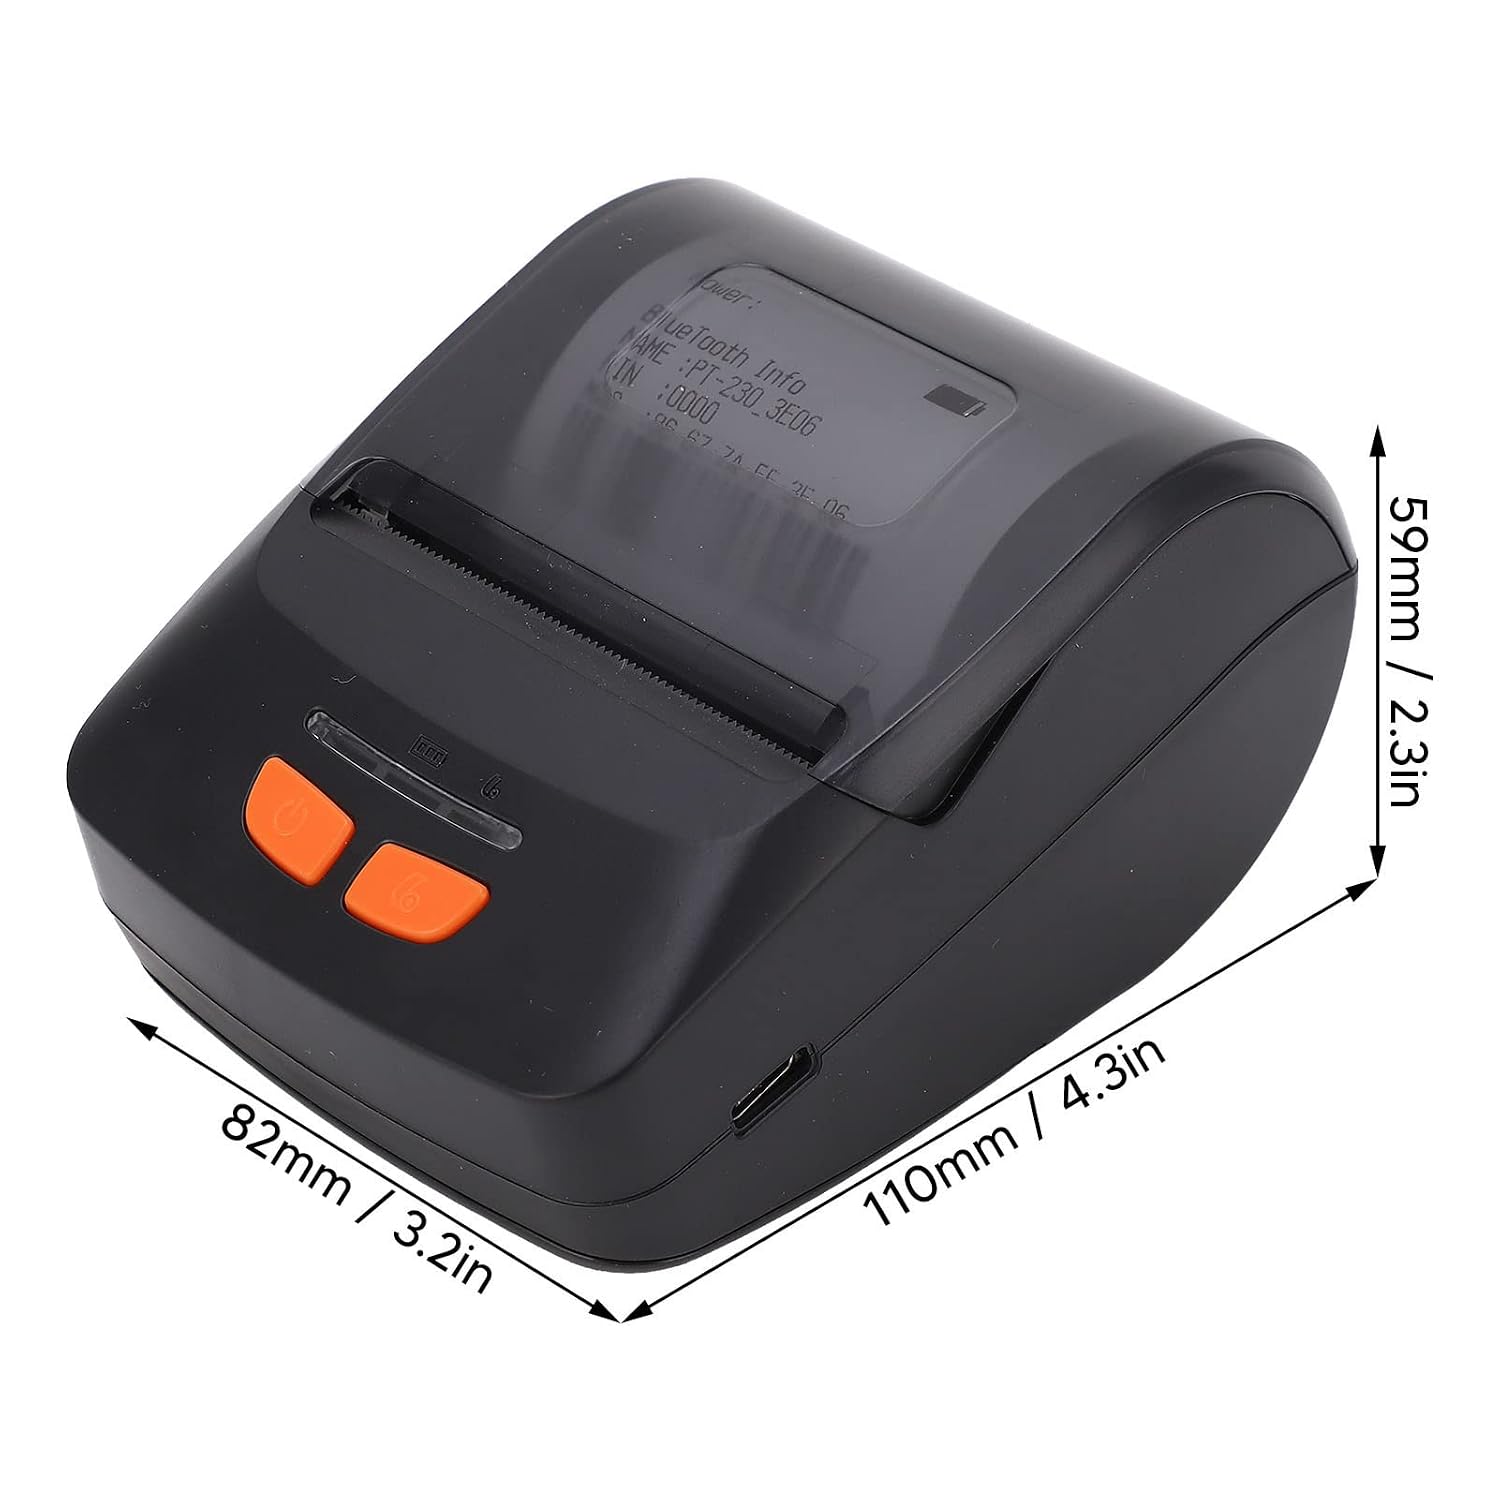
Image 6.1: Dimensions of the Qinlorgo PT 230 printer, measuring approximately 110mm (4.3in) in length, 82mm (3.2in) in width, and 59mm (2.3in) in height.
| Besonderheit | Detail |
|---|---|
| Modell | PT 230 |
| Druckverfahren | Formal Thermal Sensitivity |
| Ausgabemodus | Schwarz Weiß |
| Auflösung | 203 dpi (203 x 203 DPI) |
| Druckgeschwindigkeit | 60-150 mm/s |
| Druckbreite | 48 ± 0.5 mm (1.89 ± 0.02 Zoll) |
| Konnektivität | USB, Bluetooth (Dual mode 4.0) |
| Batterie | 1 x 3.7V Lithium Battery (not included in package list, implying internal or separate purchase) |
| Standby-Zeit | 100H |
| Arbeitstemperatur | -10-50℃ |
| Lagertemperatur | -20-70℃ |
| Arbeitsfeuchtigkeit | 20-50 % |
| Luftfeuchtigkeit bei Lagerung | 5-95 % |
| Kompatibles Betriebssystem | Windows, iOS, Linux, Android |
| Kontrollmethode | App |
| Druckerausgabe | Einfarbig |
| Spezifische Verwendungen | Printing receipts, restaurant orders, barcodes, QR codes, text |
7. Garantie und Support
For warranty information and customer support, please refer to the documentation provided with your purchase or contact your retailer. Keep your purchase receipt as proof of purchase.