
1. Einleitung
Thank you for choosing the ALUSSO Dusk to Dawn Outdoor Lighting. This manual provides essential information for the safe installation, operation, and maintenance of your new lighting fixture. Please read these instructions thoroughly before installation and retain them for future reference.
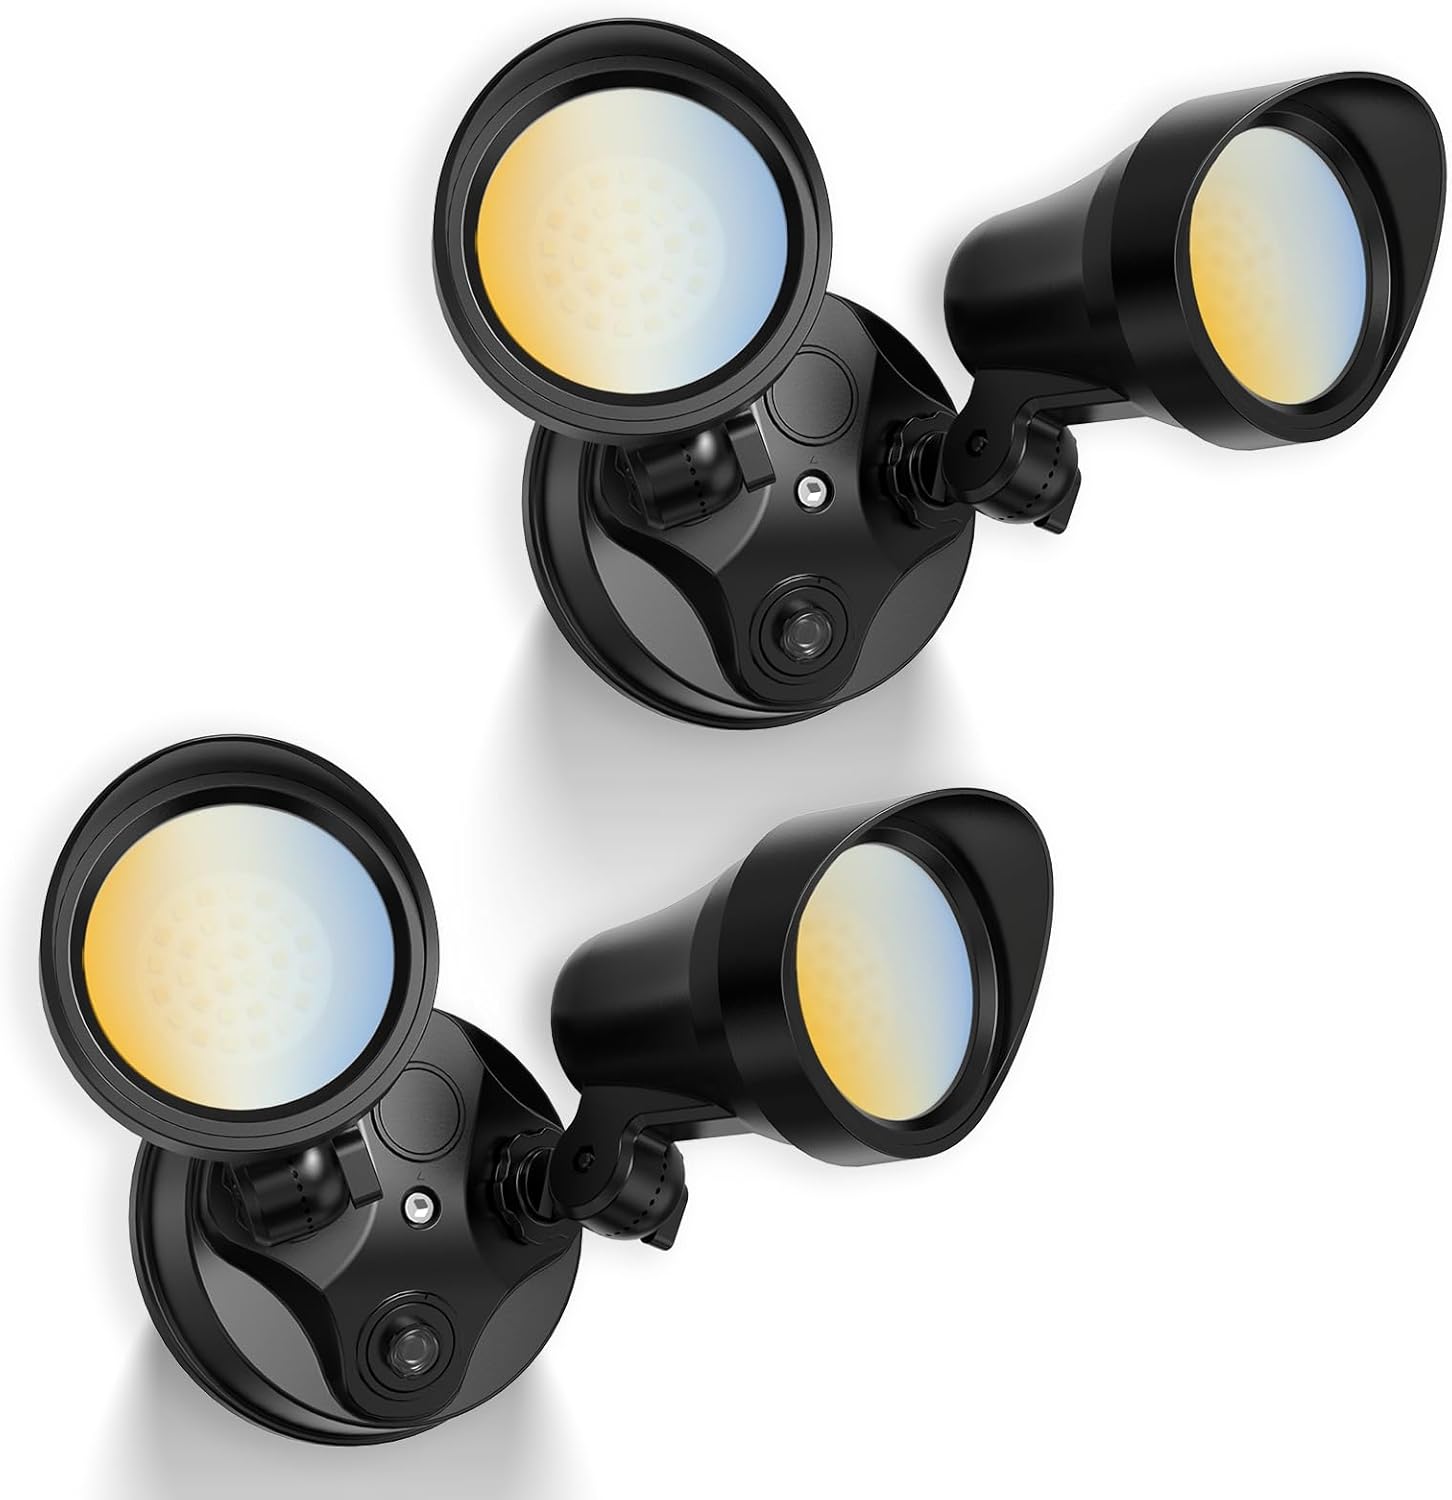
Abbildung 1.1: ALUSSO Dusk to Dawn Outdoor Lighting fixtures.
This 25W, 2000LM outdoor light features three selectable color temperatures (3000K, 4000K, 6000K) and two operating modes: Dusk to Dawn (D2D) and Always On. Designed for hardwired installation, it is IP65 rated for outdoor use in various weather conditions.
2. Wichtige Sicherheitshinweise
WARNUNG: Stromschlaggefahr. Vor Installation oder Wartung die Stromzufuhr an der Sicherung oder dem Leitungsschutzschalter unterbrechen.
- Dieses Produkt muss gemäß den geltenden Installationsvorschriften von einer Person installiert werden, die mit der Konstruktion und Bedienung des Produkts und den damit verbundenen Gefahren vertraut ist.
- The fixture is a Class II lighting product, meaning it does not require a ground wire for installation, enhancing safety.
- Ensure the power supply is 120 Volts AC. This light is hardwired and is nicht solar-powered or battery-powered.
- The fixture is IP65 rated, making it suitable for wet outdoor locations and resistant to dust and water jets.
- Betriebstemperaturbereich: -4 °C bis 104 °C (-20 °F bis 40 °F).
- The base of the light is designed to fit 3-inch or 3.5-inch round junction boxes only. It is nicht compatible with 4-inch or larger junction boxes.
3. Packungsinhalt
Vergewissern Sie sich vor Beginn der Installation, dass alle Komponenten vorhanden sind:
- ALUSSO Dusk to Dawn Outdoor Light Fixture (2 units)
- Montagehalterung
- Kabelverbinder
- Befestigungsschrauben
- Dichtung
- Bedienungsanleitung
Note: A junction box is not included and must be purchased separately if not already present.

Abbildung 3.1: Included accessories and a visual overview des Installationsprozesses.
4. Produktspezifikationen
| Besonderheit | Spezifikation |
|---|---|
| Marke | ALUSSO |
| Modellnummer | YDR03-225D8-B-2 |
| Leistung | 25 Watt |
| Helligkeit | 2000 Lumen |
| Farbtemperatur (CCT) | 3000K (Warmweiß), 4000K (Neutralweiß), 6000K (Kaltweiß) |
| Betriebsarten | Dusk to Dawn (D2D), Always On |
| Wasserdichtigkeit | IP65 |
| Bandtage | 120 Volt |
| Material | Plastic (body), Aluminum (shade) |
| Technische Daten | 8.6 Zoll L x 7.1 Zoll B x 5.1 Zoll H |
| Abstrahlwinkel | 90° |
| Montagetyp | Wall Mount, Soffit Mount |

Abbildung 4.1: The ALUSSO outdoor light is designed for all weather conditions, featuring IP65 wet rating, cold resistance, and UV resistance.
5. Installation
5.1 Vorinstallation
- Strom ausschalten: Vor Beginn jeglicher Elektroarbeiten muss sichergestellt werden, dass die Stromzufuhr zur Anschlussdose am Sicherungsautomaten oder Sicherungskasten abgeschaltet ist.
- Montagefläche vorbereiten: The fixture is designed for wall or soffit mounting. Ensure the existing junction box is 3-inch or 3.5-inch round.
- Inhalt auspacken: Nehmen Sie alle Komponenten vorsichtig aus der Verpackung und überprüfen Sie sie anhand der Packungsinhaltsliste.
5.2 Montageschritte
Refer to Figure 3.1 for a visual guide during installation.
- Montagehalterung anbringen: Secure the mounting bracket to your existing 3-inch or 3.5-inch round junction box using the provided screws. Ensure it is firmly attached.
- Drahtverbindungen: Connect the household electrical wires to the fixture's wires using the provided wire connectors. Connect the live (black) wire from the junction box to the live (black) wire of the fixture, and the neutral (white) wire from the junction box to the neutral (white) wire of the fixture. As this is a Class II fixture, a ground wire connection is not required.
- Sichere Befestigung: Carefully tuck the connected wires into the junction box. Align the fixture with the mounting bracket and secure it using the remaining screws. Ensure the gasket is properly seated to maintain the IP65 rating.
- Lichtköpfe einstellen: The light heads can be rotated up to 330° and tilted up to 120° to direct illumination as needed. Adjust them to your desired angle.

Abbildung 5.1: The ALUSSO outdoor light can be installed as a soffit mount or a wall mount.
5.3 Nach der Installation
Once the fixture is securely installed and wired, restore power at the circuit breaker. The light will perform an initial power-on sequence.
6. Bedienungsanleitung
6.1 Farbtemperaturauswahl (CCT)
Your ALUSSO outdoor light offers three color temperature options: Warm White (3000K), Neutral White (4000K), and Cool White (6000K).
- To select the desired color temperature, locate the small slider switch on the side of the light fixture.
- Slide the switch to the position labeled 'WW' for 3000K, 'NW' for 4000K, or 'CW' for 6000K.
- Make this selection before final installation or when power is off for safety.

Abbildung 6.1: Adjusting the 3CCT switch on the fixture.
6.2-Betriebsmodi
The light features two operating modes, selectable via your standard wall switch:
- Dämmerungs- bis Morgengrauen-Modus (D2D): In this mode, the light automatically turns on when it gets dark and turns off when it becomes light. This is ideal for continuous nighttime illumination.
- Immer-Ein-Modus: In this mode, the light remains on continuously, regardless of ambient light levels, as long as the wall switch is in the ON position.
Wechseln zwischen den Modi:
- To activate D2D Mode: Quickly switch the wall switch OFF then ON. The light will flash once to confirm D2D mode is active.
- To activate Always On Mode: Quickly switch the wall switch OFF, then ON, then OFF, then ON (OFF-ON-OFF-ON). The light will flash twice to confirm Always On mode is active.

Abbildung 6.2: Mode selection using the wall switch.
6.3 Adjustable Light Direction
The two light heads can be independently adjusted to direct the light precisely where needed. Each head can rotate up to 330 degrees horizontally and tilt up to 120 degrees vertically.

Abbildung 6.3: Adjustable light direction with 330° rotation and 120° tilt.
7. Wartung
Regular maintenance helps ensure optimal performance and longevity of your ALUSSO outdoor light.
- Reinigung: Reinigen Sie die Armatur regelmäßig mit einem weichen, fusselfreien Tuch.amp cloth to remove dirt, dust, and debris. Do not use abrasive cleaners, solvents, or harsh chemicals, as these can damage the finish or electrical components.
- Inspektion: Annually inspect the wiring and mounting for any signs of wear, damage, or loosening. Ensure the gasket around the base remains intact to maintain its waterproof rating.
- Fotozelle: For D2D mode, ensure the photocell (located on the fixture) is kept clean and free from obstructions (e.g., leaves, dirt) to allow proper light detection.
8. Fehlerbehebung
If you encounter issues with your ALUSSO outdoor light, refer to the following common problems and solutions:
| Problem | Mögliche Ursache | Lösung |
|---|---|---|
| Licht geht nicht an | Keine Stromversorgung Falsche Verdrahtung Falsche Modusauswahl | Prüfen Sie den Leitungsschutzschalter/die Sicherung. Stellen Sie sicher, dass die Stromversorgung wiederhergestellt ist. Prüfen Sie, ob die Kabelverbindungen fest sitzen. Cycle modes using the wall switch (refer to Section 6.2). |
| Light stays on during the day (D2D mode) | Photocell obstructed Insufficient ambient light reaching photocell | Clean the photocell lens. Remove any obstructions (e.g., overhanging branches, dirt). Ensure the light is not installed in a location where artificial light (e.g., from a window) is hitting the photocell. |
| Licht flackert | Wackelkontakt Instabile Stromversorgung | Turn off power and re-check all wire connections. Consult a qualified electrician if power supply issues are suspected. |
9. Garantie und Support
This ALUSSO product is covered by a manufacturer's warranty. For specific details regarding the warranty period, terms, and conditions, please refer to the product packaging or contact ALUSSO customer support directly.
For technical assistance or further inquiries, please reach out to ALUSSO customer service through the contact information provided on the product packaging or the official ALUSSO webWebsite.