1. Einleitung
Thank you for choosing the CUIUIC 18.5-inch 120Hz Portable Gaming Monitor. This manual provides essential information for setting up, operating, and maintaining your new monitor. Designed for versatility, this Full HD IPS display offers a 120Hz refresh rate, HDR 1080p support, and 100% sRGB color accuracy, making it ideal for gaming, productivity, and entertainment on the go. Its lightweight and portable design, coupled with multiple connectivity options, ensures a seamless experience with various devices.
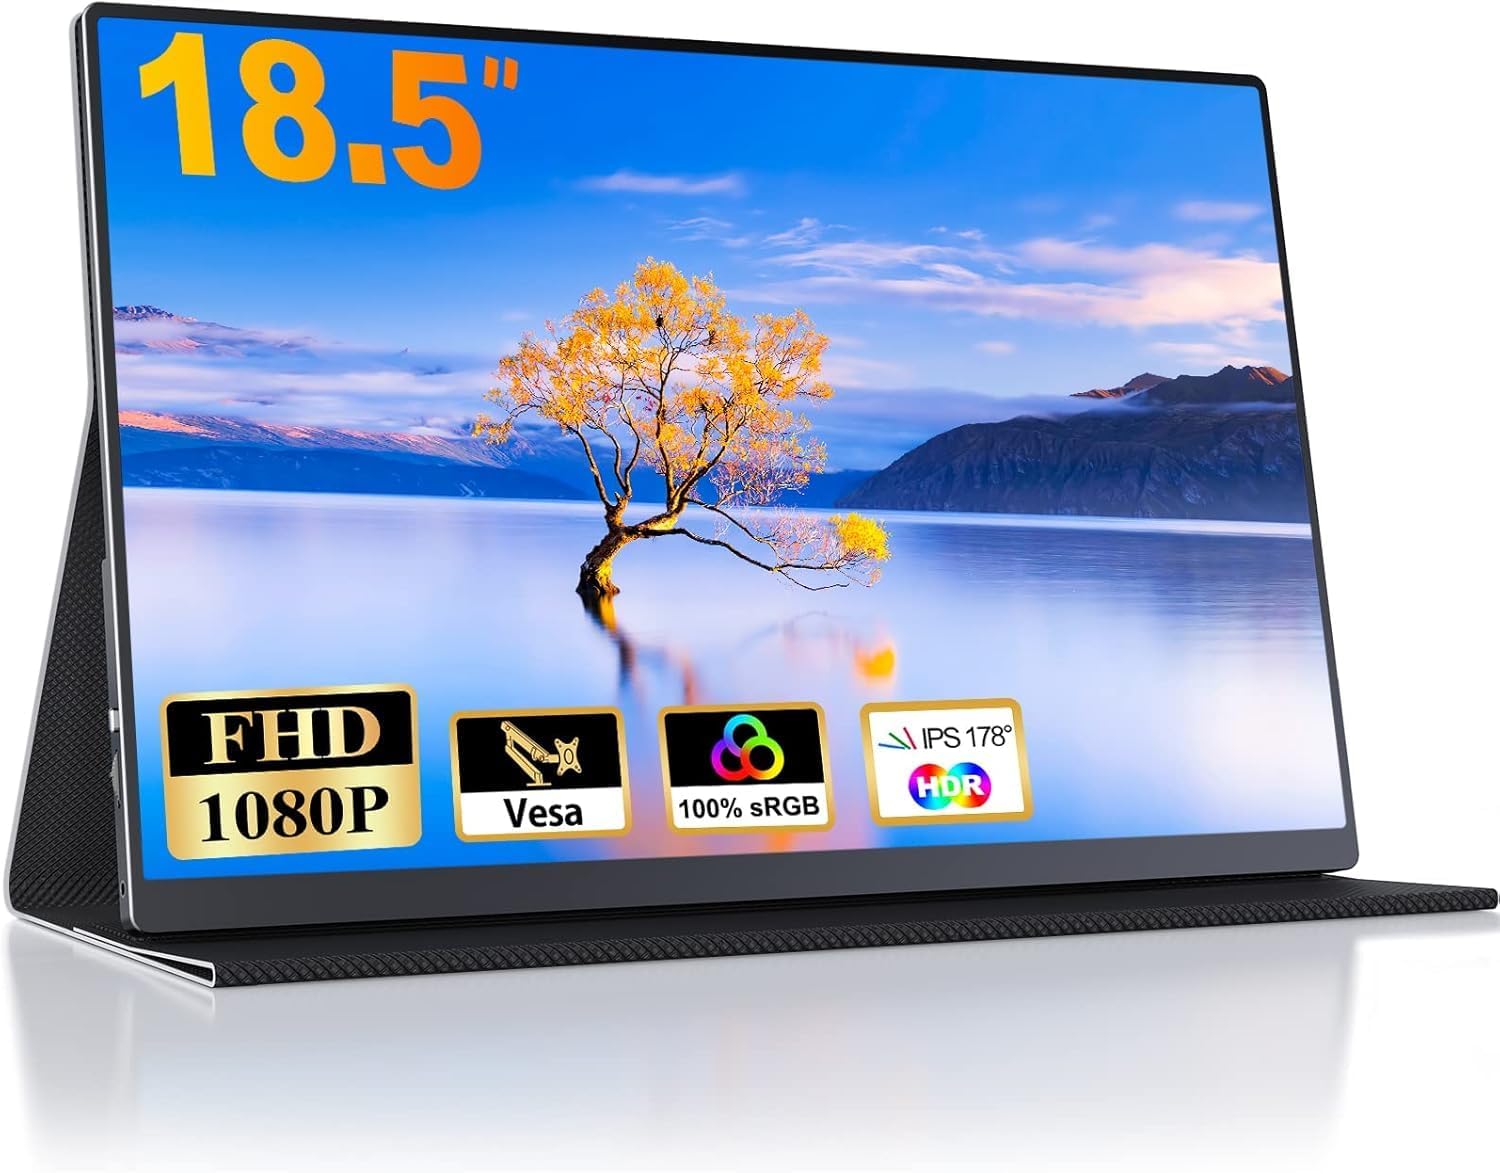
Image 1.1: The CUIUIC 18.5-inch Portable Gaming Monitor with its smart cover.
2. Packungsinhalt
Bitte überprüfen Sie den Paketinhalt sorgfältig. Sollten Artikel fehlen oder beschädigt sein, kontaktieren Sie bitte unseren Kundenservice.
- CUIUIC 18.5-inch Portable Gaming Monitor (Model: GS185CM1)
- Smart Leather Cover (doubles as a stand)
- USB-C to USB-C Cable (for power and video/audio signal)
- Mini HDMI to HDMI Cable (for video signal)
- USB-A-auf-USB-C-Stromkabel (für externes Netzteil)
- Netzteil (kann je nach Region variieren)
- Benutzerhandbuch (dieses Dokument)
3. Produktüberschreitungview
Familiarize yourself with the monitor's ports and controls.
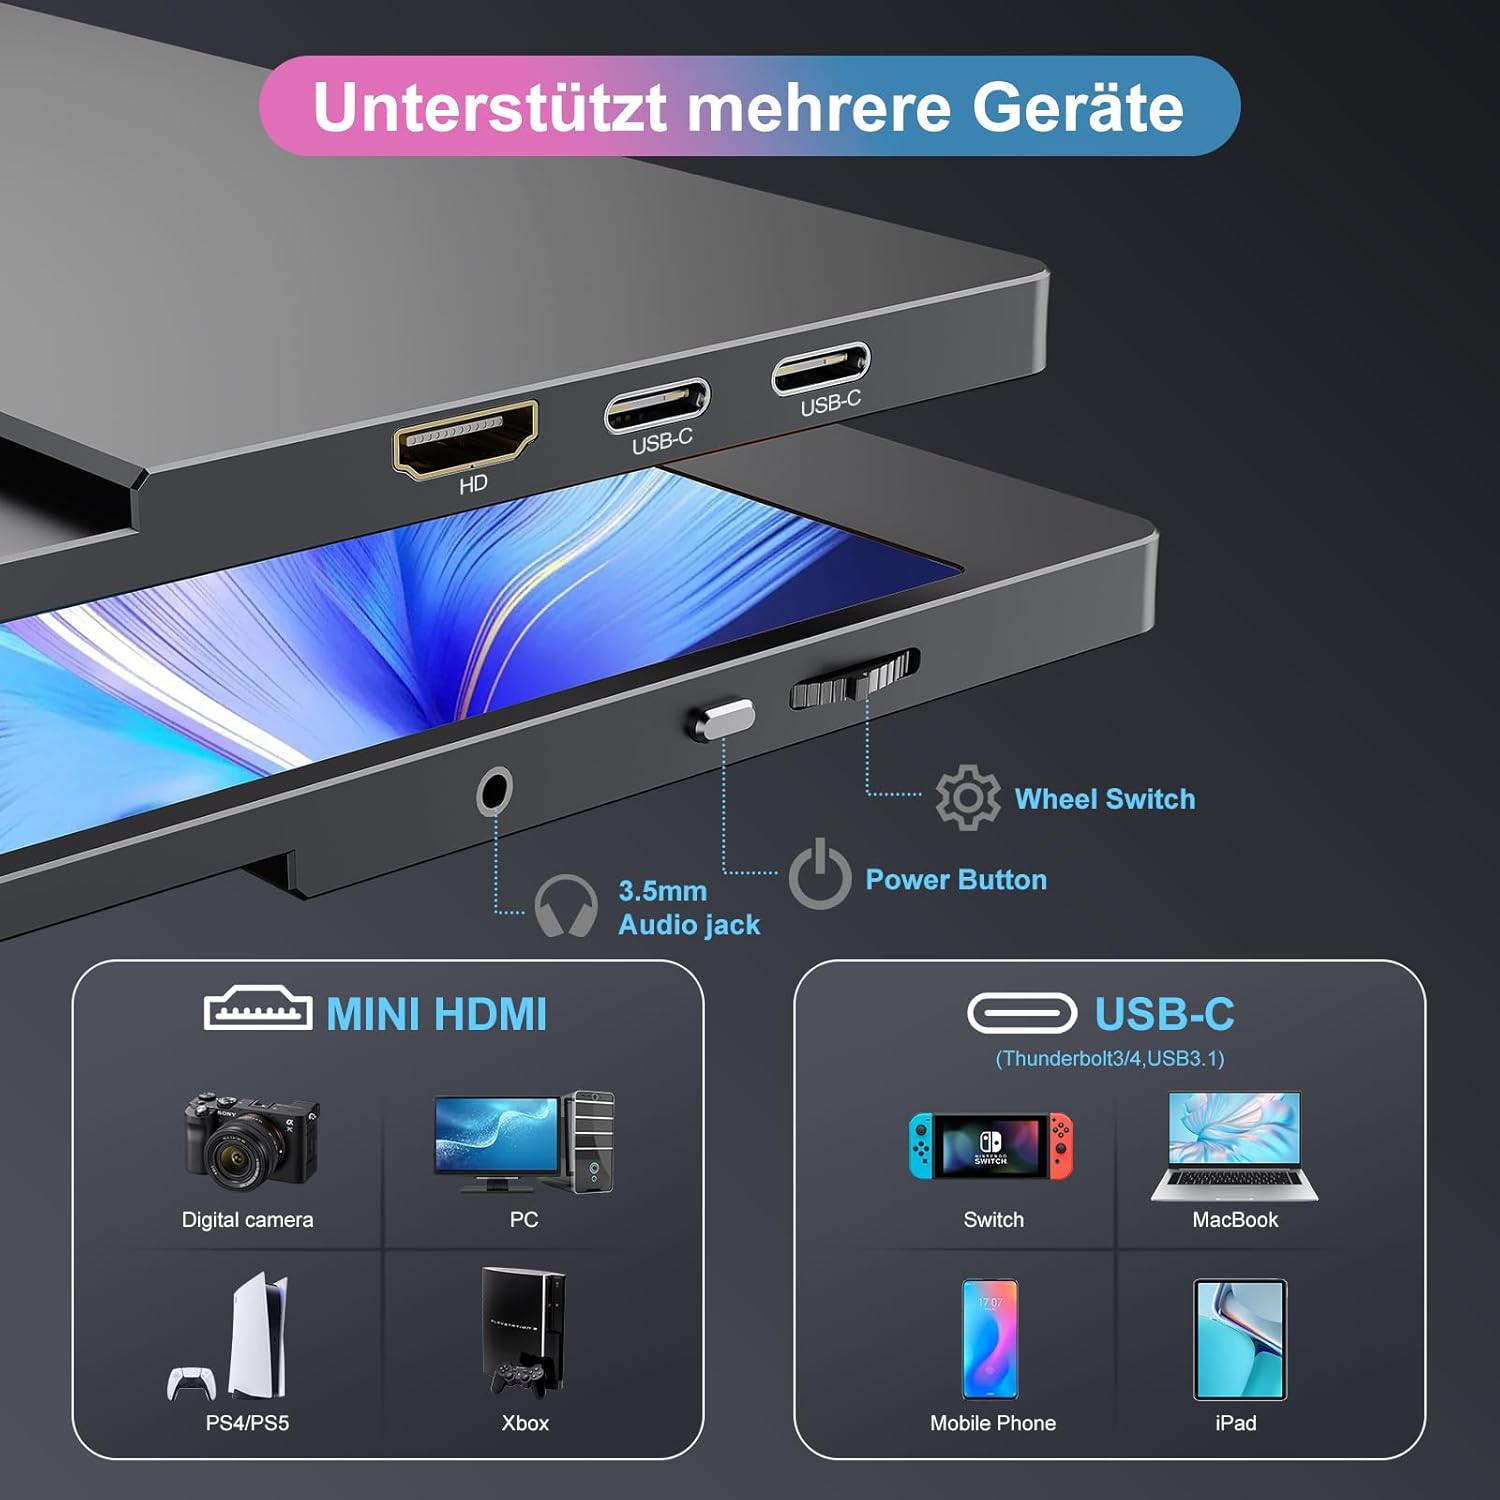
Image 3.1: Monitor Ports and Controls. Features include Mini HDMI port, two USB-C ports, 3.5mm audio jack, power button, and a wheel switch for OSD navigation.
3.1. Anschlüsse und Stecker
- Mini-HDMI-Anschluss: For video input from devices like PCs, game consoles (PS4/PS5, Xbox), and digital cameras.
- USB-Typ-C-Anschlüsse (x2): Full-function ports supporting power delivery, video, and audio signal transmission. Compatible with Thunderbolt 3/4 and USB 3.1 DP Alt Mode devices (laptops, smartphones, Nintendo Switch, MacBooks, iPads).
- 3.5-mm-Audiobuchse: Zum Anschluss externer Kopfhörer oder Lautsprecher.
3.2. Bedienelemente
- Netzschalter: Drücken Sie diese Taste, um den Monitor ein-/auszuschalten.
- Lenkradschalter: Used to navigate the On-Screen Display (OSD) menu, adjust settings like brightness, contrast, and color.
3.3. Design-Merkmale
- Smart Leather Cover: The included cover protects the screen and folds into a stand, offering multiple viewing angles. It is scratch-resistant and water-resistant.
- Kompatibilität der VESA-Halterung: The monitor supports VESA mounting for alternative stand or arm installations.

Image 3.2: The monitor is lightweight at 1.13 kg and thin at 1 cm, enhancing its portability.


Image 3.3: The CUIUIC portable monitor's slim and lightweight design makes it highly portable.

Image 3.4: The smart cover provides robust protection and converts into a stable stand.
4. Einrichtung und Verbindung
The monitor offers flexible connectivity options. Ensure your device supports the necessary protocols for full functionality.
4.1. USB-Typ-C-Anschluss (Einzelkabellösung)
For devices with a full-function USB-C port (Thunderbolt 3/4 or USB 3.1 DP Alt Mode), a single USB-C to USB-C cable can provide both power and video/audio signals.
- Connect one end of the USB-C to USB-C cable to a USB-C port on the monitor.
- Connect the other end to the full-function USB-C port on your laptop, smartphone, or gaming console (e.g., Nintendo Switch).
- Der Monitor sollte das Signal automatisch erkennen und sich einschalten. Falls nicht, drücken Sie den Netzschalter.
Notiz: Ensure your device's USB-C port supports Thunderbolt 3/4 or USB 3.1 DP Alt Mode for video and audio transmission. If your device's USB-C port only supports power delivery, you will need to use the HDMI connection for video and an external power source for the monitor.

Image 4.1: Illustration of USB-C connection (top) and HDMI connection (bottom) to a laptop. The USB-C connection provides both power and display, while the HDMI connection requires a separate power source.
4.2. HDMI Connection (Requires External Power)
For devices without a full-function USB-C port, use the Mini HDMI port for video and a separate USB-C cable for power.
- Verbinden Sie ein Ende des Mini-HDMI-zu-HDMI-Kabels mit dem Mini-HDMI-Anschluss am Monitor.
- Connect the other end to the HDMI port on your PC, laptop, or game console (e.g., PS4/PS5, Xbox).
- Connect the USB-A to USB-C power cable to one of the monitor's USB-C ports and the USB-A end to a power adapter or a powered USB port on your device.
- Stellen Sie sicher, dass der Monitor eingeschaltet ist.
Notiz: When using HDMI, the monitor requires external power via one of its USB-C ports.
5. Bedienungsanleitung
5.1. Bildschirmmenü (OSD)
Über das OSD-Menü können Sie verschiedene Anzeigeeinstellungen anpassen.
- Press the Wheel Switch to open the OSD menu.
- Rotate the Wheel Switch up or down to navigate through menu options.
- Press the Wheel Switch to select an option or confirm a setting.
- Rotate the Wheel Switch to adjust values (e.g., brightness, contrast).
- To exit the menu, navigate to the "Exit" option or wait for the menu to time out.
5.2. Anzeigemodi
Der Monitor unterstützt verschiedene Anzeigemodi, um Ihren Bedürfnissen gerecht zu werden:
- Klonmodus: Duplicates your primary screen, ideal for presentations or sharing content.
- Erweiterungsmodus: Extends your desktop, providing more screen real estate for increased productivity.
- Zweiter Bildschirmmodus: Uses the portable monitor as the sole display, turning off the primary screen.
Diese Modi können in der Regel über die Anzeigeeinstellungen Ihres angeschlossenen Geräts konfiguriert werden (z. B. Windows-Anzeigeeinstellungen, macOS-Systemeinstellungen).

Image 5.1: Enhancing productivity with the portable monitor in extend mode.
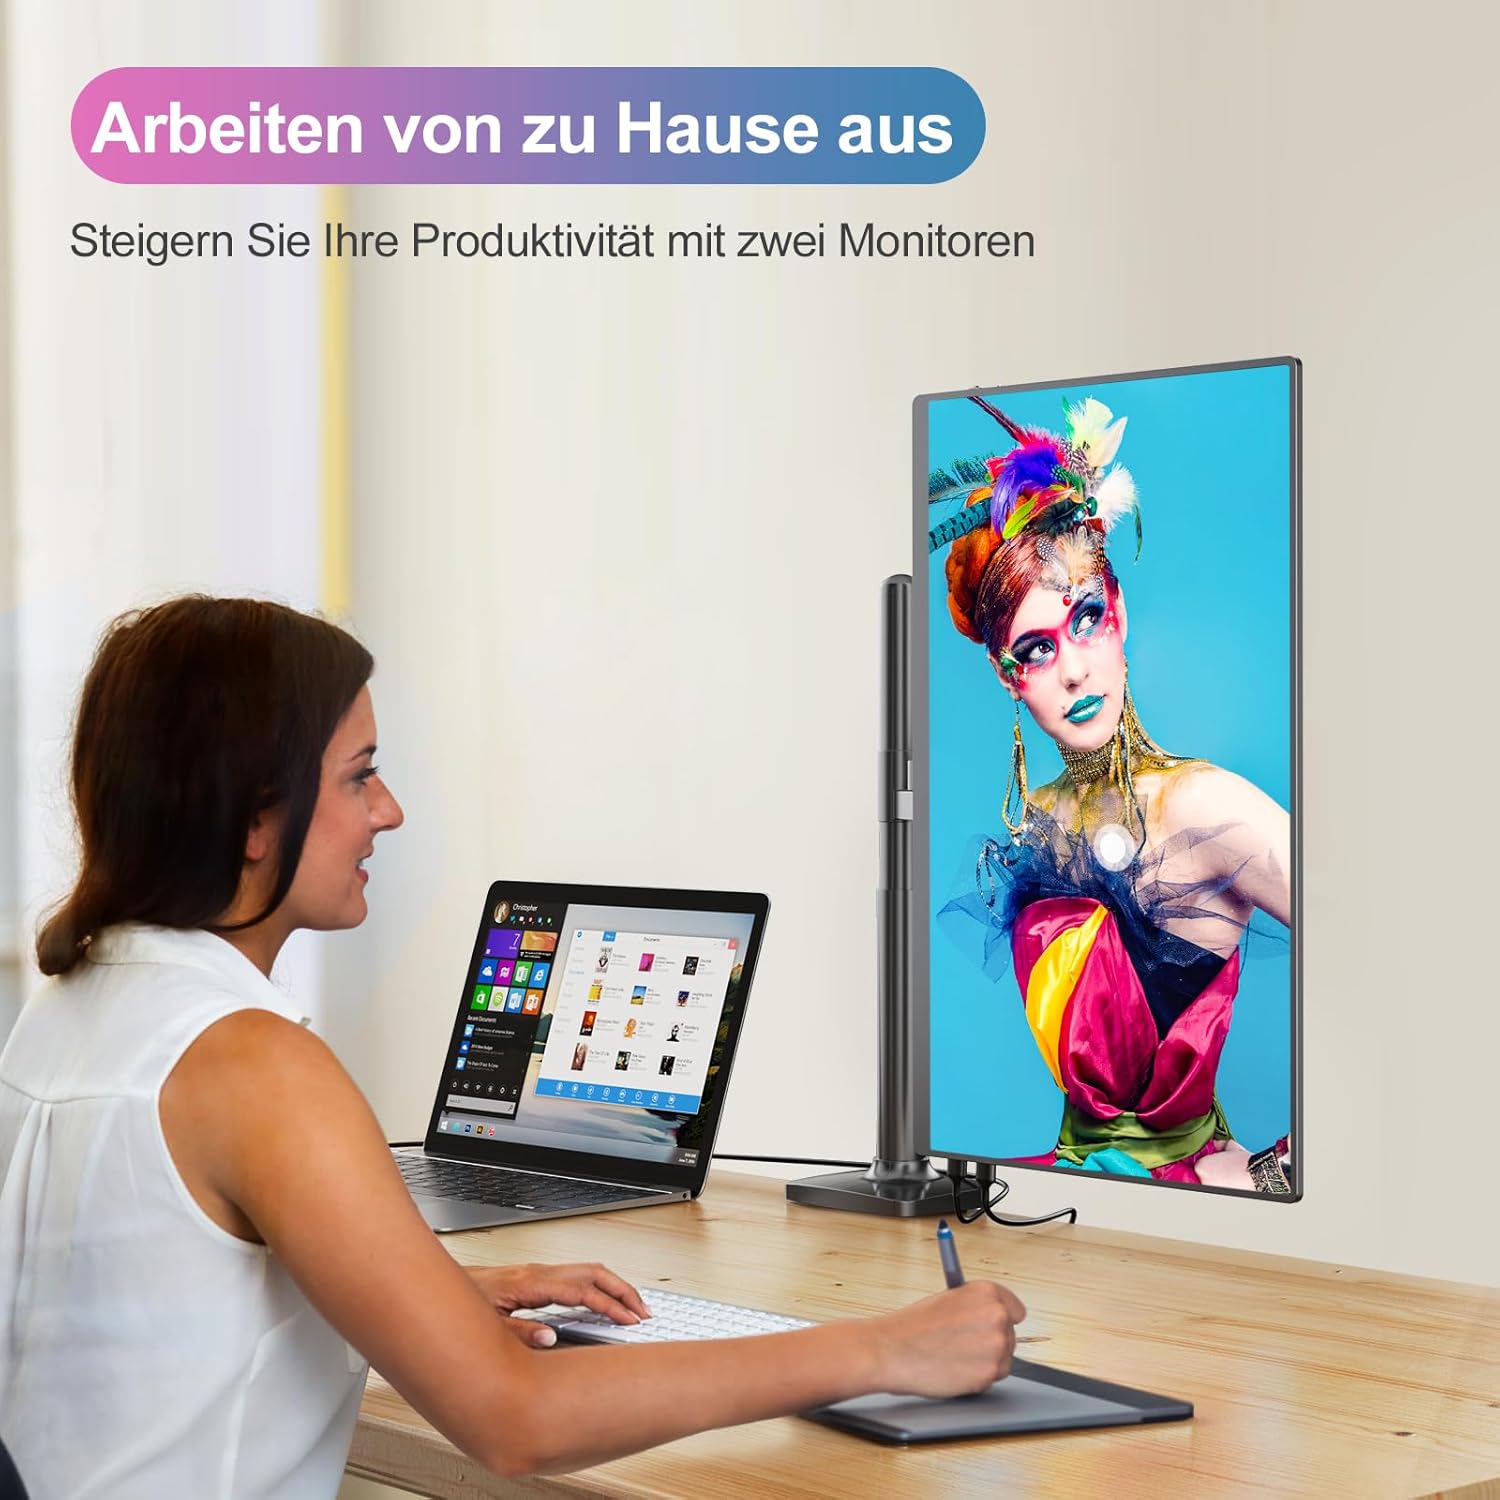
Image 5.2: The monitor can be used in portrait orientation for specific tasks like coding or document review, enhancing workflow.
5.3. HDR-Modus
Activate HDR (High Dynamic Range) mode through the OSD menu or your device's display settings for enhanced visual quality in compatible videos and games.

Image 5.3: The monitor supports HDR 16:9 display, offering a 2000:1 contrast ratio, low blue light mode, 400 cd/m² brightness, 1.07 billion display colors, and 100% sRGB color gamut.
6. Wartung
Durch sachgemäße Wartung wird die Langlebigkeit und optimale Leistung Ihres Monitors sichergestellt.
- Reinigen des Bildschirms: Wischen Sie den Bildschirm vorsichtig mit einem weichen, fusselfreien Tuch ab. Bei hartnäckigen Flecken dampen the cloth slightly with water or a screen-cleaning solution. Avoid harsh chemicals or abrasive materials.
- Reinigung des Körpers: Verwenden Sie ein weiches, trockenes Tuch, um den Bildschirm des Monitors zu reinigen.asing.
- Lagerung: When not in use, store the monitor in its smart leather cover to protect it from dust and scratches. Avoid exposing it to extreme temperatures or humidity.
- Handhabung: Fassen Sie den Monitor immer an den Kanten an. Vermeiden Sie es, direkten Druck auf den Bildschirm auszuüben.
7. Fehlerbehebung
Sollten Sie auf Probleme stoßen, konsultieren Sie bitte die folgenden häufigen Probleme und Lösungen.
| Problem | Mögliche Ursache/Lösung |
|---|---|
| Kein Signal / Schwarzer Bildschirm |
|
| Monitor lässt sich nicht einschalten |
|
| Flackernder Bildschirm |
|
| Kein Ton vom Monitor |
|
8. Spezifikationen
| Besonderheit | Detail |
|---|---|
| Modellnummer | GS185CM1 |
| Bildschirmgröße | 18.5 Zoll |
| Auflösung | FHD 1080p (1920 x 1080) |
| Panel-Typ | IPS |
| Bildwiederholrate | 120 Hz |
| Ansprechzeit | 3 Millisekunden |
| Seitenverhältnis | 16:9 |
| Farbumfang | 100 % sRGB |
| Kontrastverhältnis | 2000:1 |
| Helligkeit | 400 cd/m² |
| Besondere Merkmale | Portable, Flicker-Free, HDR Support |
| Konnektivität | 2x USB Typ-C (vollfunktionsfähig), 1x Mini-HDMI |
| Audioausgang | 3.5mm Audiobuchse |
| VESA-Montierung | Unterstützt |
| Gewicht | 1.13 KG |
| Dicke | 1 CM |
9. Garantie und Support
CUIUIC provides comprehensive support for your product.
- Garantie: Your monitor comes with a 12-month standard warranty, extendable by an additional 12 months (total 24 months). Please refer to the product registration or contact customer service for details on warranty extension.
- Kundendienst: Our dedicated support team is available 24 hours to assist you with any queries or issues.

Image 9.1: CUIUIC offers a 12+12 month warranty and 24-hour customer service.
Für weitere Unterstützung besuchen Sie bitte unsere offizielle Website. webBesuchen Sie unsere Website oder kontaktieren Sie uns über die Angaben auf Ihrer Produktverpackung.