1. Einleitung
Thank you for choosing the mollie A03-RV-002-30W-WH Robot Vacuum and Mop. This device is designed to provide efficient and convenient cleaning for your home, featuring both vacuuming and mopping capabilities, strong 2800Pa suction, and smart navigation. This manual provides essential information for the safe operation, setup, maintenance, and troubleshooting of your robot vacuum. Please read it thoroughly before use and retain it for future reference.
2. Sicherheitshinweise
Um das Risiko von Verletzungen oder Schäden zu verringern, lesen Sie diese Sicherheitshinweise sorgfältig durch und bewahren Sie sie zum späteren Nachschlagen griffbereit auf.
- Dieses Gerät kann von Kindern ab 8 Jahren und von Personen mit eingeschränkten physischen, sensorischen oder geistigen Fähigkeiten oder Mangel an Erfahrung und Wissen verwendet werden, wenn sie beaufsichtigt werden oder in die sichere Verwendung des Geräts eingewiesen wurden und die damit verbundenen Gefahren verstehen.
- Kinder sollten beaufsichtigt werden, um sicherzustellen, dass sie nicht mit dem Gerät spielen.
- Reinigung und Benutzerwartung dürfen nicht durch Kinder ohne Aufsicht durchgeführt werden.
- Verwenden Sie ausschließlich das vom Hersteller mitgelieferte Original-Netzteil.
- Der Roboter darf nicht in Umgebungen mit offenem Feuer oder zerbrechlichen Gegenständen eingesetzt werden.
- Ensure the charging dock is placed against a wall on a level surface, free from obstacles.
- Vor der Reinigung lose Kabel, kleine Gegenstände oder alles, was den Roboter verheddern könnte, entfernen.
- Der Roboter darf keine großen oder scharfen Gegenstände, Flüssigkeiten oder brennende/rauchende Materialien aufheben.
- Der Roboter und seine elektronischen Bauteile dürfen nicht in Wasser eingetaucht werden.
- Der Roboter ist nur für den Innenbereich konzipiert.
3. Packungsinhalt
Verify that all components are present and in good condition. If any items are missing or damaged, please contact customer support.
- Roboterstaubsauger
- Ladestation
- Netzteil
- Seitenbürsten (2x)
- Reinigungsbürste
- Wassertank
- Dry Mop
- Fernbedienung
- Bedienungsanleitung
4. Produktüberschreitungview
Familiarize yourself with the main components of your mollie robot vacuum.

Abbildung 4.1: Explodierte view showing the robot vacuum's internal and external components, including the swivel wheel, dual side brushes, main brush, drive suspension tires, 500ml dustbin, 150ml water tank, and mopping cloth.
- Haupteinheit: The primary body of the robot, housing the motor, sensors, and control systems.
- Dustbin (500ml): Collects dust and debris during vacuuming.
- Wassertank (150 ml): Holds water for mopping functionality.
- Seitenbürsten: Fegen Sie Schmutz von Kanten und Ecken in den Fahrweg des Roboters.
- Hauptbürste: Agitates and lifts dirt from floors and carpets.
- Antriebsräder: Propel the robot across various surfaces.
- Schwenkrad: Provides directional control and maneuverability.
- Sensoren: Anti-fall, anti-collision, and navigation sensors for safe and efficient operation.
5. Einrichtung
5.1 Platzierung der Ladestation
Place the charging dock against a wall in an open area, ensuring there are no obstacles within 1 meter (3 feet) to the front and 0.5 meters (1.5 feet) to the sides. Connect the AC adapter to the charging dock and plug it into a power outlet.

Abbildung 5.1: Der Saugroboter kehrt automatisch zu seiner Ladestation zurück, wenn der Akku schwach ist oder die Reinigung abgeschlossen ist.
5.2 Erstaufladung
Before first use, fully charge the robot vacuum. Place the robot onto the charging dock, ensuring the charging contacts align. The indicator light on the robot will show charging status. A full charge typically takes 4-6 hours.
5.3 Einbau der Seitenbürsten
Drücken Sie die Seitenbürsten auf die Stifte an der Unterseite des Roboters, bis sie einrasten. Stellen Sie sicher, dass sie fest sitzen.
5.4 Vorbereitung zum Wischen (optional)
To use the mopping function, fill the 150ml water tank with clean water. Attach the dry mop cloth to the water tank. Insert the filled water tank assembly into the designated slot at the rear of the robot until it clicks.

Abbildung 5.2: The robot vacuum with its 150ml water tank and mopping cloth attached, ready for simultaneous sweeping and mopping.
5.5 Wi-Fi/App Connection
Download the Tuya Smart app from your mobile device's app store. Follow the in-app instructions to connect your robot vacuum to your home Wi-Fi network. This enables remote control, scheduling, and real-time monitoring.

Abbildung 5.3: The robot vacuum can be managed using either the included remote control or the Tuya Smart application on a smartphone.
6. Bedienungsanleitung
6.1 Starten und Beenden der Reinigung
- Manueller Start: Drücken Sie den Ein-/Ausschalter am Roboter oder die Taste „Clean“ auf der Fernbedienung.
- App-Start: Use the Tuya Smart app to initiate a cleaning cycle.
- Pause/Stopp: Press the power button again or the pause button on the remote/app to pause or stop cleaning.
6.2 Reinigungsmodi
Der Roboter bietet mehrere Reinigungsmodi für unterschiedliche Bedürfnisse:
- Automatikmodus: The robot intelligently navigates and cleans the entire floor area using its GYRO-based localization system.
- Spot-Modus: Konzentriert sich auf einen bestimmten verschmutzten Bereich und reinigt in spiralförmigen Bewegungen.
- Edge-Modus: Reinigt entlang von Wänden und Möbelkanten.
- Zeitplanmodus: Set specific times for the robot to automatically start cleaning via the Tuya Smart app.

Abbildung 6.1: The robot vacuum utilizes adaptive navigation to efficiently clean and avoid obstacles in various room layouts.
6.3 Suction Power and Floor Types
With 2800Pa suction, the robot effectively cleans various floor types, including hardwood, marble, ceramic tile, and low-to-medium pile carpets.

Abbildung 6.2: The robot vacuum's 2800Pa strong suction ensures thorough cleaning and efficiency on hard surfaces.
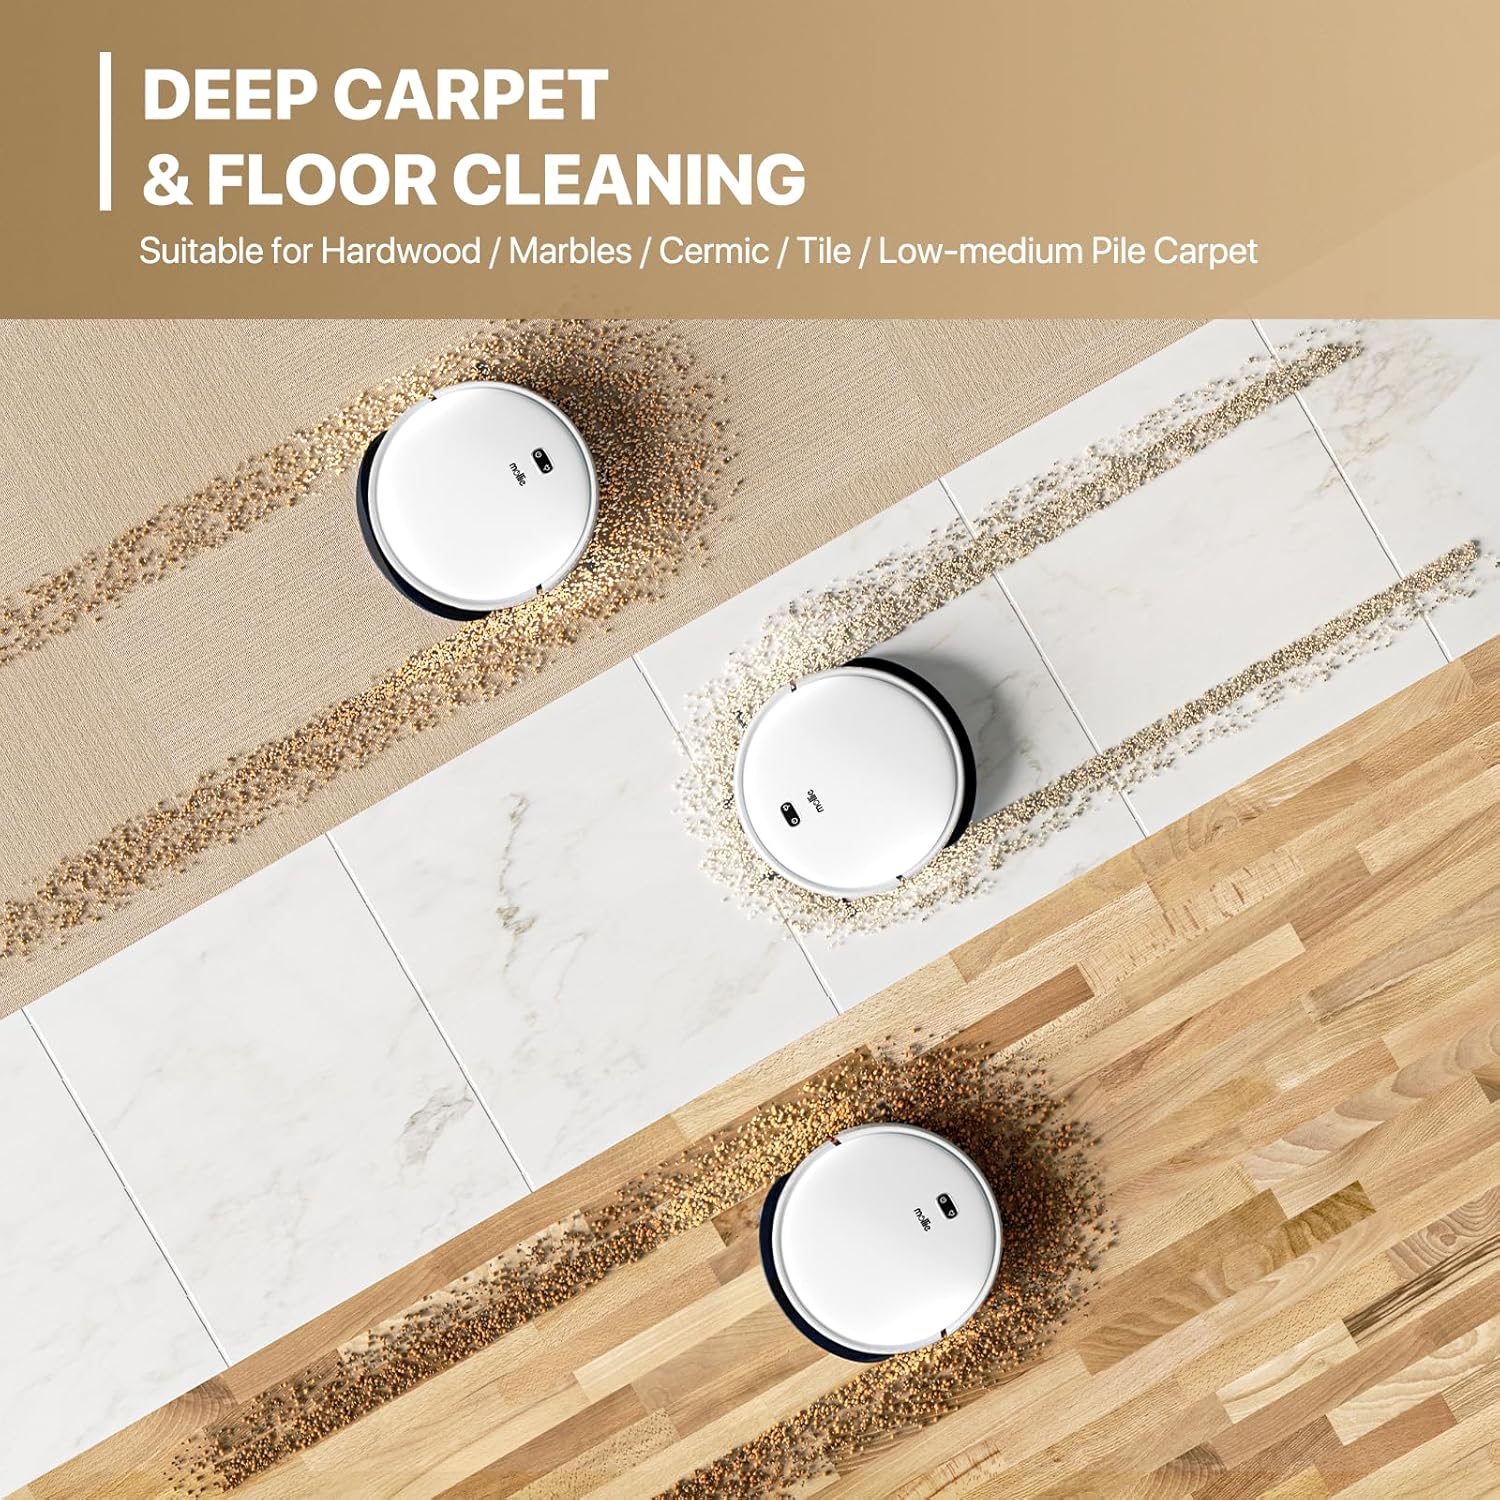
Abbildung 6.3: The mollie robot vacuum is suitable for deep cleaning on various surfaces including hardwood, marble, ceramic tile, and low-to-medium pile carpets.
6.4 Anti-Fall and Anti-Collision Features
The robot is equipped with sensors to detect cliffs and obstacles, preventing falls down stairs and collisions with furniture.

Abbildung 6.4: Cliff detection technology prevents the robot vacuum from falling down stairs, ensuring safe operation.
7. Wartung
Regelmäßige Wartung gewährleistet optimale Leistung und verlängert die Lebensdauer Ihres Saugroboters.
7.1 Den Mülleimer leeren
After each cleaning cycle, or when the dustbin is full, remove it from the robot and empty its contents into a trash bin.
7.2 Reinigen des Filters
The HEPA filter should be cleaned regularly (e.g., weekly) using the provided cleaning brush. Tap the filter gently to remove dust. Replace the filter every 3-6 months, depending on usage.
7.3 Reinigungsbürsten
- Seitenbürsten: Periodically remove and clean any hair or debris wrapped around them. Replace if damaged.
- Hauptbürste: Remove the main brush cover and lift out the brush. Use the cleaning tool to cut and remove tangled hair or fibers.
7.4 Reinigung des Wassertanks und des Wischmopps
After mopping, empty any remaining water from the tank and rinse it thoroughly. Remove the mop cloth, wash it by hand or machine, and allow it to air dry completely before reattaching.
7.5 Reinigung der Sensoren und Ladekontakte
Wipe the anti-fall sensors, anti-collision sensors, and charging contacts on both the robot and the charging dock with a clean, dry cloth to ensure proper function.
8. Fehlerbehebung
If your robot vacuum encounters issues, refer to this section for common solutions.
| Problem | Mögliche Ursache | Lösung |
|---|---|---|
| Der Roboter startet nicht. | Niedriger Batteriestand; Stromschalter ausgeschaltet; Hindernis | Laden Sie den Roboter auf; Stellen Sie sicher, dass der Netzschalter eingeschaltet ist; Beseitigen Sie alle Hindernisse. |
| Schlechte Reinigungsleistung | Full dustbin; Clogged filter; Tangled brushes | Empty dustbin; Clean/replace filter; Clean main and side brushes. |
| Roboter findet Ladestation nicht | Dock obstructed; Dock unplugged; Robot too far from dock | Freimachen des Bereichs um die Dockingstation; Dockingstation anschließen; Roboter manuell in der Nähe der Dockingstation platzieren. |
| Roboter fällt Treppe hinunter | Dirty cliff sensors | Reinigen Sie die Klippensensoren mit einem trockenen Tuch. |
| Probleme mit der Wi-Fi-Verbindung | Incorrect password; Router too far; App error | Verify Wi-Fi password; Move robot closer to router; Restart app/robot. |
9. Spezifikationen
| Besonderheit | Detail |
|---|---|
| Marke | Mollie |
| Modellname | mollie A03-RV-002-30W-WH |
| Saugleistung | 2800Pa |
| Fassungsvermögen des Staubbehälters | 500 Milliliter |
| Fassungsvermögen des Wassertanks | 150 Milliliter |
| Akkulaufzeit | Bis zu 120 Minuten |
| Ladezeit | 4-6 Stunden |
| Abdeckungsbereich | Bis zu 2150 m² |
| Technische Daten | 13 Zoll L x 13 Zoll B x 3.1 Zoll H |
| Filtertyp | HEPA-Filter |
| Kontrollmethode | App (Tuya WIFI), Remote Control |
| Navigationssystem | High-Precision GYRO |
| Stromquelle | Batteriebetrieben (1 Lithium-Ionen-Akku im Lieferumfang enthalten) |
| Kompatible Geräte | Smartphones |
| Artikelgewicht | 8.21 Pfund |
| UPC | 840256426052 |
10. Garantie und Support
For warranty information or technical support, please refer to the contact details provided with your purchase documentation or visit the official mollie webBewahren Sie Ihren Kaufbeleg als Kaufnachweis auf.
Hersteller: Mollie